7 Tips for Terrific Tree Photos: How to Create Order from Chaos
From gnarled veterans to sky-soaring giants, trees are majestic subjects to experience and photograph. While shifting seasons, wild weather and fleeting light can make the pursuit a highly rewarding—yet achingly frustrating—one.
Trees, it will come as no surprise, tend to grow in forests. This means even the most photogenic ones compete with distractions like leaf litter, dead branches, bright sky patches, and other trees that creep into the frame—how rude.
But in photography, overcoming those challenges is often half the fun. So I’ve prepared seven tips to help you capture the beauty that drew you to the tree in the first place.
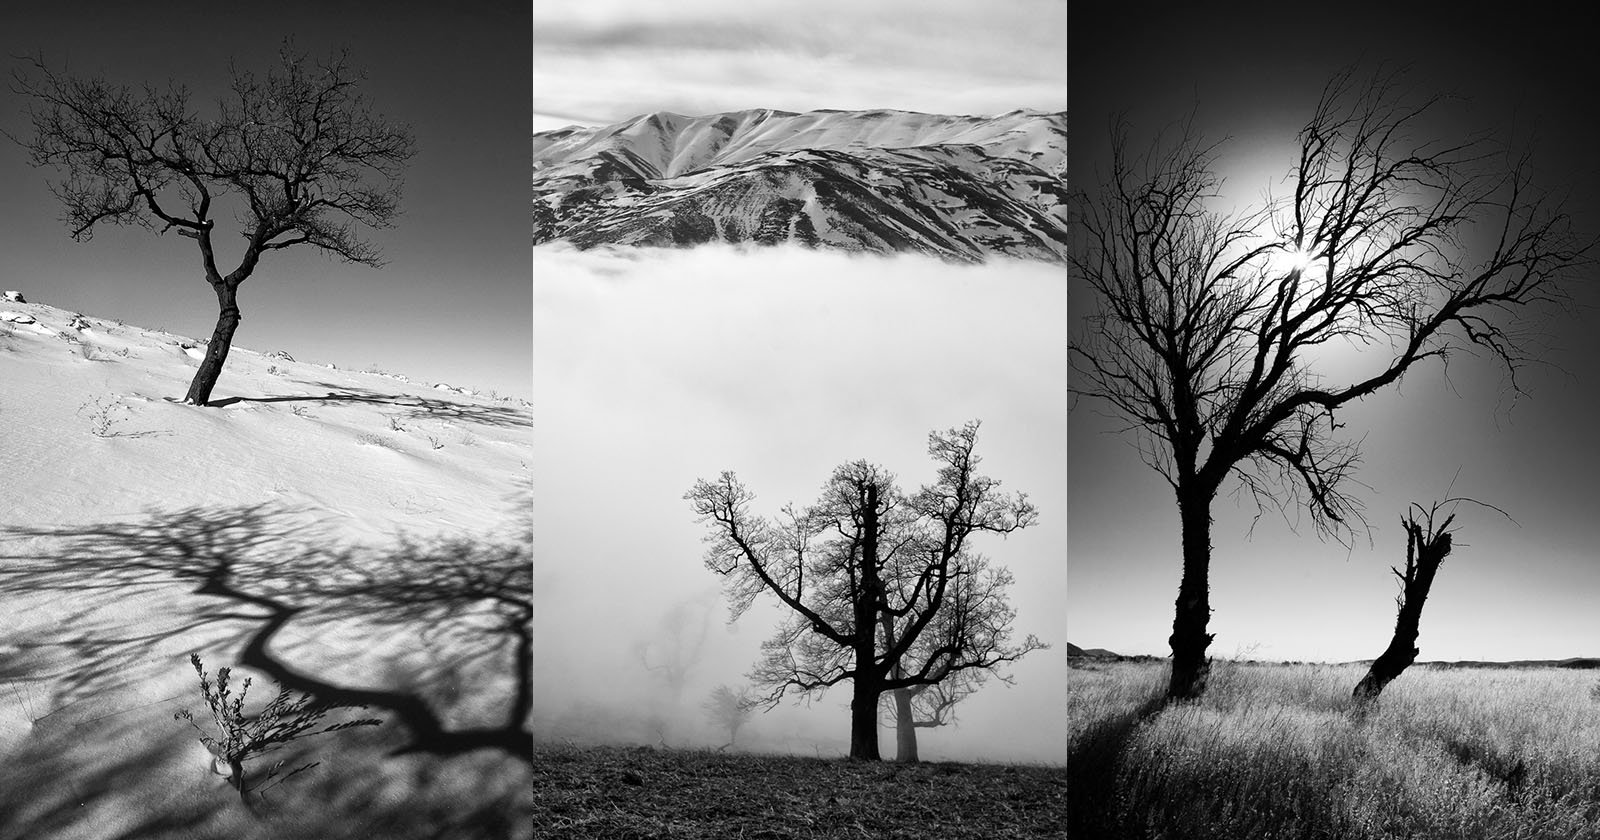
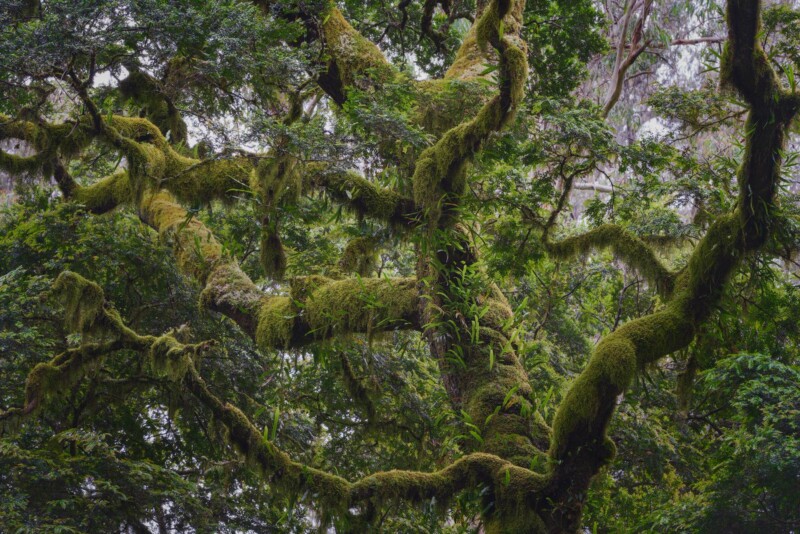
1. Stay Curious to Capture Defining Details
Forests are complex environments, often overflowing with distractions. These chaotic elements—like dead trunks or wayward branches—can combine to undermine the sense of harmony in your images.
So when you find tree scenes too overwhelming, focus on key details instead. Try to isolate defining features while obscuring others.
Approaching scenes with open eyes and a curious mind, you might:
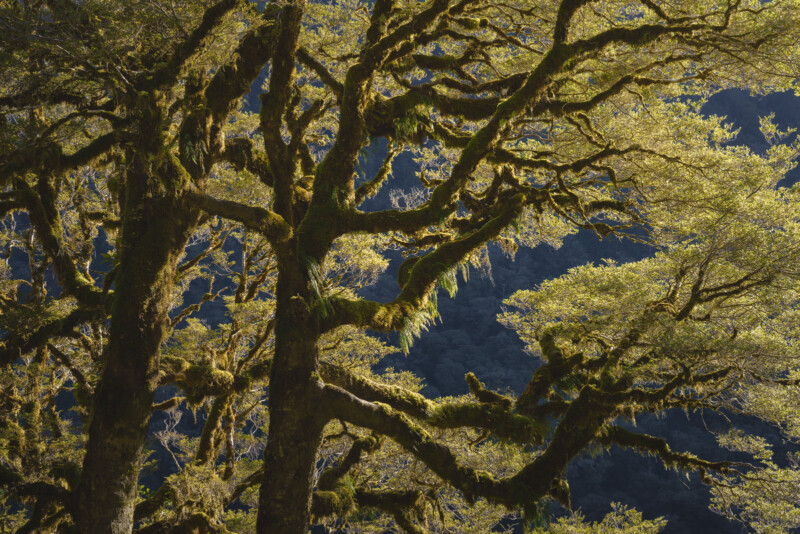
- Focus on trunk patterns—experimenting with swirls, lines, and shapes.
- Switch to a telephoto lens to fill the frame with a few shapely branches.
- Look for exposed bark with fresh colors and textures.
- Try a shallow depth of field to separate the tree from the background.
- Shoot from a distance—showing the forest as an abstract grouping of trunks.
As you try (and sometimes fail) to capture these details, remember that not every image will be a portfolio-worthy shot.
The point isn’t to produce perfection with each frame. But to experiment with new angles and focus on fresh features. To see what works and what doesn’t. And then refine the composition until it’s as compelling as you can make it.
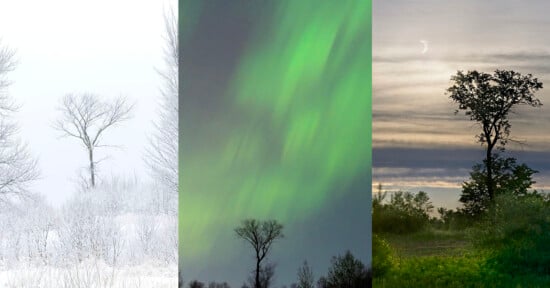
2. Return Under Better Conditions
This second tip may be the most straightforward—simply show up again. Yet doing so will drastically improve the quality of your photography.
Say you’ve seen a nice tree that’s captured your attention. Great! Go ahead and take a few photos.
But if you’ve just arrived at a new location, it’s highly unlikely that you’ll snap the best shot possible on your first visit. (If you can, I want to hear your secrets.) It may be the wrong season and there’s too much dead foliage. Or it could be windy, making all the branches blurry.
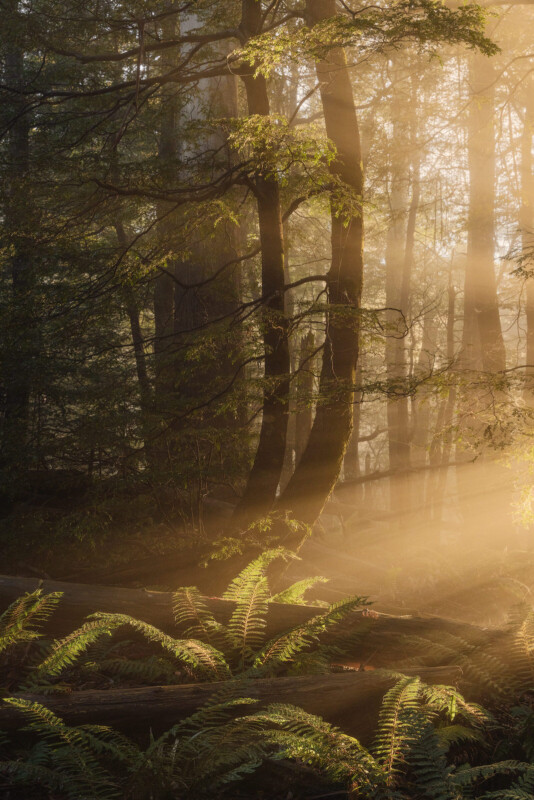
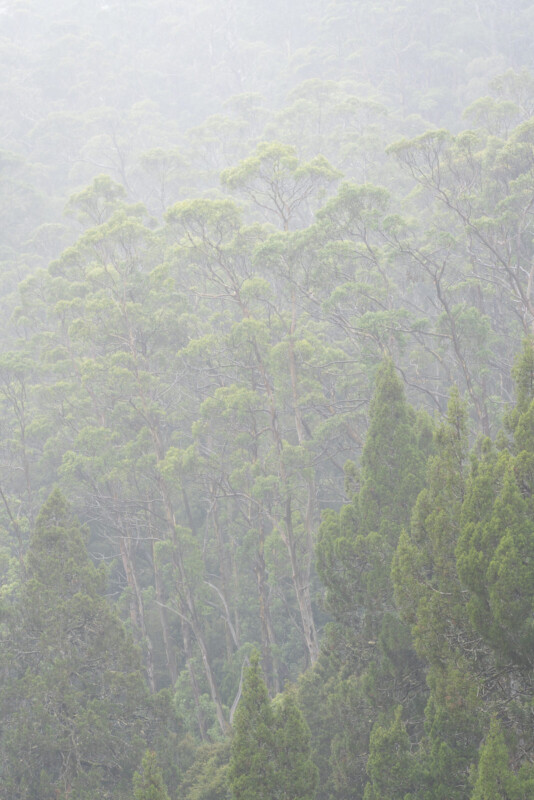
So do what all professional nature photographers do—note the location, be patient, and return under better light. I say ‘better’ light as what constitutes this will depend on the scene. You might return when:
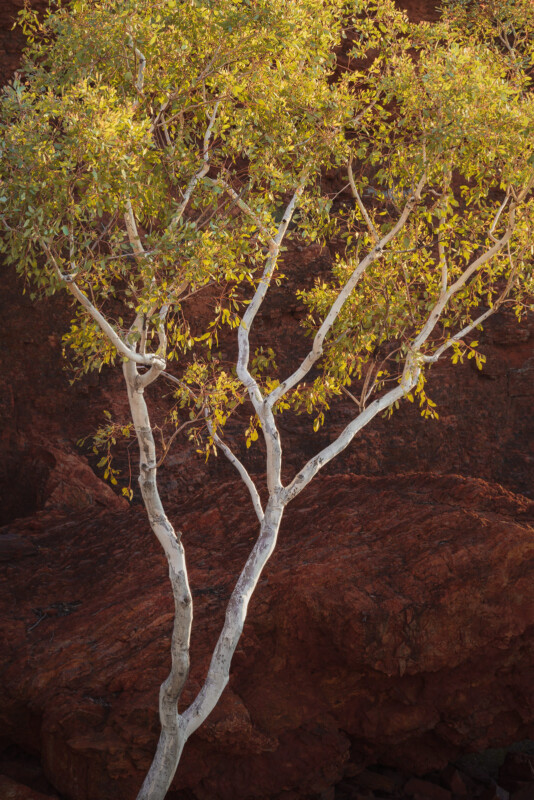
- Direct sunlight reflects off a nearby rock shelf.
- A sky full of wispy clouds produces softer sidelight to add shape and depth to the scene.
- The exposed hillside is ignited in a golden glow after daybreak.
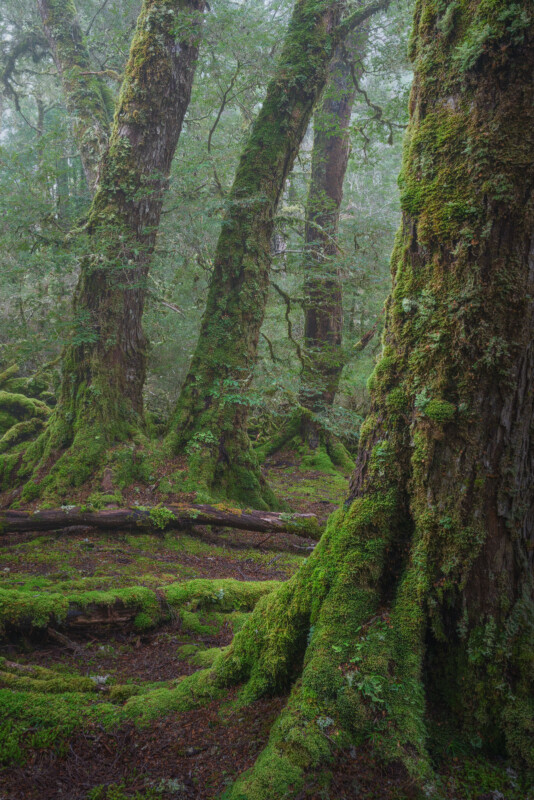
- Fog softens the background and directs attention towards your subject tree.
- Harsh backlight illuminates the branches in a glowing halo.
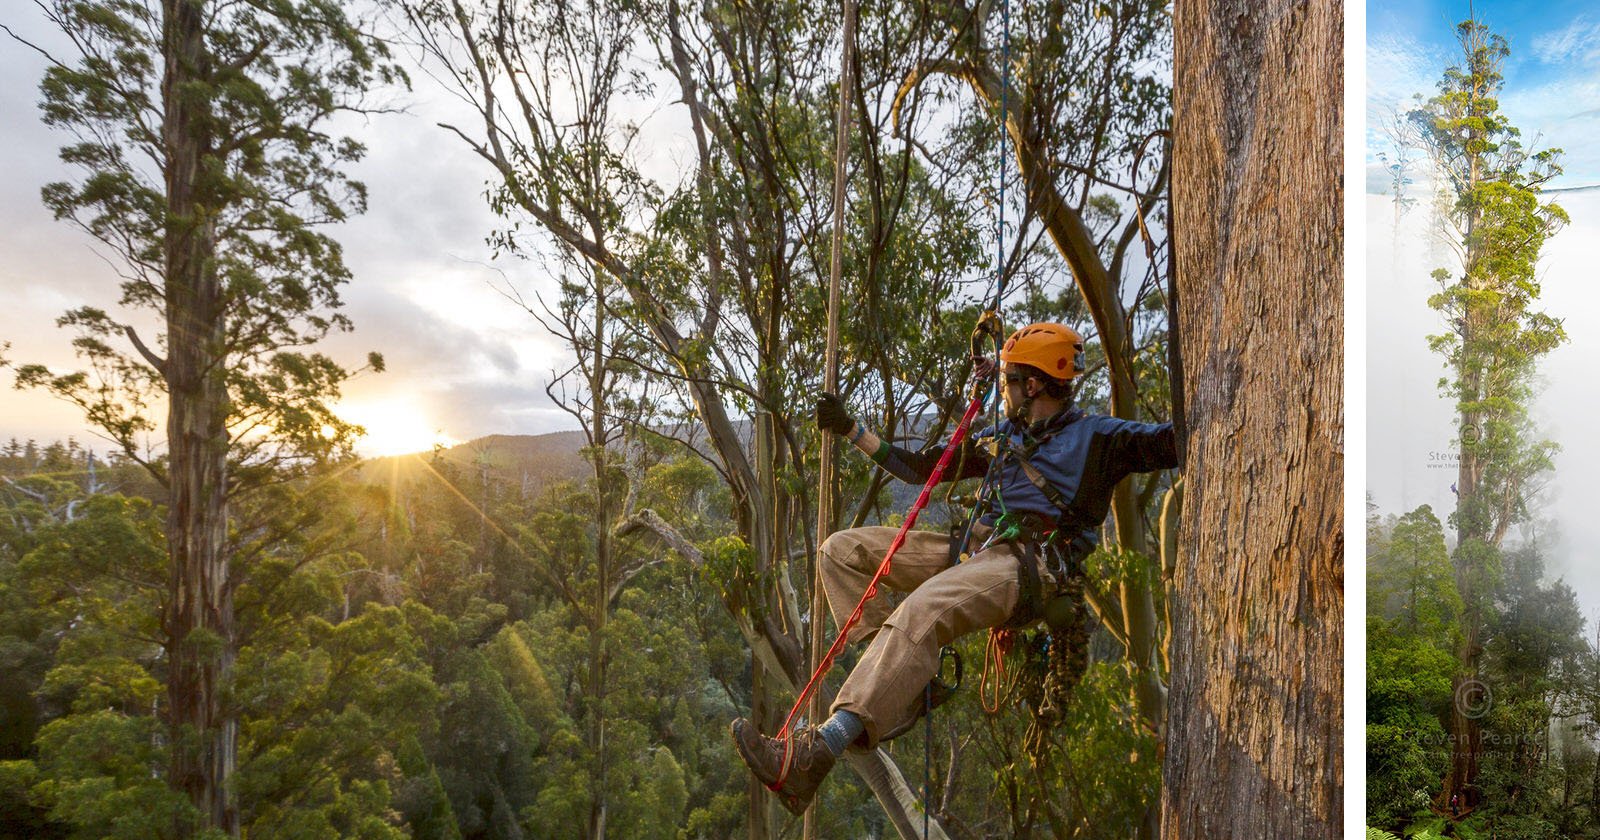
3. Go Explore and Gain Elevation
Sometimes, it’s not until we reach the base of a tree that we see its true photographic potential. But looking up like this tends to increase the number of distracting canopy gaps—patches of bright white sky between leaves—at the top of the frame.
To help minimize these, look for features in the landscape that can provide you with a higher elevation to take the shot. A boulder, a fallen trunk, or a hill.
You’ll be better positioned to shoot across the scene rather than up at it. Sometimes even an extra foot or two in elevation can significantly reduce the number of canopy gaps.
Plus, when you’re on a well-worn track, you will likely only see a fraction of the potential frames on offer. So leave the path occasionally to explore the scene from other angles and vantage points. See how the tree looks from behind or to the side.
But above all: Be careful—and considerate—when going off-track. Leave the vegetation undisturbed. If the area looks pristine or delicate, leave it that way. No photo is worth ruining the scene it was taken in.
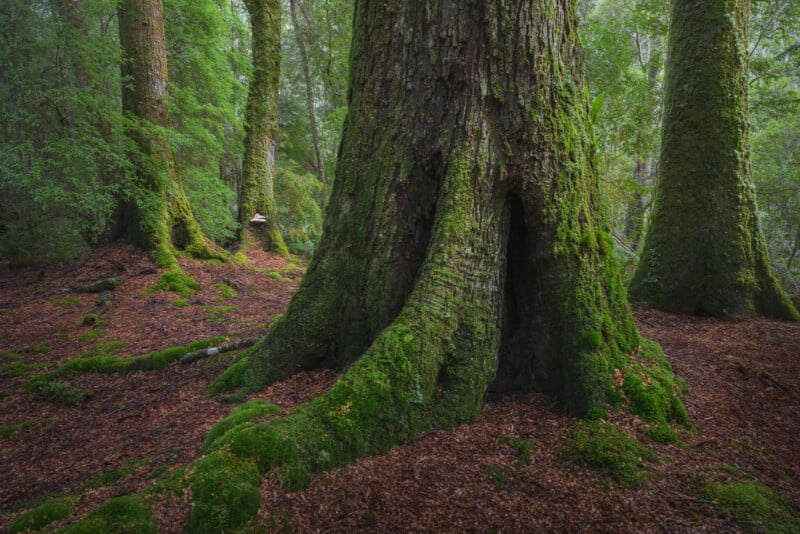
4. It’s Okay to Exclude Parts of the Tree
When you notice a nice tree, you don’t have to photograph the entire tree. By trying to include every branch and every leaf, we’ll often zoom out too far from the key features that caught our eye.
Ending the frame early and cutting off stray branches serves two purposes.
Firstly, you’ll place more visual weight on the most appealing elements. Don’t just include nice features—like fractal branches or bold autumnal colors—in the photo. Instead, make the whole photo about those features.
And secondly, close crops add a sense of mystery to the scene. Viewers will be left to ponder ‘what could be’ just beyond the frame.
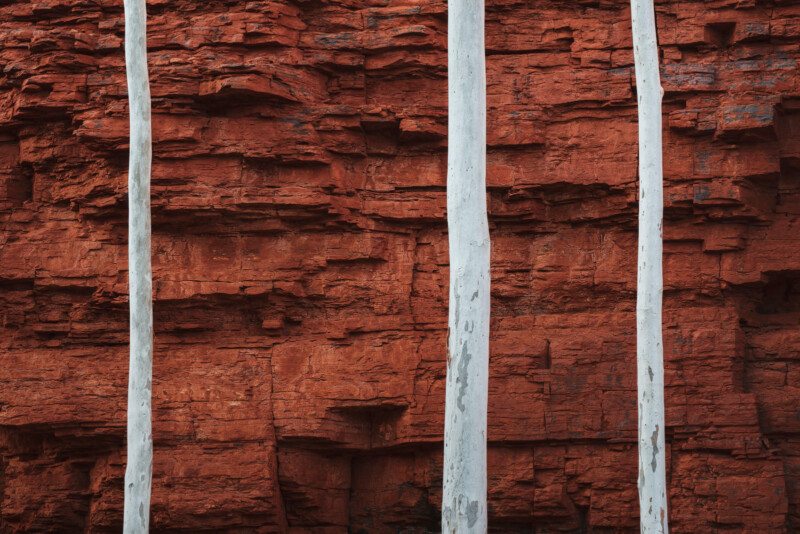
Another technique is to use a trunk to frame one side of the scene. This serves as a natural anchor, blocking off the edge and directing the viewer’s gaze towards your main subject.
And by cropping the frame just before the trunk ends, you’ll give the impression that the tree could be much wider than it is—turning an ordinary tree into a giant.
5. Make Subtle Processing Refinements
So far, each tip has covered what to do in the field. Yet skilled post-processing is just as important. Here are two simple yet powerful techniques.
Firstly, soften (lighten) the shadow areas to lessen harsh distractions. Why? A viewer’s eye is drawn to areas of strong contrast. So to minimize distractions—like the deep shadows found between roots or on the darker side of trunks—you can selectively brighten the harsher dark areas in your frame.
In Photoshop, you might use a luminosity mask to isolate the darker pixels and add a brightness adjustment layer. Then boost brightness in these areas by +20 to +40 depending on the intensity of the shadows in your scene. This will help to ease the transition between light and dark.
Secondly, reduce contrast through your scene to enhance depth. Due to the natural effects of air particles scattering light—think of how mountain ridges appear hazy at lookouts—our minds associate low contrast with greater distance.
So to amplify the appearance of depth in your two-dimensional image, selectively soften contrast in far-off trees. But so subtly. Even a small contrast decrease in distant trees and a slight boost in near trees will combine to convey greater dimensionality in your image.
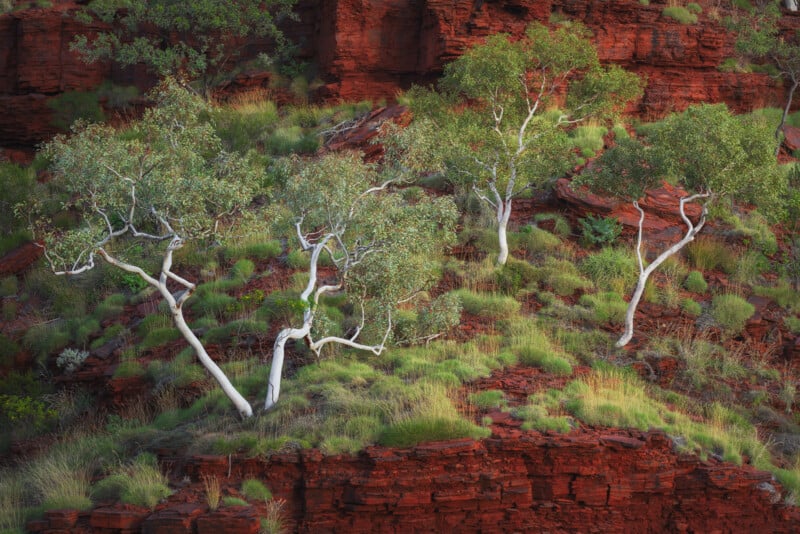
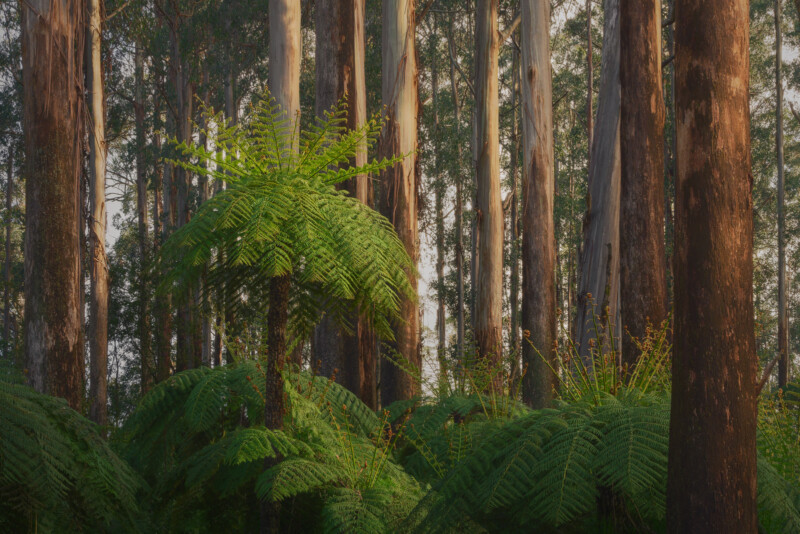
6. Introduce Context to Tell a Richer Story
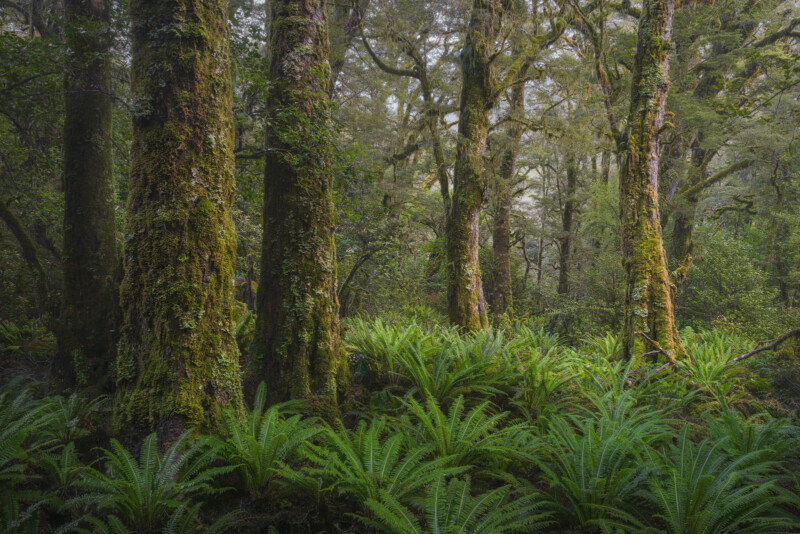
While you’ll want to exclude distractions and prevent your image from feeling crowded, including supporting elements in the photo can enhance the overall story in your scene.
Perhaps you might include a fallen trunk to symbolize the forest’s lifecycle. Or you might position a sweeping stream to lead the viewer’s eye. Or you might frame the foreground with vivid ferns to showcase the lushness of the forest.
But when you include additional features, do so with intent. Don’t simply introduce elements to ‘add foreground interest’.
Add these elements to frame your subject better. Add elements that allude to the surrounding ecosystem. Add elements to tell a richer story.
7. Fine-tune Your Frame for a Cleaner View
When you spot a stunning tree, resist the urge to plant down your tripod then and there.
As an artist, your aim should be to find the best frame possible, working with the constraints of the landscape. So don’t stay stuck in the spot where you first noticed the scene.
Instead, crouch down, shift sideways, and explore every angle as you try to:
- Prevent trunks from overlapping to establish subject separation.
- Avoid branches creeping into the corners of your frame.
- Create breathing room between trees by stepping forwards and backwards.
Sometimes, shifting your camera by a few centimeters can evoke a much more pleasing sense of order in your scene.
Granted, distant trees will obstruct each other regardless of where you position your camera. But in the immediate zone of interest—say, 2-10 meters away—give your subjects room to breathe so they can stand on their own.
Final Thoughts
At first glance, forests can be overwhelming environments to capture in a single image.
But as photographers, that’s the challenge we’re up against each time we shoot new, complex scenes. We must work within the constraints of the natural world to experiment, innovate and solve problems.
That’s how we can showcase trees in their best light—to move beyond taking snapshots and start creating art. Happy shooting!
About The Author: Mitch Green is an Australian landscape photographer. He can be found via his website, on Instagram, or down by the beach at 5am waiting for sunrise.