How To Put Together a Beginner’s Light Painting Kit

If you’ve ever harbored interest in trying light painting, there’s no better time than now. Summer is here and the weather is perfect for you start messing around with lights in the late evening, but where do you get started? Luckily I’m here to help!
You’ll also learn a lot about light and different ways to use it in your regular photography, so really it’s win-win. In order to help you stop procrastinating and start playing I’ve put together this simple guide of the most bare bones light painting tools to get you started.
Camera
If you’re on this site, there’s a good chance you probably already have a camera, so hopefully this isn’t an issue for you. If you don’t have a camera, well… it’s going to be really hard to start light painting.
Go get yourself a nice DSLR or at least something that has a Manual setting because without it you’ll really just be playing in the dark. Also, bonus points if your camera has a flash, as that will help you place subjects in your photos (simply set the flash to go off once and place your subject, in this case lets say a human, when you take the photo the flash will go off and burn the subject/person into the image then they’re free to exit the frame of the photo but will still show up in the photo regardless, for the most part, of how long the shutter is set to stay open).
Tripod
Despite what people may tell you this isn’t really necessary. I’ve included it because honestly you should own one but if you don’t have one you could always just find a nice level surface that’s stable and set your camera on it. I wouldn’t recommend going that route if you’re at all serious about this but if you’re super excited and simply can’t wait to try light painting you can certainly make due without a tripod. But seriously, go buy a tripod.
Intervalometer
Now a lot of people will recommend you get an intervalometer for light painting and those people aren’t wrong. It’s a huge asset and I highly recommend getting one if this is something you intend to pursue but for the purposes of this post you don’t need one. The whole point here is to put together a bare bones kit that will allow you to do enough light painting to know if it’s something you want pursue without breaking the bank.
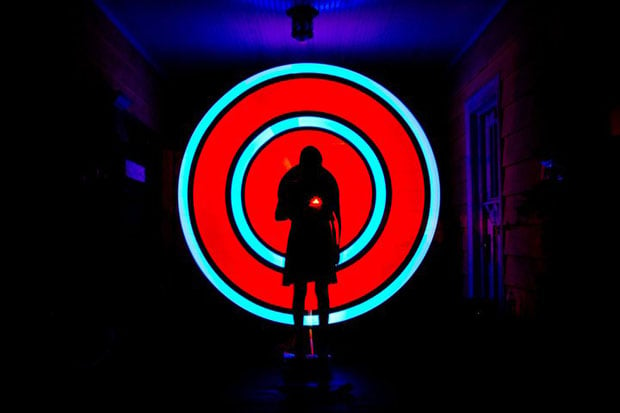
LED Flashlight
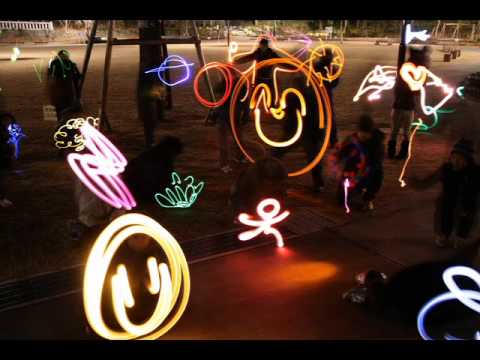
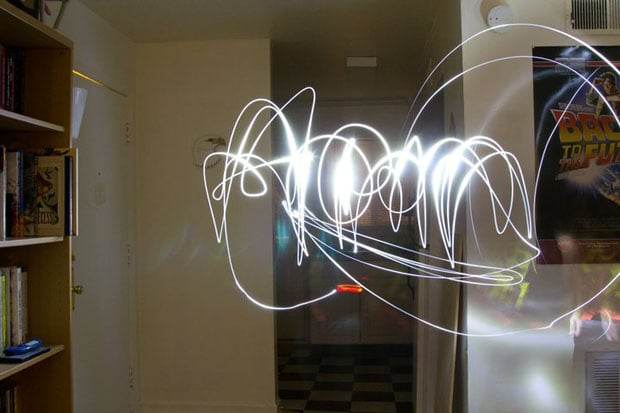
The most basic of basics. You can literally disregard everything here except for your camera and a flashlight and you’ll still be able to have a good time. Granted, your experimentation will be severely limited but if you already have these two things around your house I implore you to mess around with them tonight, or better yet RIGHT NOW.
If nothing else, it will get you motivated to run out and pick up the other items listed here so you can get started on your light painting adventures. Also at the very least you can learn how to write your name, like I did here during my very first test light painting so many years ago (And yes, I know I wasn’t very good at it but hopefully that just goes to show you there’s a lot of room to get better when you’re first starting).
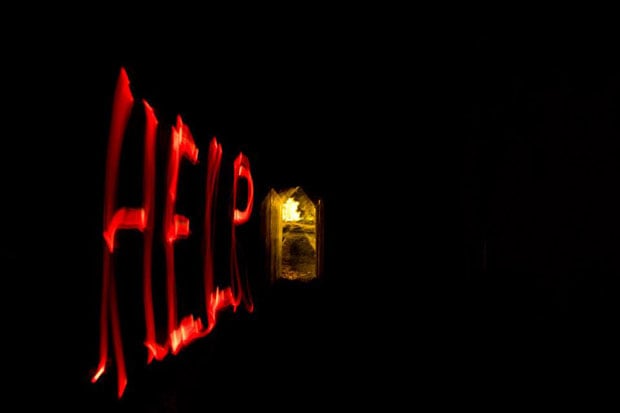
Glow Sticks
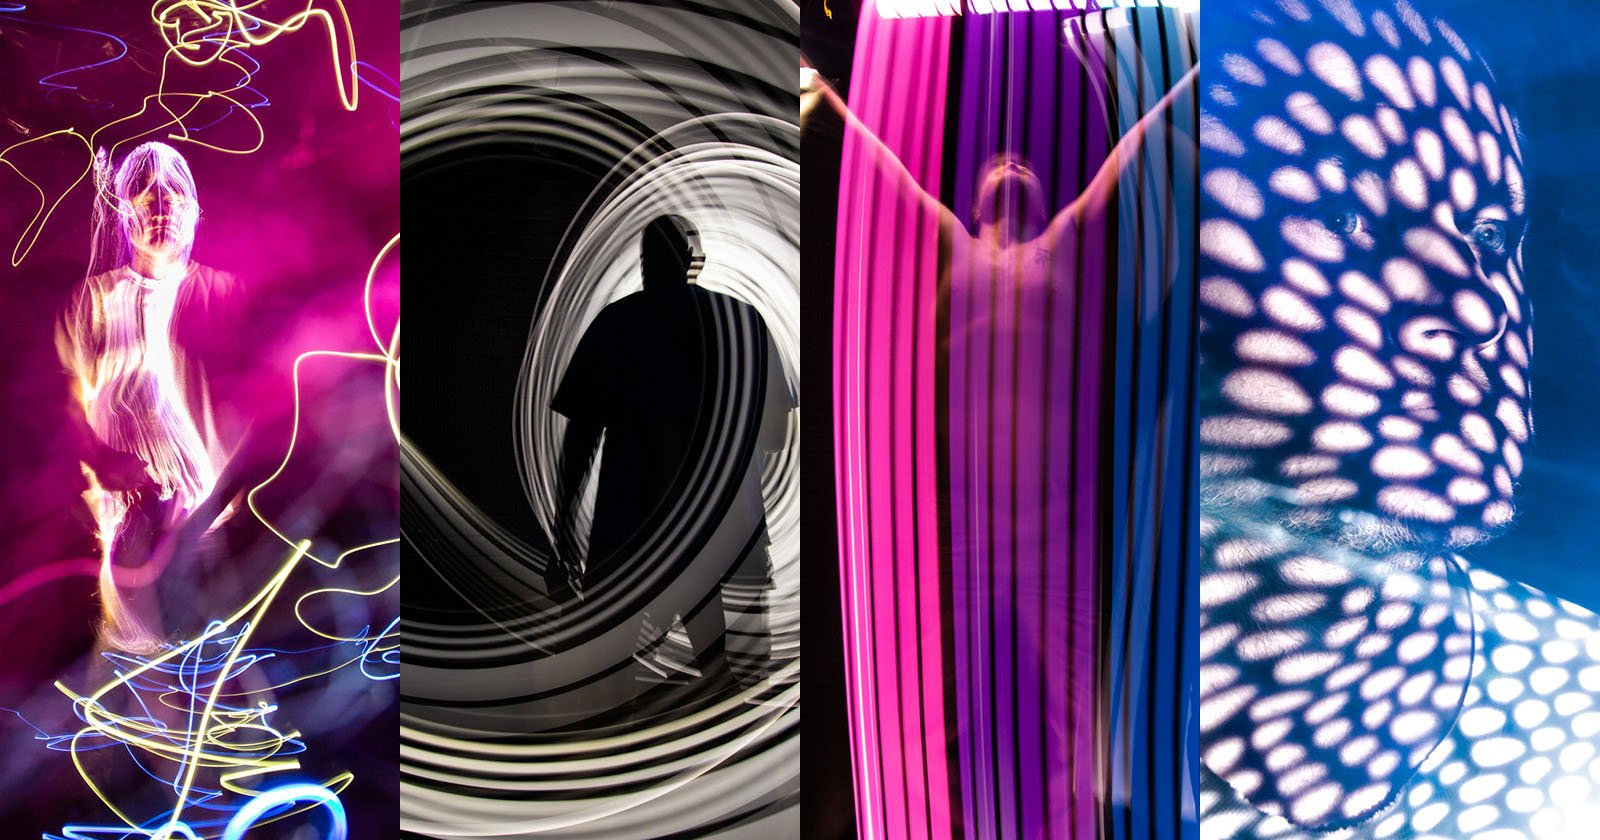
Now we’re getting to the fun stuff. Glow sticks can be used in a variety of ways so feel free to experiment. A nice starting point would probably be to build on the stuff you were doing with the flashlight but try not to limit yourself too much. The difference between flashlights and glow sticks is like the difference between black and white and color televisions. You’ve just added color to your arsenal, put it to good use. Also, if you want to have some serious fun I highly recommend getting professional/industrial light sticks. They’re vastly brighter and can make a world of difference with your experiments.
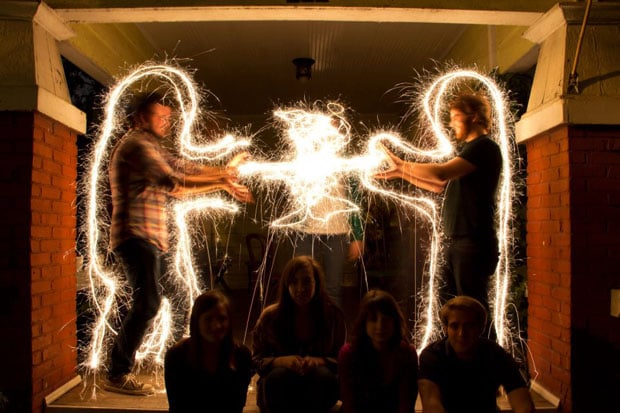
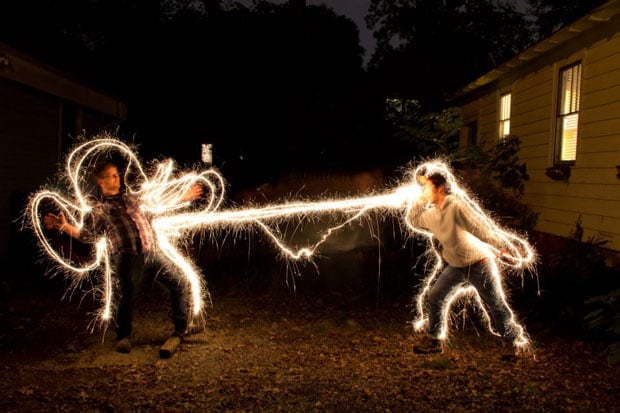
Sparklers
Sparklers are a corner stone of light painting and for a good reason. They’re probably the tool on here you’ll have the most fun with. Sparklers can be used in similar ways to your flashlight but the inconsistency of their light creates a much more interesting and fun effect, as you’ll soon see. You can easily draw pictures, outline people, or produce cool special effects similar to the simulated fight scenes shown here.
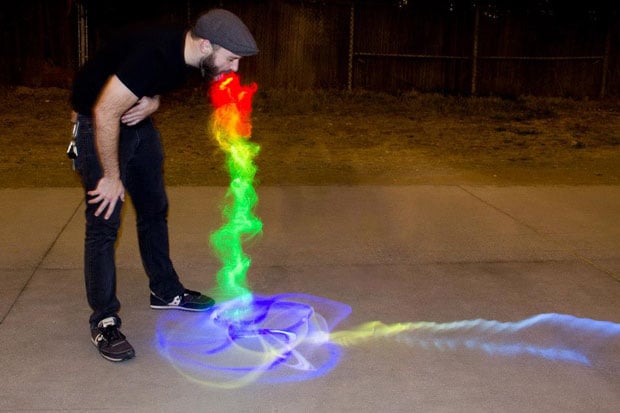
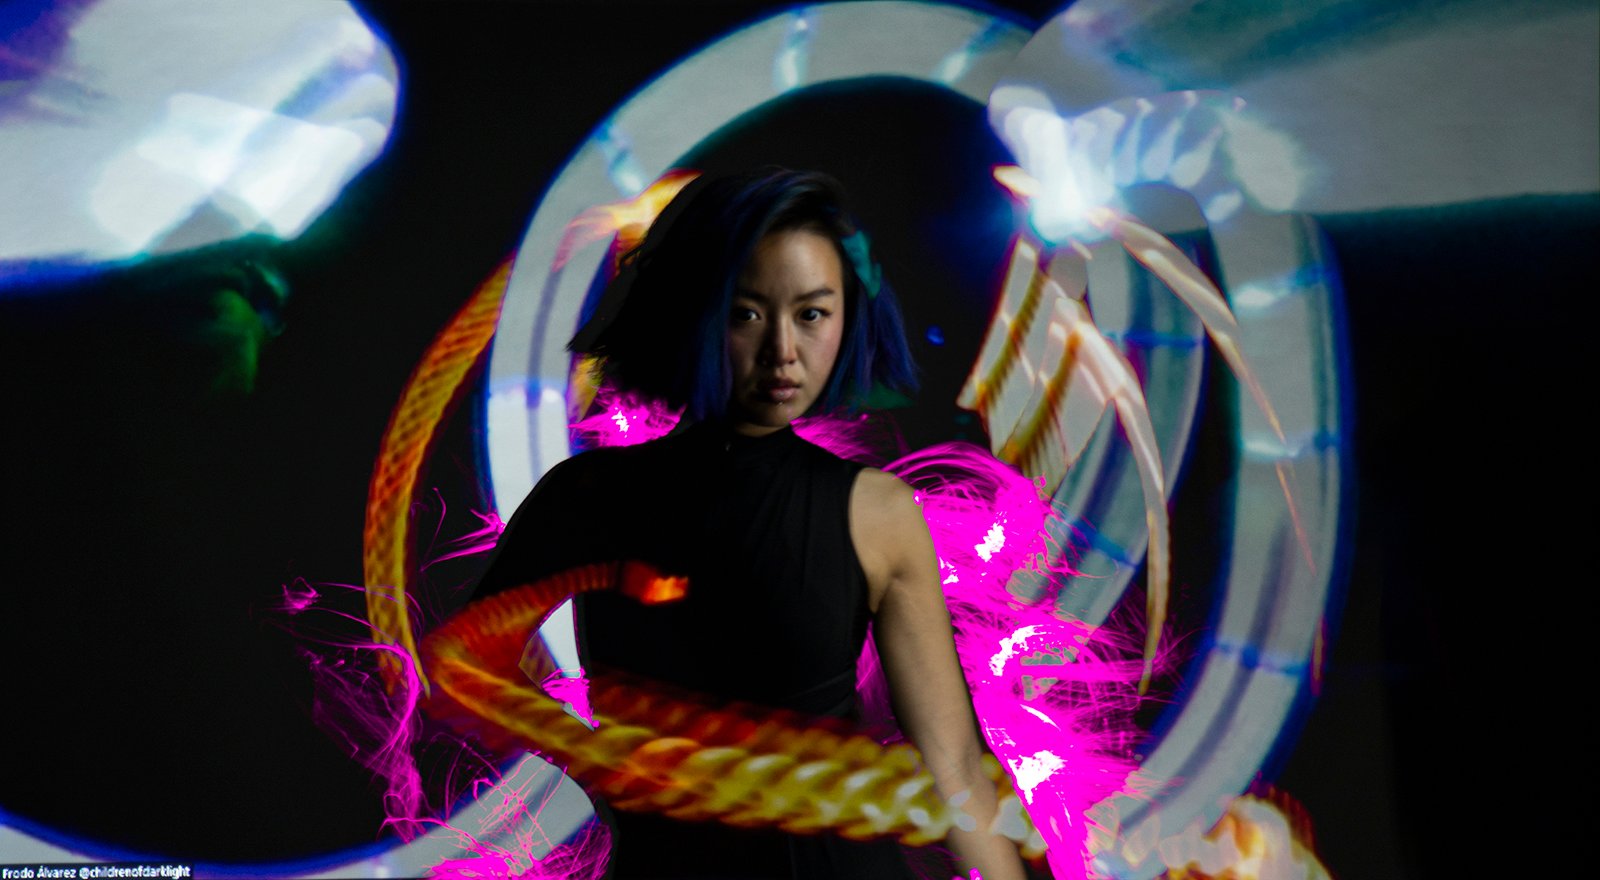
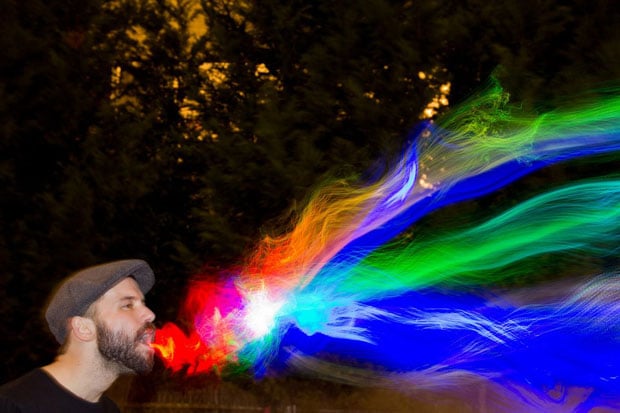
Fiber Optic Light Toy (Multi- or Single-colored)
I’ve hesitantly decided to share my secret weapon with you guys. While I’m sure plenty of people have played with this toy in their light painting adventures, I have yet to see it pop up in a lot of photos and I have no idea why as it produces an incredibly cool and unique effect.
I recommend you get a couple of them, some that are solid colored and at least one that rotates through a few colors. The reason being that the multi-colored brush will give you the most interesting results, but it’s nearly impossible to control without breaking your brain planning it out and the whole point here is to allow you to experiment and have fun.
And with that you’re pretty much ready! Hopefully you already have a basic idea of how to light paint but if not… rather than spend the time making my own tutorial, I’ll leave it to the multitudes of other people who have already done so.
Also, I implore you, should you try to light paint anytime soon, to post a link to your results below, and let us know if you have your own toys and tools that we should try out!