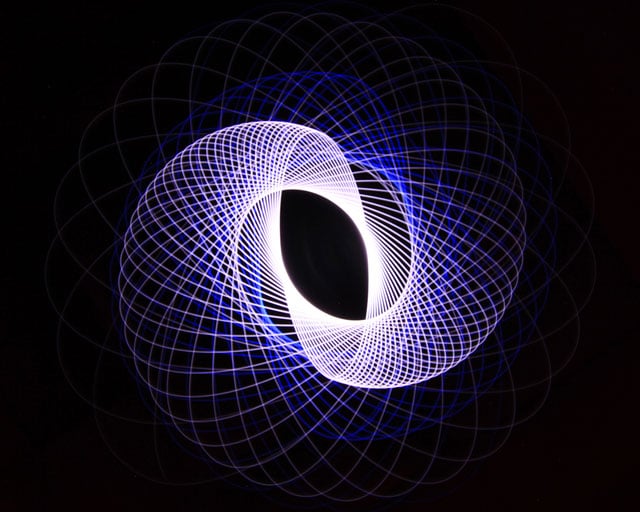
How to Shoot Psychedelic Spirograph Light Paintings
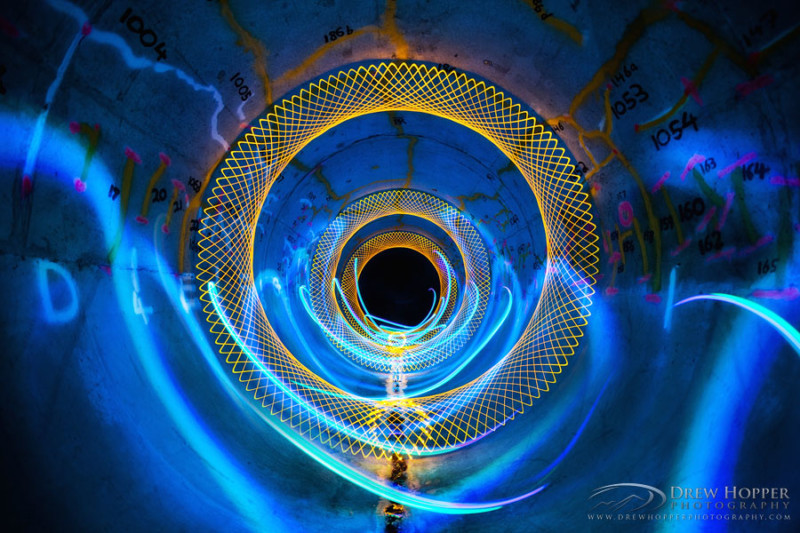
One of my favourite places to light paint is inside tunnels, waterways and other curved structures. These structures are perfect for creating spirograph light paintings.
What are Spirographs?
Spirographs are geometric drawing instruments or toys used to create intricate mathematical curves or the variety technically known as hypotrochoids and epitrochoids. Developed by British engineer Denys Fisher in the early 60’s.
Spirographs consisted of two different sized plastic rings with gear teeth on the inside and outside of their circumferences. Once pinned to cardboard backing with a hole for a pen to extend through the other side they were spun around to make geometric shapes onto an underlying medium, often paper or cardboard.
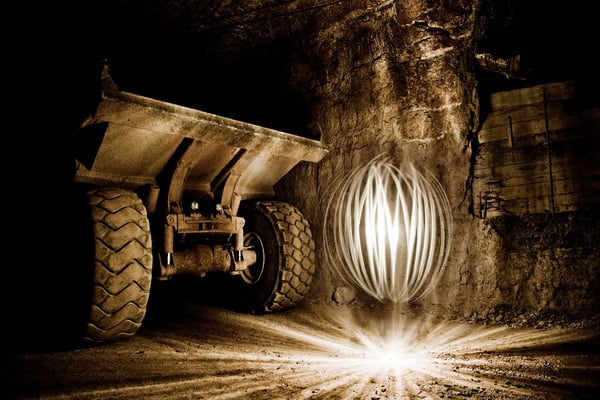
Spirograph Light Painting
Painting with light is no different from painting with a paintbrush or drawing on paper except the light is the paint and your sensor is the canvas. You move your instrument to create something physical.
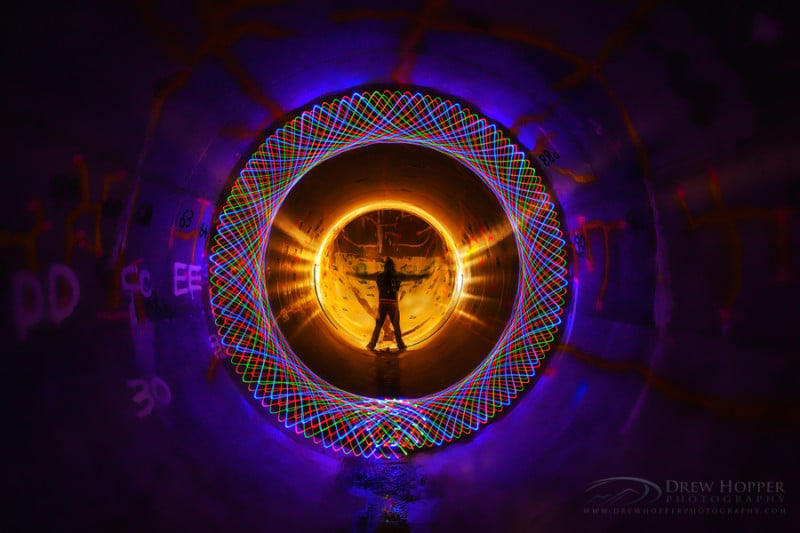
Attaching LED lights to a bicycle wheel and moving it around a curved structure like a tunnel create spirograph light paintings. It sounds relatively simple but there is a lot of experimentation requiring patience and continuity to get the best results.
What you will need
1. Bicycle wheel (any size will work, however the bigger you go the more difficult it becomes wheeling it around. I like to use a BMX wheel as I find it easier to manoeuvre inside the tunnel. Make sure your wheel has a tyre, it will make rolling it around smoother and less tiring.
2. Battery operated LED string lights. You can buy these cheaply at discount stores or online in a variety of colours and lengths. 10 to 15 lights are enough to go round the inside of a 20” bicycle wheel. If you use a bigger wheel you may need to use more lights. It pays to have extra and you can always tape the unused lights up with electrical tape so that they are not visible.
Evenly tape the lights to the diameter of the bicycle wheel, placing them between every second or third spoke. Remaining lights will need to be hidden so tape them up stick them to the back of the wheel out of sight.
Keep spare batteries for the lights in your bag. Rechargeable AA’s are a great investment. Be sure to stich the battery pack and switch close to the handle to make it easily accessible in the dark. You don’t want to be fiddling around trying to find the switch.
3. Roll of black electrical tape. You can never have enough of this stuff; it has endless uses and every photographer should keep a roll in their bag. It’s easier to use than gaffa tape and it can be stretched to ensure a tight binding. Avoid using light coloured tape or duck tape as it leaves a messy residue should you need to replace the lights.
4. Black spray paint. If your bicycle wheel is silver or white you will want to cover it up. Spray the entire wheel in flat black paint. It doesn’t need to be perfect, just as long as it’s covered. If the wheel has any reflectors remove them or spray over them. By painting it black the wheel won’t reflect any light when the lights are switched on.
5. Extension pole, monopod or stick to mount your bicycle wheel. I used an old wooden table leg and attached the wheel to the with a ‘L’ bracket that I bought from my local hardware store. You just need something that is comfortable to hold as you manoeuvre the wheel.
I’ve seen some people use short bicycle pegs to grip the wheel but this doesn’t give you a lot of reach. It’s easier and less work if your wheel is modified on a longer pole, it will help get to those harder to reach places like a ceiling. The less running around you do the more enjoyable and flexible your workflow will be in the field.
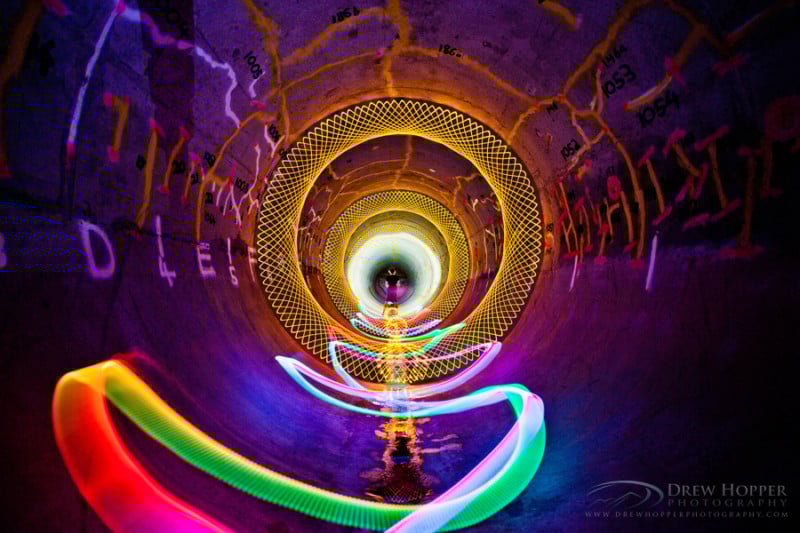
Shooting Spirographs
Now that you’ve prepped the wheel you are ready to test it. Make sure all the lights work and the wheel spins. Do this before arriving at your location; you don’t want to be making adjustments in the dark and wasting valuable shooting time.
Inside the tunnel you will need to get into position. For the best and most accurate results the wheel will need to meet at the exact same position after each cycle. I always start at the bottom center with the lights switched on. Roll the wheel around the tunnel and make sure you meet at the starting point. When you get to the start switch the lights off as quickly as humanly possible to avoid the wheel showing in your images. Once you’ve practiced this a few times you are ready to shoot.
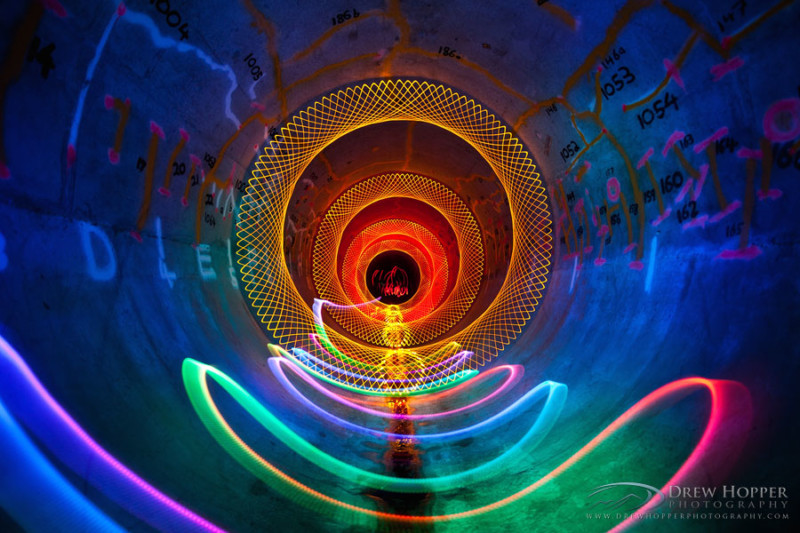
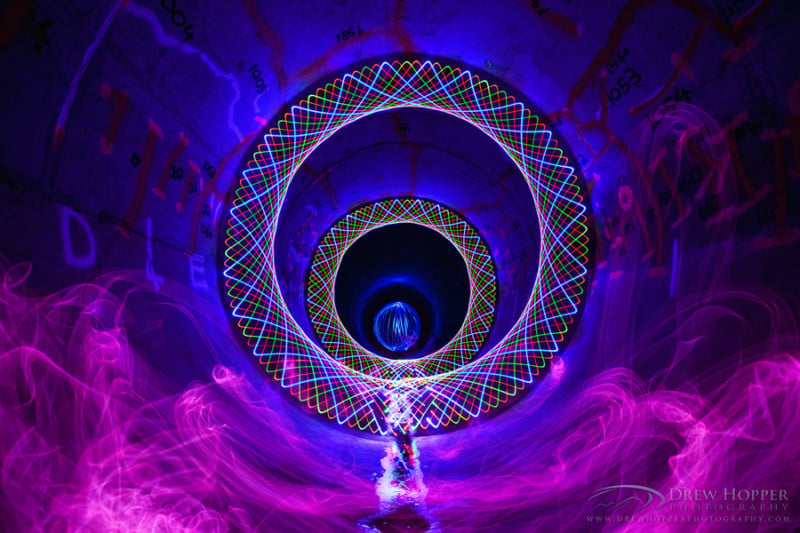
It’s a good idea and makes the process easier having an assistant or a few friends tag along on the shoot. Operating the camera and doing the light painting on your own is a lot of work. Ideally 2 or 3 people make it more enjoyable and it’s great to collaborate ideas. My girlfriend and a friend assisted me with creating my spirograph series. Having their help we were able to experiment with various light sources to create more dynamic images that I know would have been impossible on my own.
Safety when light painting
There are few things you can do to make sure your night photography expeditions are safe and enjoyable. Here are some tips and tricks that have helped me over the years I’ve been light painting.
Research your locations during the day. As mentioned earlier in this article, it’s a good idea to arrive at your location before nightfall. This will give you time to explore your surrounds and make sure there are no hazards like decaying structures, rusty nails or any other obstacles that may be dangerous in the dark.
Carry several torches, you can never have enough. I hang one from the centre column of my tripod as a worklight and place my bag underneath. This allows me see the legs of my tripod and avoid a trip hazard. Taping a piece of coloured gel (red or blue) over your worklight will reduce the chance of light spill.
Another way to make your tripod less of hazard is to wrap a single strip of white electrical tape on the bottom of each of the legs. This will make it easier to see where your tripod is.
Wear a headtorch. This allows you to work with your hands. My headtorch has a red light feature, otherwise known as night vision. Working under red light allows your eyes to adjust to the dark and still see what you’re doing. You can also use this to light paint giving your images a different feel.
Extra note: It can often be dangerous entering drainage systems/tunnels especially at night. In some areas it is illegal to enter these environments without written permission. There are number of factors involved. I suggest doing some research prior to going out. Best to be safe than sorry.
About the author: Drew Hopper is a fine art, travel and landscape photographer who calls Australia home when he’s not out traveling. You can find more of his work on his website, Facebook, Instagram, and DeviantArt.