How to Be Precise With Your Photograph’s Depth of Field
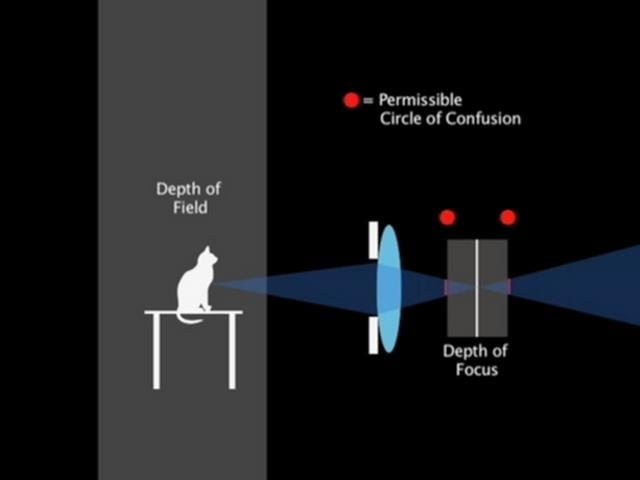
 Depth of field refers to how much of the picture is sharply in focus. A skill you should hone is precision, because it can make an enormous difference to the success of your photos.
Although subjective, the depth of field in a photo can affect its appeal to the audience. Therefore, controlling it to achieve the result you want is essential. There are different factors that affect depth of field (DoF), and balancing those for the best effect is essential.
Comparing Depth of Field on Different Camera Systems
If you already own a camera and a lens, then some of the factors that affect DoF are academic. Nevertheless, I will explain them briefly.
Imagine you have three cameras mounted on tripods side by side. One is a full-frame 35mm sensor camera, the next has a smaller APS-C sensor, and the third has a smaller still Micro Four Thirds (MFT) sensor. It doesn’t matter which camera brand or model, as depth of field is determined by sensor size, not by the make.
On each camera, you have mounted a 50mm f/1.8 lens set to its widest aperture. You then focus on a subject at the same distance away, let’s say 4 metres. (I am using metres because the SI unit system is the official standard for most scientific and technical fields, including photography.)
With the full-frame camera, at 0.68 metres, the subject is sharp. The background and foreground are blurry.
With the APS-C Fujifilm, there is less in focus at 0.44 metres. More of the background and foreground is blurred.
With the MFT OM-5, the DoF is even shallower at just 0.34 metres, so even more of the picture is blurred.
Yes, you read that correctly. Despite what you might have heard, APS-C and Micro Four Thirds cameras offer a shallower DoF than full-frame cameras. However, with every advantage, there is inevitably an equal and opposite disadvantage. To get the same field of view, one must use a shorter, wider-angled lens on a crop-frame camera. But that lens then needs to be faster to get the same depth of field. So, a 50mm lens f/1.8 would give the same depth of field as a 25mm f/1.2 lens on a Micro Four Thirds. That, in turn, is advantageous, as you can use a brighter lens on the smaller system to achieve the same depth.
You can now forget that because the comparison doesn’t matter to you. You probably already own a camera and at least one lens, so what a different camera does is irrelevant. There are other differences that sensor sizes make, too, but this article is solely about depth of field. However, that basic knowledge will explain why the settings I show in my examples will vary.
Adjust Your Aperture
There is an old adage that was drilled into me on leadership training courses many years ago: what I hear, I forget. What I see, I remember. What I do, I know. So, I encourage you to pick up your camera and practice what you read by clicking or tapping here.
Put your camera into aperture priority. This is marked as A on most cameras, but Av on Canons. If you have just one adjustment dial on your camera (usually on the back by your thumb and called a command dial by some brands), you will see that as you turn it, the numbers in the viewfinder change. One of those numbers is the aperture and should be preceded by the letter F. You can read more about that in my previous article here:
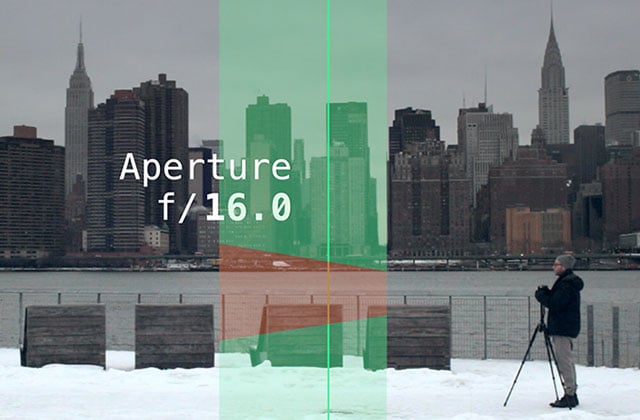
As you rotate the dial, the aperture can get smaller (the f-number gets higher). As a result, you get more of the image appearing in focus; the depth of field gets bigger. Put an ornament on a table and take some photos to see the difference.
Without getting too technical, that happens because a wider aperture (e.g., f/2.8) allows light to enter at steeper angles. Therefore, only a narrow range of distances appears sharp. Meanwhile, a small aperture (e.g., f/16) narrows the beam of light passing through the lens. With that smaller aperture, the blur from objects outside the focus plane is smaller, so more of the scene looks acceptably sharp.
However, there’s always a disadvantage to every advantage in photography. There is a problem with the aperture getting smaller. Look at your shadow, and you will see the edges are blurred. This is a physical phenomenon called diffraction, in which light bends around edges. As you make the aperture smaller, more light is bent around the aperture blades, and the image becomes softer. However, smaller apertures also reduce vignetting at the edge of the frame and other aberrations. Most lenses have a “sweet spot” where they perform best. Nevertheless, many modern lenses perform well across a wide range of apertures.
Getting Closer
Aperture isn’t the only thing that affects depth of field. Proximity to the subject matters, too. That’s not just how physically close you are, but bringing the subject closer with a longer lens will change the depth of field, too. The closer you are to the subject, the shallower the depth of field.
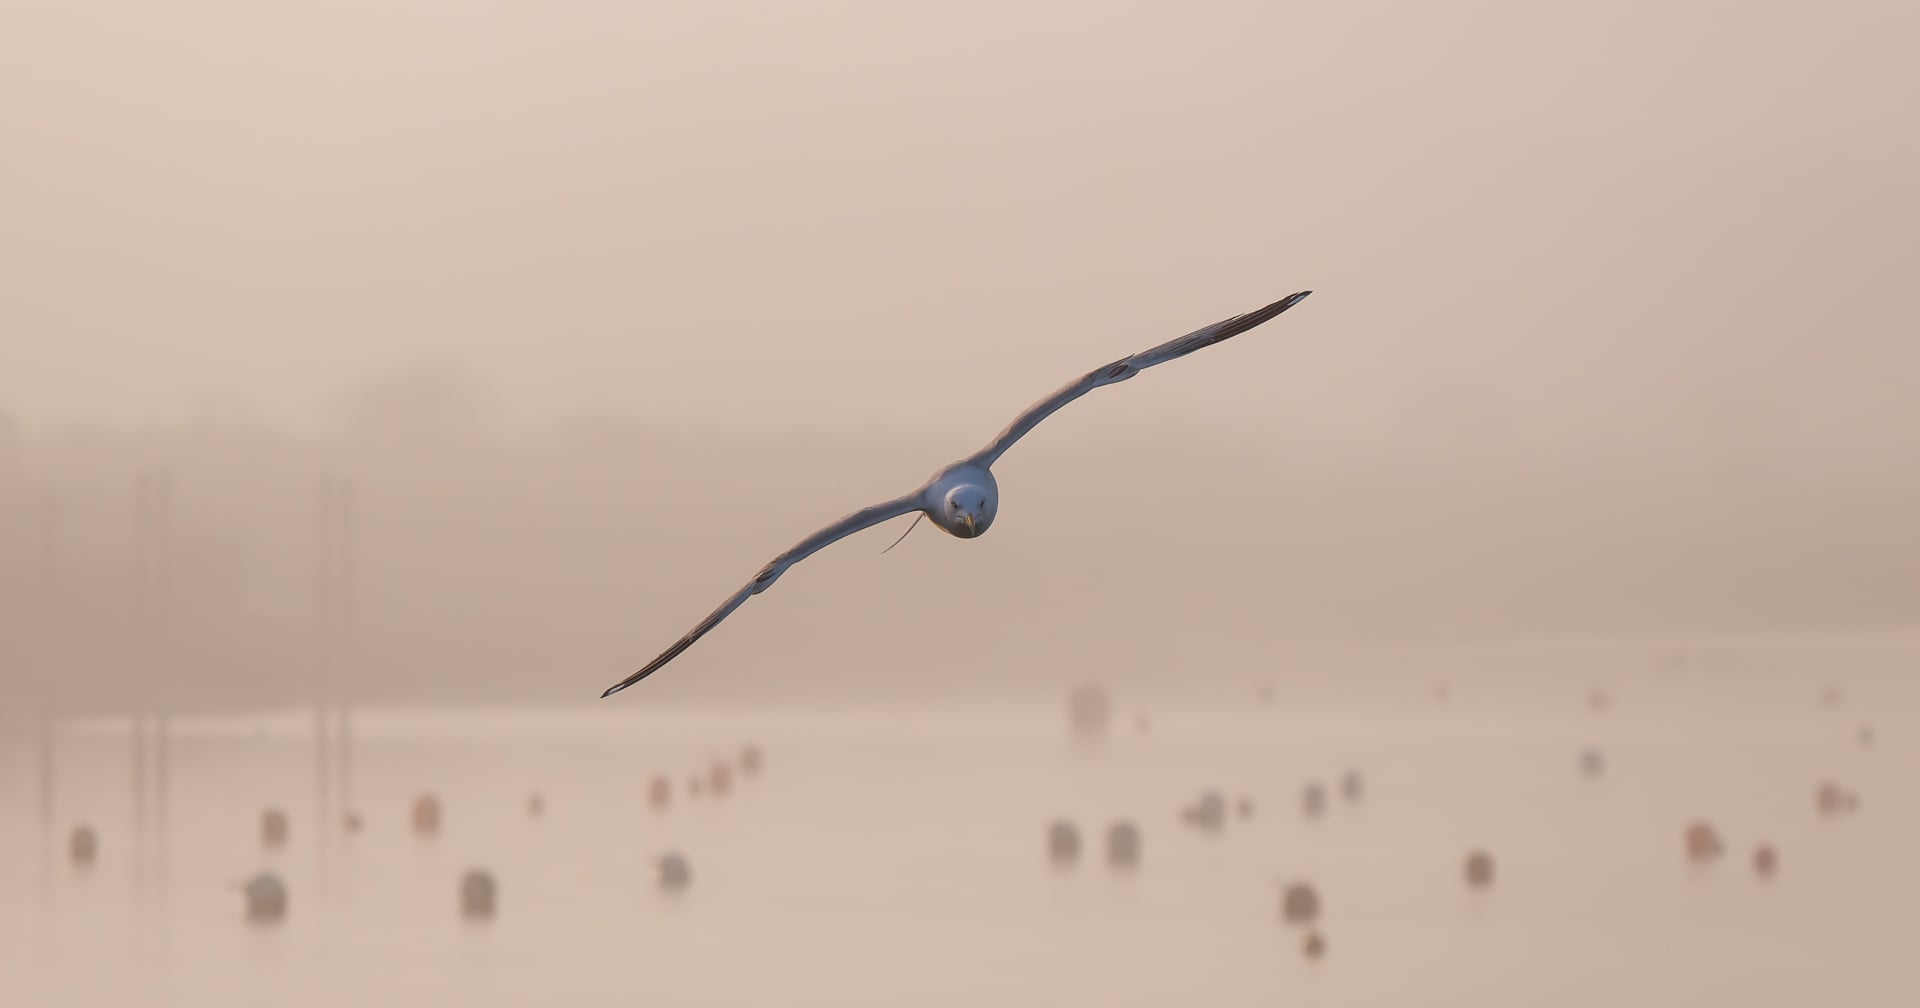
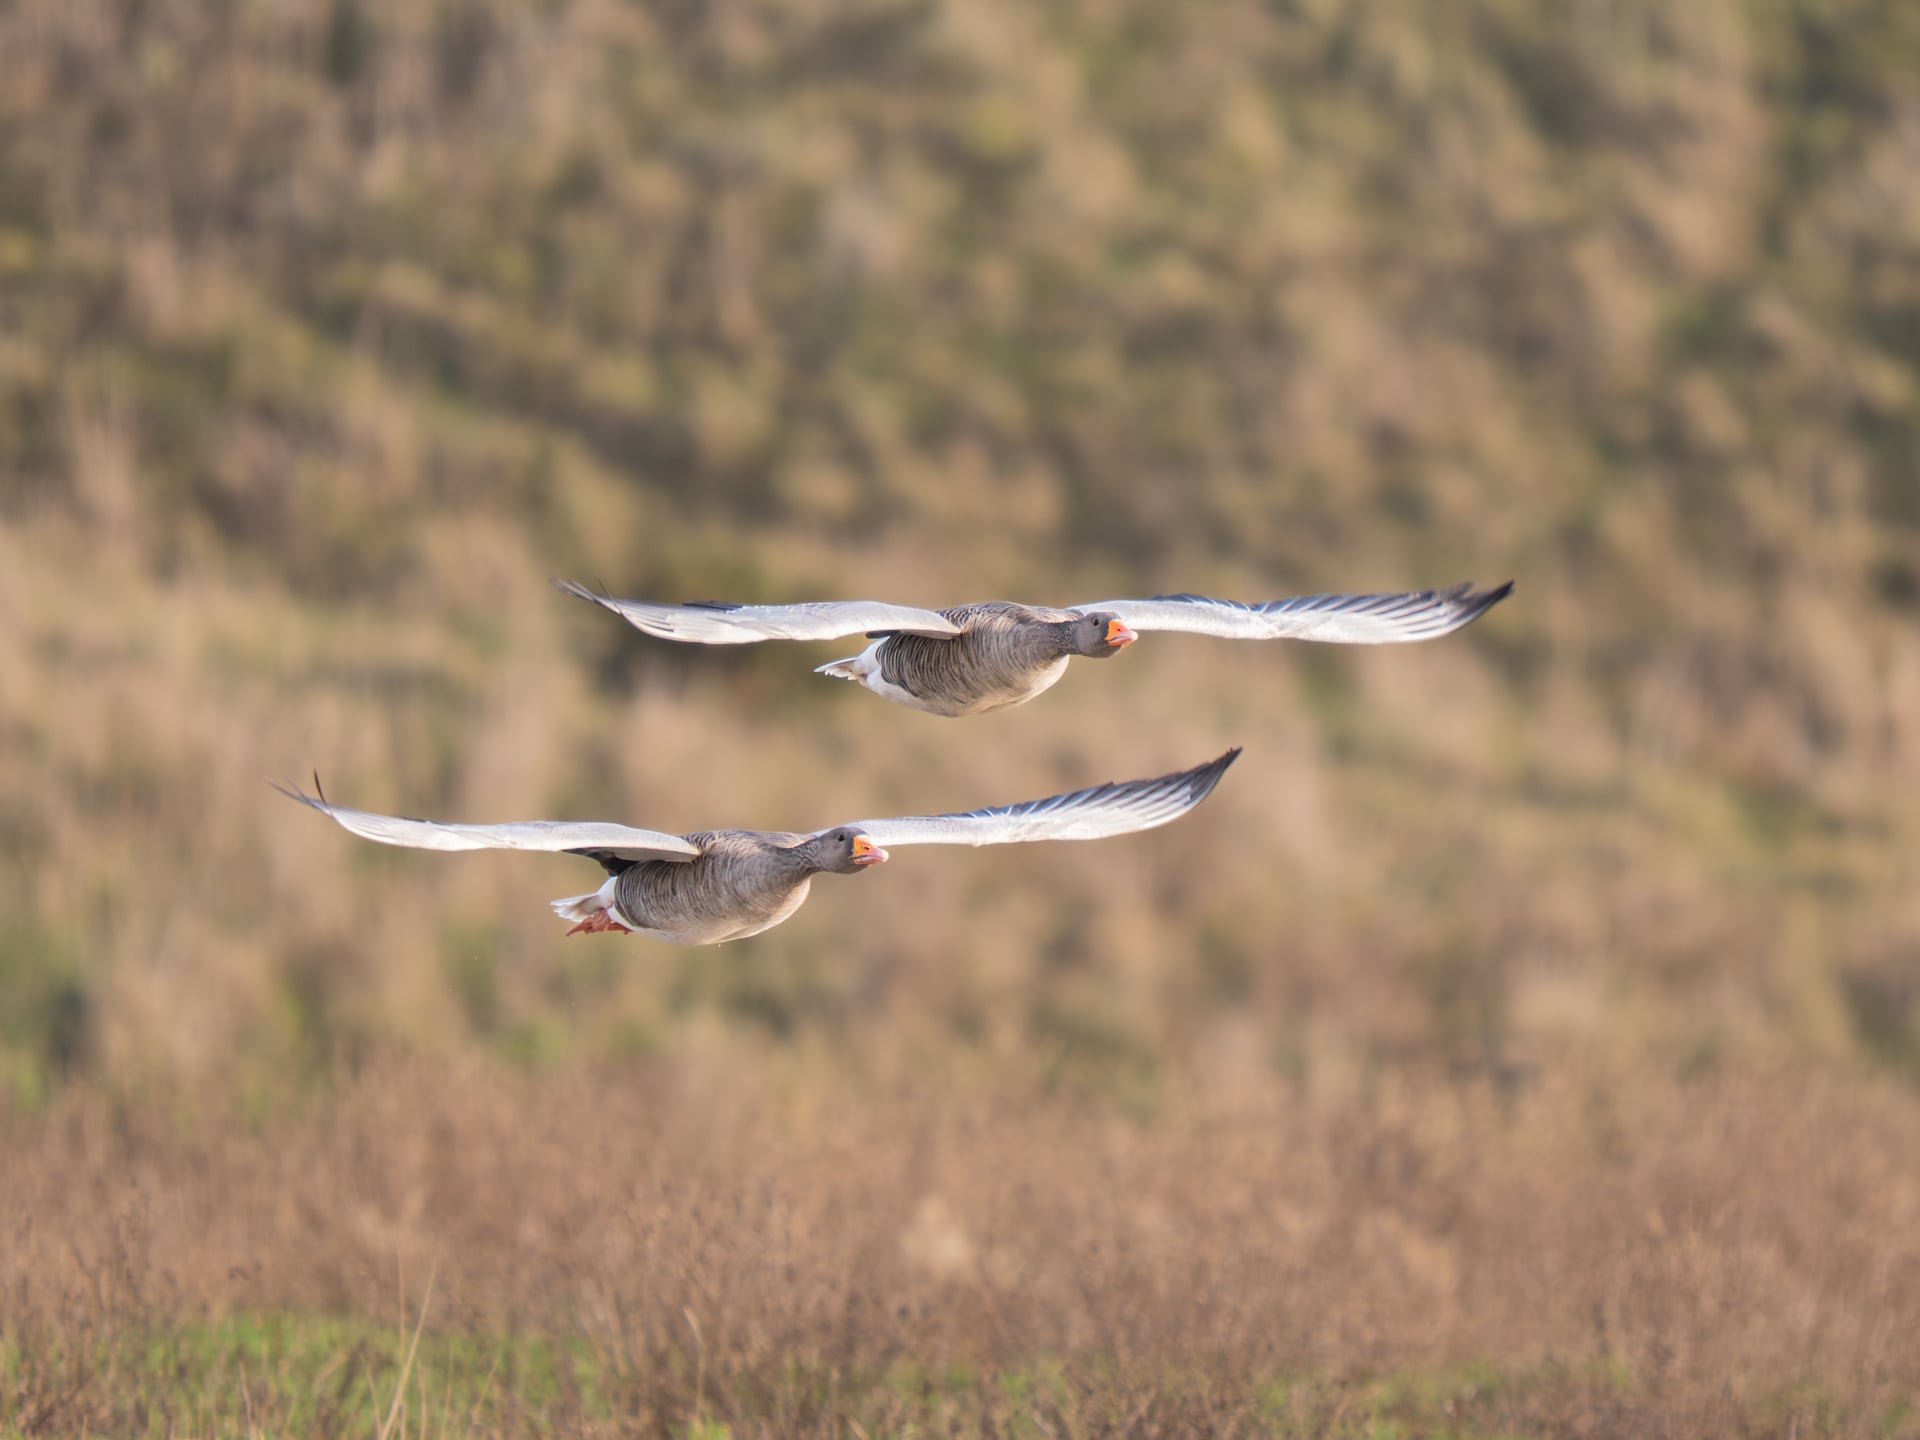
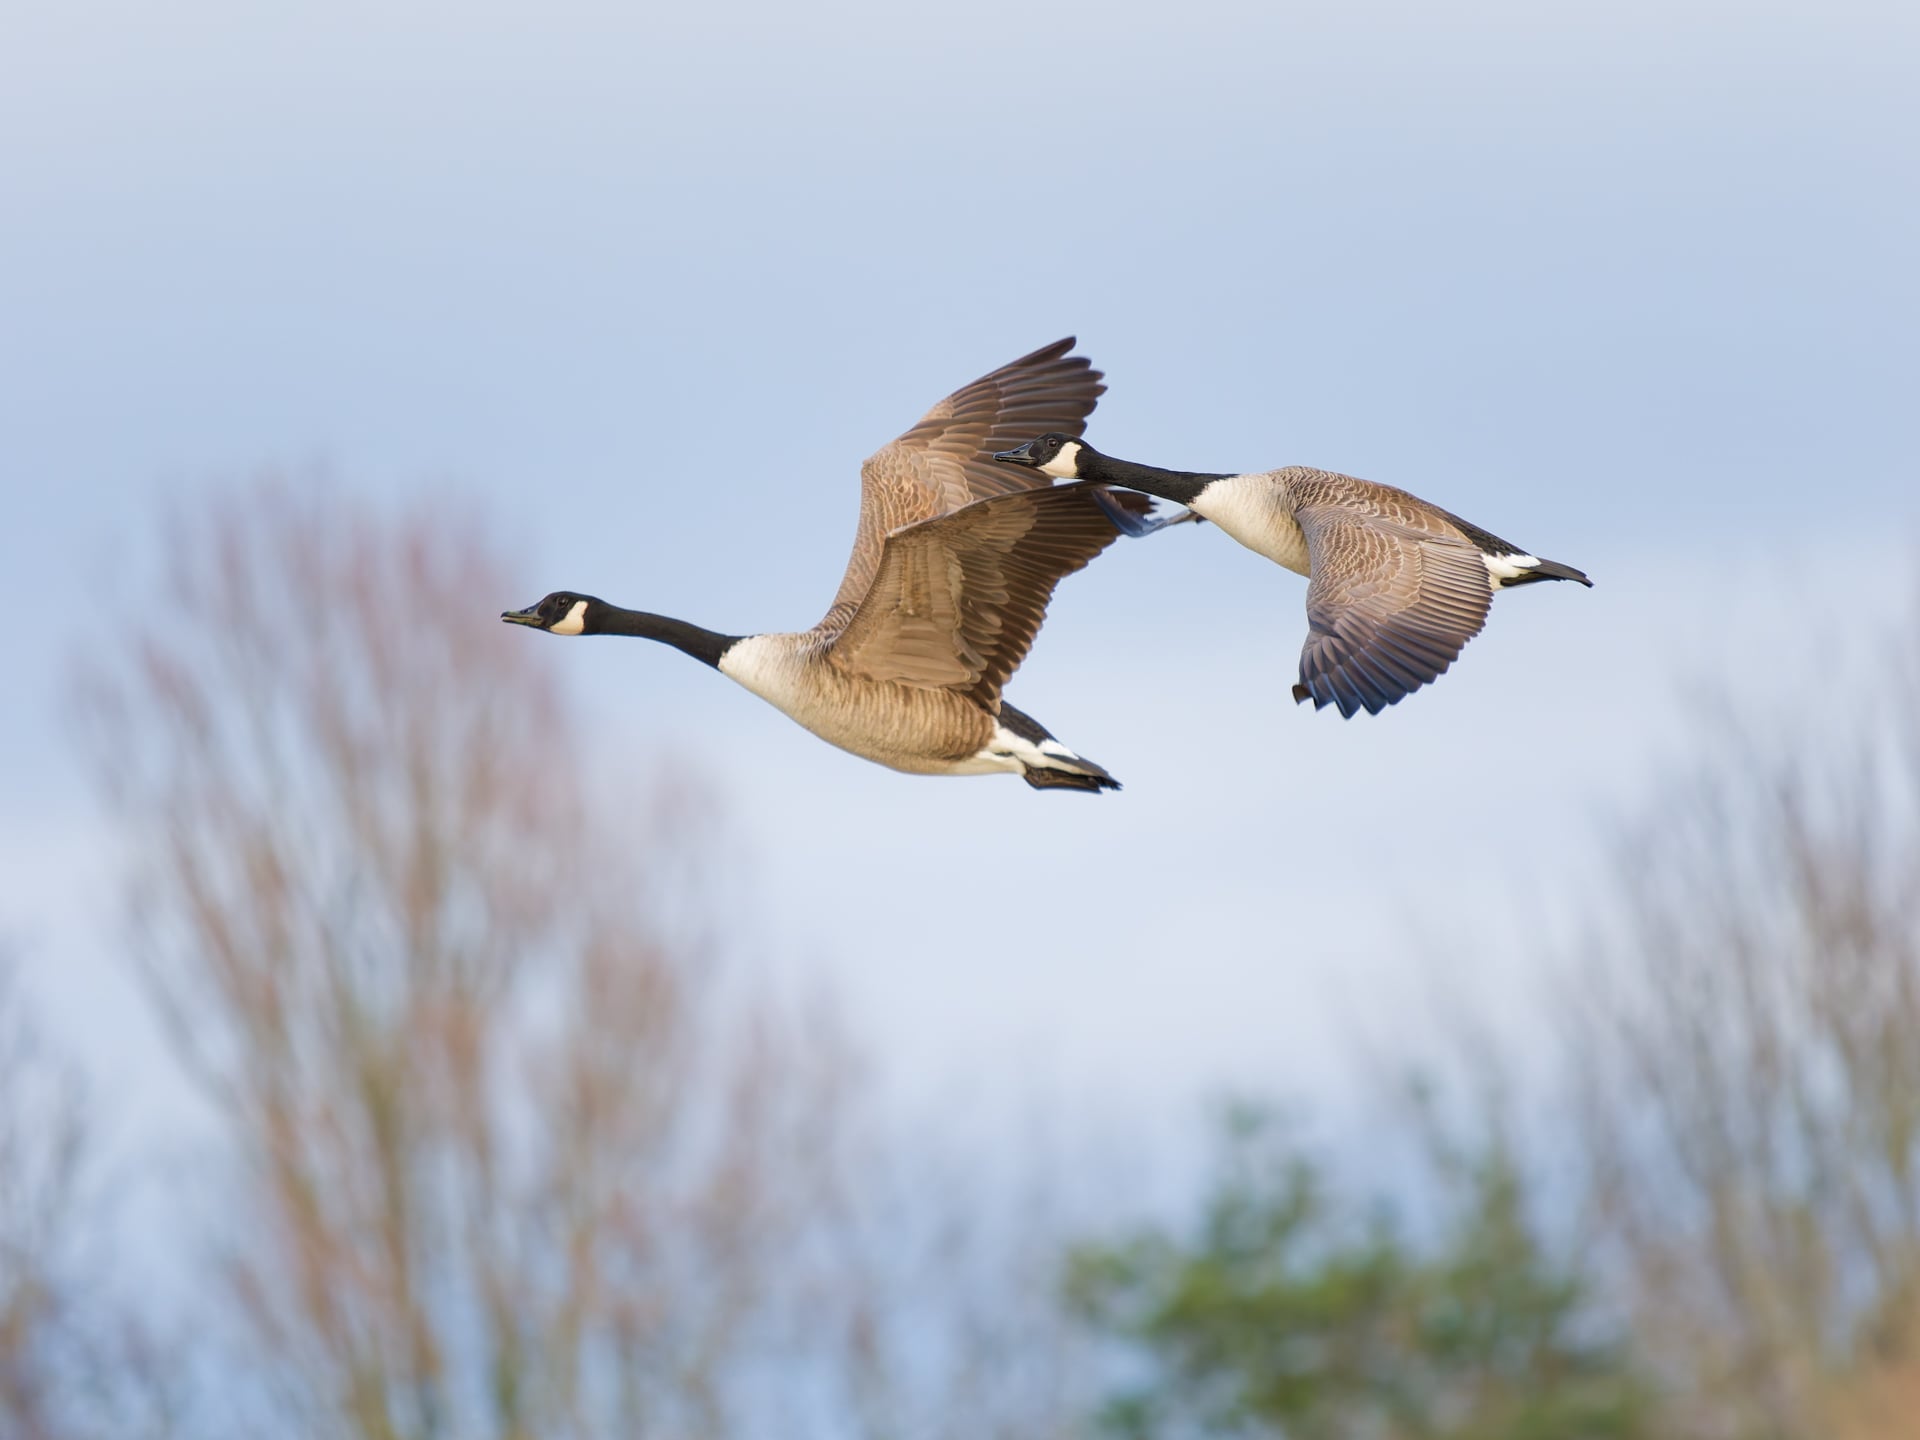
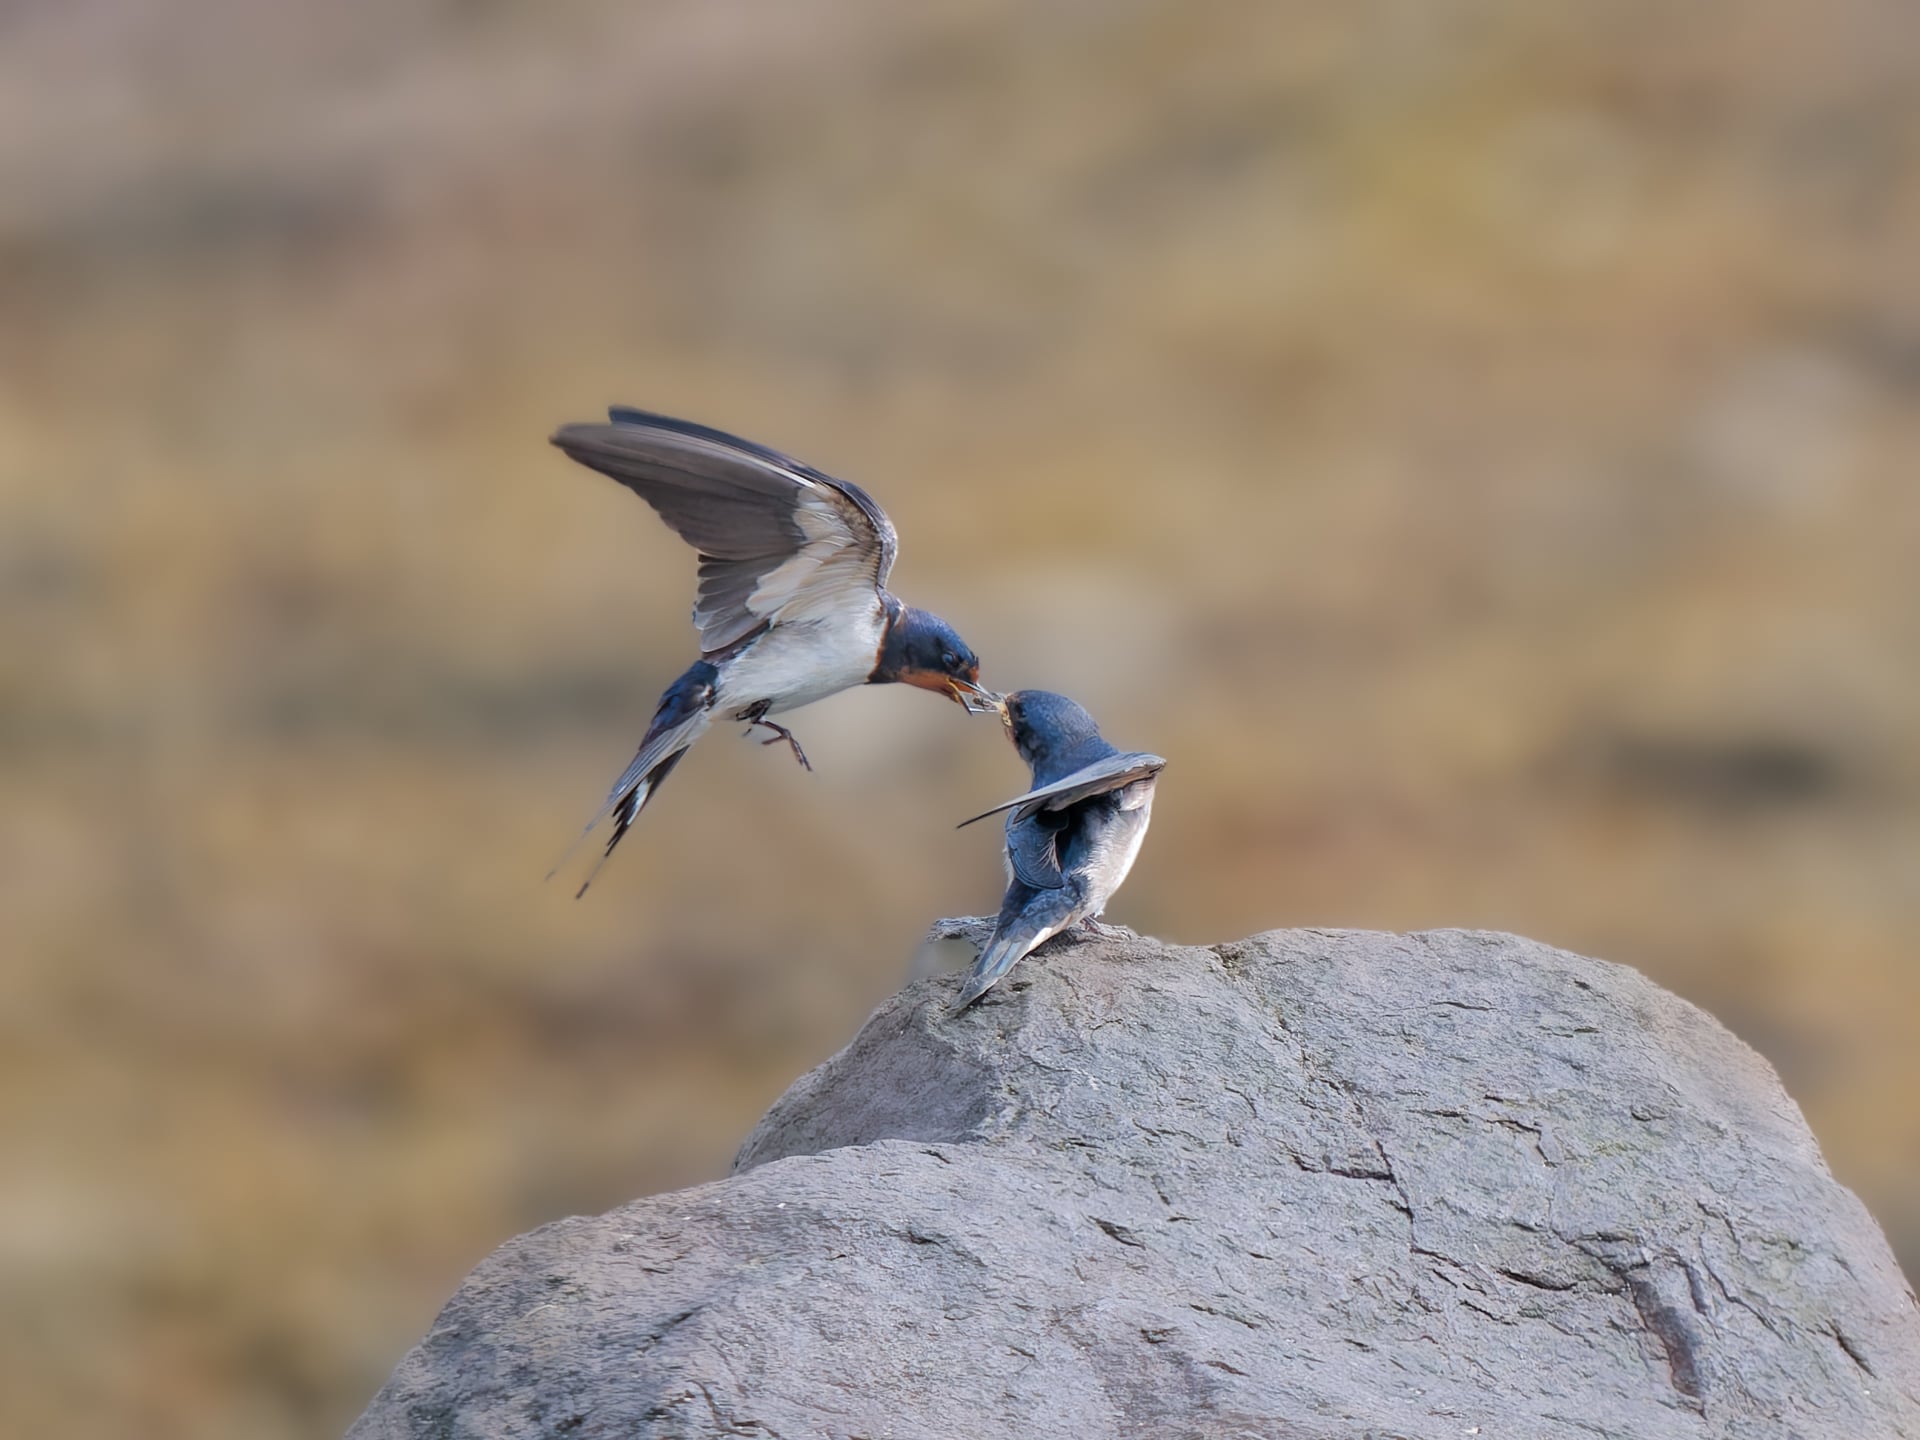
That is good news for wildlife photographers. To achieve better animal and bird photos, we usually try to separate them from their background. So, photographers get close and use long lenses that offer a shallower depth of field. Then, using a wider aperture not only helps with depth of field but also lets them shoot at a faster shutter speed, often necessary for stopping the movement of fast-moving creatures.
Conversely, landscape photographers use wide-angle lenses, which move the photographer further away from the scene, allowing them to maximise depth in the photo.
How to See Depth of Field When Shooting
As we have seen, the focal length, sensor size, and proximity to the subject all affect depth of field. We could also add cropping the photo, as enlarging the cropped image will also reduce the depth of field. Similarly, the size at which we reproduce the image will change how sharp it appears. As the image shrinks, unsharp edges become sharper.
So, how do we decide how much depth of field we want in a photo? Often, cameras have a depth-of-field preview button. When you press it, the aperture contracts, and you can see how much of the image is sharp. On SLRs, this was problematic because the viewfinder darkened, making it harder to see the scene. Many mirrorless cameras have a feature that outlines the in-focus area with a coloured line. On my cameras, this is called focus peaking. Although designed to assist with manual focus, assigning it to a button lets one see how much of the scene is in focus. I changed the outline colour to yellow on my camera so it doesn’t get confused with the blown highlights warning, which is red.

The Magic That is Photopills
Luckily, there is an app that will help us. Photopills will calculate the exact depth of field based on your camera and lens settings, as well as the subject distance. It has many other tricks up its sleeve, too, and is well worth the app’s small price.
In the app, in the DoF module, you enter the name of your camera, choose the focal length of your lens, and the subject distance, and it will tell you how far in front and behind that will be in focus.
So, with the following example, I can see that if I put my 12mm lens set to f/2.8 on the camera and focus at 1 metre away, everything from 0.77 metres to 1.41 metres will be in focus, that’s 0.64 metres.

However, you will also see in the screenshot above that there is something called the Hyperfocal, in this case, 3.39 metres. If I focus on that, then I know everything from the Hyperfocal Near Limit (1.69 metres) to infinity will be in focus.
That is really useful for landscapes where I want sharpness from front to back. I am more likely to choose f/5.6, where the hyperfocal distance is much closer (1.7 metres), and everything from 0.85 metres to infinity will be sharp. I also refer to it when shooting wildlife photos and have visualised the photo I want.

If I want something much closer in focus, I will reduce the aperture further. At f/11, the hyperfocal distance is 0.86 metres, and everything from 0.43 metres to infinity will be sharp.
But remember, as the aperture reduces, so diffraction starts to take effect, and your shutter speed slows down, or you need to raise your ISO. Also, although these figures apply to my camera and lens, if you use a different system, the figures will be different.
When Is There Insufficient Depth of Field?
If you shoot portraits, the temptation is to keep the aperture wide open. However, that can result in too little of the portrait’s face being in focus. Similarly, wildlife photographers often use the widest aperture to achieve a fast enough shutter speed. However, that comes at a compromise, as the entire creature might not be sharp.
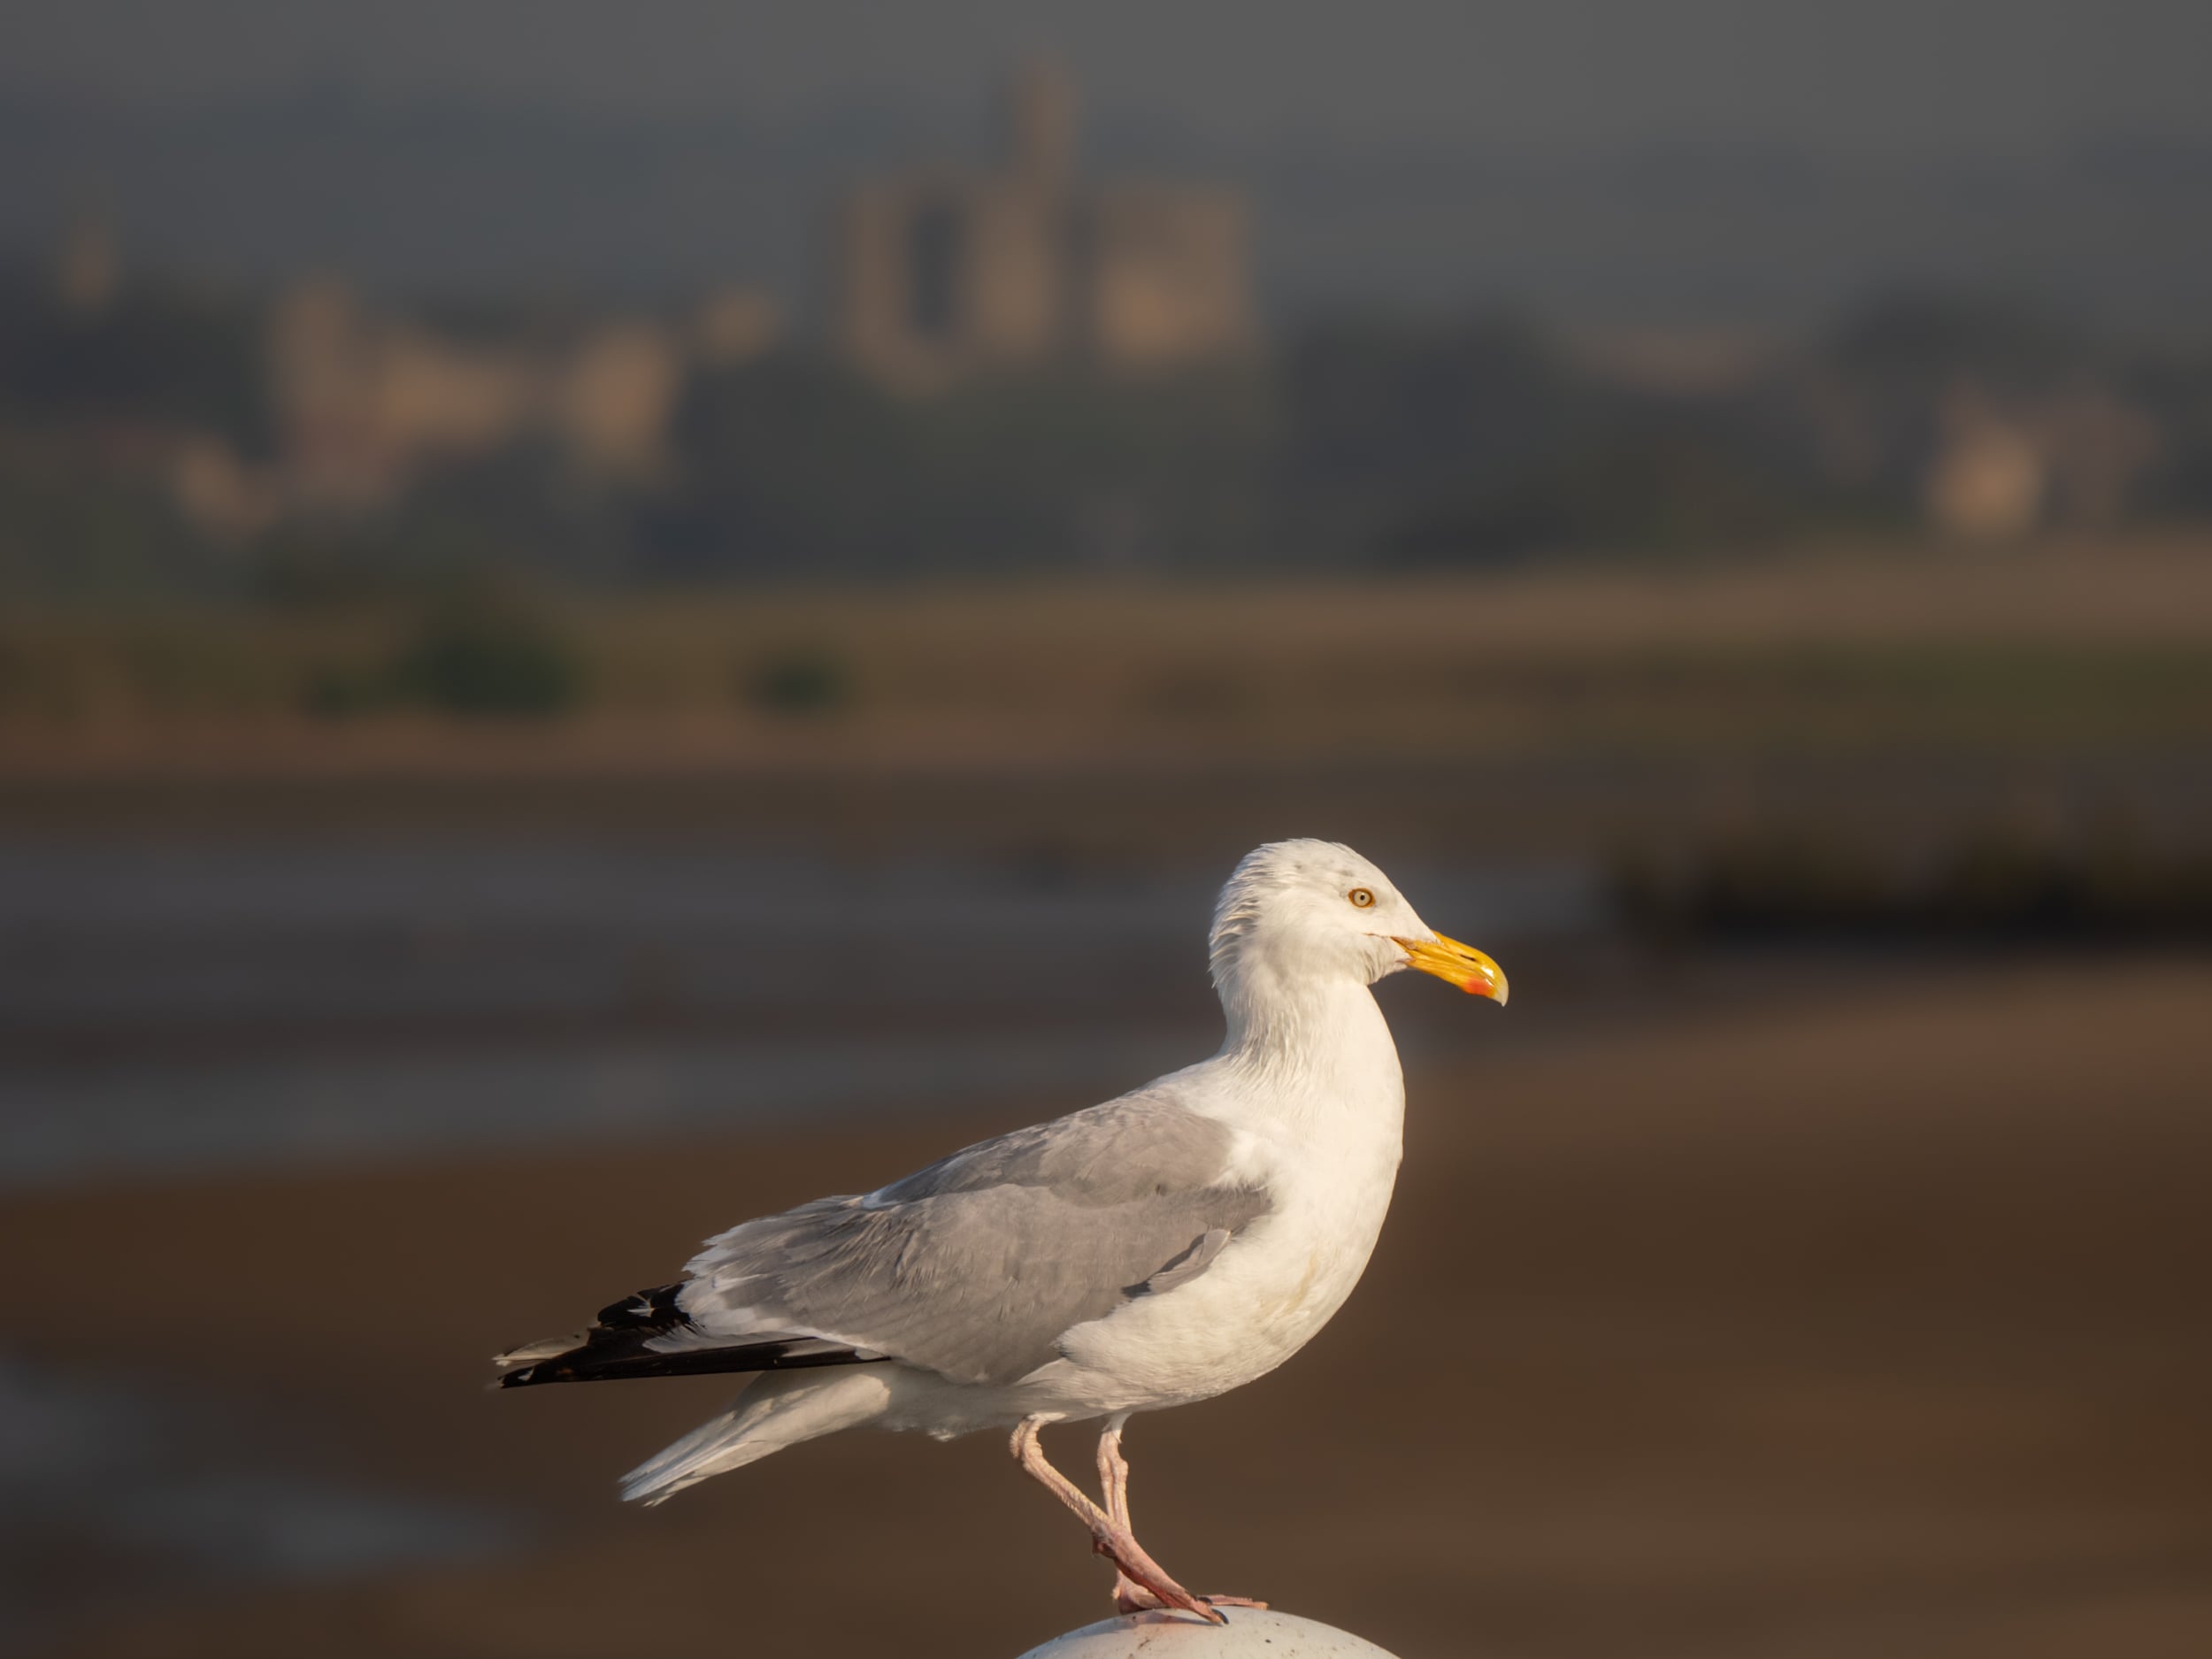
It is also important to consider whether you want to add context to the photo by including background details. For example, one can still maintain the subject’s separation from the background while making its location apparent, thereby making the photo more interesting to the viewer.
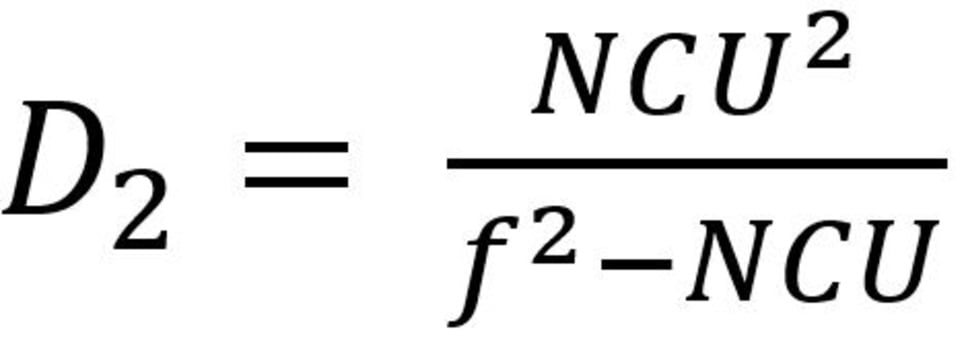
The Mathematics Behind Depth of Field
I should mention there is a formula for calculating depth of field, because if I don’t, someone else will. I am putting it here for those who care about this sort of thing. However, most people never need to know it.
A Lot to Consider
As you have seen, there is a lot to consider about depth of field, and the choice you make will impact other settings and the overall feeling of the photo. Importantly, although there are established expectations, there is no right or wrong about what you choose. However, having the skill to choose is what is important.