A 3-Part Guide to Nailing Exposure In-Camera
Shooting RAW gives you a lot of latitude to make exposure adjustments in post, but it’s still vital to understand how to correctly expose a scene to avoid clipping highlights and destroying shadows. This 3-part series from photographer Greg Benz will teach you everything you need to know to get the shot.
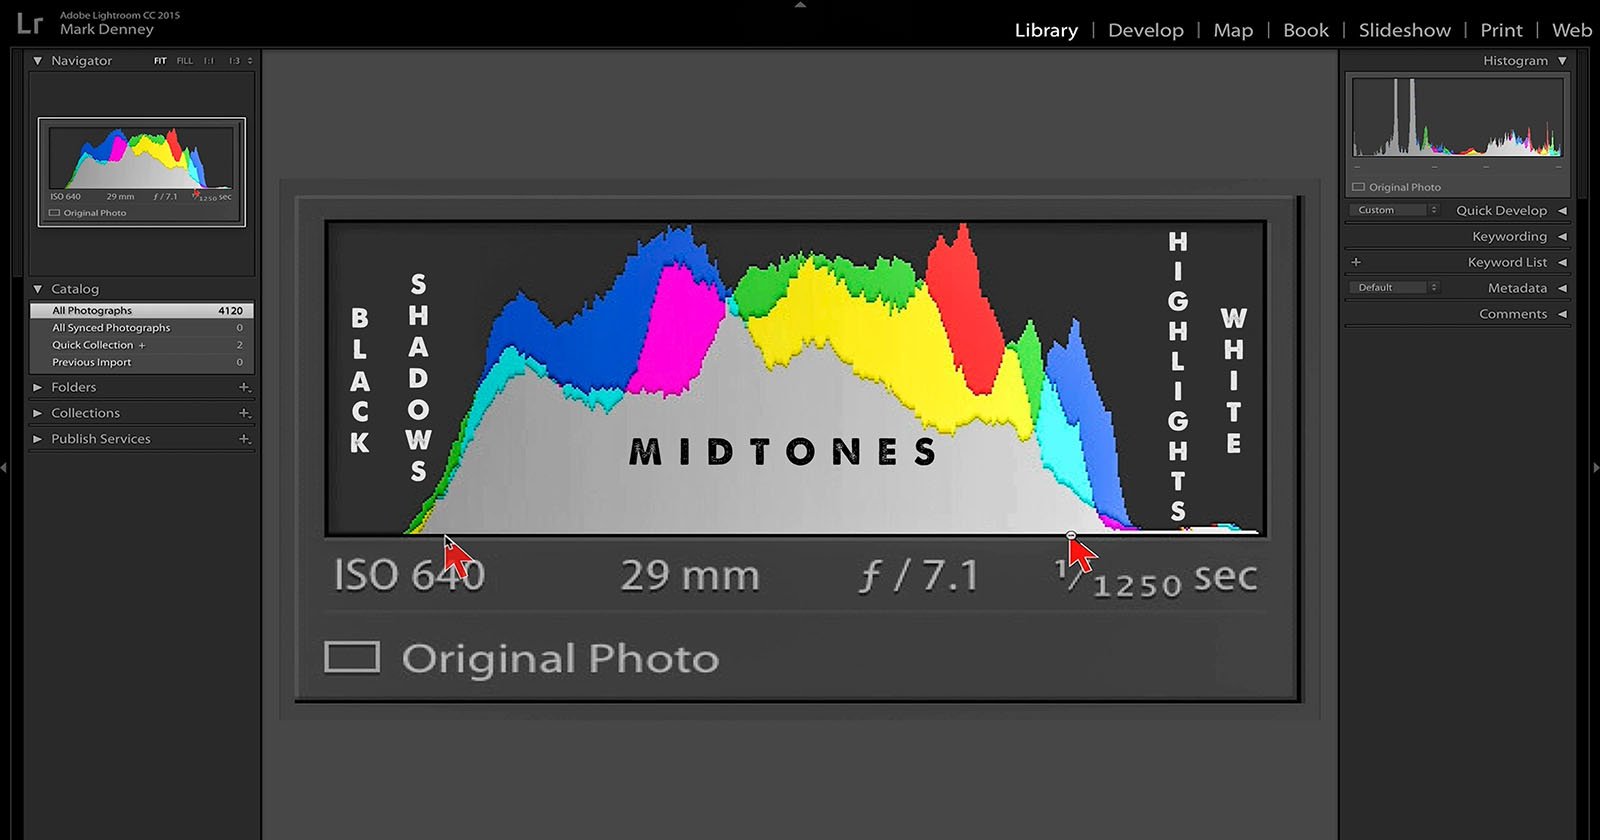
The first part is all about how to deal with complex lighting and understand how to work with the histogram in order to ensure your highlights aren’t blown out, and to make sure you can recover your shadows. It focuses on what you need to do before you click the shutter.
It’s 12 minutes long, and is broken down in to an intro from 00:00 and a live demonstration at 5:26.
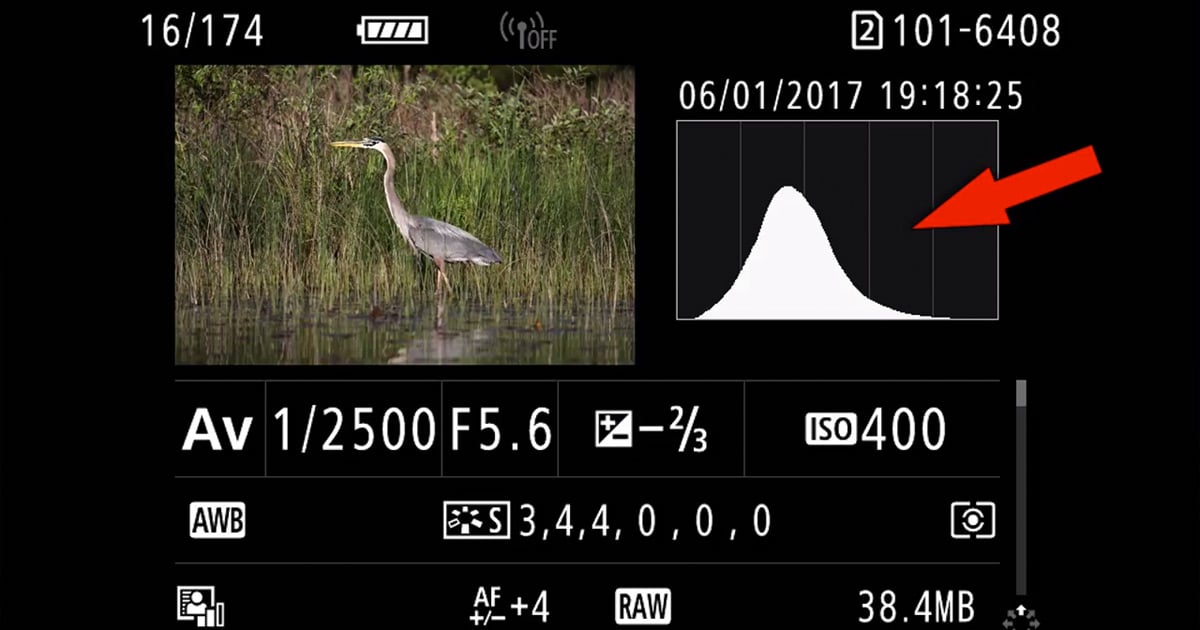
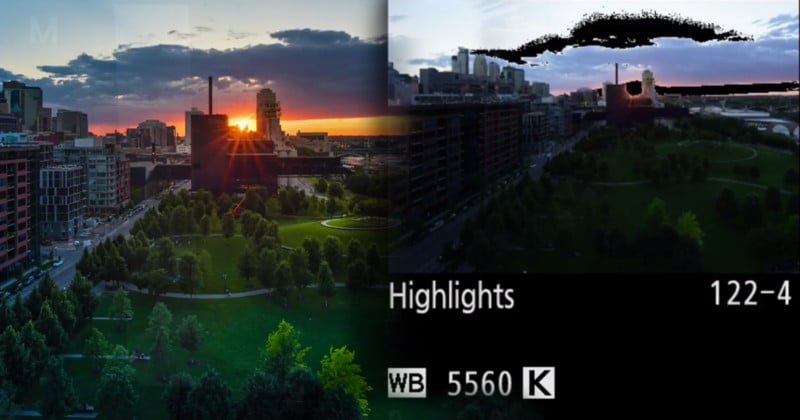
The second part, embedded below, shows how to review your RAW images in the camera to confirm exposure. Understanding how to do this will give you the confidence to take a single shot, and to know when you may need multiple exposures to increase the dynamic range.
This video is 6 minutes long, and looks at what you will see on the back of your camera, and how to interpret the information.
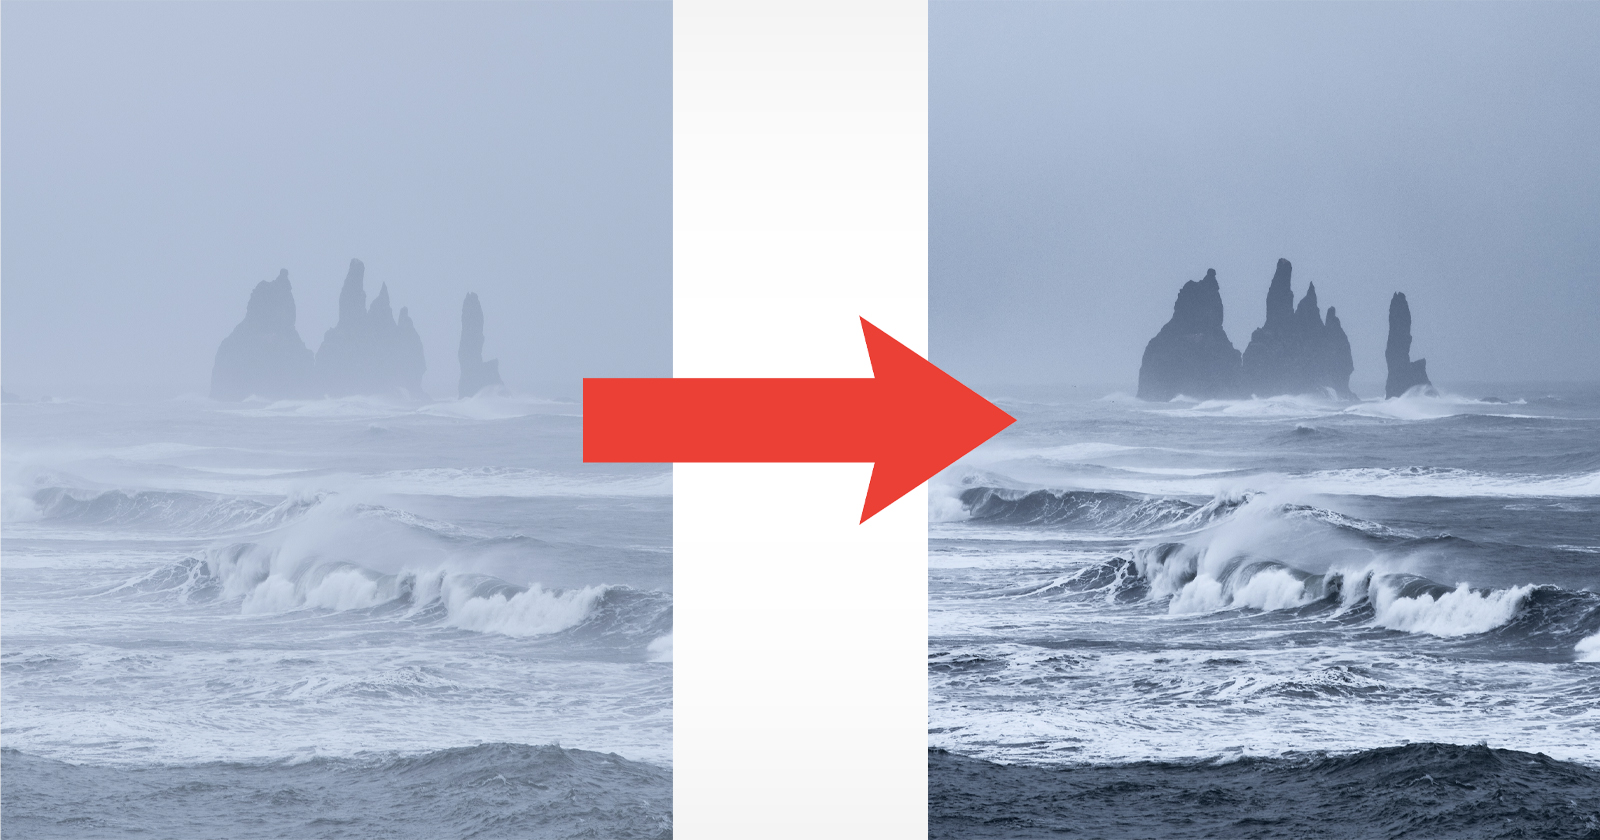
The final part of Benz’s series shows how you can review the RAW images on your computer using Lightroom and Photoshop, and why your camera’s histogram is a much better tool for evaluating exposure than any desktop software.
This video is longer at 16 minutes, and is broken down in to a look at evaluating exposure in Lightroom from 0:00, and additional testing in Photoshop at 10:53.
Hopefully you can learn a thing or two from Benz’s detailed series, whether you’ve been shooting for years or are just getting started. Benz has plenty of other useful guides and tutorials on his YouTube channel, and you can also find him on Instagram, Twitter, and Facebook.