11 Photo Lessons Every Pro Learned the Hard Way
Avoid making an embarrassing or expensive photographic mistake with these top tips from the pros. We spoke to professional photographers in a number of different genres and put together the common pitfalls that plagued them all.
Photo lessons 1: Download images and format cards straight after a shoot
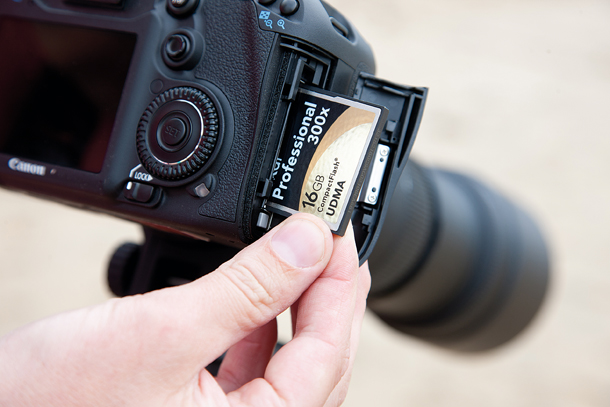
It’s annoying enough when you fill a memory card mid-shoot and have to change to another, but if you reach into your bag and realise that you don’t have a single empty card, you’ll really be kicking yourself.
It also doesn’t impress a model or client if you waste their time while you scroll through your images looking for duff shots that you can delete to create space.
Save yourself the hurt, and download your images straight after every shoot.
Then format the card so it’s ready to be used as soon as you need it.
Photo lessons 2: Shoot raw files
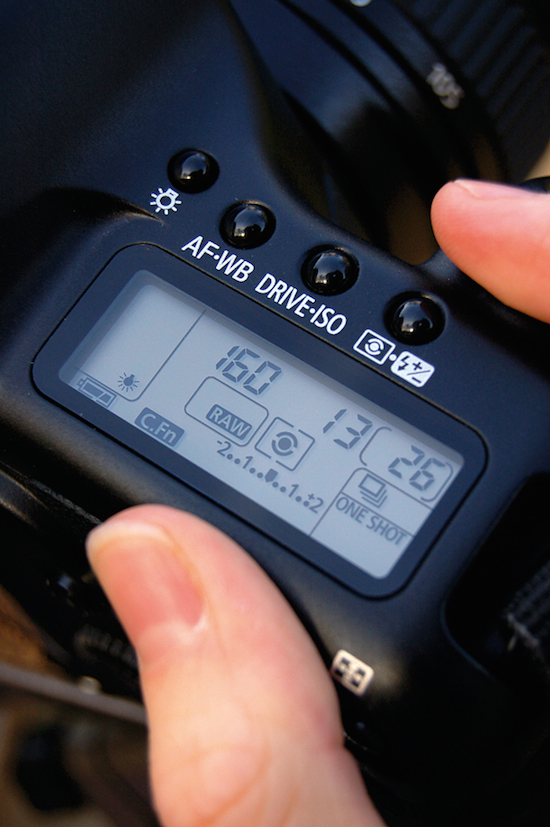
There may be loads of occasions when the JPEG results that you get straight from your camera are exactly what you want, but you can bet your last bean that it’ll be a crucial shot that has the wrong exposure and/or white balance.
If you’ve shot a raw file you’ll be able to produce a much better image than you ever will with a JPEG.
Don’t chance it, shoot raw files whenever possible.
Photo lessons 3: Work around a baby’s routine
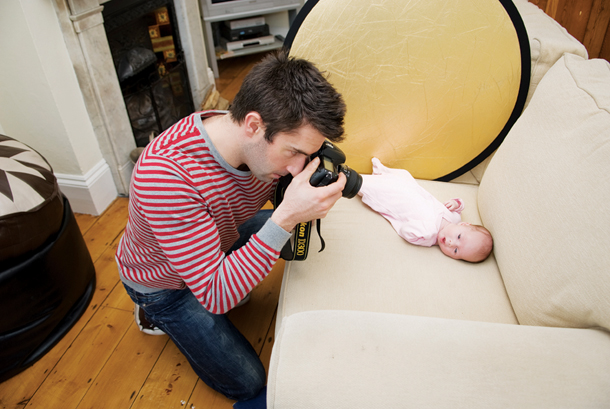
Photographing babies can be very rewarding, but it will be a frustrating nightmare if you don’t bear in mind the little one’s normal routine.
If you planned to get shots of the bambino’s big eyes looking into the camera and he or she is fast asleep, wait until they wake up naturally and have been fed / changed / winded etc. Any other action will result in ear-piercing cries and lots of tears.
Conversely, if the baby is wide-awake and you want shots of them asleep, you’ll just have to wait until his or her usual nap time.
That’s how it goes with babies.
Photo lessons 4: Use fast lenses

Lenses with large maximum apertures are expensive for a reason; they let lots of light in and allow you to use shutter speeds that will freeze movement and camera shake even when it’s quite dark.
Even if your camera has a very high maximum sensitivity setting, if you’re shooting sport or music gigs in low light there really is no substitute.
In these situations using a lens with a maximum aperture of f/5.6 rather than f/2.8 can result in soft, blurry and unusable shots instead of pin-sharp images with bags of detail.
There’s also usually a dramatic impact on the camera’s ability to focus the lens.
If you don’t shoot moving subjects in low light on a frequent basis and you fancy giving it a go, consider hiring a fast lens for the day, it may not cost as much as you think.
Photo lessons 5: Modeling lights get hot
Most studio flash heads have a modelling light that allows you to see where the flash will fall on the subject.
This allows you to position the lights to give the perfect balance of illumination and shadow.
The only problem is that these high-powered bulbs often get very hot after a few minutes use.
Unless you’re photographing delicate flowers or an elaborate design made from chocolate, it’s not usually a major issue for the subject, but you need to be careful when fitting light modifiers (softboxes etc) or packing the lights away.
Avoid touching the bulb with anything that is likely to burn or melt until it has cooled for a few moments.
Photo lessons 6: Take spare cameras and lenses to weddings
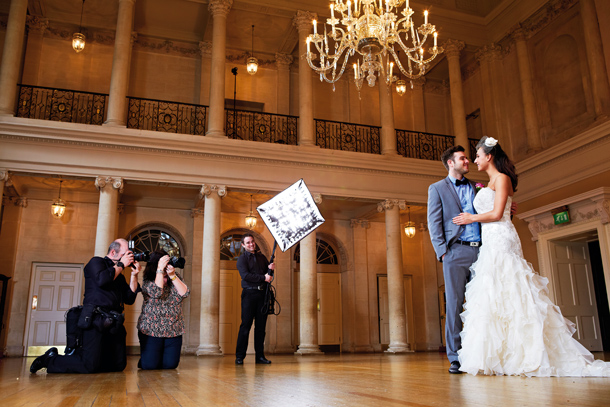
If you’ve been commissioned to photograph a wedding, the bride and groom will show you absolutely no sympathy if you stop shooting half-way through because you’ve dropped your lens or your camera has seized up.
In fact they are likely to get pretty upset about it.
They’ve spent a fortune on their big day and they expect you to continue shooting whatever happens. Reshoots are not an option.
The moral is, if you’re photographing a one off event, make sure that you have back-up equipment with you.
Photo lessons 7: Find wedding shoot locations in advance
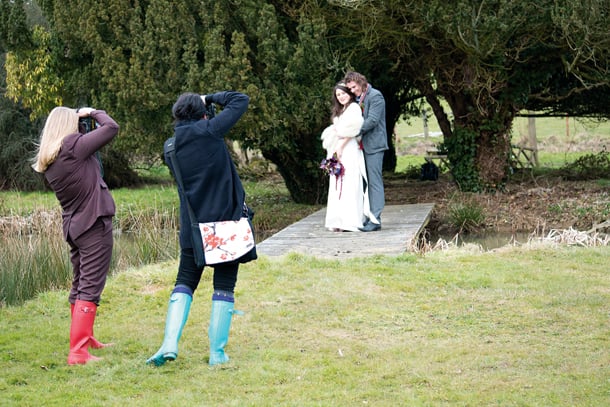
Sticking with the subject of wedding photography, all good pros scout the location before the big day — preferably at the same time as the ceremony to find the best light and shooting locations in advance.
Even if the forecast is for fine weather it’s sensible to find alternative locations in case the sun is too strong, the wind whips up or a freak hailstorm starts.
Being prepared in this way will give you confidence, allowing you to concentrate on getting the composition, poses and exposure right.
You’ll also look much more professional than if you’re wandering around looking for a good location with the bride and groom trailing behind you.
Photo lessons 8: Buy a good tripod
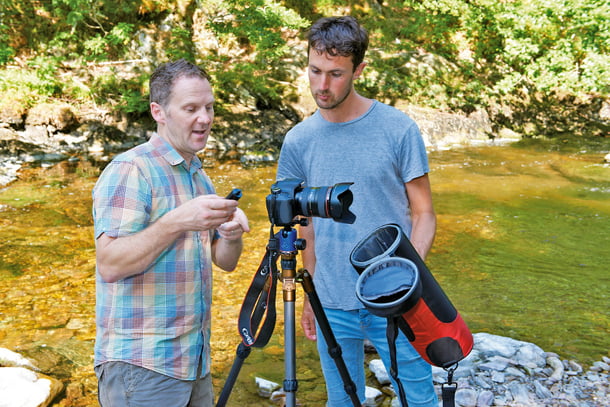
A decent tripod doesn’t cost the earth these days and it’s a worthwhile investment if you want to make the best use of all those pixels on your camera’s sensor.
However, don’t rush into the decision about which model to buy.
Think about what type of photography you will mainly be using it for, where you will use it and how you will transport it.
If you’re looking for a tripod to use at home or in the studio then it can be big and heavy because you don’t need to carry it far.
If, however, you plan on making long expeditions on foot to remote shooting locations you may want something a bit smaller and lighter.
Small and light tripods are fairly easy to find, but it also needs to be strong and rigid to hold your camera still in strong wind and this can bump the cost up.
Don’t stint or you’ll end up having soft images and have to buy a second (better) tripod.
If you want to use your tripod on the beach, perhaps even with the legs in the sea on some occasions, then consider investing in a model that is designed to survive harsh conditions and has seals to keep the salt water out of the joints.
It won’t be cheap, but it may be the only tripod you ever need to buy.
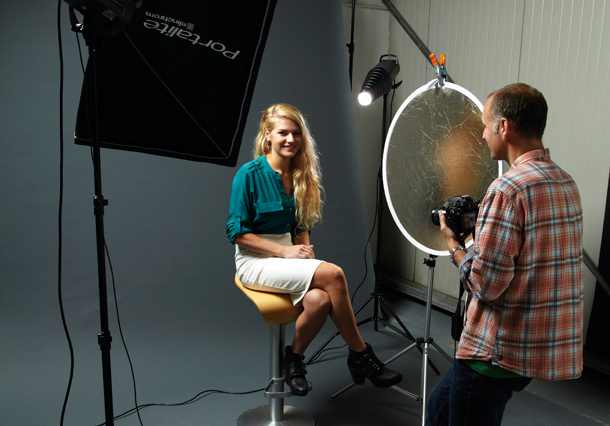
Photo lessons 9: Master flash
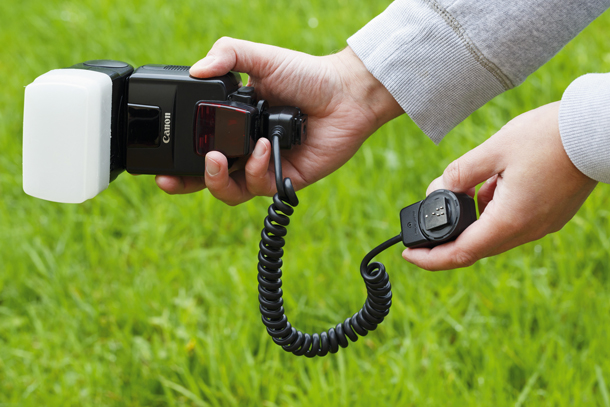
Many enthusiast photographers are nervous about using flash in their photographs, but it can really set your images apart from the masses.
Professional social and event photographers use fill-in flash because it brings subjects to life, injecting colour and sparkle – and that increases sales or the likelihood of being hired again.
If you’ve got an event coming up that you want to photograph, get practising with your flash in advance so that you’ll be confident about how to use it on the day.
Photo lessons 10: Check all images at 100%
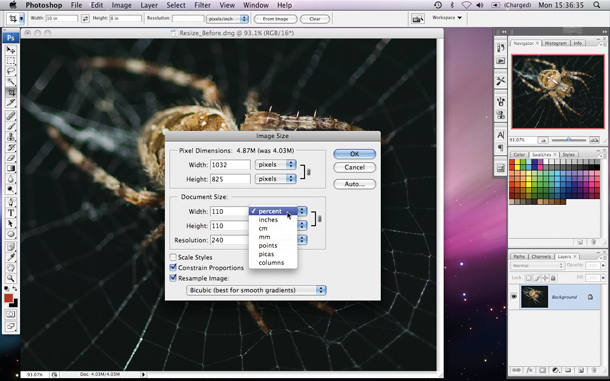
Failure to check images thoroughly can lead to expensive mistakes that are only revealed when you open the packaging of the 20×16-inch acrylic print you ordered.
To ensure you’ve spotted out all dust marks and checked every part of an image, view it at 100% on screen and use guides to divide it into screen sized sections that you check methodically.
Photo lessons 11: Weatherproof your kit
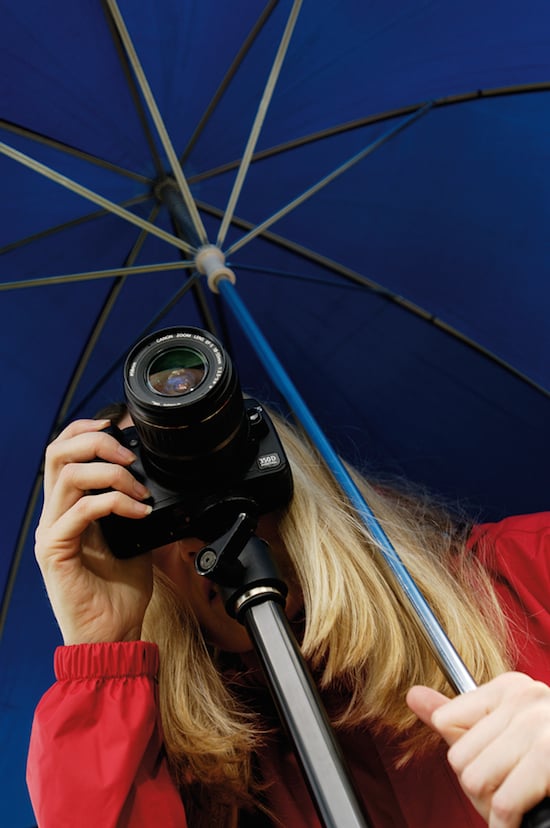
Unless the manufacturer states that the camera and lens you are using are weather-proof, you can safely assume that they are not. Don’t take chances with your kit as even a small amount of rain (or sand) can cause major problems that mean your camera has to take a trip to the service centre.
There are specialist weatherproofing kits available, but a clear plastic bag can be pressed into service with the addition of a rubber band around the opening to hold it tight on the end of the lens.
About the author: Several PhotoVenture contributors helped shape this post. PhotoVenture is a photography blog for everything post-capture — improving photos, image management, sharing and more. You can keep up with their articles by following them on Facebook and Twitter. This article originally appeared here.