10 Tips and Tricks for Shooting Better Smartphone Photos
We all know how to click the shutter button on our phones and get a basic shot. But how to take it to the next level?
Tip #1. Timing
The best photos are taken in the early morning and in the last hour of the day, called the “magic” or “blue” hour. Check any brochure, magazine, poster, or whatever, and you’ll see what I’m talking about. The colors of our world are soft and muted in the morning and late day. Take your shots there and you can nap the rest of the day.

Tip #2. Treat Camera Like a Pro
What does that mean? Be nice to your phone? Adorn it with fancy accessories? No. How about using tried and true photography methods on your smartphone to get improved shots? Start with timing, and move on to composition, exposure, how you hold the camera, and on and on, and you’ll be a pro using a pro camera.
Tip #3. Clean Lens
One pro trick is to always clean your lens before a shoot. We’re toting the phones around in our pockets and purses, and they get filthy. Bring along a cloth to wipe it down, or just use your shirt or blouse to do the trick.
Tip #4. Keep Moving
In the pro category, this is my most important tip. I, like Joni Mitchell, look at the world from both sides now. How is the light falling on my subject? Maybe from the front it’s not so great, but backlighting or to the side might make a difference. You’ll see in the video how I framed my pal Rich DeMuro from every angle until we got the right one. Keep moving until you get it right, and as a bonus, shoot from every angle too — vertical, horizontal, underneath, overhead… you get the idea, right?
Tip #5. Bad Weather is Great
Overcast skies are what I call “photographer weather,” when faces have nice, even, people-pleasing light, without the harsh shadows of the mid-day sun. Wet weather is even better in that it produces great colorful reflections, especially in the morning and evening. Most recent phones are “water resistant,” meaning you can easily shoot in the rain without worry. There’s only one problem—the touchscreen gets unresponsive when wet, and thus, it’s hard to snap the shutter. Which leads to the next hack!

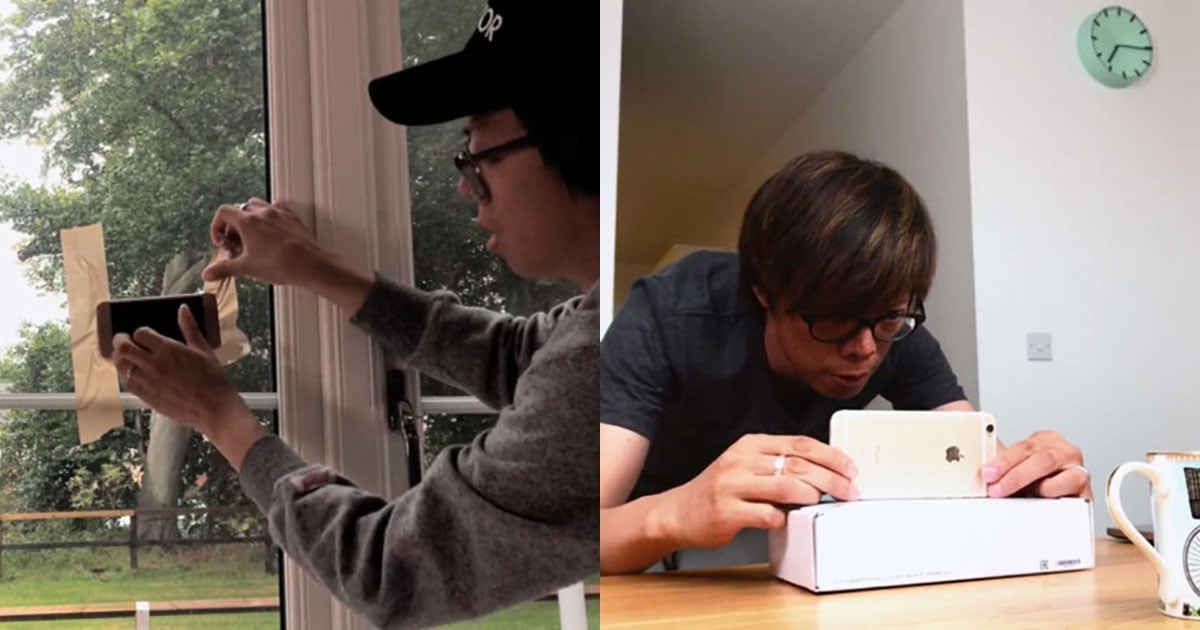
Tip #6. Volume Shutter: Underwater and Burst
The volume up and down buttons on your phone can also snap the shutter for you. So if you’re in the rain, or underwater (check out my episode on doing just that) you can snap the shutter with the volume button and not have to worry about an unresponsive touch screen. Secondly, the iPhone will do double duty by getting you to burst mode. This will stop action and give you a bunch of images to choose from. (On Galaxy phones, you go into the menu to access burst mode.)

Tip #7. The Magazine Trick
If you skipped the morning shoot and need to get a good portrait in the mid-day sun (we’ve all been there) I have a great hack for you, the magazine trick. There is usually a real estate listings magazine or a local calendar magazine in most urban areas. Pick one up, and get a buddy to hold the magazine over the subject’s head. This will cover the harsh sun and let you see your subject without raccoon eyes.
Tip #8. Sunsets
When shooting a sunset, how do you make it interesting? Stick something in the foreground. In Pismo Beach, as I showed in the video, we used a cool tree branch. In Manhattan Beach, there’s the Pier or Lifeguard tower. Have a person in there, preferably a silhouette. (Click reply if you need instructions on how to do that on your phone.) Be creative, but remember, nothing’s more boring than a large body of water.
Tip #9. Shoot Video and Photos at the Same Time
Sometimes subjects move so fast that it’s hard to snap a good shot, so when in doubt, shoot video and know that you’ve picked everything up. Better yet—you can take stills and video at the same time on iPhones. When you’re in video mode, after you’ve pressed record for video, a white shutter button appears at the top of the screen. Hit it with your best snaps and get the best of both worlds.
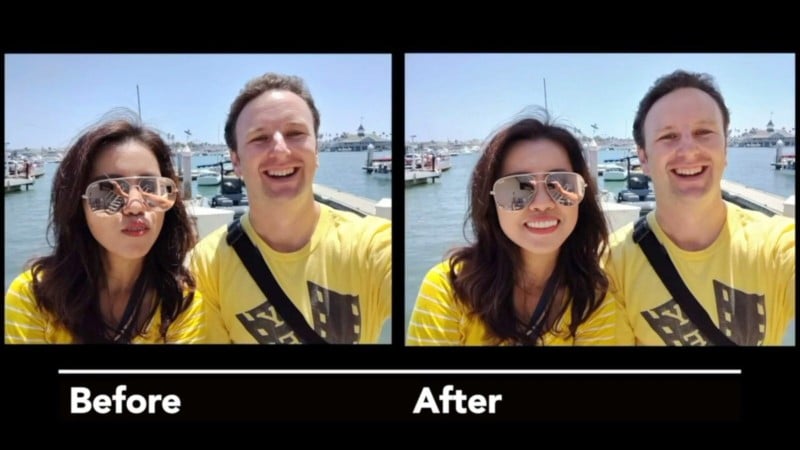
Tip #10. Edit!
No photo leaves my phone that hasn’t been “developed” in a photo app. My first go-to is the plain vanilla Photos app on the iPhone, which has wonderful tools to darken the skies and boost the colors a bit. (I show how in the accompanying video.) From there. my next level up is the free Adobe Lightroom Mobile app, and there are two key sliders I show off in the video. When I want to go crazy, I reach for the Snapseed app from Google.
See the difference below, with Lightroom, before and after? Which do you prefer?


Thanks for reading, and good luck shooting better smartphone photos!
About the author: Jefferson Graham is a Los Angeles area writer/photographer and the host of the travel photography streaming TV series Photowalks. This article was also published here.