Long-Term Timelapse Photographer Shares Tips on Mastering the Craft
![]()
Although timelapse — and especially long-term timelapse — might appear intimidating to beginners, photographer and filmmaker Casper Rolsted has shared simple tips that anyone can follow to get started even with basic equipment.
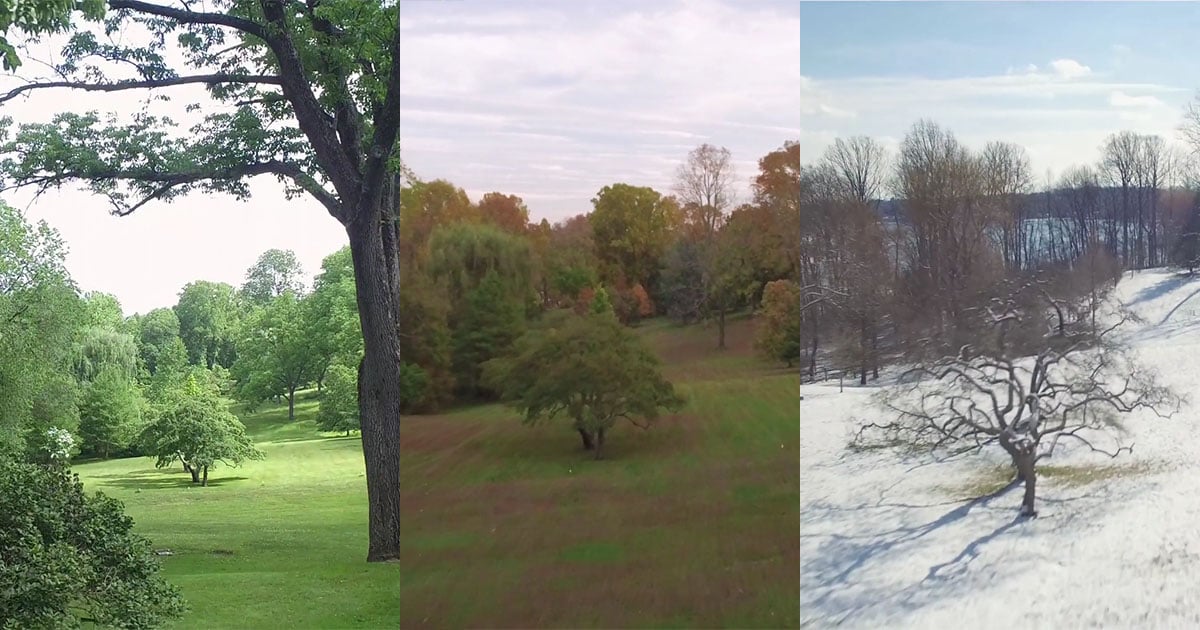
Rolsted, based in Denmark, has spent several years perfecting his timelapse technique, which has resulted in numerous short films, such as his “Seasons of Denmark” series, that use this method to showcase the beauty of nature and the changes that occur in the landscape over time.
He tells PetaPixel that he does not use what he would consider very expensive equipment and his cameras of choice are two mirrorless APS-C cameras — two Sony Alpha 6300 and one Sony Alpha 6000. The RAW photos shot with these cameras offer plenty of resolution and quality for timelapses, while at the same time the camera bodies are small in size and easy to carry on long hikes, which is helpful.
![]()
For optics, Rolsted mainly uses manual focus lenses from Samyang, such as the 12mm, 21mm, 50mm, and 100mm. Most timelapse photographers don’t use autofocus anyway because it can result in inconsistent focus through a shot. To add movement in his projects, he uses a motorized slider from Edelkrone — SliderPlus Medium with Action and Target Module, while for aerial timelapse shots he works with a DJI Phantom 4 Pro drone.
However, looking back to his own start into timelapse work, Rolsted points out that he shot his first timelapse with a smartphone, and recommends others — who might not have access to a suitable camera — to do the same.
“I think it’s more important to focus on finding some interesting landscapes and building experience than buying expensive equipment,” says Rolsted. “If you become more interested, then you can always buy a camera, but there is no need to invest in an expensive full-frame camera. An inexpensive APS-C camera would be just fine for timelapse.”
Similarly, camera sliders and pan and tilt heads can add another dimension to the footage but it is not a necessary piece of equipment and it can be expensive and heavy to carry around. First and foremost, a timelapse photographer has to ensure that the camera is stable to avoid shaky footage, which means it’s more practical to invest in a good sturdy tripod instead. A neutral density filter is another useful piece of equipment, Rolsted says.
![]()
It helps limit the light that passes through the lens to the image sensor and makes it possible to use a longer shutter speed to create motion blur on fast-moving objects.
“For the best result the shutter speed should be half of the shooting interval, for example, if an interval of two seconds is selected, then the shutter speed should be one second,” he adds.
If Rolsted was starting today, based on his current experience, he would pick the following as his timelapse kit: Sony a6400 combined with Tamron 17-70mm f/2.8. He’d also add a Manfrotto MT190 XPRO4 190 aluminum tripod with Manfrotto 496 Compact ball head and a selection of ND filters, like Haida Slim ND filter set: ND8x, ND64x, and ND1000x.
![]()
The process of shooting timelapses is not a difficult task, he says, but the editing can be challenging. The workflow is very different from editing photos or videos and can definitely be a time-consuming process. For those who are new to timelapses, Rolsted recommends choosing a specific topic first and to apply the same composition considerations as one would taking a regular photograph. After that, the photographer has to consider changes over time because “a timelapse where nothing changes is not very interesting.”
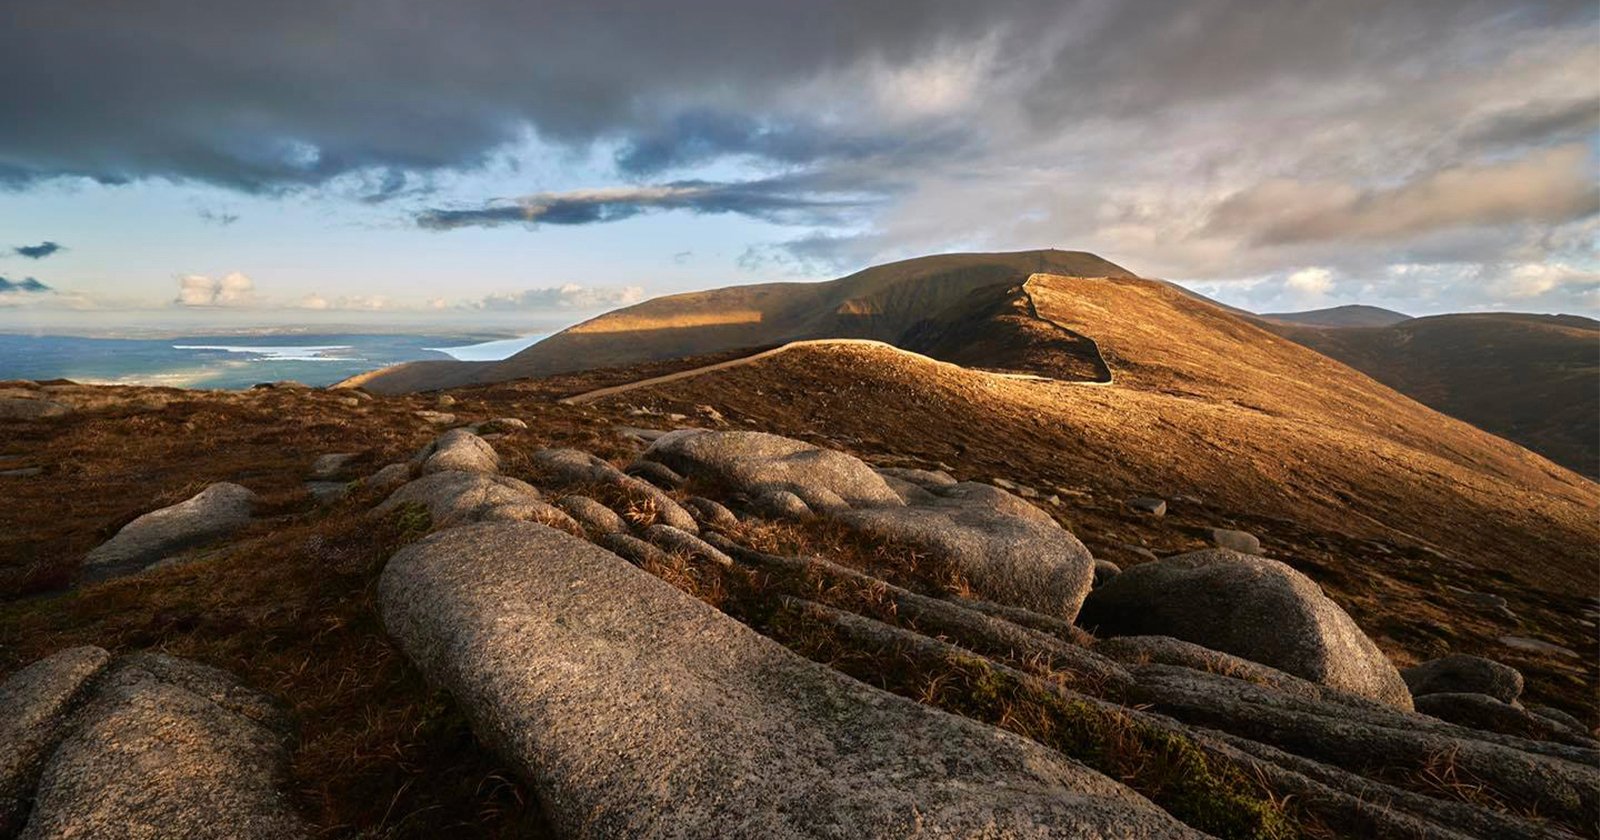
For example, in the short film from Scottish Highlands, Rolsted has captured moving clouds, that are also reflected on the surface of the water, the wind shaking trees, people hiking in the mountain trails, waterfall creating soft movement, and more. All of these differently composed motions add interest to the footage and showcase a location or a theme from diverse angles.
A few simple guidelines to try timelapses for the first time include using a sturdy tripod to avoid shaky footage, turning off autofocus on the camera, selecting a manual program to ensure uniform lighting, and choosing a fixed white balance which further helps make the footage consistent.
Rolsted then recommends shooting the photos in JPEG format — even though RAW files offer a number of benefits, it makes the overall process more complicated and time-consuming — and setting the interval to start the shoot.
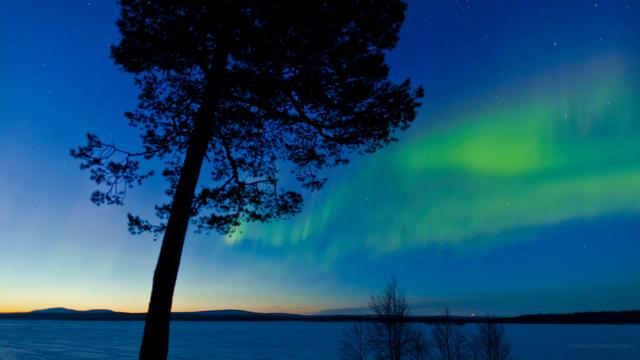
The chosen interval will depend on the situation and the shooter’s personal taste. For example, for people-based work, one second is suitable, two to four seconds for shooting with clouds, and 10 to 30 seconds for shooting the night sky. In Rolsted’s short film, “Seasons of Denmark: Spring“, where he captured blooming spring flowers, he selected 40 minutes between each photo.
For those whose cameras do not have a built-in timelapse function, an intervalometer can be purchased and connected to the camera to then set the desired time interval. Finally, once all photos have been taken, they need to be put together into a timelapse either using the camera’s own timelapse function or external editing programs, such as Adobe Lightroom or LRTimelapse.
More of Rolsted’s timelapses can be found on his YouTube and Vimeo page, while his portfolio can be seen on his website and Instagram.
Image credits: All images by Casper Rolsted and used with permission.