How to Make Your Own Photo Paper Developer from Scratch
If you’re a film photographer who likes to go the do-it-yourself rather than store-bought route, here’s a fun little tutorial for you. In this 3-minute Darkroom Magic episode by the George Eastman Museum, Historic Process Specialist Nick Brandreth shows how you can make your own photo paper developer at home from scratch.
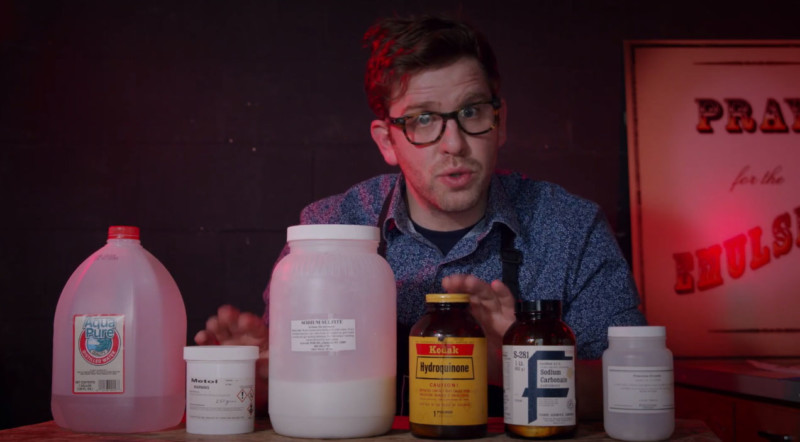
- Metol (Reducing agent): 3g
- Sodium sulfite (Preservative): 45g
- Hydroquinone (Reducing agent): 12g
- Sodium carbonate (Accelerator): 80g
- Potassium bromide (Restrainer): 2g
- Water: 1 liter at 125° F (52° C)
The ingredients need to be in their exact proportions to create your batch of developer, so make sure to weigh them carefully. Once the dry chemistry is weighed, add each dry ingredient to 750ml of water one by one in the order above, making sure each is completely dissolved before adding the next one.
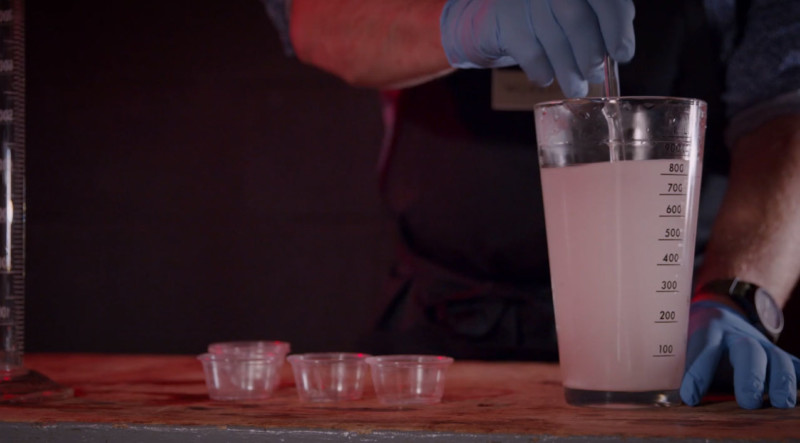
Once all of the ingredients have been dissolved in the 750ml of water, transfer it to your final storage vessel and add 250ml of water to bring the final volume up to 1 liter.
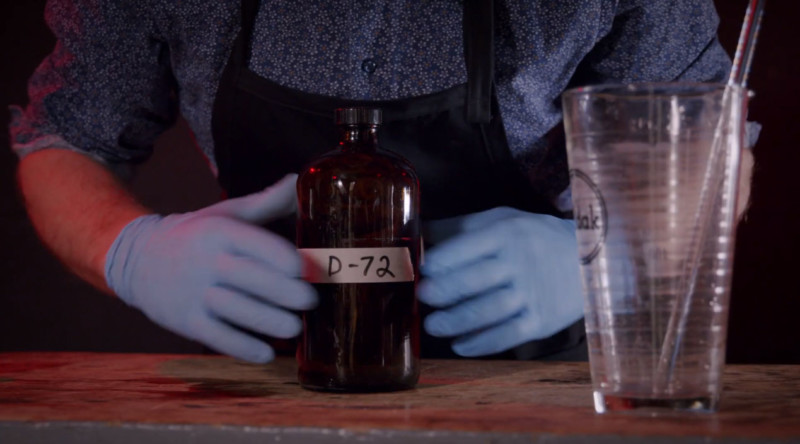
Voila! You now have 1 liter of homemade developer.
To use the developer, Brandreth recommends that you use it at 68° F (20° C) diluted at a ratio of 1:2 with water and with a development time of 1 to 3 minutes — your exact development time will vary depending on the final look you’re going for.
(via George Eastman Museum via DPReview)