How to Shoot Creative Macro Photos of Skeleton Leaves
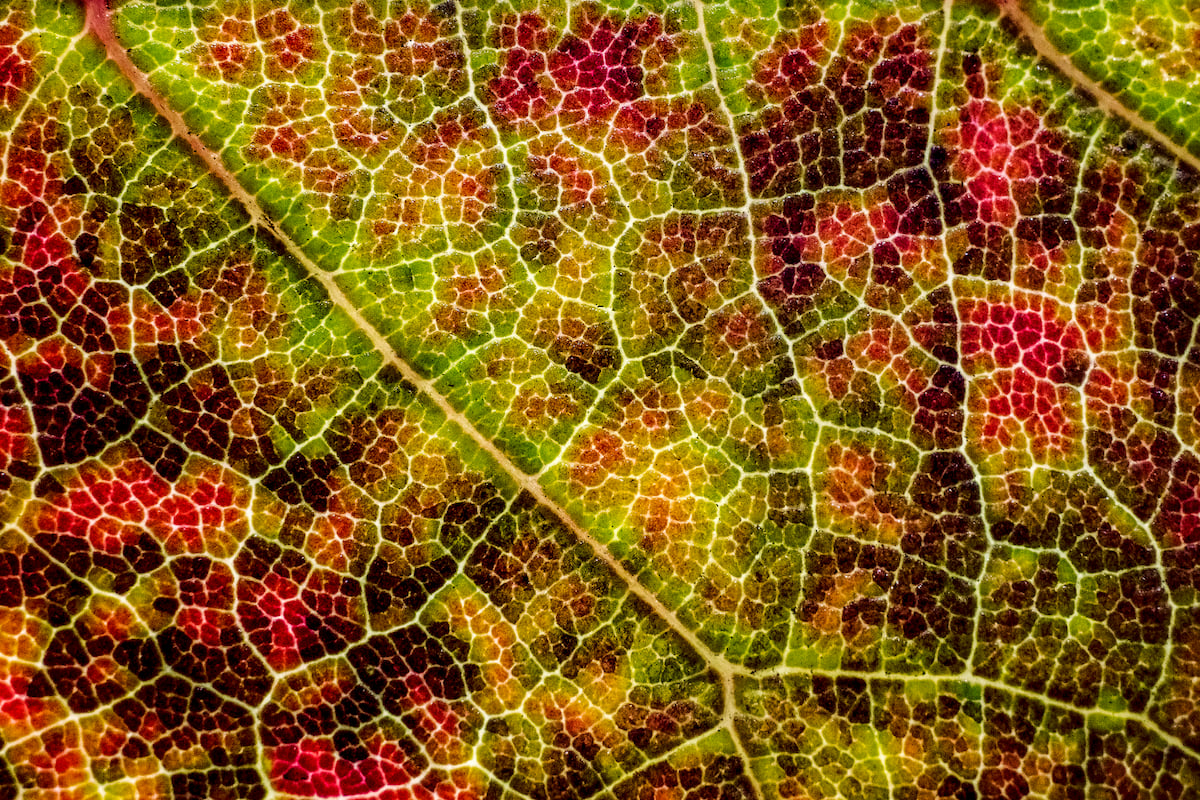
Today we are going to use skeleton leaves and glycerin for a creative macro project. Skeleton leaves are fascinating and intricate structures that make great subjects for macro photography and creative projects.
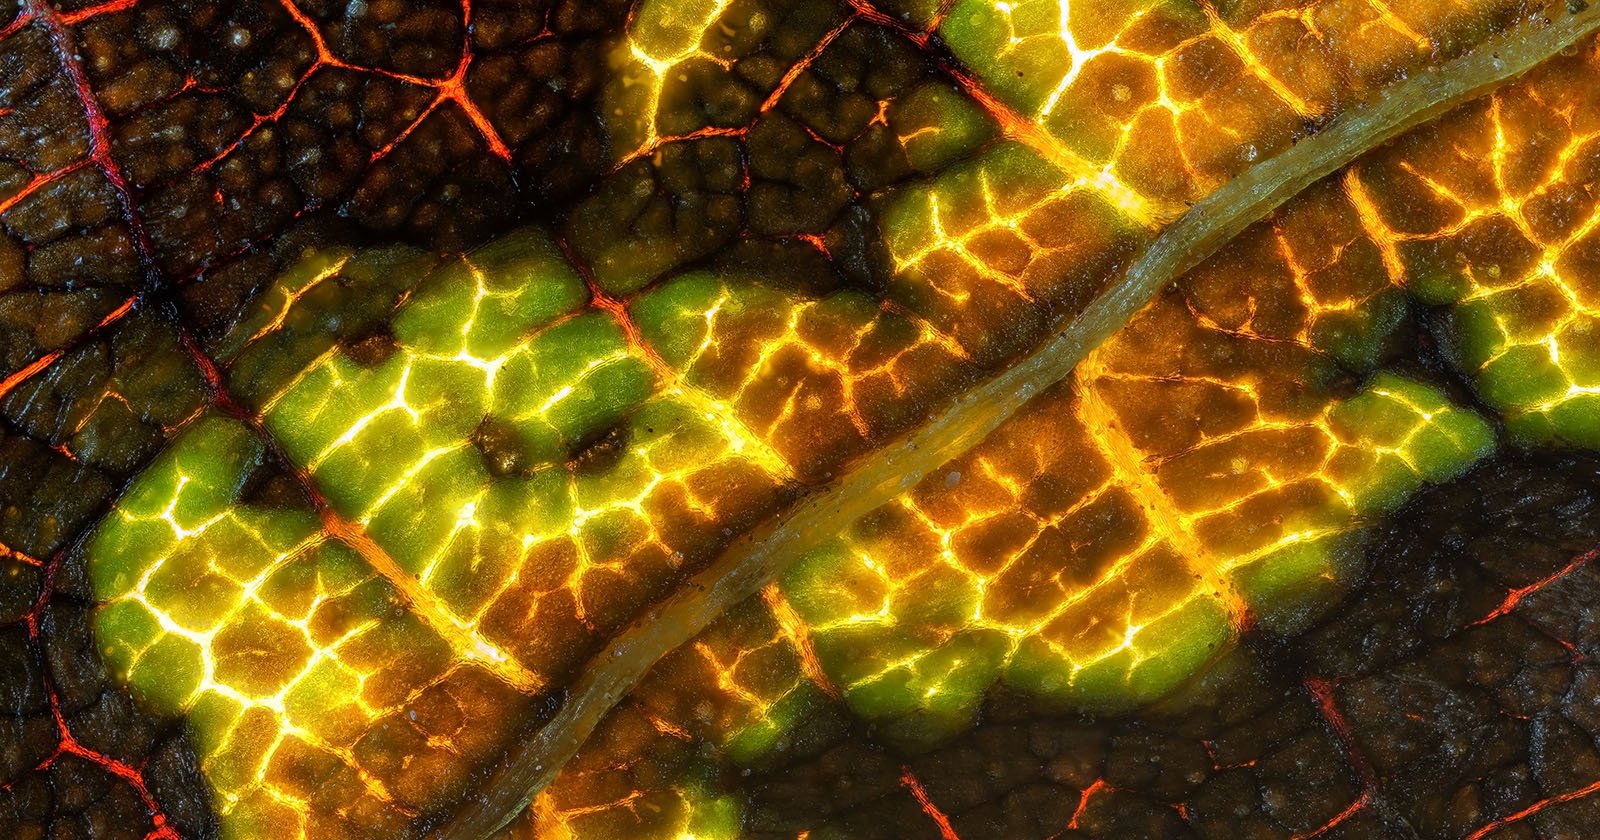
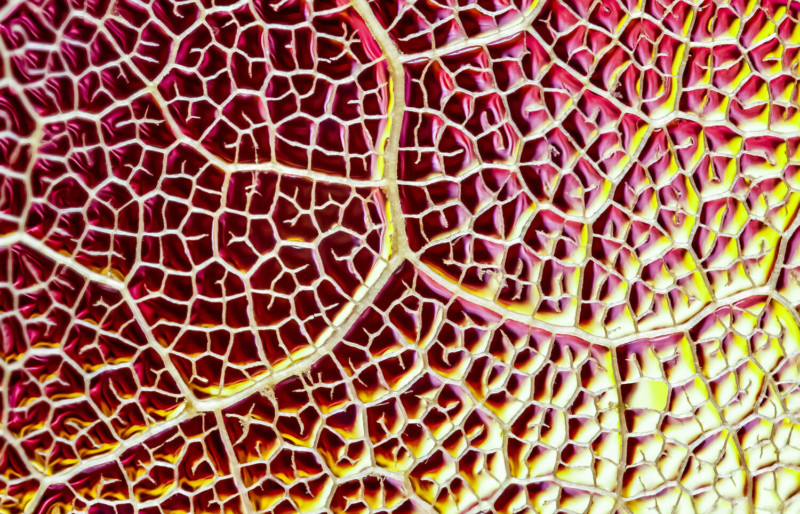
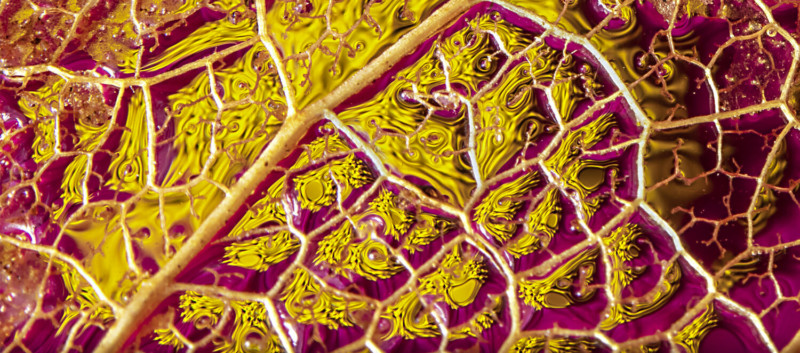
The answer was yes. After I took some quick test shots I realized that I was on to something. As the leaves consist of neighboring but separated cells, every one of the cells will act as an individual optical element and show a slightly different projection of the background in behind. Together they mimic the patchwork effect of stained glass.
Unfortunately, well-preserved skeletons are really hard to find in nature. But apart from nature walks, you can also find such skeleton leaves in many craft stores and even online (e.g. eBay). You can even make your own, which is what I did. The process is simple but slow and I explain it in the video below:
Creative Ingredients
Once we have our skeleton leaves, there are just another few ingredients we’ll need for our set-up.
- Glycerin (can also be used to increase the surface tension of water for water drop photography).
- A colorful backdrop, ideally one with plenty of color contrast (you can find free macro backdrops for download here).
- A third-hand-tool or some sort of stand, to hold the leaf in place.
Once we got all of these gathered, it is time to prepare our subject…
Preparing the Shot
To achieve the stained glass effect we’re after, we are going to cover the skeleton leaves in glycerin. Of course, water is going to work just as well, but due to the large surface area of the two-dimensional leaves, it is going to evaporate quickly and needs to be applied quite frequently during shoots.
To apply either one of these substances, I recommend using a soft paintbrush. If you decide on using glycerin, you will probably have to apply 2-3 coats to ensure that there are no holes left.
Hang your leaves up and allow them to dry for about 30 minutes between coats.
After the preparations are done it’s time to stage the image; I used a soldering station (found on eBay) to hold all my ingredients in place neatly, but if you don’t have one, you can use laundry clips or adhesive plasticine to secure your subject.

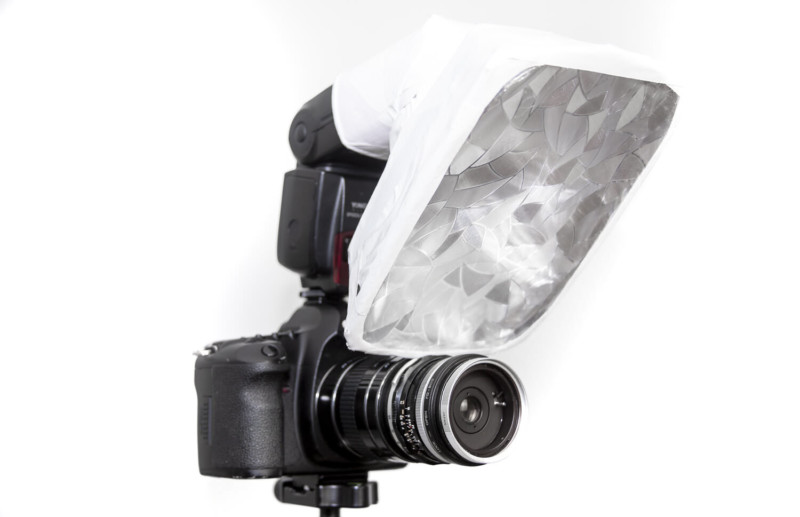
And that is the basic concept already. I placed my backdrops about 1-3 cm behind the leaf and tilted them upwards slightly, to refract more light towards the camera. The light was supplied by an on-camera speedlight in combination with a diffuser to avoid harsh reflections, as they can be found in the initial test shot above.
Using different leaves, backdrops and lighting set-ups you can create a variety of different looks and patterns…
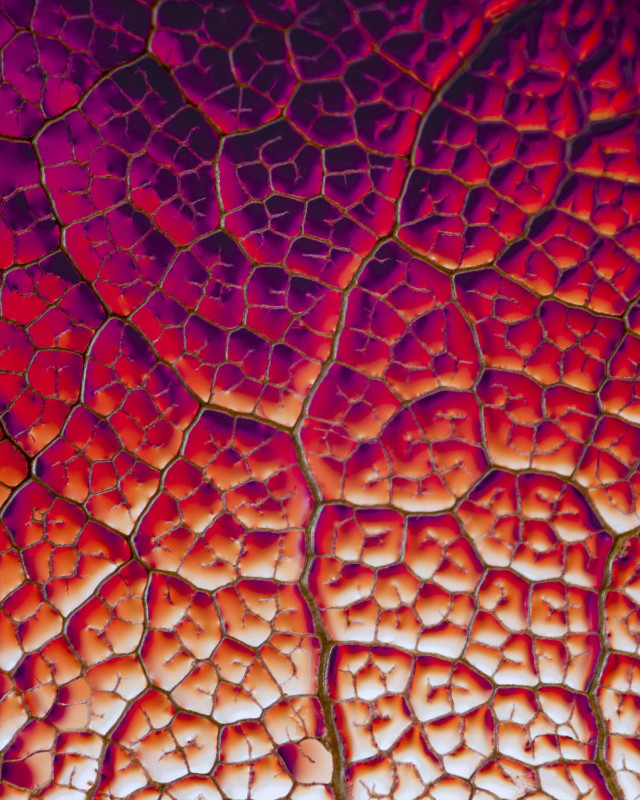
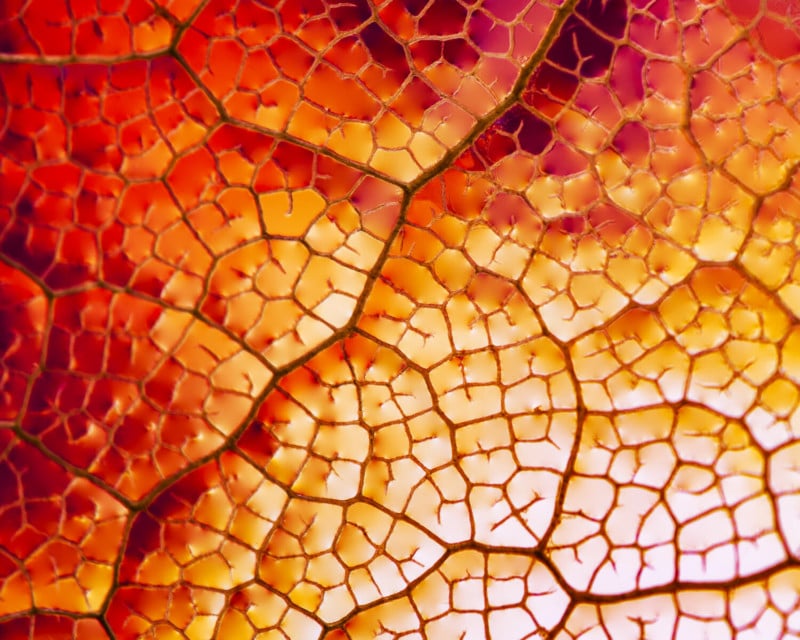
These images above were shot on a Canon 5D Mark II with a reversed Canon FD28mm /3.5 lens on 68mm of extension tubes. All of them were taken at 1/200th (camera-sync speed), f/8 and ISO100 (base ISO on that camera).
Voilà, that’s all there is to these images. I hope you enjoyed the creative input and found some inspiration for your own macro photography…
For a more visual peek behind the scenes, feel free to also have a look at my behind-the-scenes video:
About the author: Maximilian Simson is a photographer and artist based in London, Ontario. The opinoins expressed in this article are solely those of the author. You can find more of Simson’s work on his website and Facebook. This article was also published here.