Review: Meike MK-MT24 is a Solid and Affordable Wireless Macro Flash

The Meike MK-MT24 is one of the most interesting lighting products I’ve ever used. The concept of this product is similar to some macro flash systems that have been on the market for years — especially the Nikon R1C1 — but while I knew of their existence, I’ve never once considered them due to their exorbitantly high price (the R1C1 is over $700).
Why use a specialized macro lighting system like the MT-MT24?
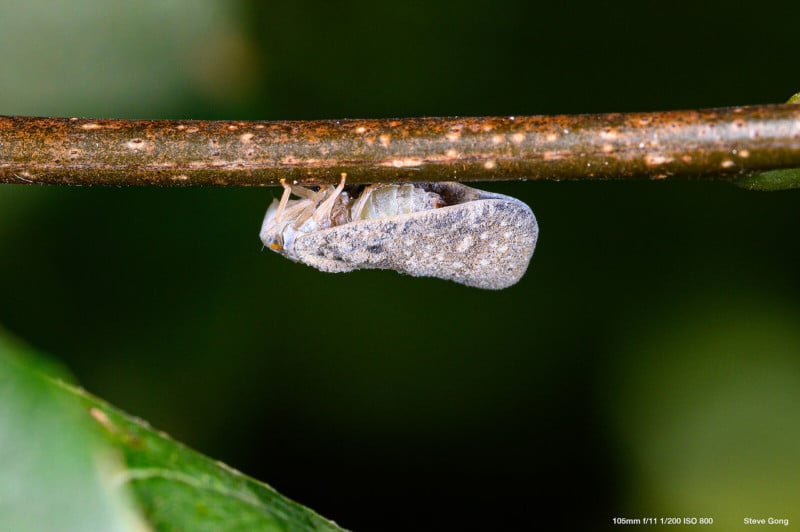
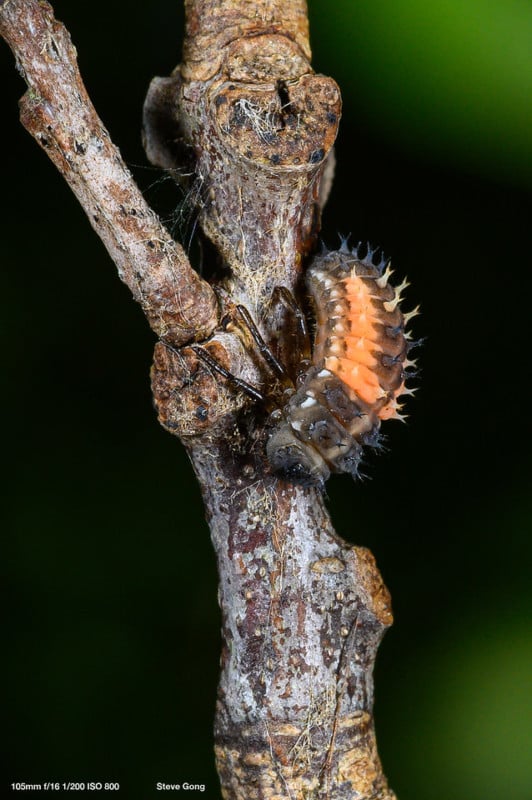
Hitherto, I’ve been shooting macro photos with standard off-camera wireless speedlight flashes set manual power, set atop some kind of platform or light stand. Although this is all I knew, in retrospect, now having used the MT-MT24, it was a very cumbersome way of doing things. All the test photos you see in this article were shot within an hour, running and gunning. It’s highly portable and stealthy.
Also, this is the first time I’m able to use TTL in macro flash photography, and it worked surprisingly well. I believe the best and easiest way to shoot macro is to set the camera on Manual mode, select your aperture, shutter speed, and iso manually, and have the flashes set on TTL. This way I could completely focus on shooting and composition. As it is, there’s a lot to worry about when shooting live insects – you want to remove as much “clutter” in your workflow as possible.
Main Features
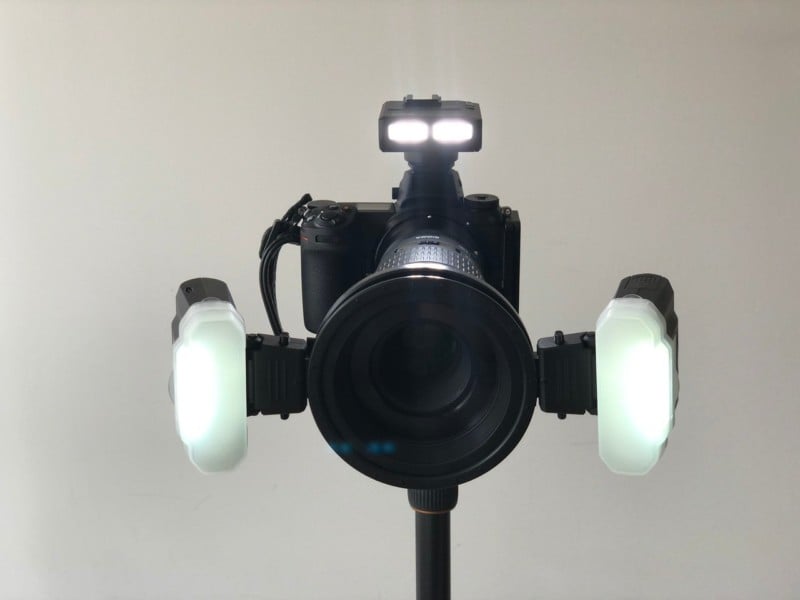
The way the flashes attach to your lens is via a “Clip-On Ring Mount” that screws onto the filter thread of your lens using a supplied step-up ring. The flashes clip onto the ring mount and have a feature where you can rotate them along the circumference of the ring by pushing in two plastic tabs without needing to unclip.
The flashes can also rotate, whether you want them to point closer or further out, depending on the distance of your subject to the lens. The wireless flash trigger sits atop the hot shoe mount.
Each of the flashes (as well as the flash trigger) all have pretty bright built-in LEDs. The LEDs on the flash can be turned on and off by the press of a dedicated button on the flash trigger. These LEDs are meant to assist you in composing and focusing your shot. When you depress the shutter, the LEDS shut off a split second before the flashes flash. I didn’t have to rely on the LEDs to focus because there was decent available lighting, and also because I’m using a mirrorless camera. I’m sure this is a boon for SLR shooters.
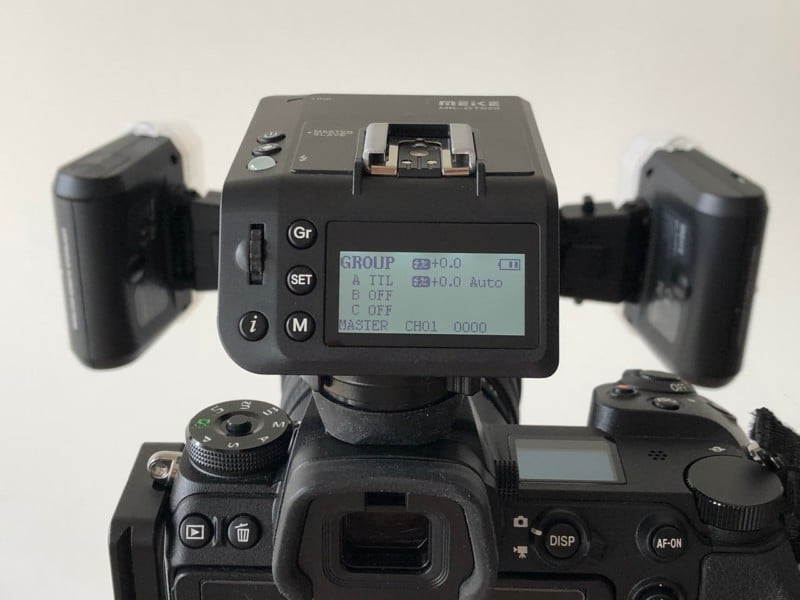
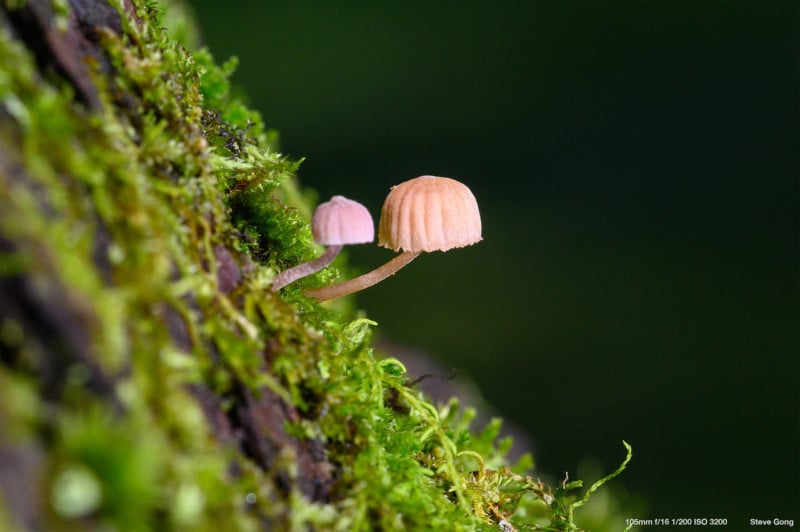
The flash trigger has an LCD with a push in scroll wheel that allows you to control the individual flash output, whether it be TTL or manual flash power. You can also switch one of them off to get a directional lighting effect as you can see in the tiny mushrooms shot, where only the right side flash is firing.
Additional Features
The kit comes with quite a few accessories:
Hotshoe mount and foot. This allows you to clip the flashes either onto a hotshoe adapter or have it sit on a platform on a hotshoe foot.
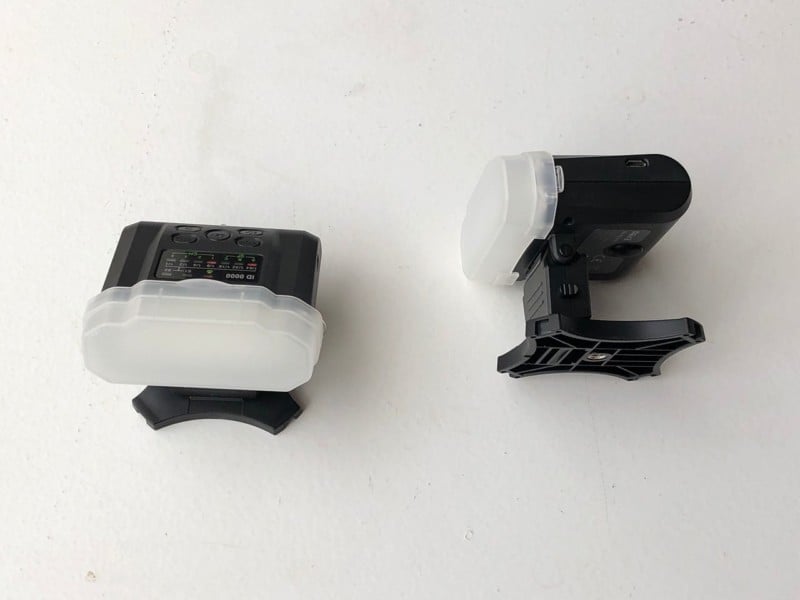
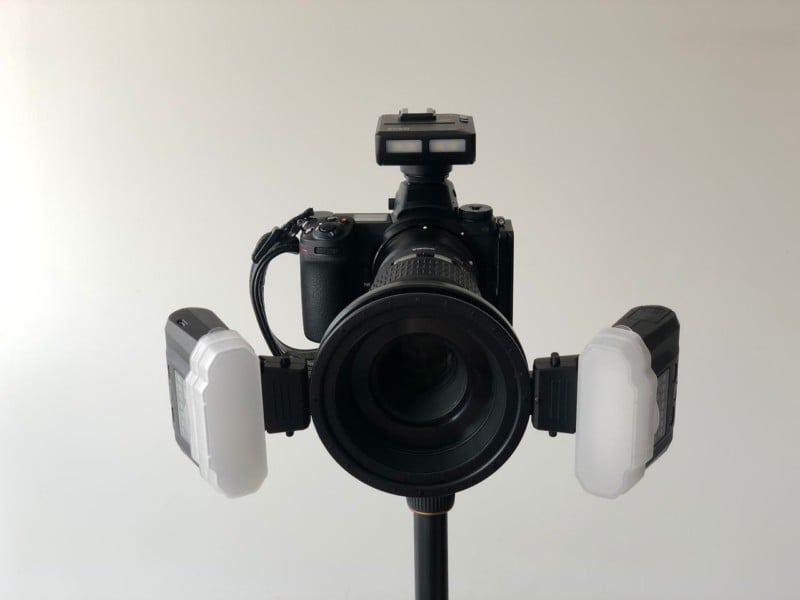
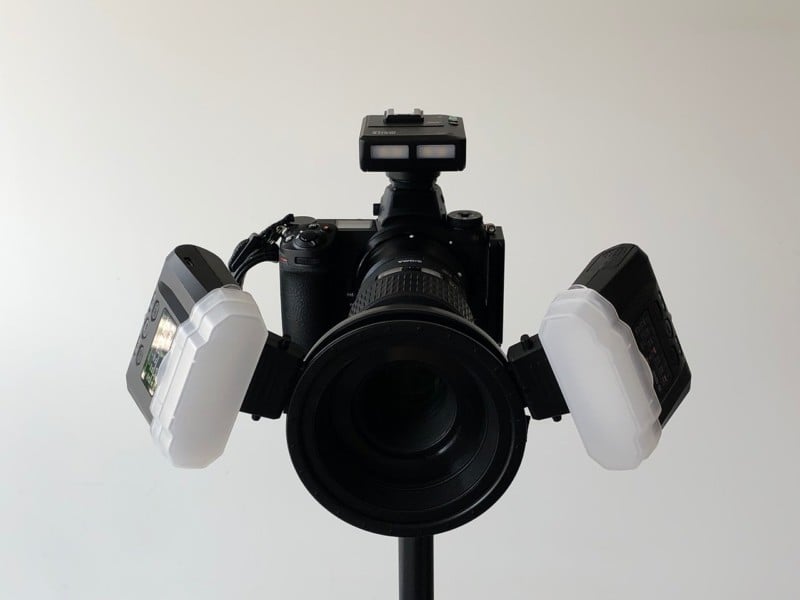
Diffusers. There are two diffusers which I think should be used most of the time
Gels. I haven’t had a chance to test this, but it does come with two sets of color gels that you can install right on the flash diffuser clip
Another interesting possibility is to purchase additional flash units for a multiple flash system. I was thinking that you could also clip additional flashes all onto the same ring mount, thus effectively achieving a ring flash.
The manual also says that the firmware can be updated. I have not experimented with this.
Usage
As previously mentioned, I had great success shooting in TTL mode with the camera set on manual mode. This allows you to quickly change the shutter speed so you can decide how much ambient light you want to show through while still retaining your desired aperture.
The flash trigger was very reliable, and there were no misfires until the battery was low (at which point the flashes take longer to recharge the capacitor). TTL was extremely dependable. I generally avoid TTL in my photography, but I think it may be particularly suited to macro photography, and I recommend using this mode when possible.
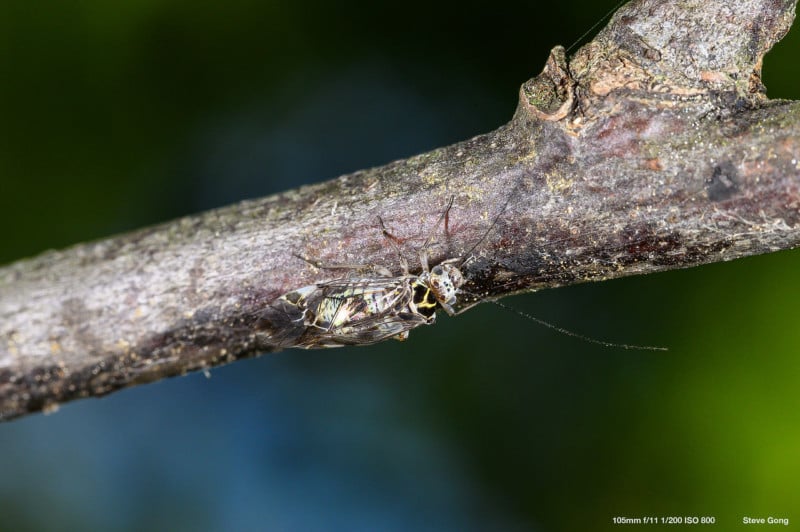
I was shooting with the Nikon Z6 with the Sigma 105mm f/2.8 macro lens. With this setup, the balance is near perfect and things didn’t feel front heavy. The rig is fairly compact, but I did at one point have a little difficulty clearing a tree trunk. My solution was to quickly unclip the flash (left flash in my case) that was blocking my movement.
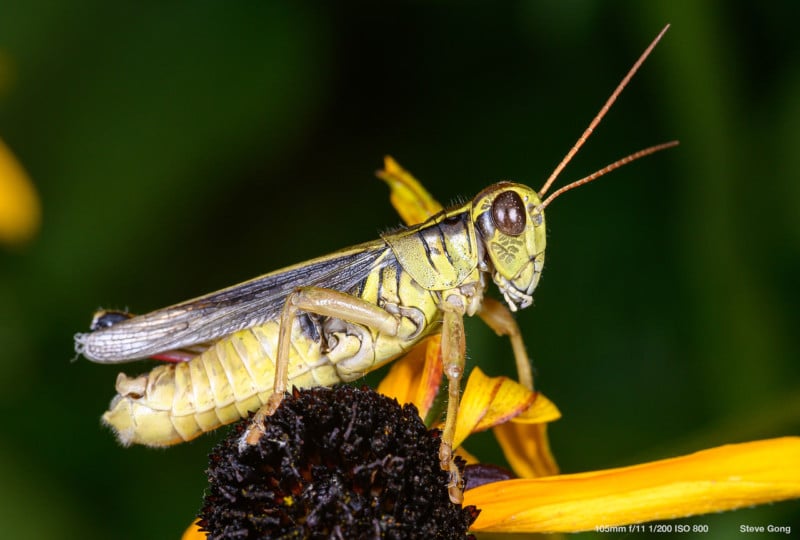
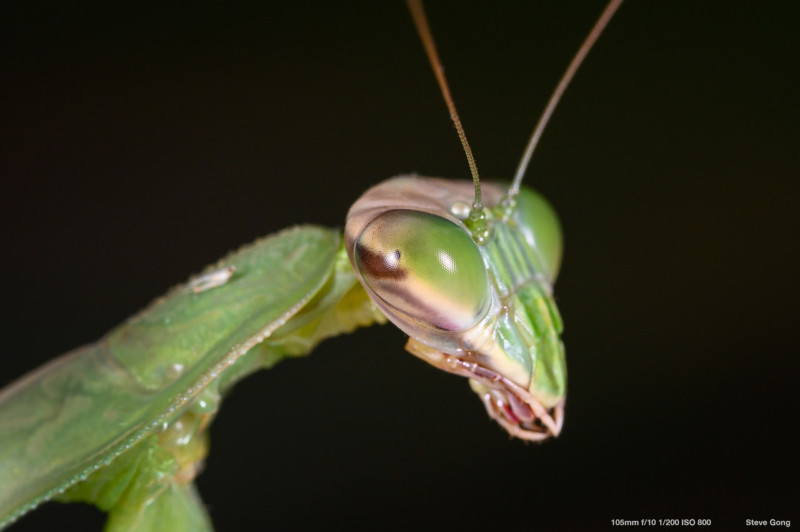
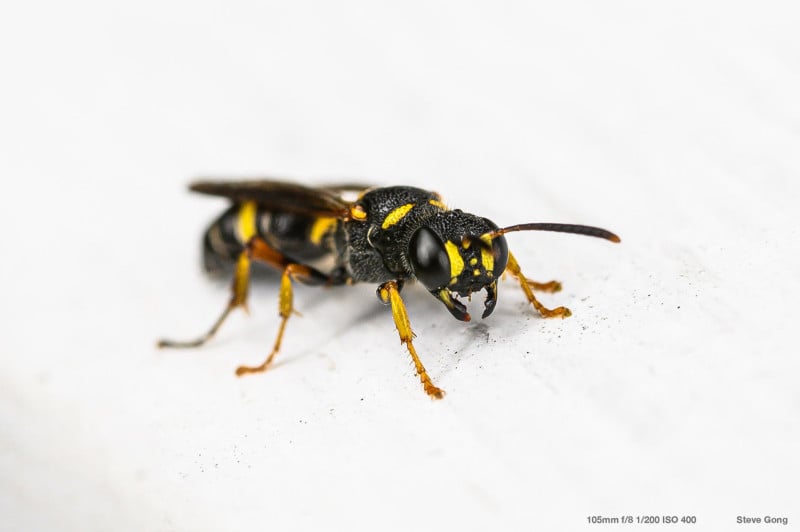
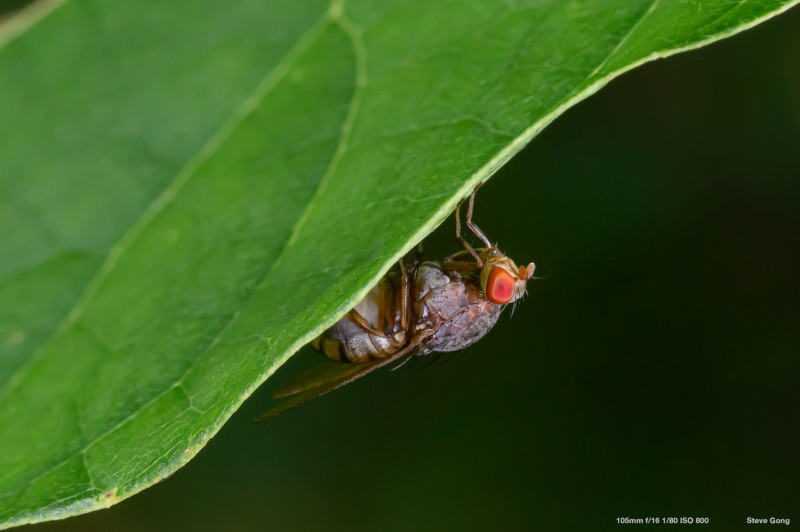
I was worried that the relative sizes of the flashes to the subject would not be large enough to give a soft-ish look (since the flashes are fairly small). The results exceeded my expectations, and I think they’re perfect for small subjects. I quite like the catchlights that it produces.
One of the variables you’re always fighting against when using a macro lens is having enough depth of field. The lens I was using is very old, and frankly, a pretty terrible lens. At f/11, I was getting very severe diffraction. More importantly, however, this meant that my ambient light: the light that falls on the background ended up often being rather dark. I compensated for this by using a higher ISO.
If I really wanted to get the highest image quality, I would have placed extra flashes to light up the background independently. I will try this in the future – the fact that the MT-MT24 supports multiple wireless flashes makes this easy. You can use any flash that has a slave flash mode and pair it with this system.
Battery and Power Management
The flash trigger uses two AA batteries while the flashes themselves each use two AAA batteries. I assume this decision was made to keep the flashes small and lightweight. I was worried that this would mean poor battery life, but I managed to fire off over 200 shots before the recharge time started to take a little longer. I believe most of these were close to full power flashes, as I was shooting at high apertures most of the time.
A unique feature is that you can recharge the AAA batteries by plugging a powered micro USB cable into the flash units while the batteries are installed.
Conclusion
As someone who doesn’t do macro photography full time, it would have been hard to justify $700 for the Nikon R1C1, which is why I never even considered a dedicated macro flash system. I’d say the Meike MK-MT24 makes it affordable enough for the macro photography enthusiast, or even a beginner looking to get good results with ease.
I believe the Meike actually has many improvements over the Nikon – it uses standard batteries, has better LED lighting, and most importantly is triggered over 2.4ghz wireless as opposed to infrared. I know that Canon also has a macro flash system, but theirs is wired – with wires going from the front flashes to the “trigger” sitting on top of the hotshoe.
I appreciate the fact that companies like Meike provide alternatives to leading brand equipment while often improving upon the design. This is a very solid macro flash system that exceeded my expectations. If you’re looking to get into macro photography with an easy to use setup, this is probably the best and most affordable option out there.
Full disclosure: I was sent the flash I tested for an impartial review. I was not paid to conduct or write this article.
About the author: Steve Gong is a photojournalist based in New York. The opinions expressed in this article are solely those of the author. Gong is known for his photos exposing life in North Korea and for his photojournalistic travels in more than 58 countries. You can find more of his work on his website, Facebook, and Instagram.