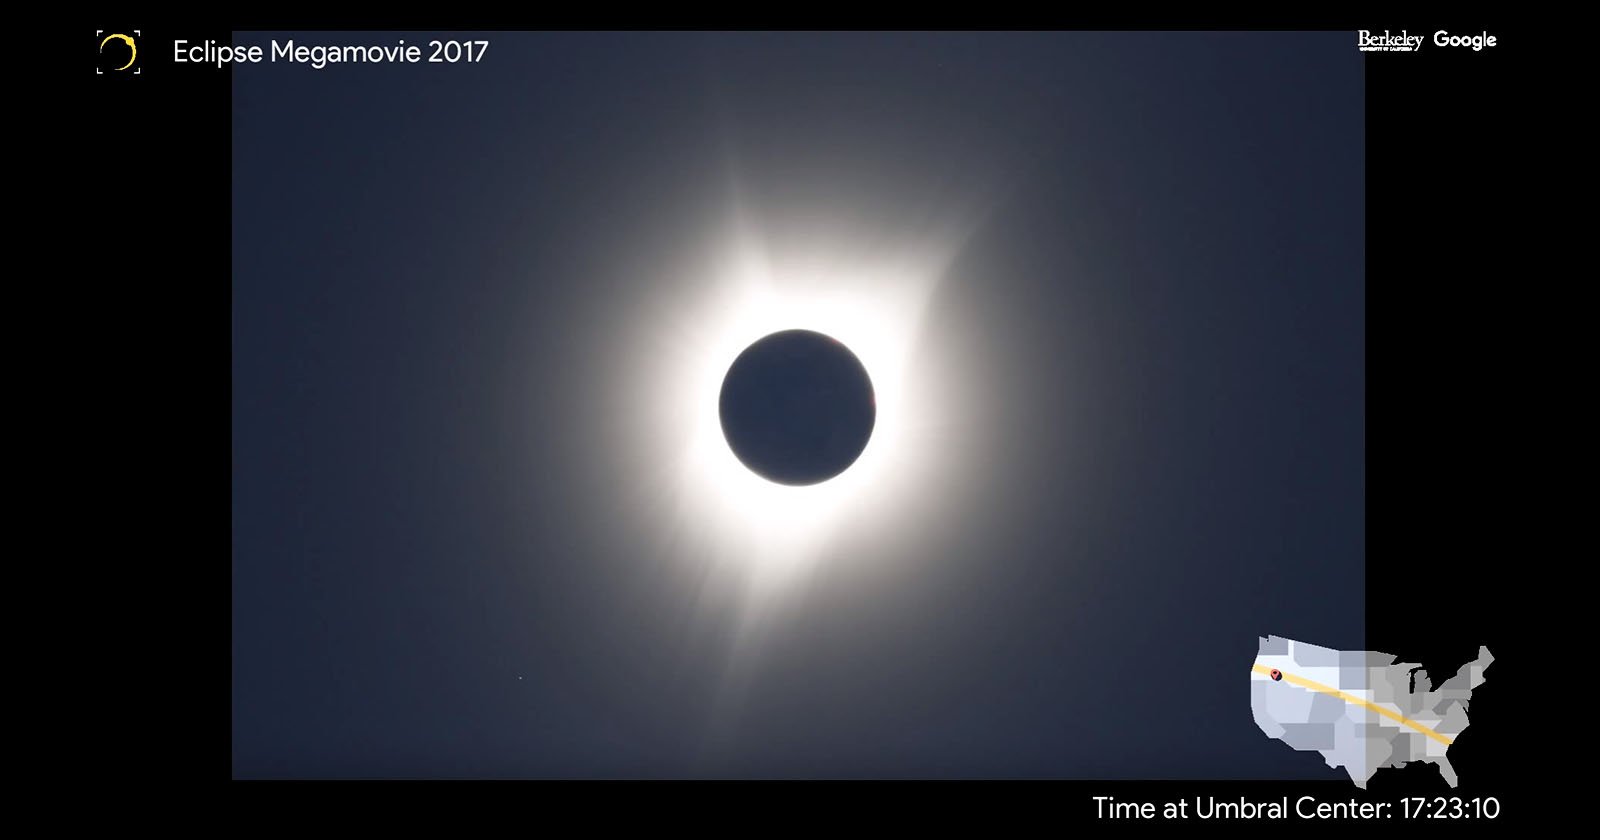
How I Shot a Time-Lapse of the Total Solar Eclipse in Argentina
One of the best things time-lapse photography has given me is my interest in astronomy. When I started shooting the night sky, I needed to learn basic astronomy in order to understand what I was photographing. Thanks to that, I was able to capture a time-lapse of the total solar eclipse this past July 2nd in Córdoba, Argentina.
The Planning
I’ve shot a time-lapse of a total lunar eclipse in the past, but when I got into planning for a solar eclipse I realized it was something completely different—specially because totality is something that happens really fast. Depending on where you are in the path of totality, it could even last less time than you might expect.
Thanks to the great help of Colin Legg, I was able to better understand what would happen photographically during totality:
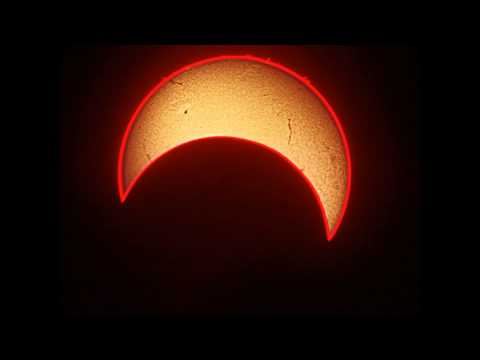
- To get a good time-lapse, it’s better to shoot several minutes before and after totality. Using a wide angle lens during partial phases, you can’t really appreciate any change in the light because the Sun is overexposed.
- During totality, the light drops about 10.5 stops in relation to the Sun at high noon.
With these two things in mind, I just needed to test my cameras and make sure I wouldn’t have buffer issues, since I would be using very short intervals.
As always, I used the NASA eclipse website to check dates and times since I trust their information completely. Then I checked the places where totality would happen on a website created specifically for this purpose by the Universidad Nacional de Córdoba.
Finally, I used the PhotoPills planning app to again confirm locations and exact times of totality in Almafuerte, Córdoba, where I was going to shoot the time-lapse.
Once I did the pre-scouting, we went with a friend to Almafuerte a week before eclipse day to scout for compositions in the area. Luckily, we found a pretty calm place away from the crowds—my biggest fear was that people would cross in front of the camera during the time-lapse. Just one single frame with a person in the middle of the shot could completely ruin months of work.
In Almafuerte, I once again used PhotoPills to check the composition using the augmented reality feature to confirm the position of the Sun during totality. With this, I had everything I needed to shoot the time-lapse; I just needed to wait for the day of the eclipse.
Problems… Because There are Always Problems
While testing my cameras—a Canon 6D and a Canon 60D—I noticed that the fastest interval I was able to use was 1 second. Since this was a unique event that wouldn’t happen again for many years, I decided to rent a third backup camera in case something went wrong, so I went for a Canon 5D Mark III. Knowing that this is a high-end camera (read: better than mine) I assumed it would also be able to use a 1 second interval with no issues, but to my surprise this wasn’t the case.
Unfortunately, the camera had buffer issues when trying to use a short interval, and the worst part is that I only realized this moments after receiving my rental, since I wasn’t able to test it beforehand. I had to go with a 2-second interval on that camera, which meant capturing only half the footage. For my specific needs, the camera was a huge disappointment—having a better buffer on the 60D is just ridiculous.
I realize I should have tested the camera before, but I didn’t think it would be an issue since it was a higher-end camera than the ones I own. Now I know better.
The Post-Production
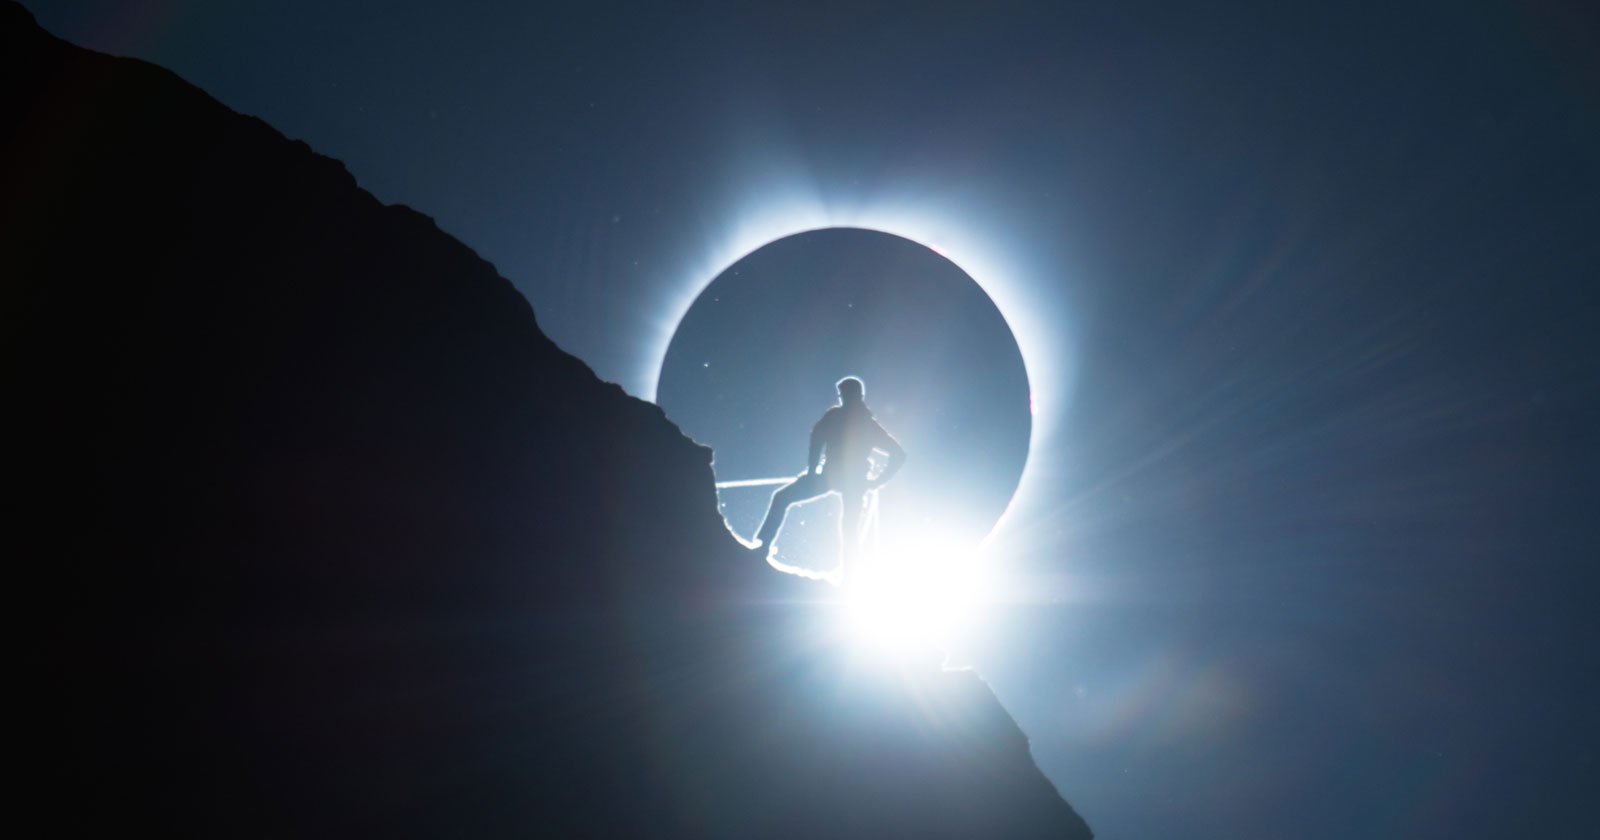
I automated everything for the time-lapse, because Colin told me it would be better that way. “I’ve seen six eclipses and it affects me every time”, he said. And he was so right, I couldn’t believe what I was seeing during totality. I wouldn’t have been able to change settings on all the cameras if I had used Manual mode.
Because of this, I had to smooth lots of exposure jumps in post-production, which took me a whole day of editing (I have a slow computer). I did renders the second day (it takes about 1 hour per render), and on the third day I did some color correction and stretched the time-lapse so totality wouldn’t end quite so quickly. The fourth day was for cutting.
The Gear
- Time-lapse: Canon 6D, Canon 60D, Canon 5D3, Canon 70-200 f/4, Canon Extender 2x, Samyang 24mm f/1.4, Sigma 14-24 f/2.8, Timelapse+ VIEW, DIY solar filter, 6 stop ND filter
- Software: Magic Lantern, PhotoPills, phone compass
- Pictures Taken: 2895
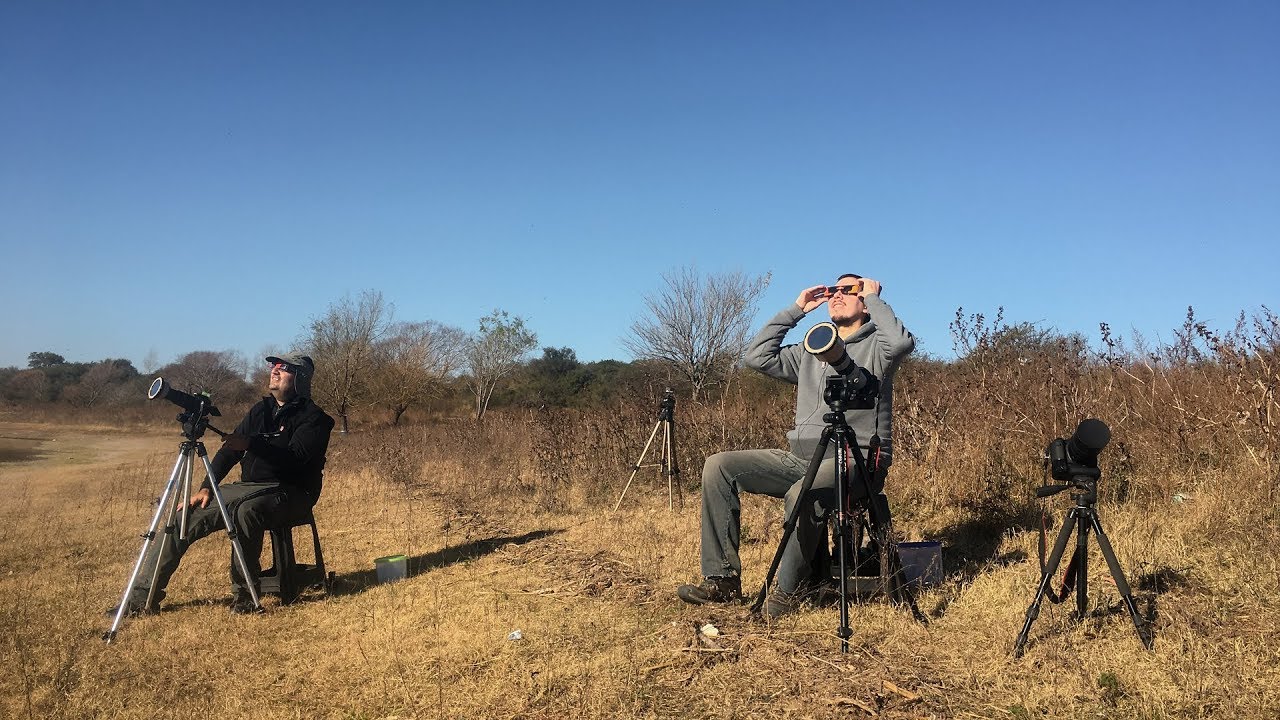
Behind the Scenes
I made a vlog (in Spanish) about the whole experience that’s not so technical. You can watch that below:
About the author: Leandro Pérez is a self-taught landscape photographer specializing in astrophotography and time-lapse. To see more of his work, visit his website or follow him on Instagram and Facebook. This article was originally published here, and was translated by the author and republished with permission.