Three Months with the Panasonic S1R
If you’re wondering why someone who loves Sigma cameras and gets called the ‘Foveon Wizard’ by his peers is writing about the Panasonic Lumix S1R, I need to take you back to 2007.
Back then, my love for gadgets and tech related things eventually lead me to buying a Panasonic Lumix Fz8, a small bridge camera with 36-432mm f/2.8-3.2 zoom lens. That was my first entry in to the world of photography.
It was then I discovered that I didn’t just enjoy capturing moments in time, but also crafting them by adding my own light. My first ever off-camera flash photo was with the Fz8 using a long exposure and the Xeon flash from my old smartphone back when that was a thing:

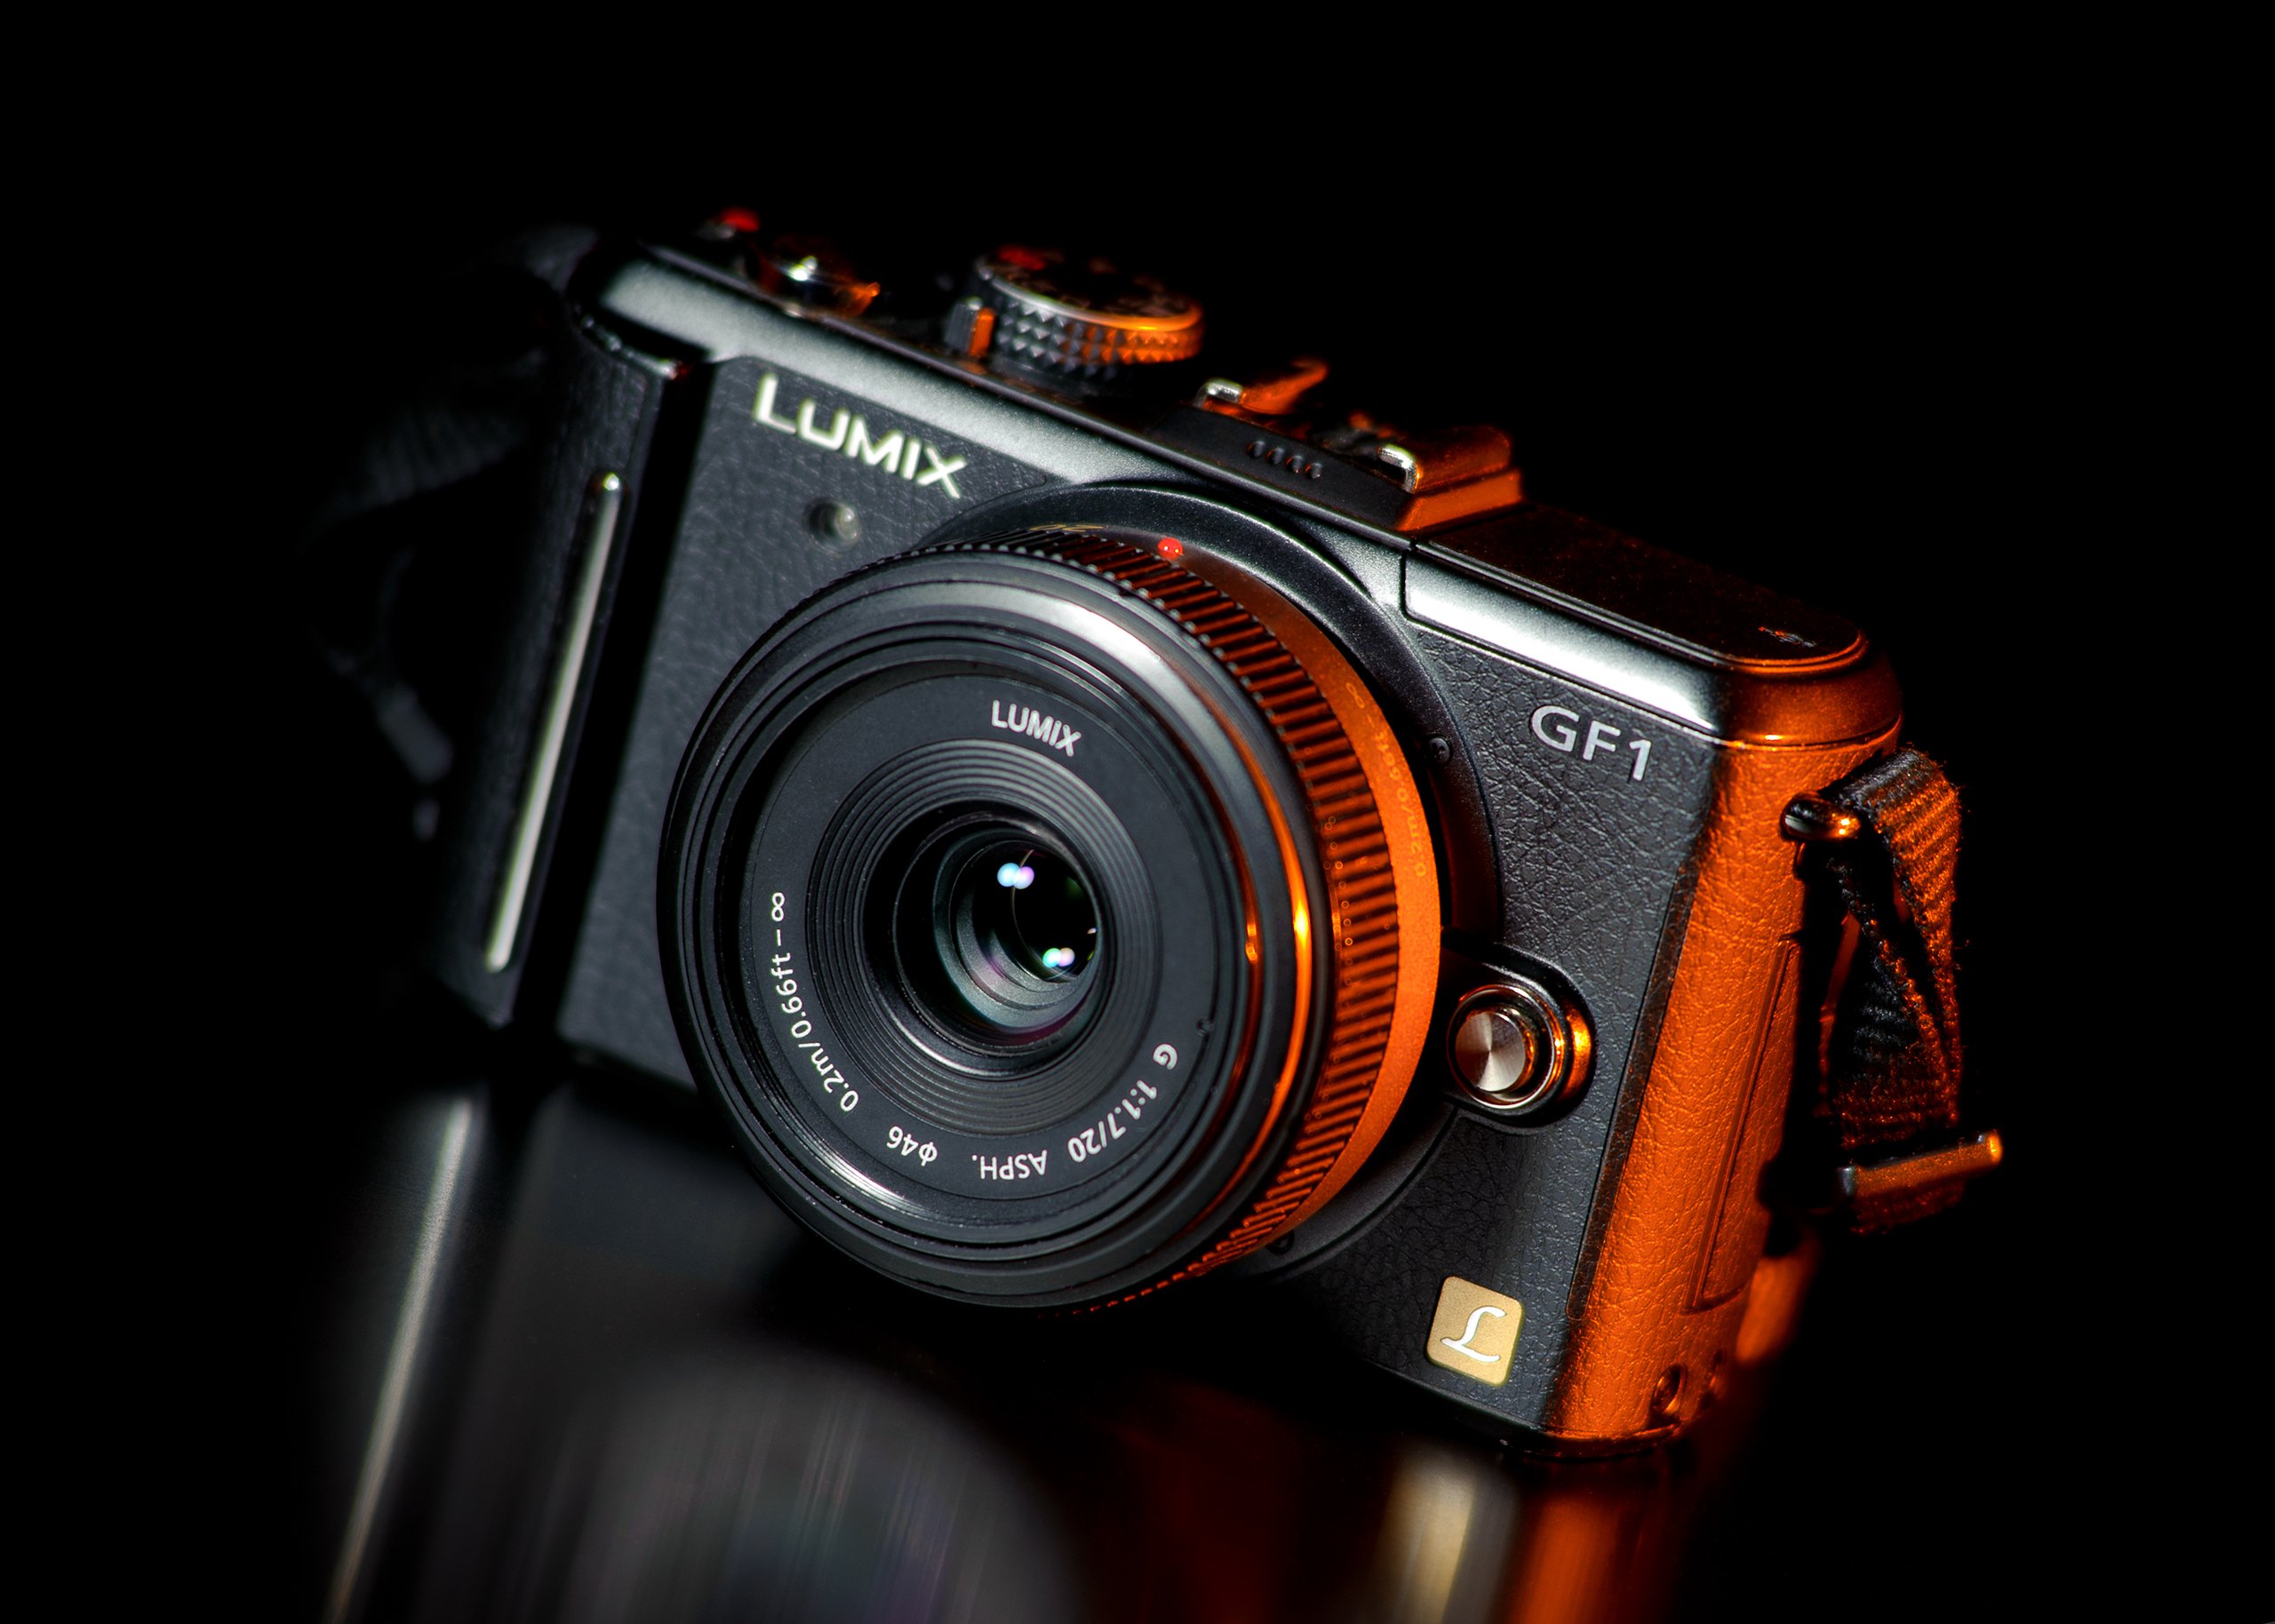
From there, I upgraded to a DSLR. This let me be much more creative and use a wireless flash, but I wanted something smaller for everyday stuff and eventually bought my first mirrorless camera back in 2009: a Panasonic Lumix GF1.
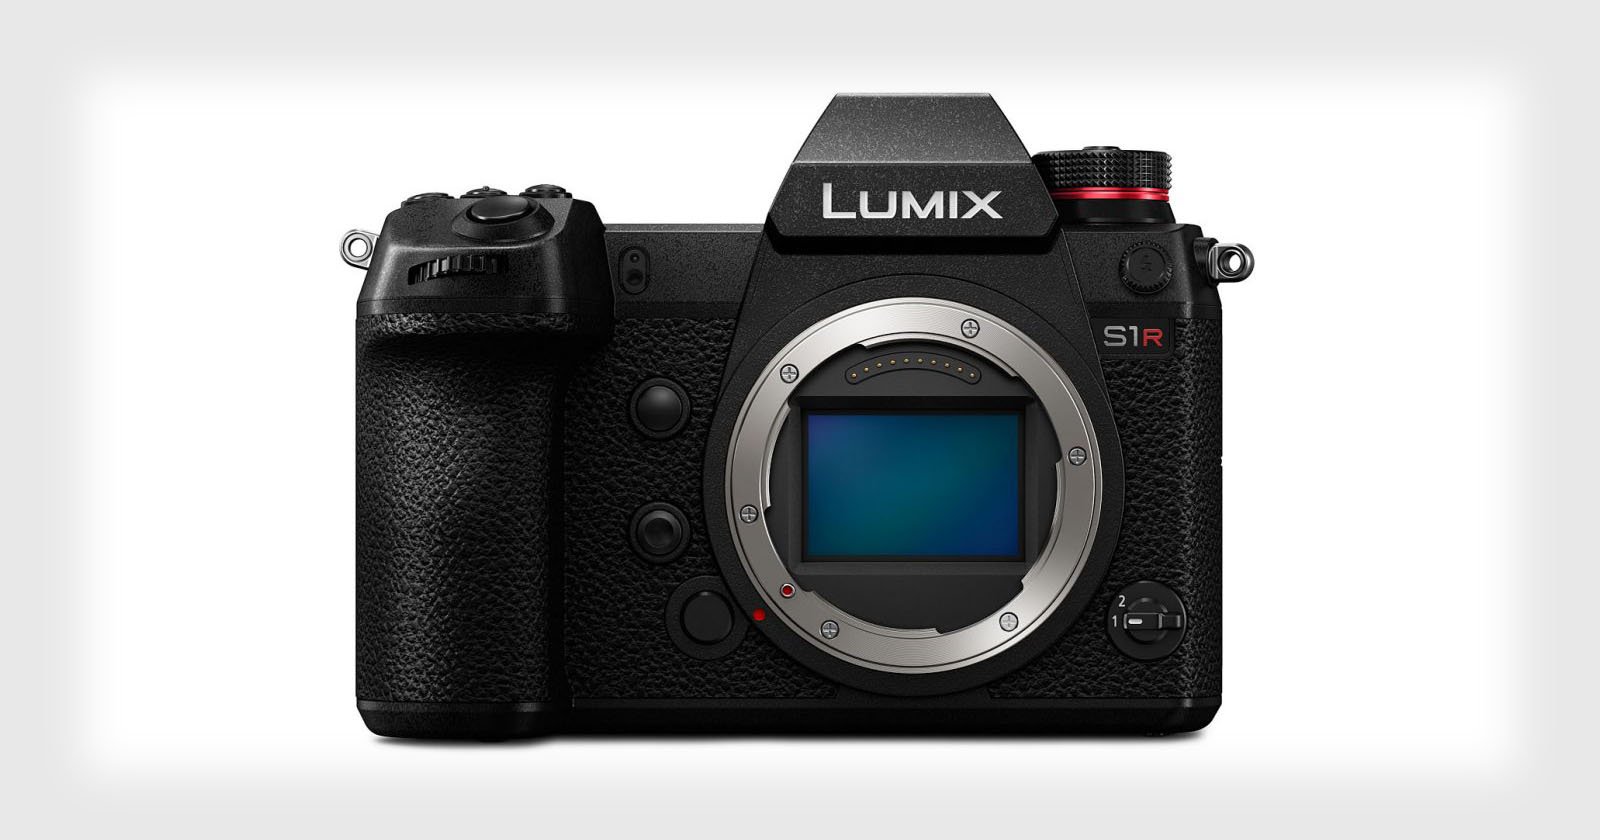
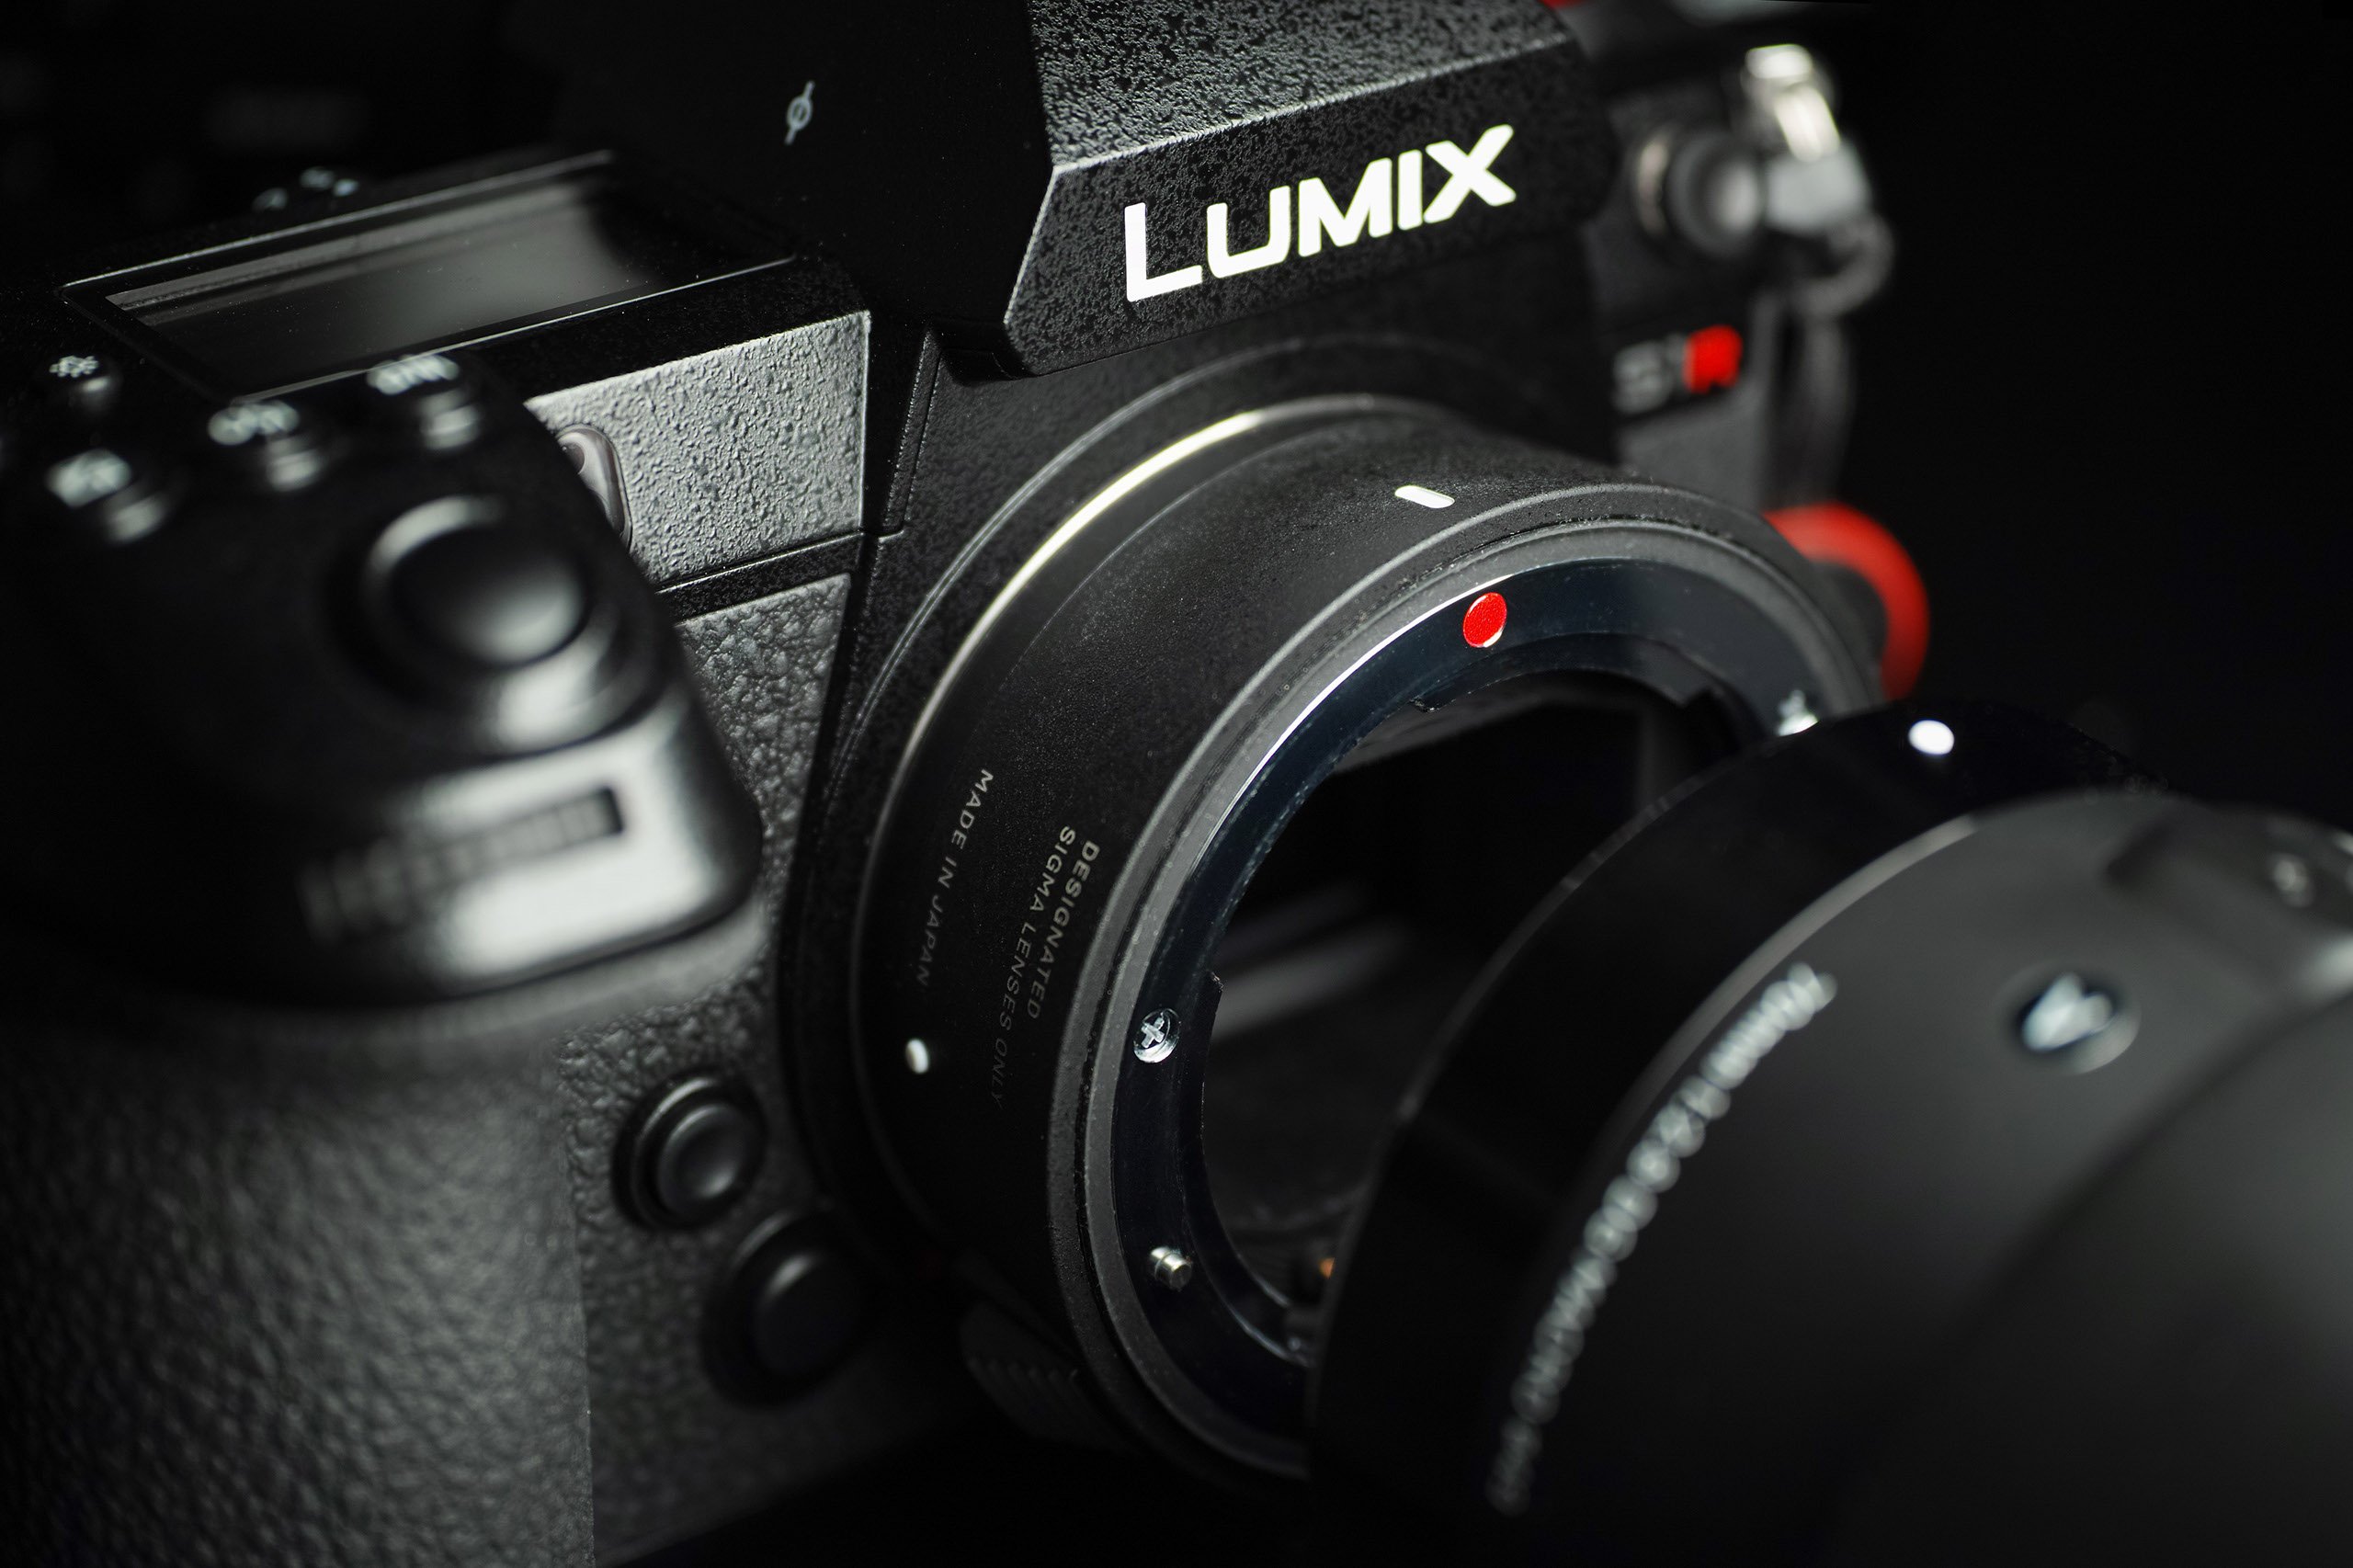
Panasonic cameras have always been a part of my photography as I grew, so when Panasonic, Sigma and Leica announced the new L-Mount Alliance, I got excited and reached out to Panasonic UK to see if I could try their first full-frame mirrorless L-Mount camera, the Lumix S1R.
The S1R wasn’t my first full-frame mirrorless camera. That title goes to my little Sony a7 II, which has been a fantastic camera when I needed more speed or high ISO than my Sigma sdQ-H can give, but that didn’t stop the excitement I felt when the S1R arrived. It’s clear Panasonic have been busy!
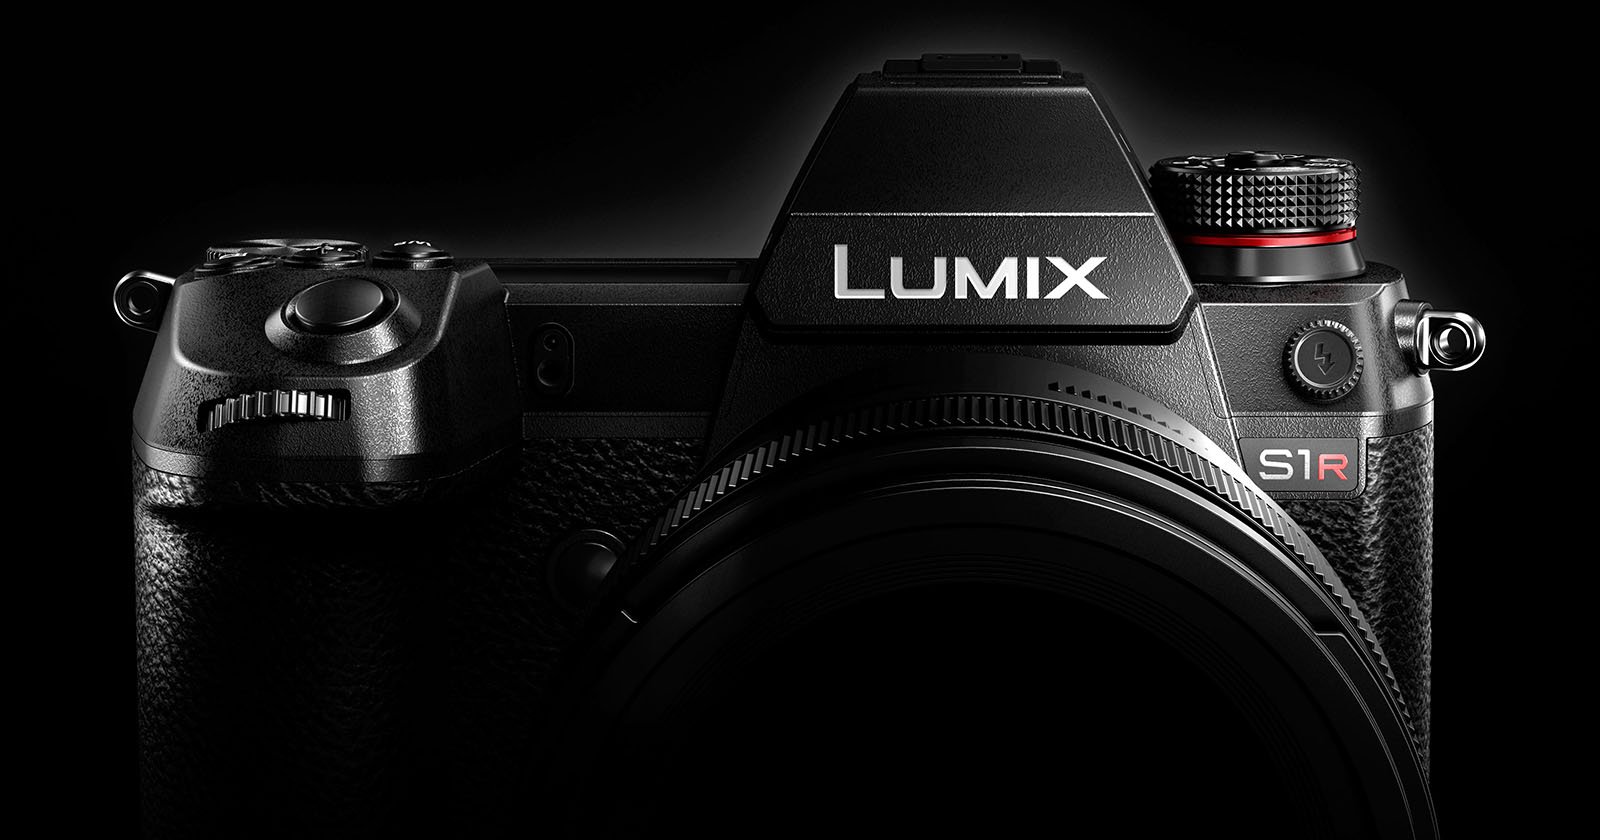
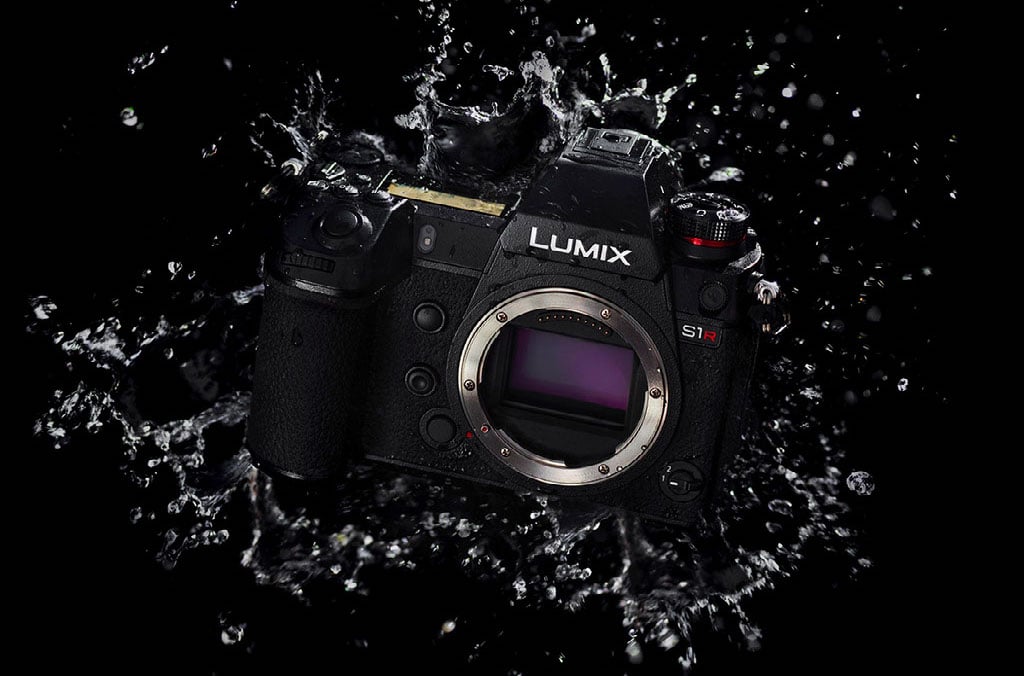
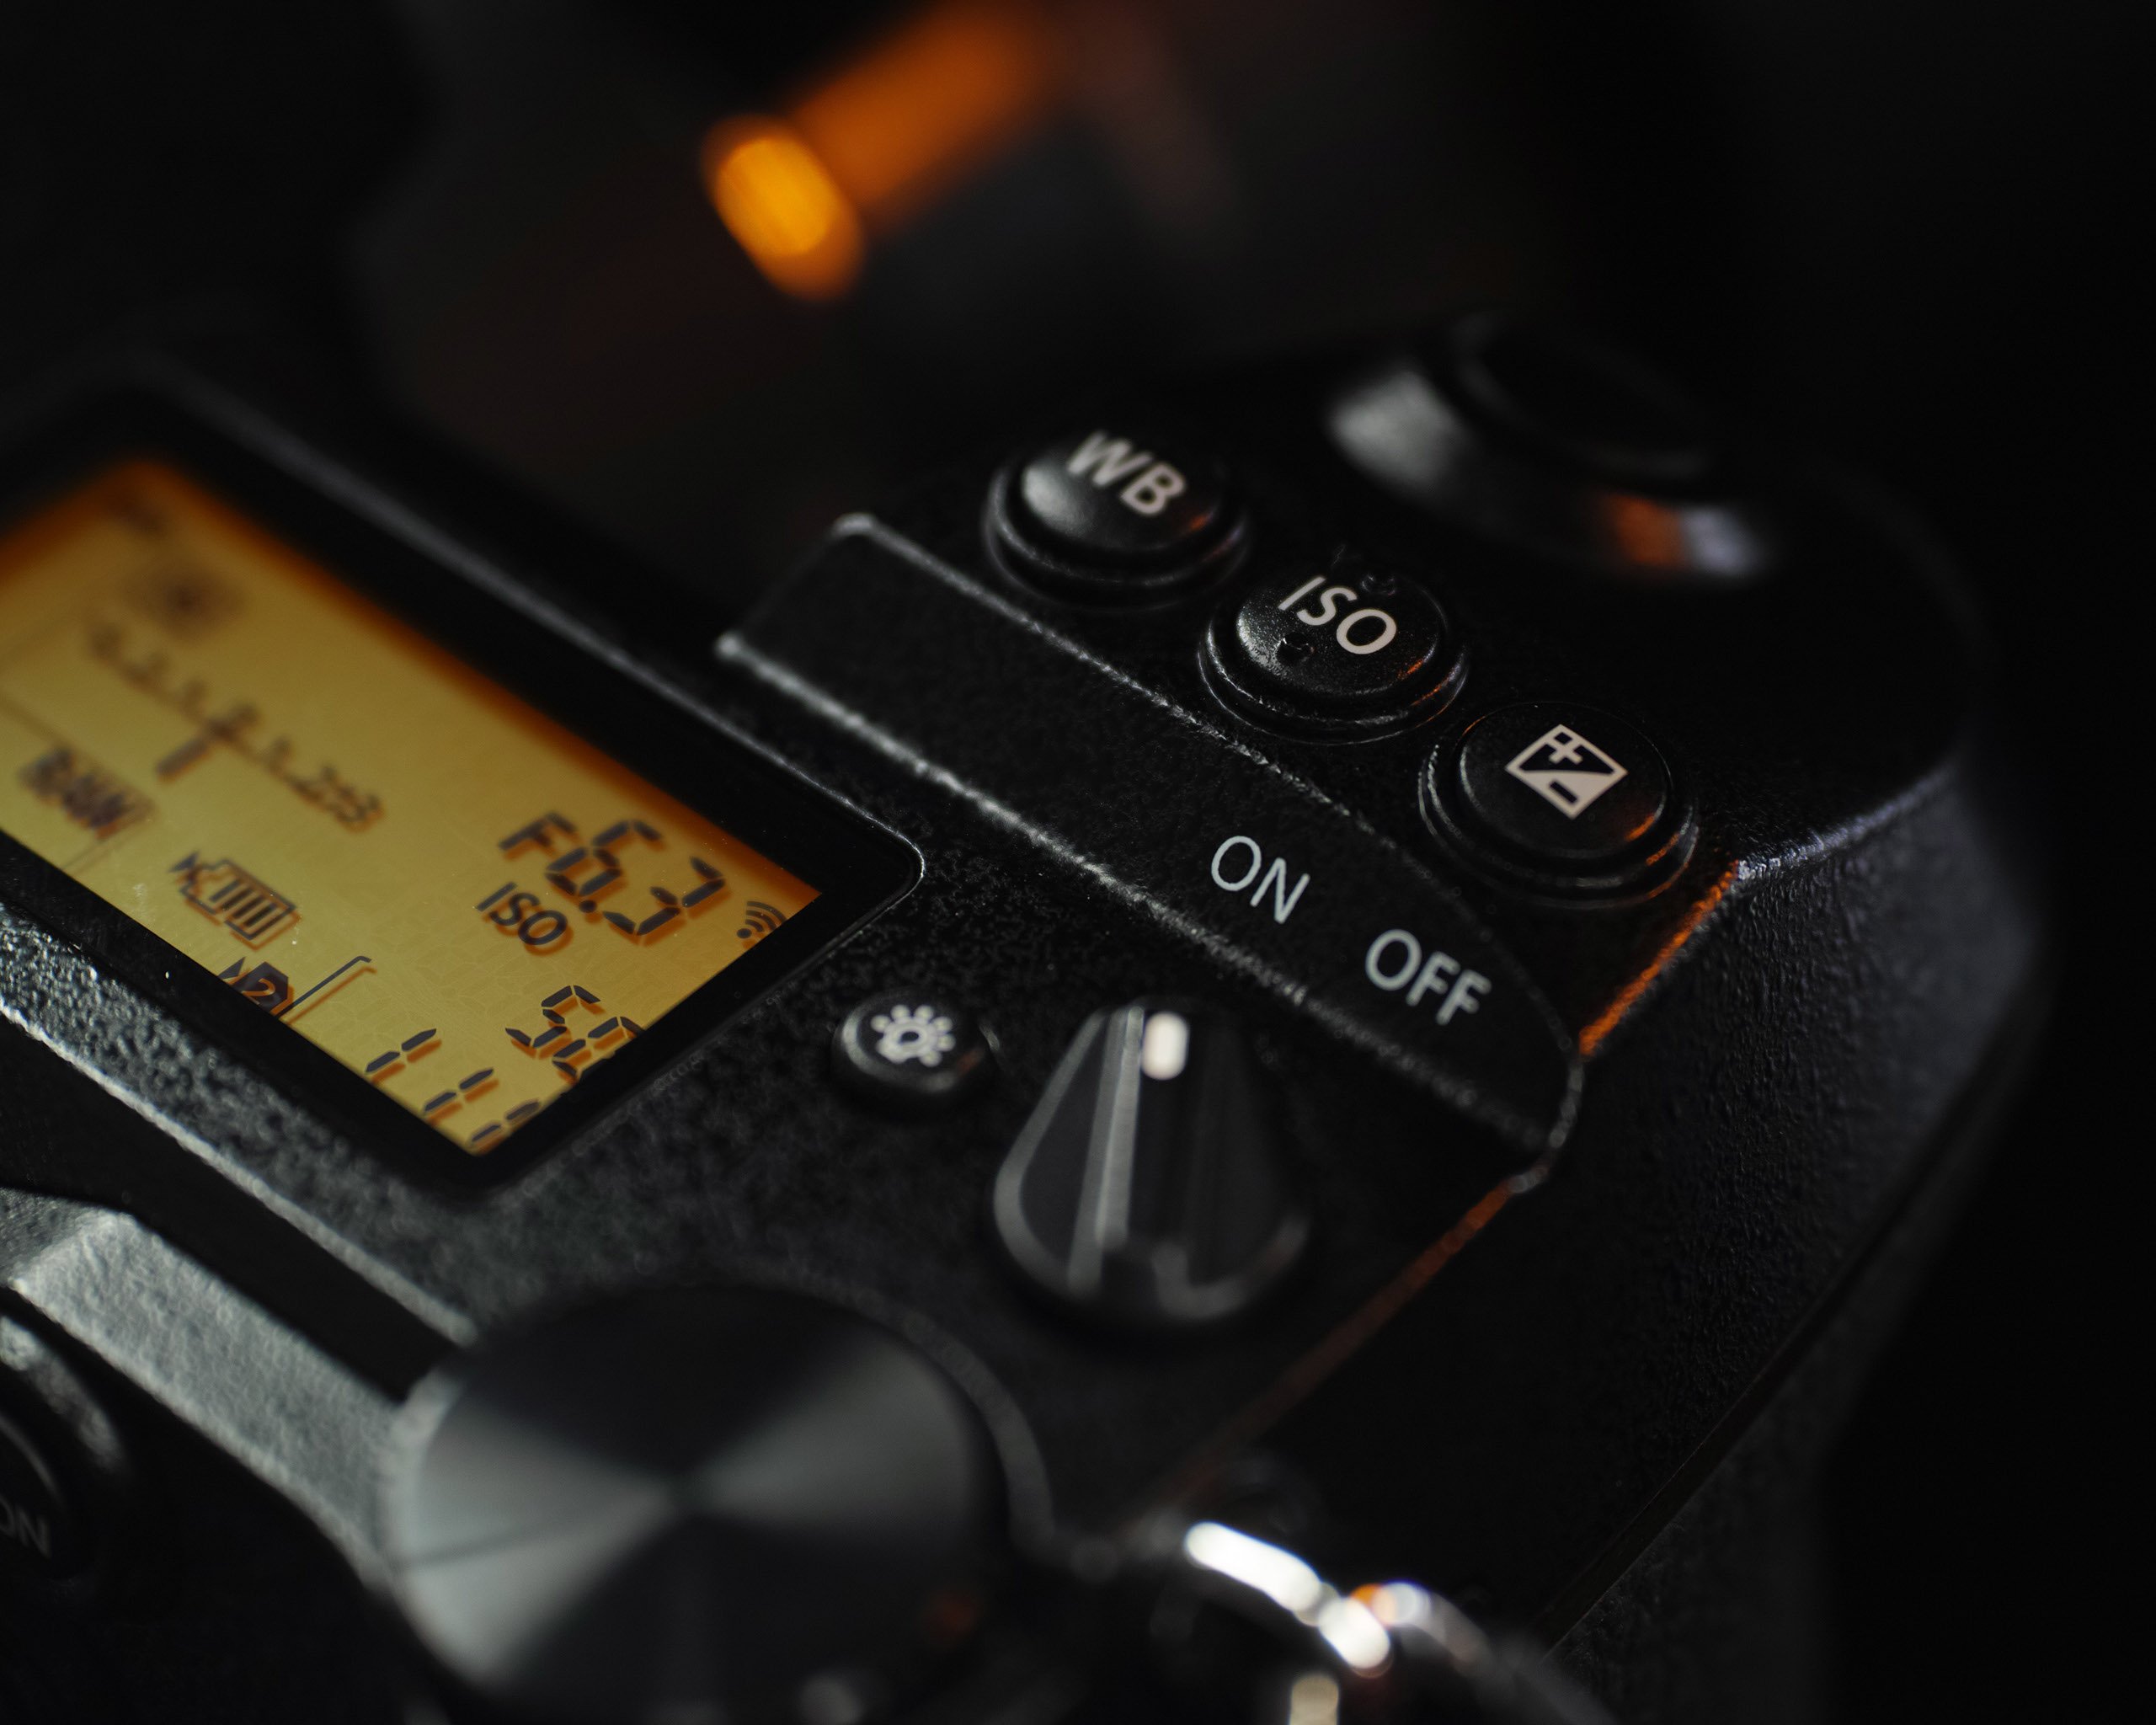
The S1 and S1R are Panasonic’s high-end entry into the L-Mount system, and just holding it, the camera feels like a pro-level DSLR instead of a mirrorless.
While it is bigger and heavier than my older Sony a7 II, it feels much better built with a weather-sealed body that offers more controls and features, along with a 47MP sensor that can use the IBIS to generate impressive 187MP images. Of course, this is also reflected in the price at around £3,400.
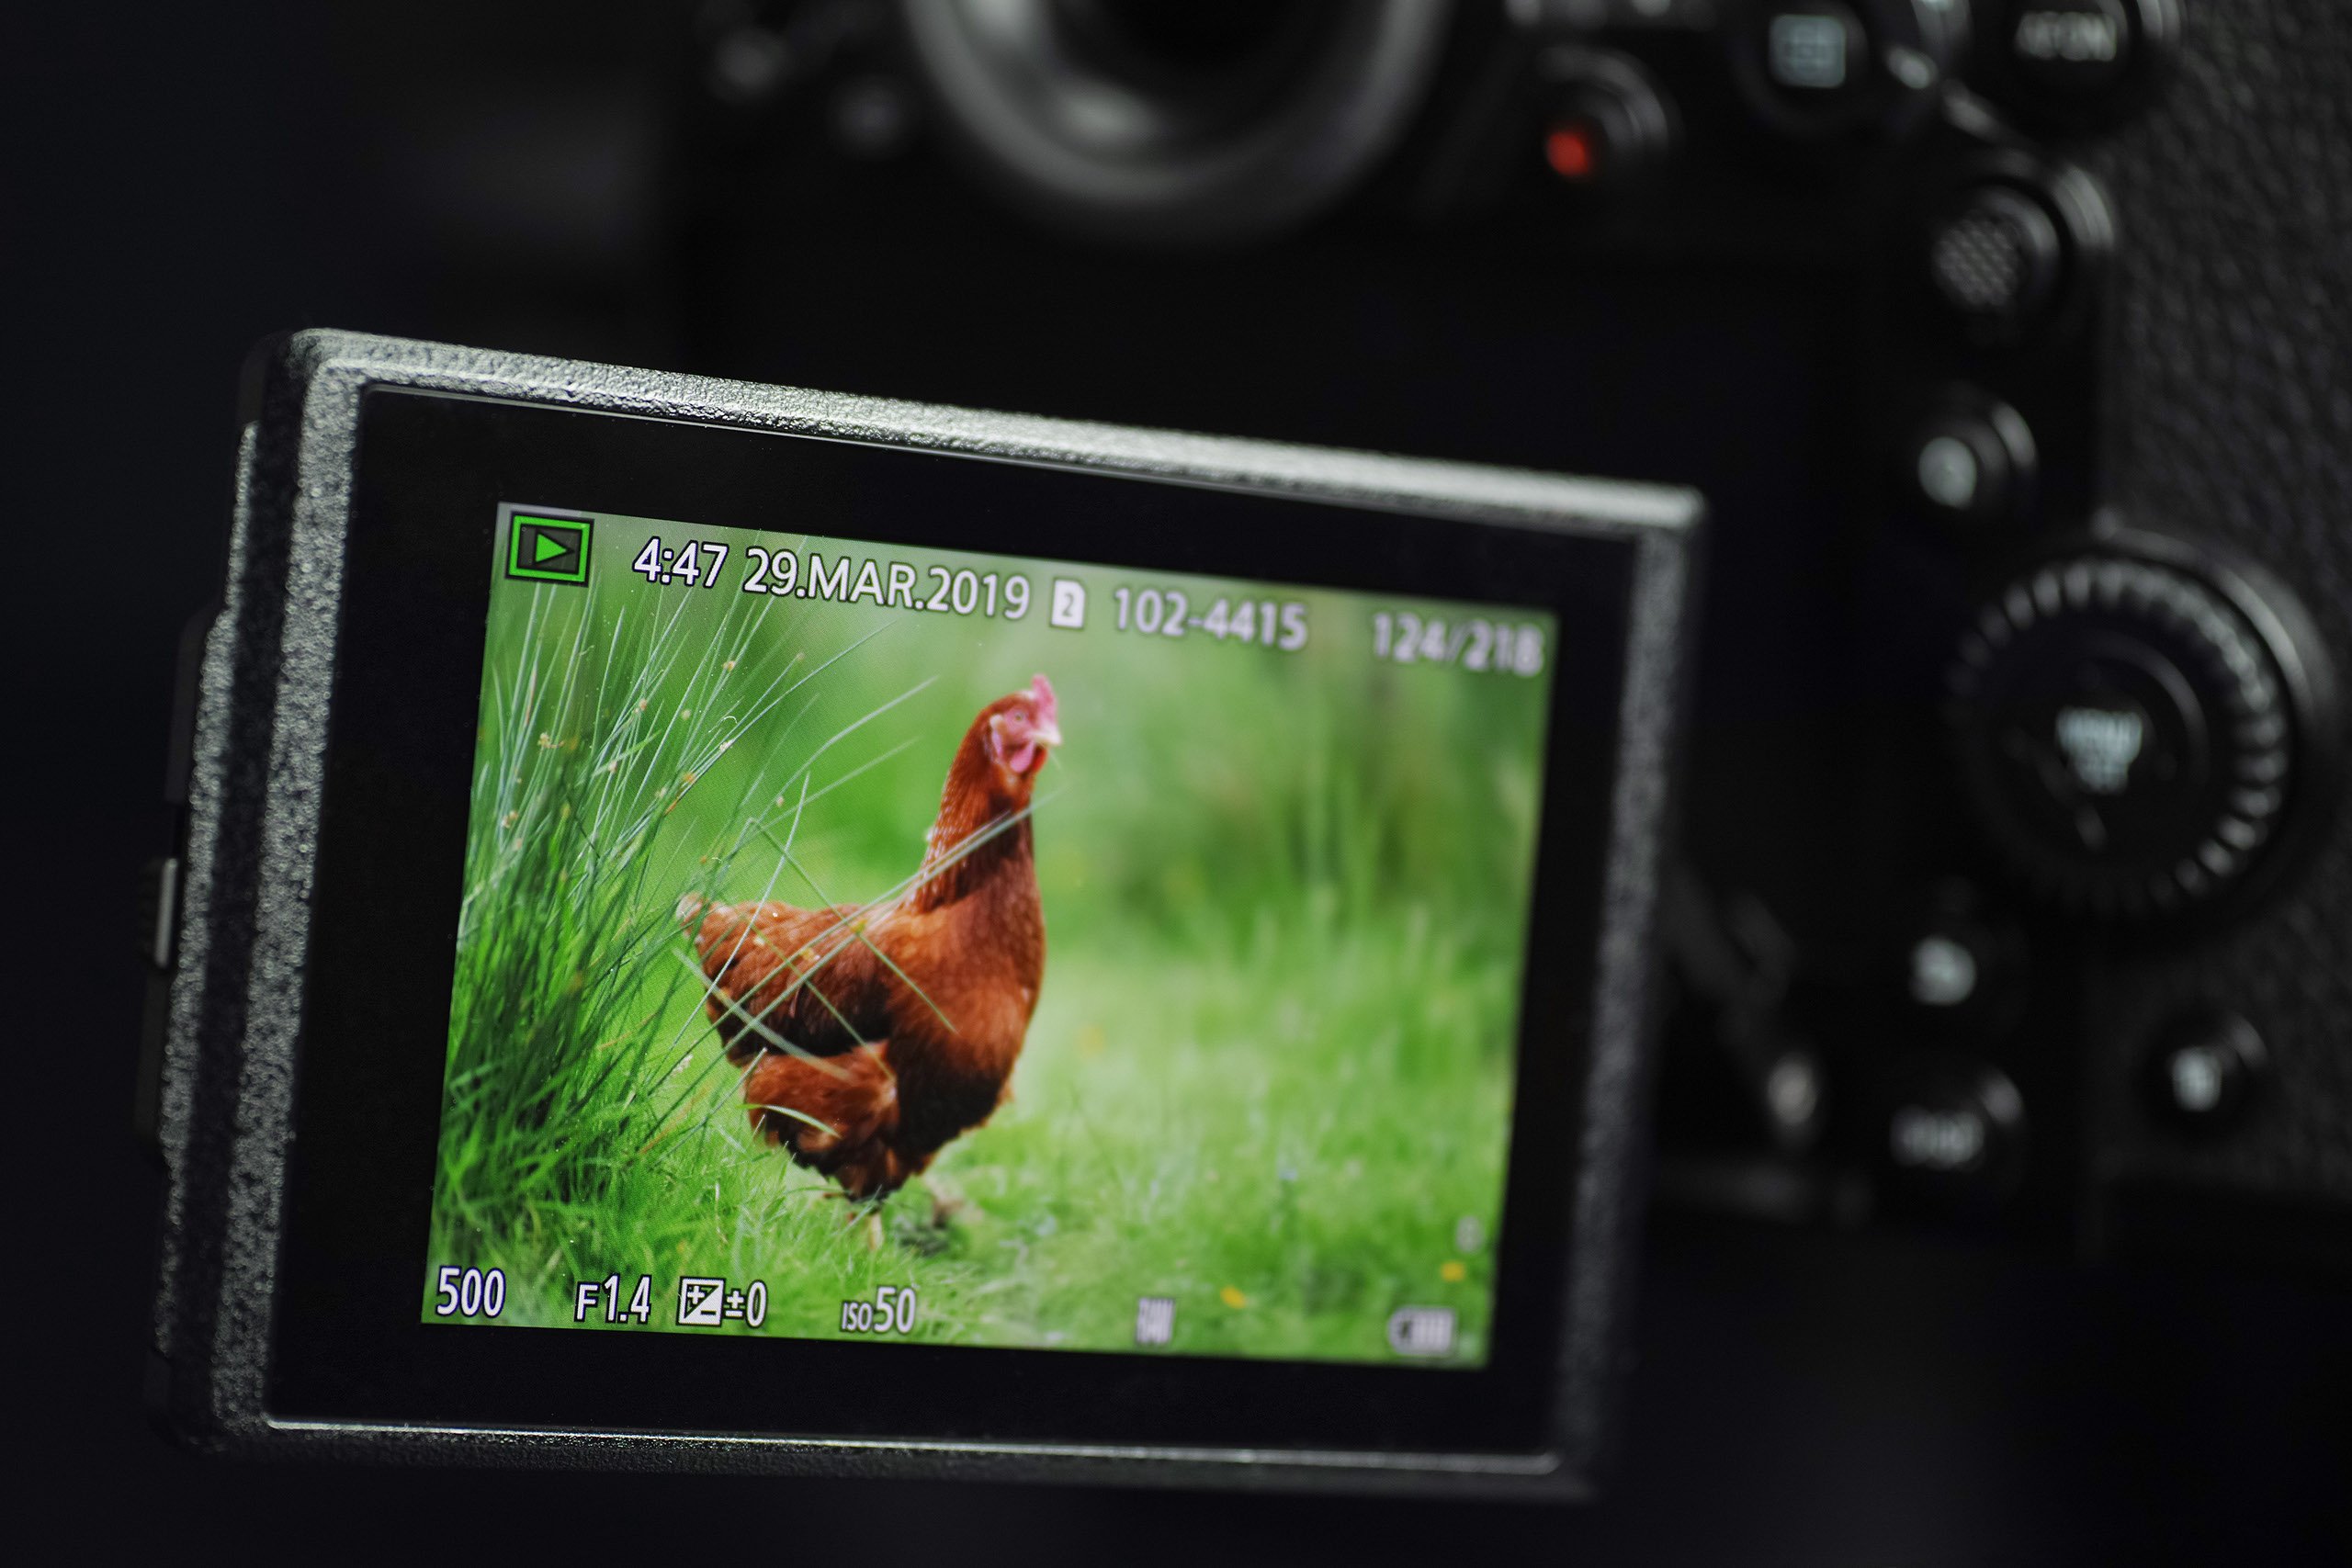
The EVF is the highest resolution around, more than doubling that of the Sony a7 III, and it really makes a difference when viewing the world through it. I understand EVFs are not for everyone, but they do offer many benefits over OVF like focus peaking, picture in picture zooming in on the focus area, and real-time exposure preview if needed.
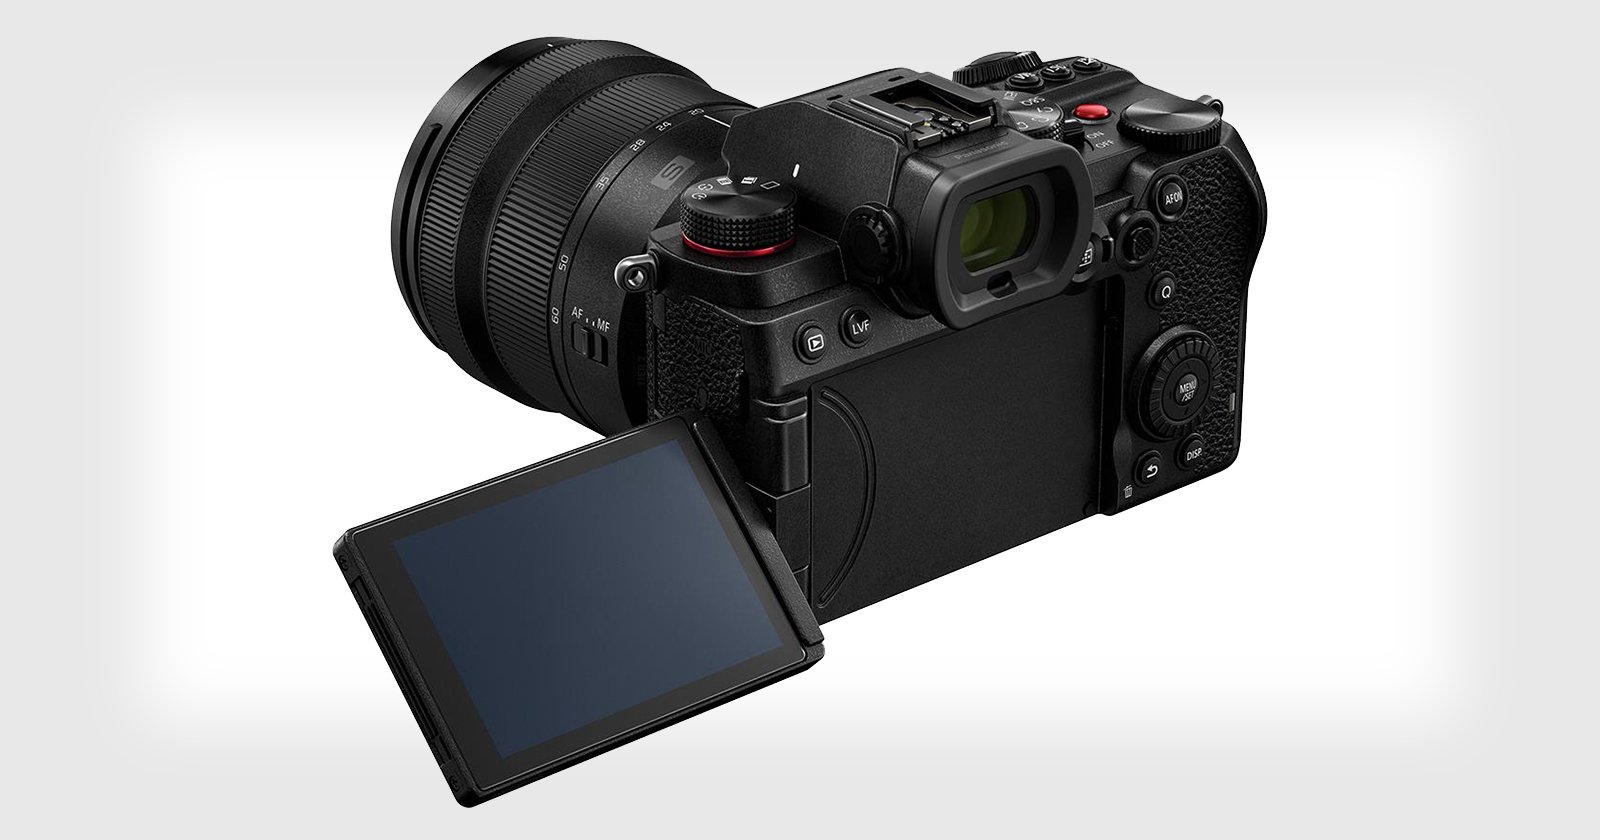
Another nice feature is the rear LED touch screen that can pull out, up, down and also to the right, which is great for macro or if using the camera in portrait mode low down.
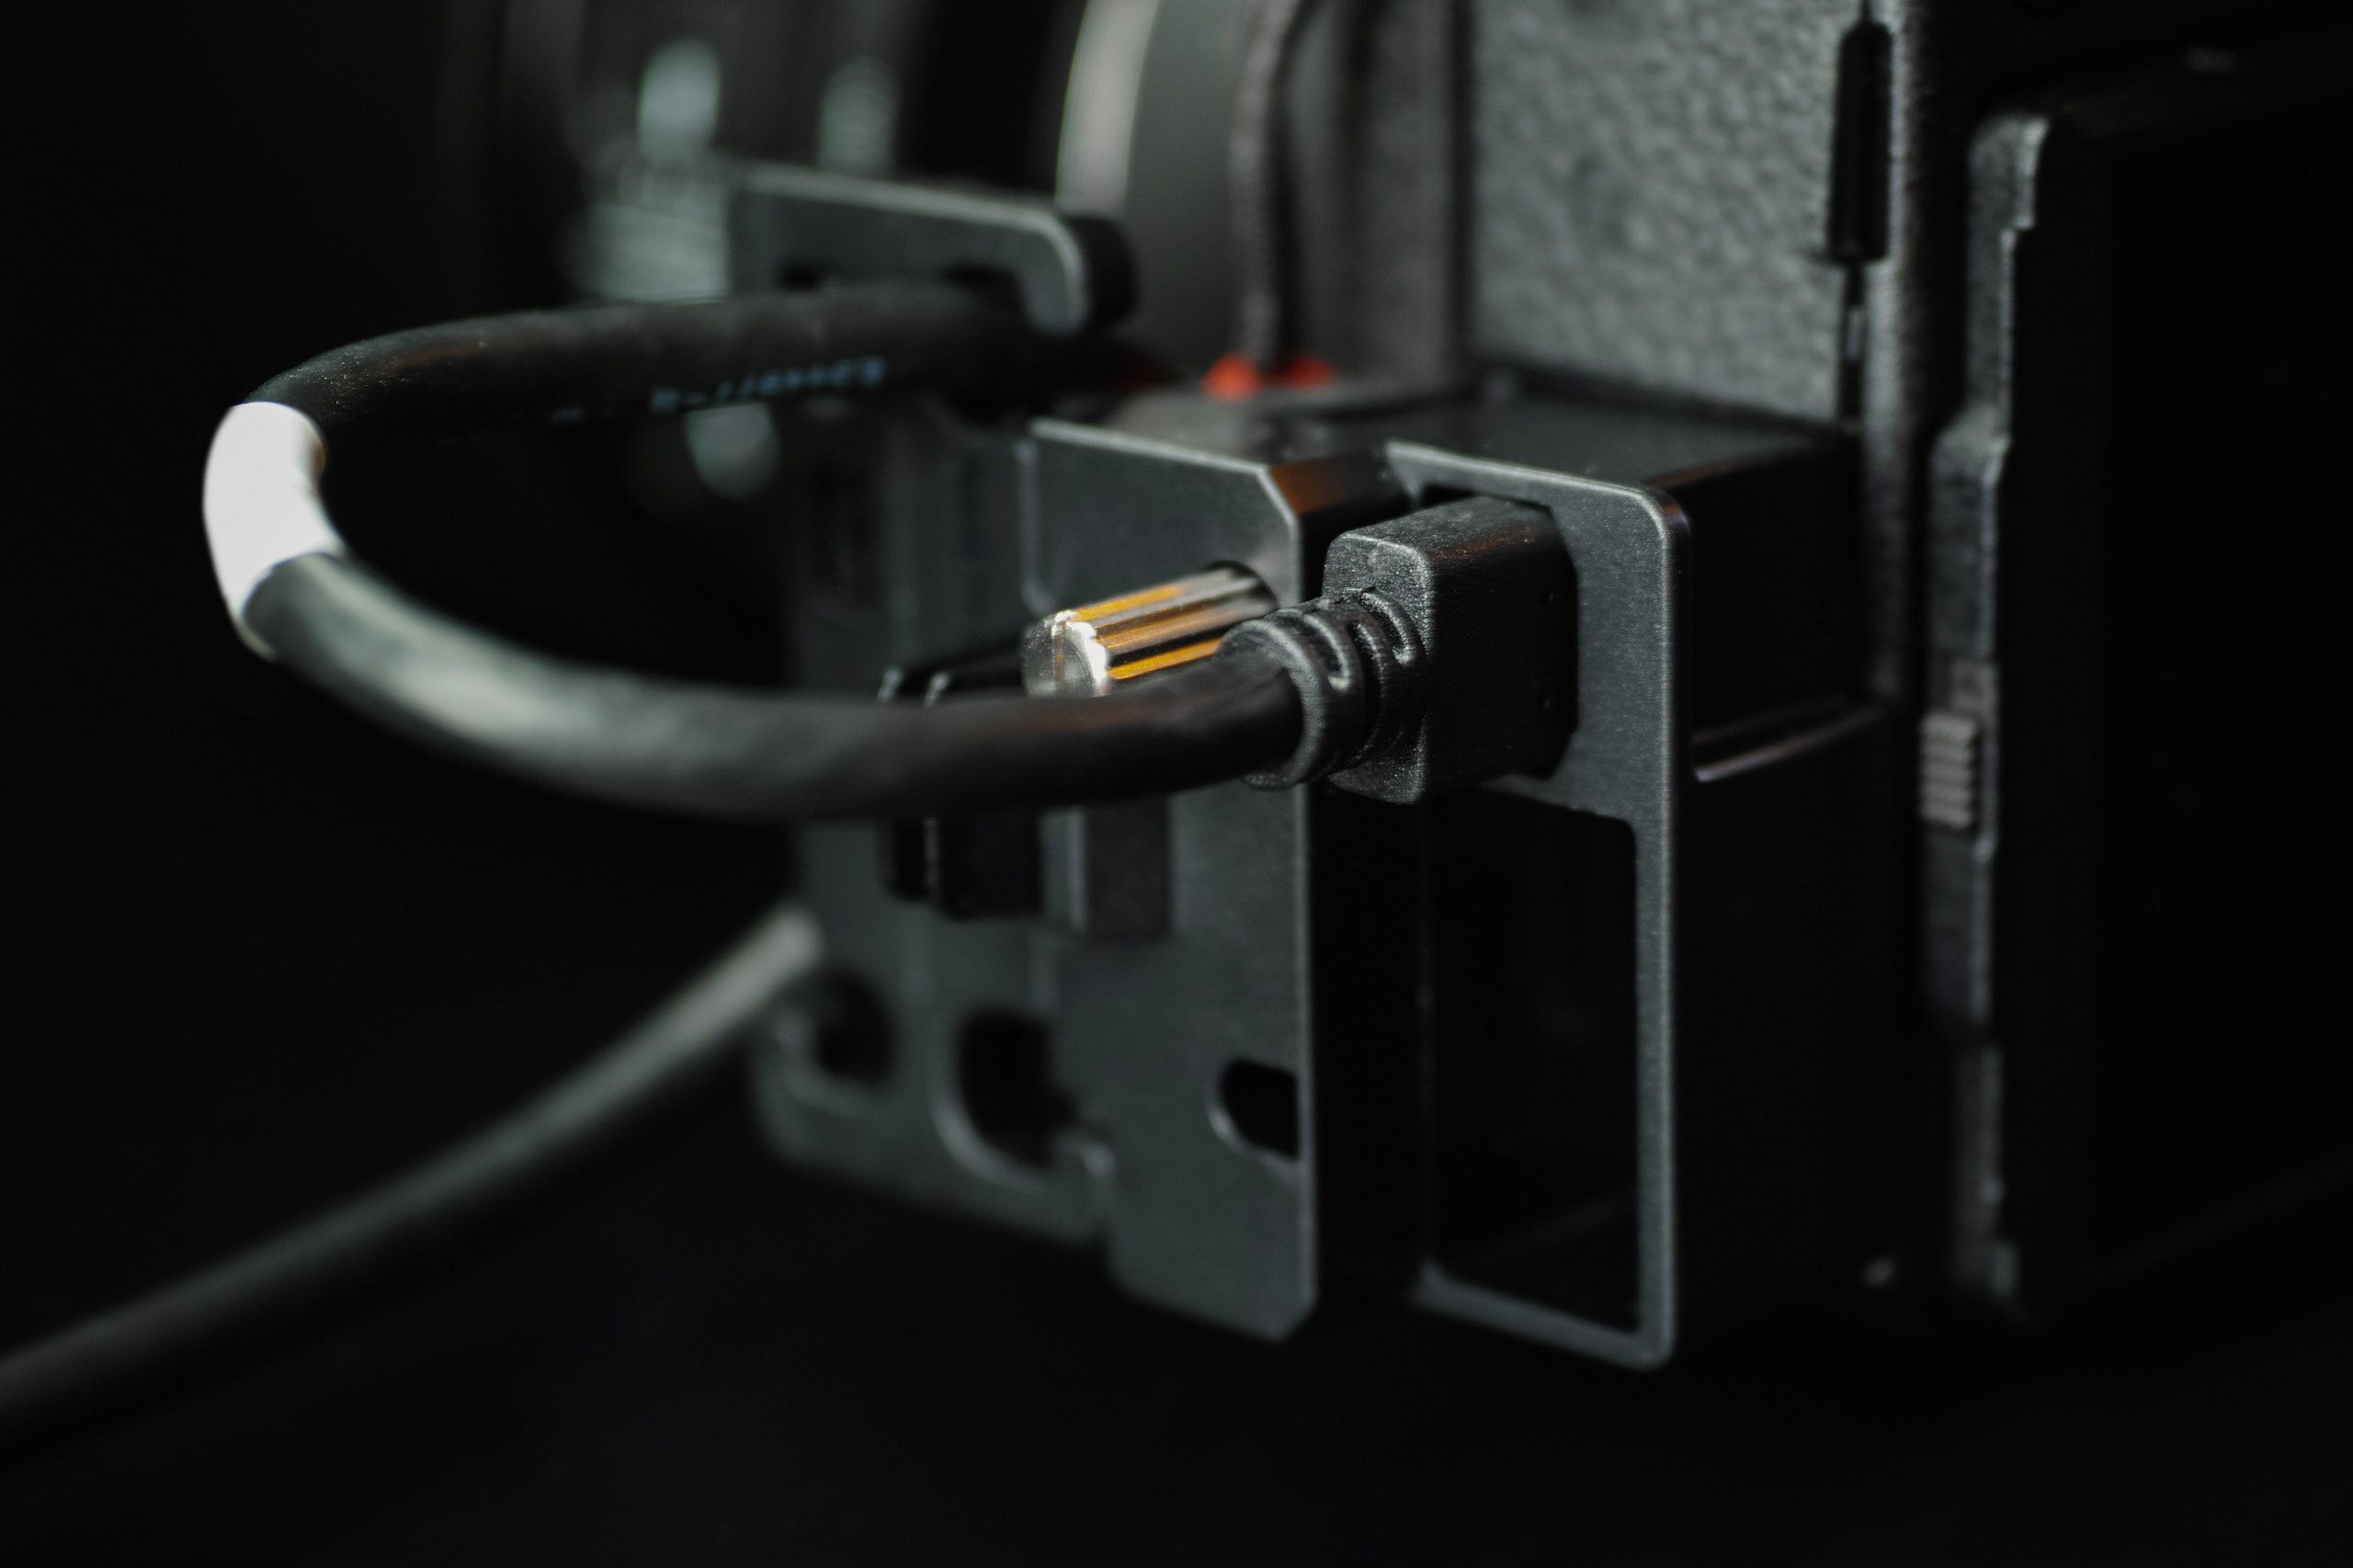
The camera also supports remote control shooting over WiFi or full tethering over USB-C, and is supplied with this little screw-in mount to secure both the USB-C and HMDI wires when in use.
The camera can also be supplied with power while in use via the USB-C port, allowing you to use a power bank for extended shooting or simply top up the battery on location.
There are just so many nice little well-thought-out things about this camera that you appreciate the more time you spent with it. I have to say it’s possibly the best thought out camera I have had the joy of using over the years.
Since I am a Sigma Ambassador, I will be using the camera along with the Sigma MC-21 adaptor, which does sadly limit some features of the camera (mostly AF-C). You can read more in-depth about that on the Sigma UK Lounge, but to cut a long story short, using a proper L-Mount lens will open up what this camera can really do.
Still, using the Sigma SA lenses on the camera is simple and suits most of my photographic needs—just attach the MC-21, the lens and you’re good to go.
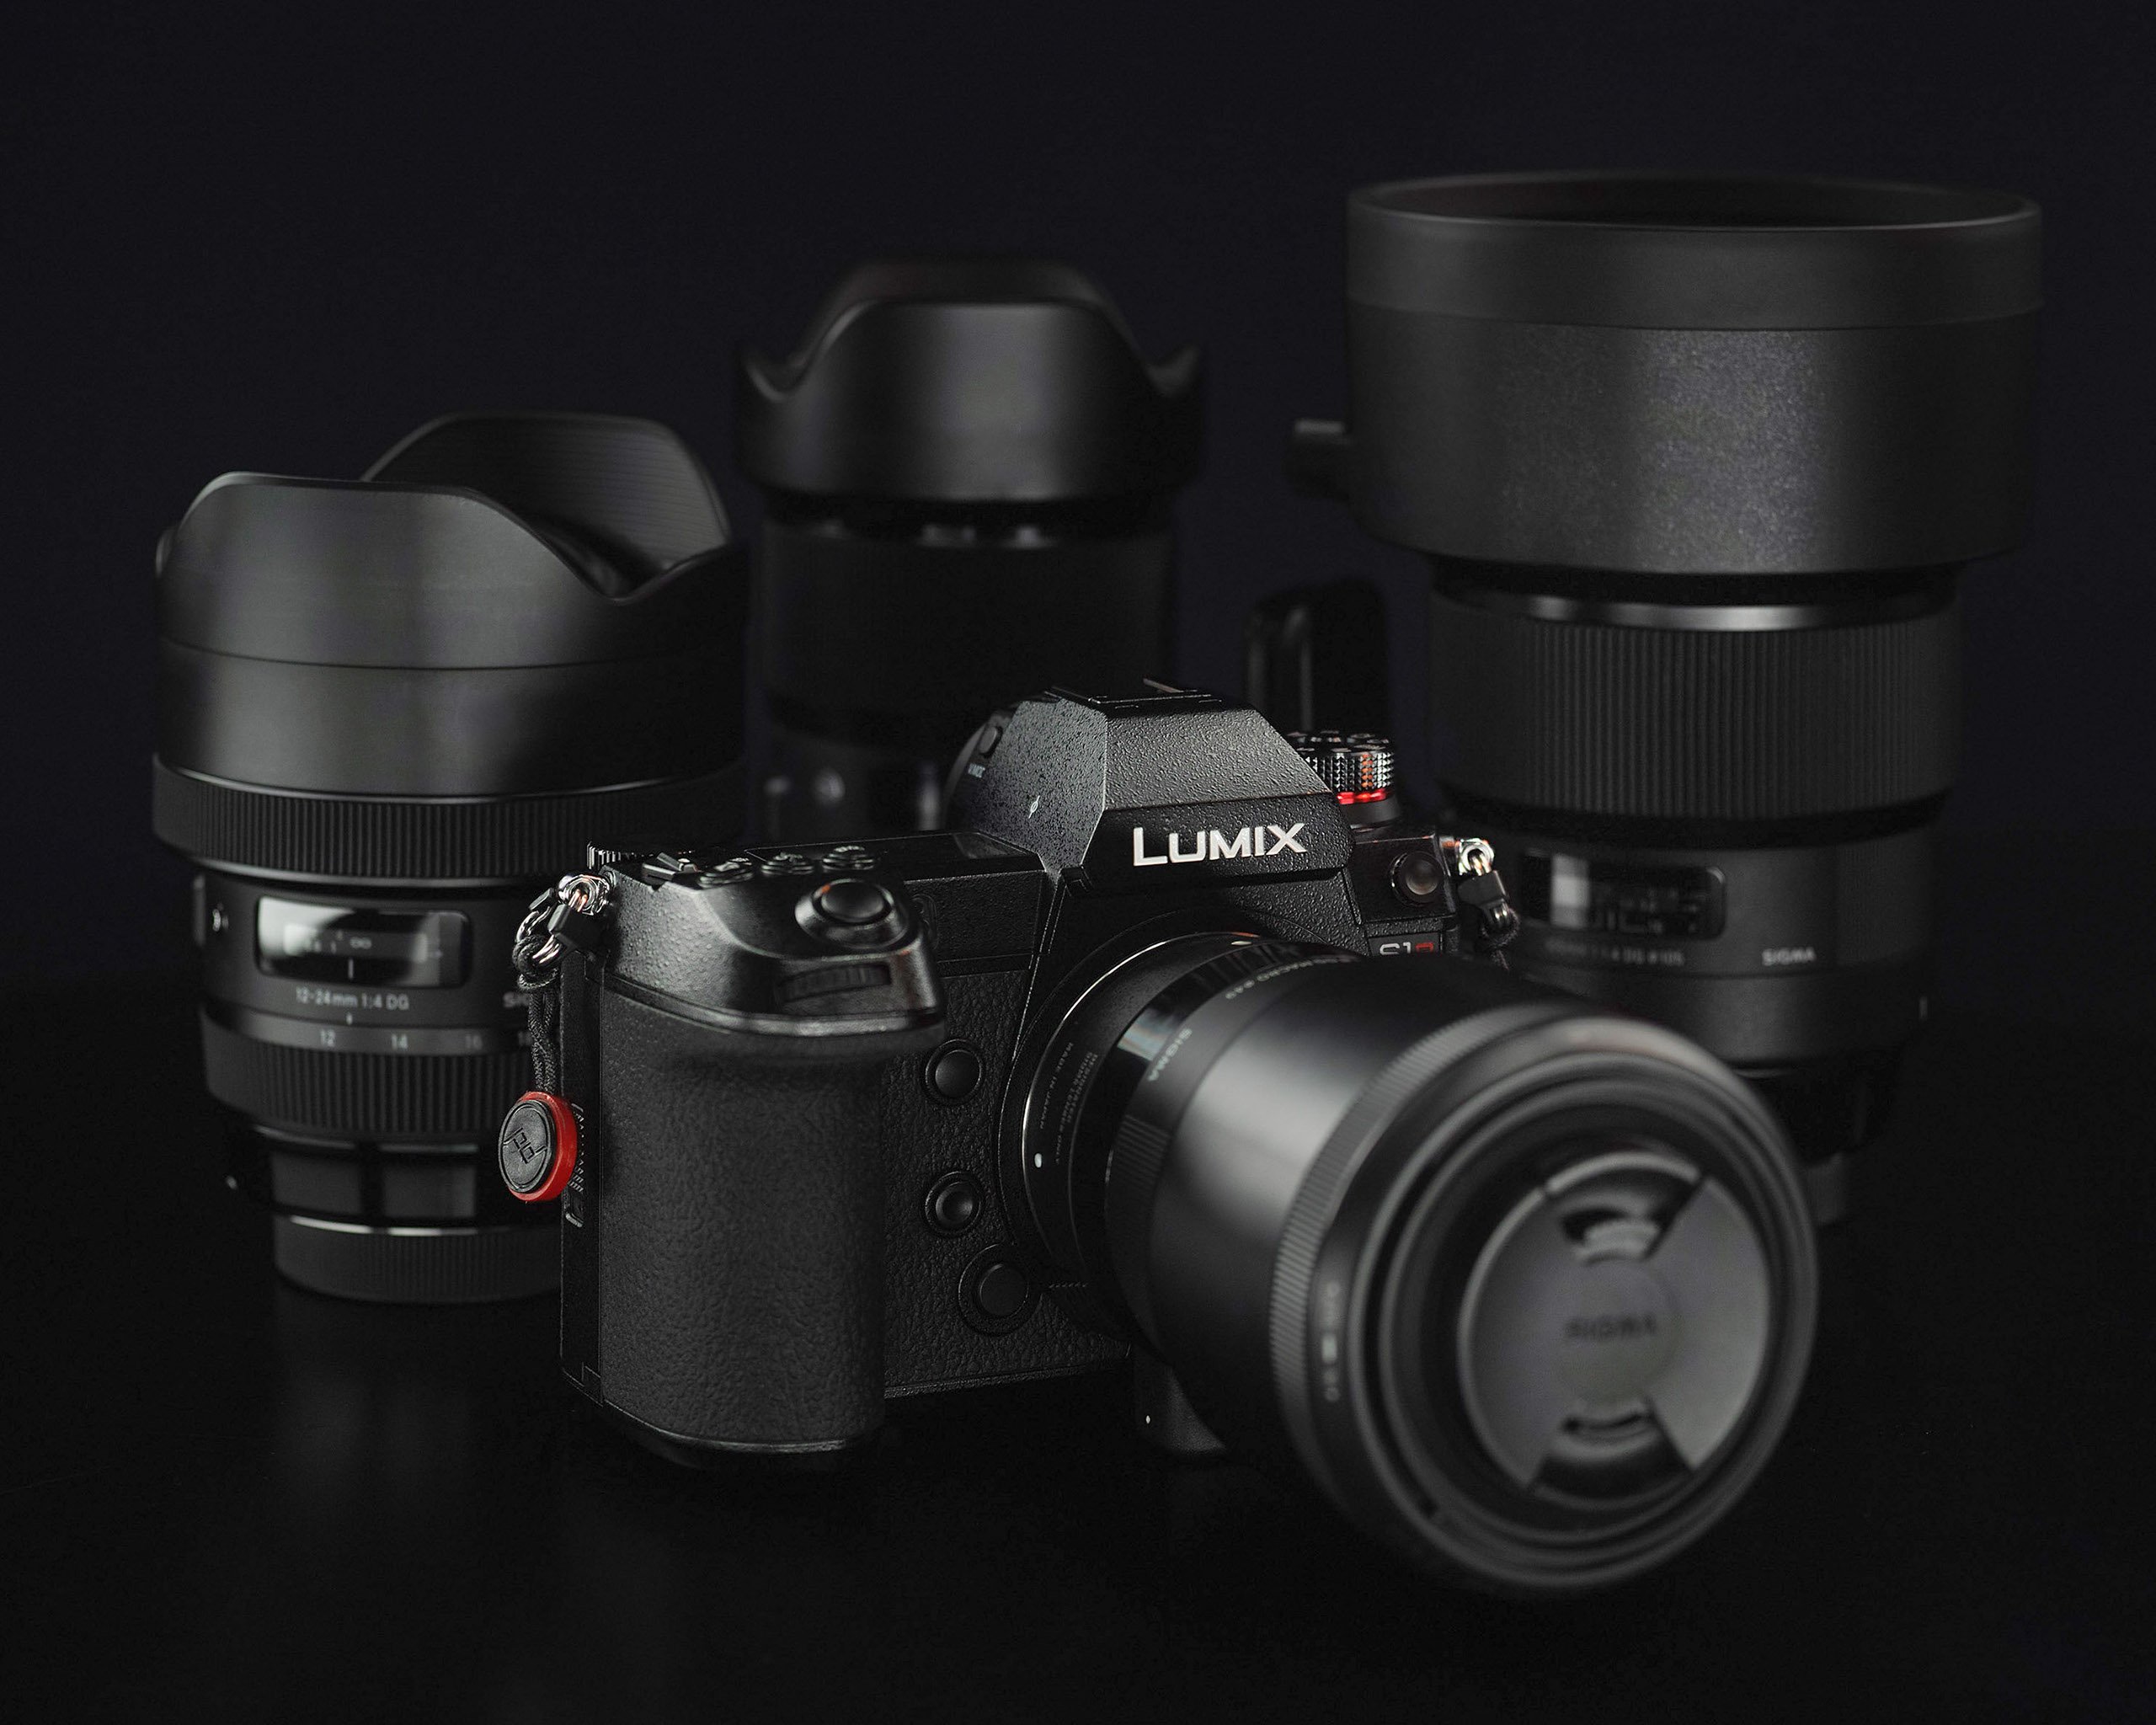
I was able to test a variety of Sigma lenses on the S1R, from the 12-24mm f/4 Art to the new 70-200mm f/2.8, as well as a few primes along the way. Using AF-S mode, the lens focused accurately if a little slower than using them on the Sigma sdQ-H or Sony a7 II via the MC-11.
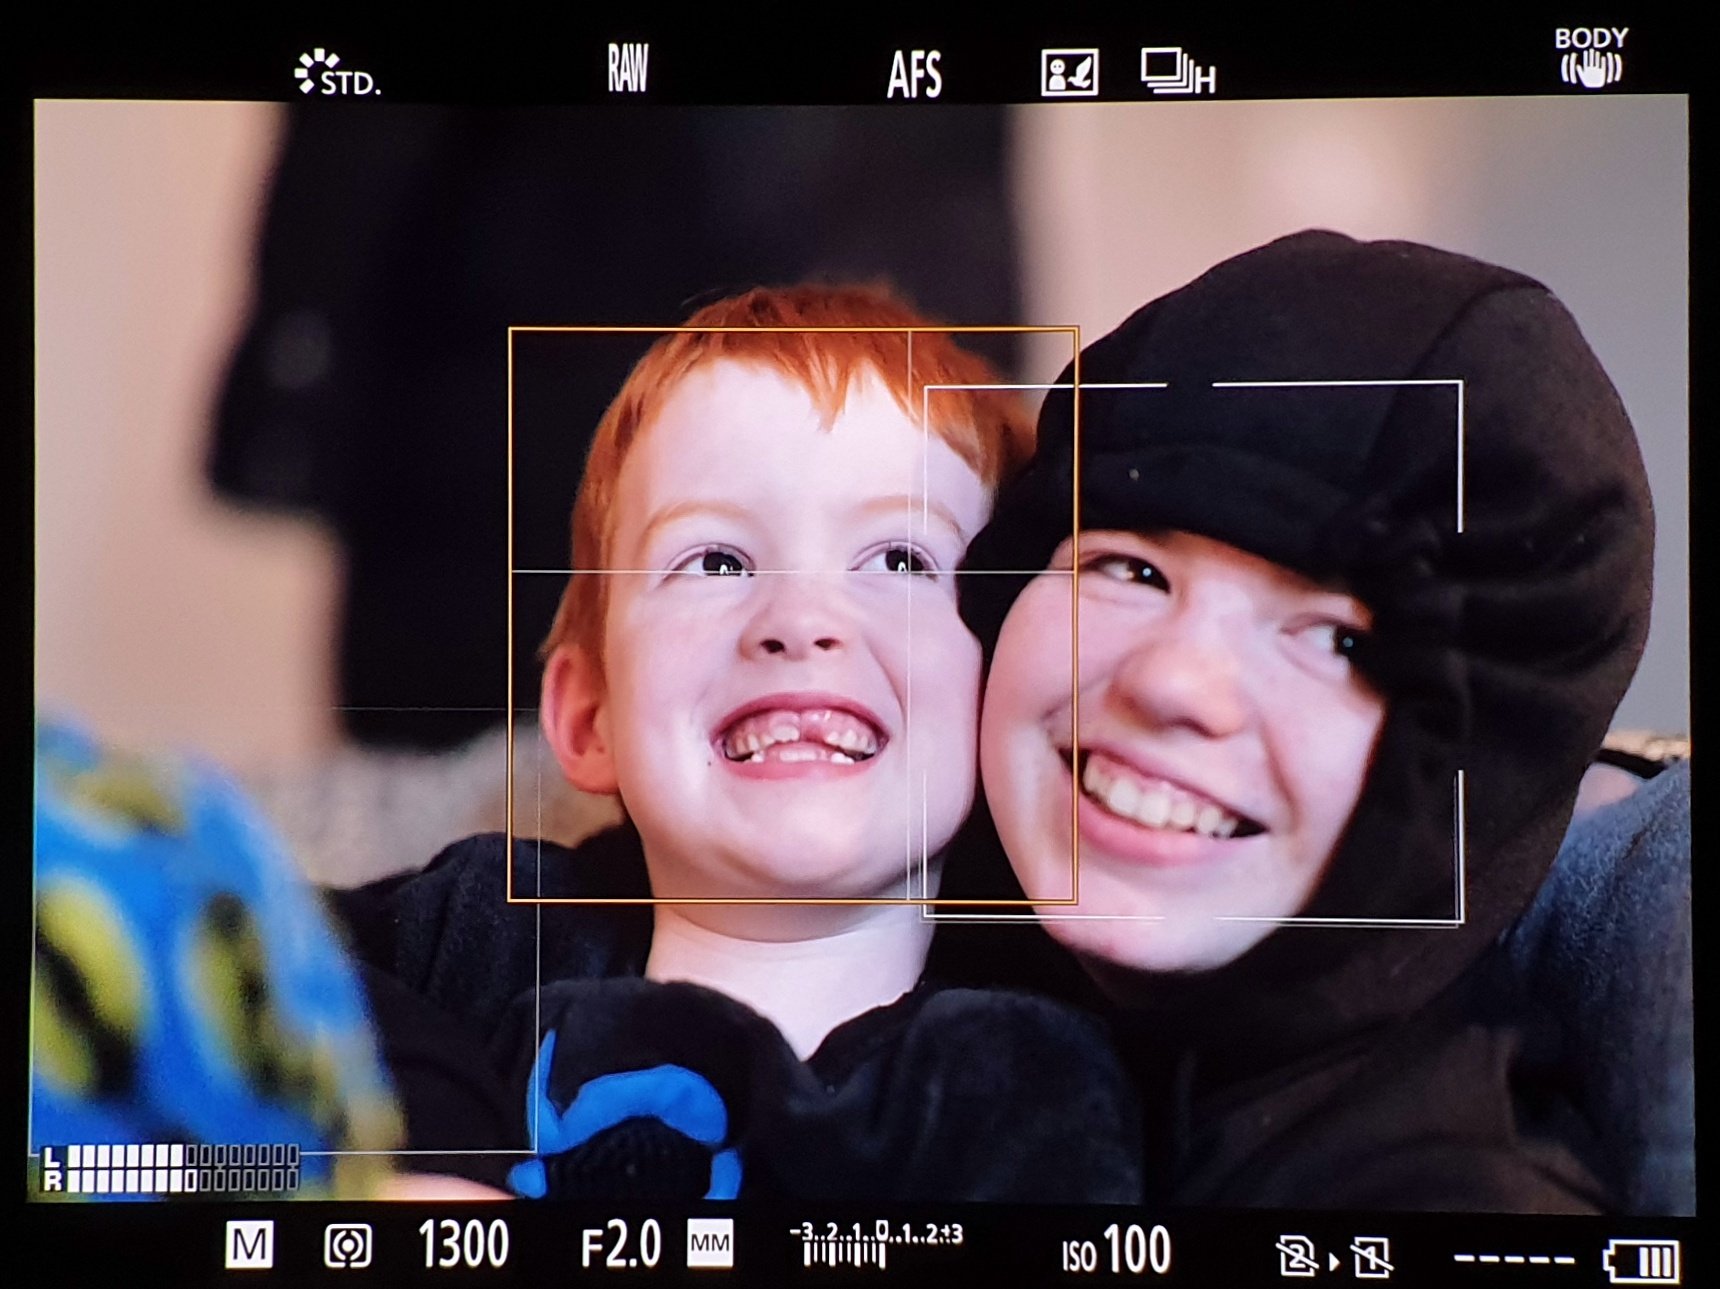
One of the main focus features of the camera is its AI focus mode that can detect objects, animals, people and eyes.
I was surprised the camera could even detect non-human eyes, and it has been a very useful mode that lets you concentrate on your composition, although I did find at times that the camera would focus on the background even if it had a face highlighted. Upon experimenting, it turned out that the camera was trying to find something in the original focus point even though I couldn’t see it after it detected a face, so its just something to watch out for.
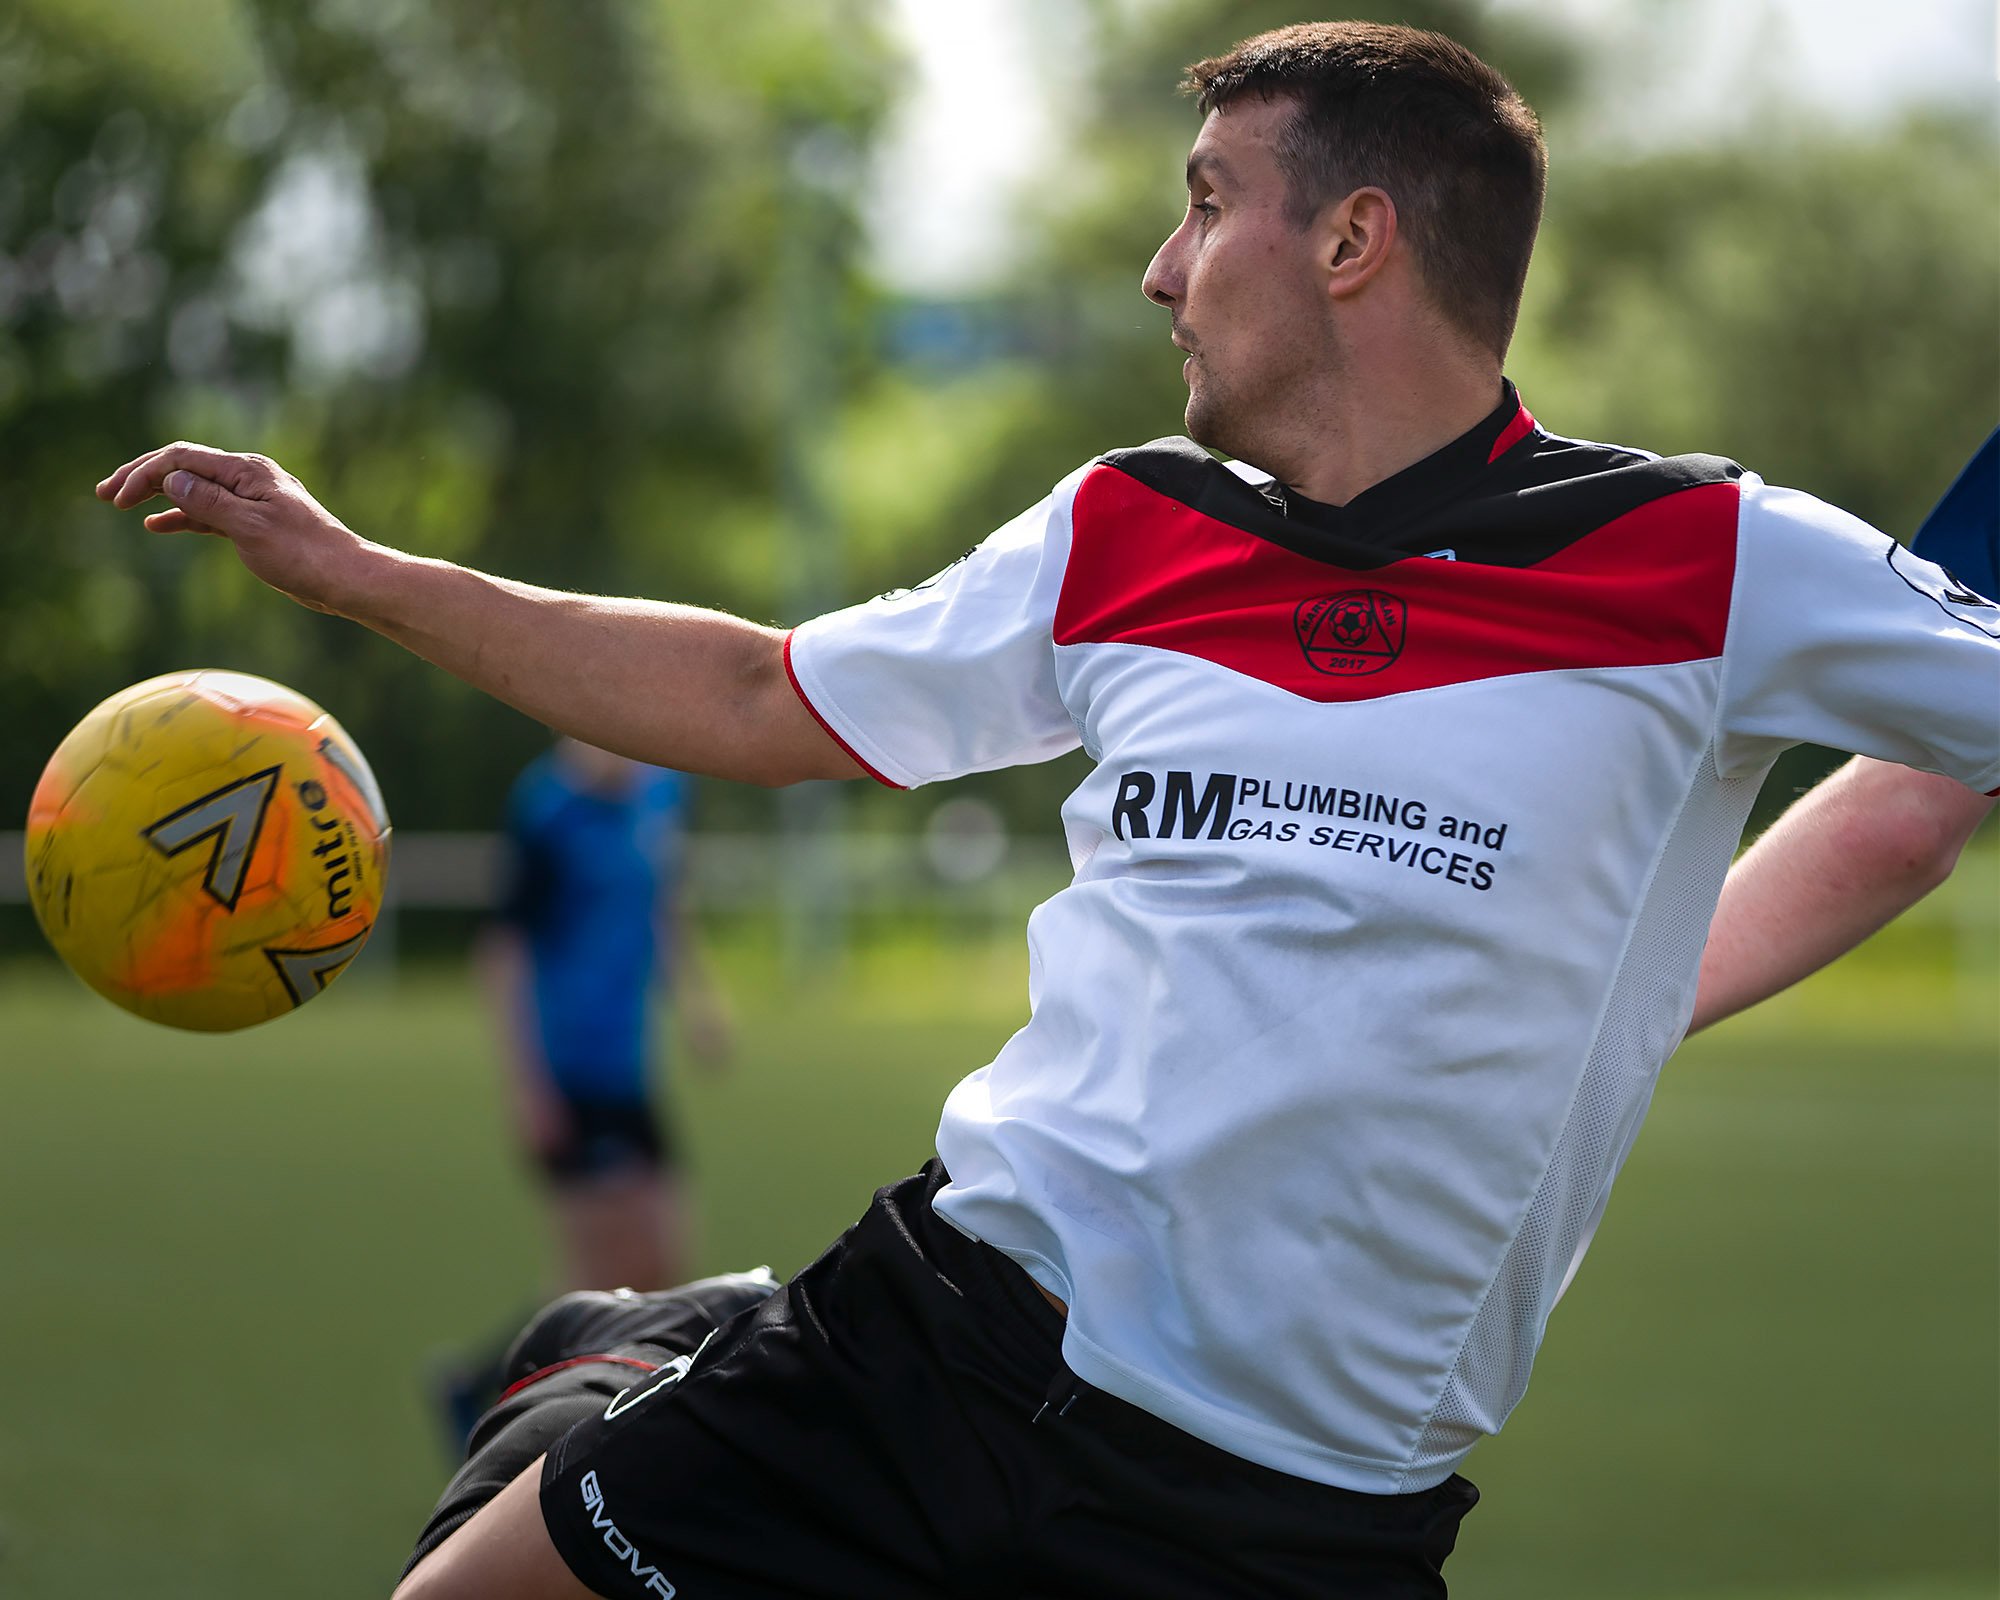
The camera has many other focus modes like spot focus, which will show a little picture in picture with a zoomed in view to show you if the focus has landed in the right place. The focus peaking also works well in manual focus, and was actually a joy to use when shooting my cousin’s football team.
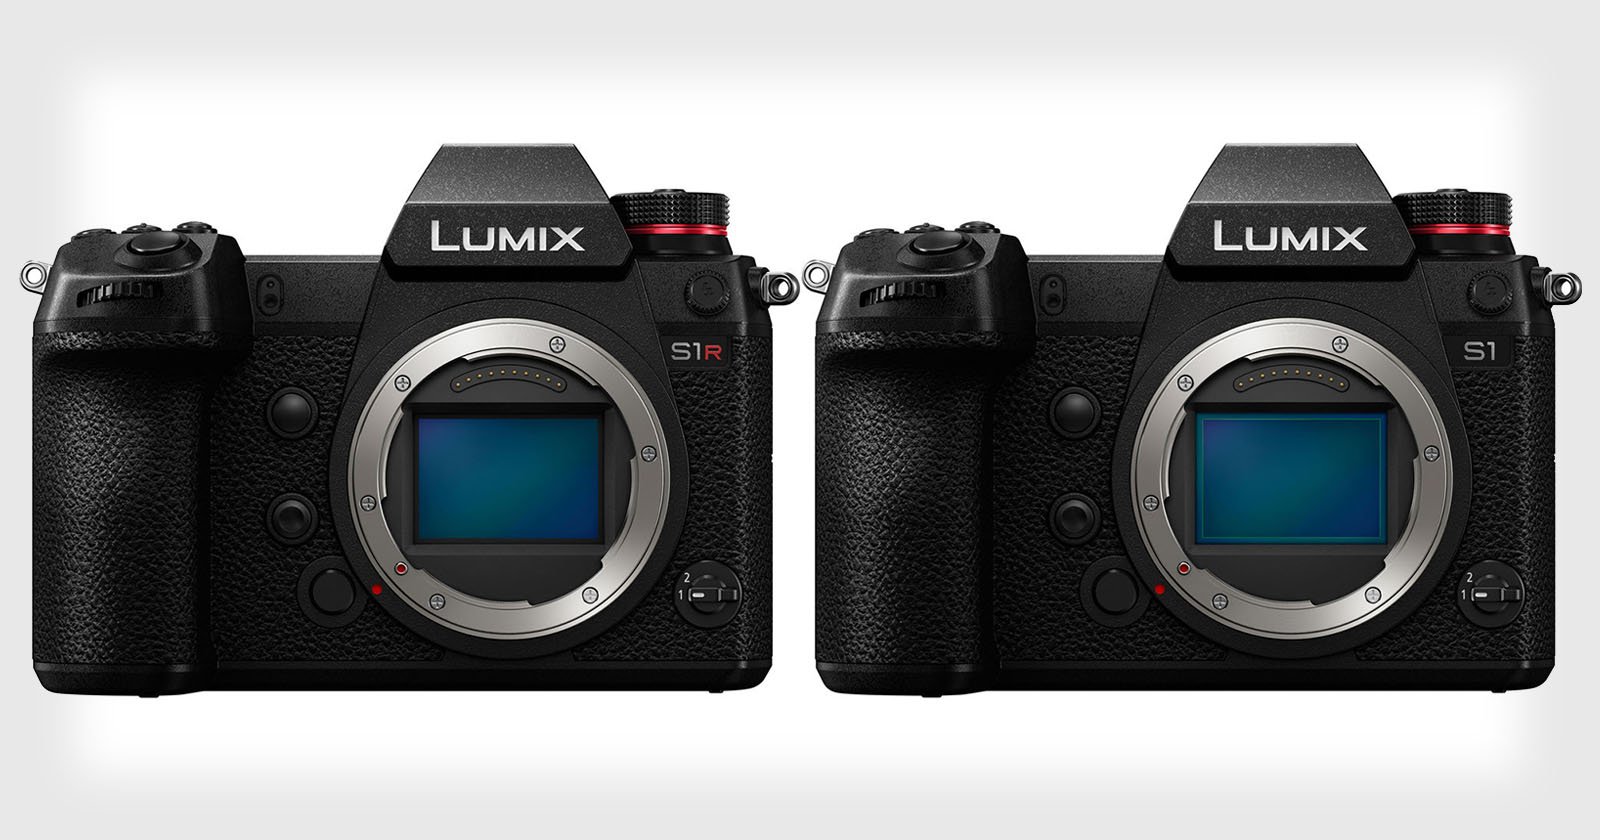
As the S1R is the higher resolution version of the two cameras that share the same body, I feel that it will most likely be used by people looking to do landscapes or studio work, with the S1 being more for events due to the smaller file size and better higher ISO. The S1 also has better video options with the upgraded firmware and full sensor readout, whereas as the S1R has a small 1.1x crop in 4K.
One of the main reasons I was interested in this camera was the High Resolution multi-shot mode. I have been using the Super Fine Detail mode on my Sigmas for a while now, and enjoy the extra clarity and dynamic range it brings, so when I heard that the S1R could generate 187MP raw files, I knew it was something I wanted to try.
Using the High Resolution mode is fairly simple, just press menu, then scroll down to “high resolution mode” in the first photo section and start shooting.
Here’s the image from that shoot using the Sigma 12-24mm f/4 lens:
I was rather impressed with how quickly the camera created the image along with the detail it can captured, although not all lenses will be able to resolve the full detail this mode provides. Movement in the images can cause artefacts, although the camera does have two versions of the High Resolution mode and a longer shutter speed can help reduce these artefacts at the expense of motion blur.
Mode 1 attempts to blend movement to look like a longer exposure was used. It can work well and works best at longer exposures, although the 1-second shutter speed limit of the High Resolution mode is annoying.
Mode 2 attempts to remove the movement so it looks like a shorter exposure was used.
Both of these settings can be found in the High Resolution menu.
Another trick is to downscale the 187MP image back down to 47MP. You still end up with a file with more detail than a single 47MP shot, even if the lens isn’t capable of rendering the full 187MP; you can then use the single frame that the camera captures at the same time to blend over areas where the movement has been an issue. I particularly like doing this as the 47MP now looks more Foveon-like than Bayer due to the increased density of detail.
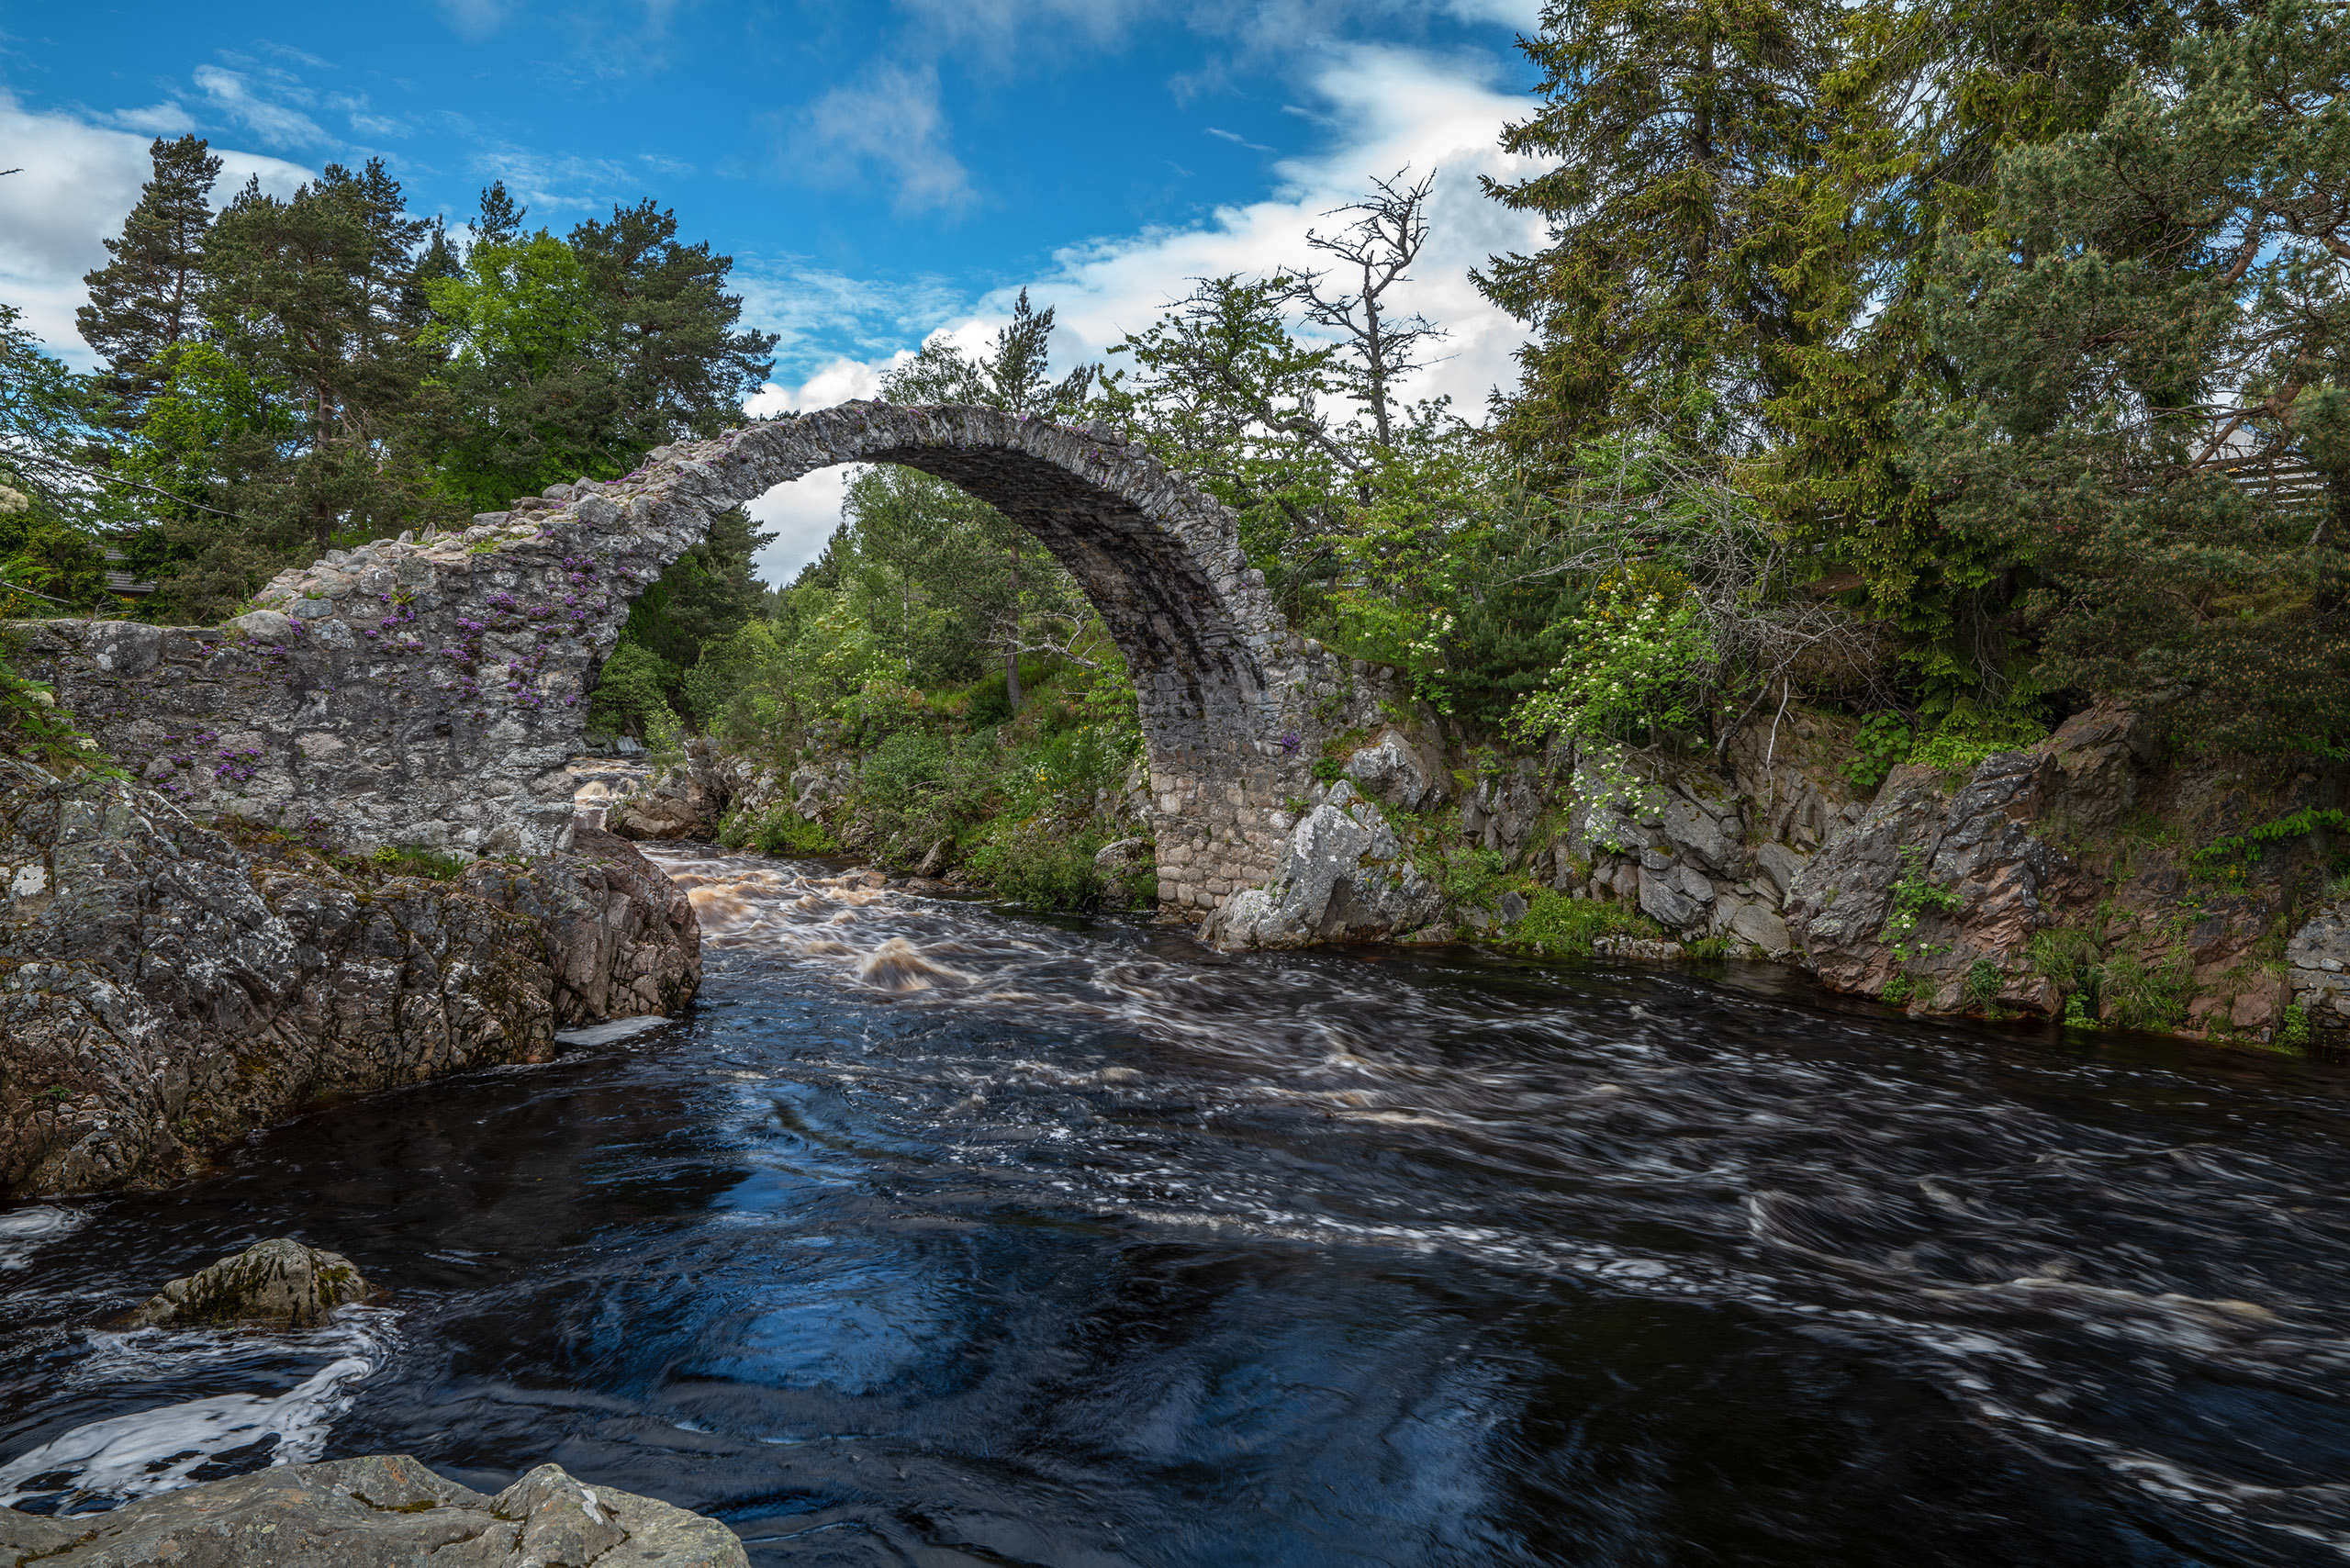
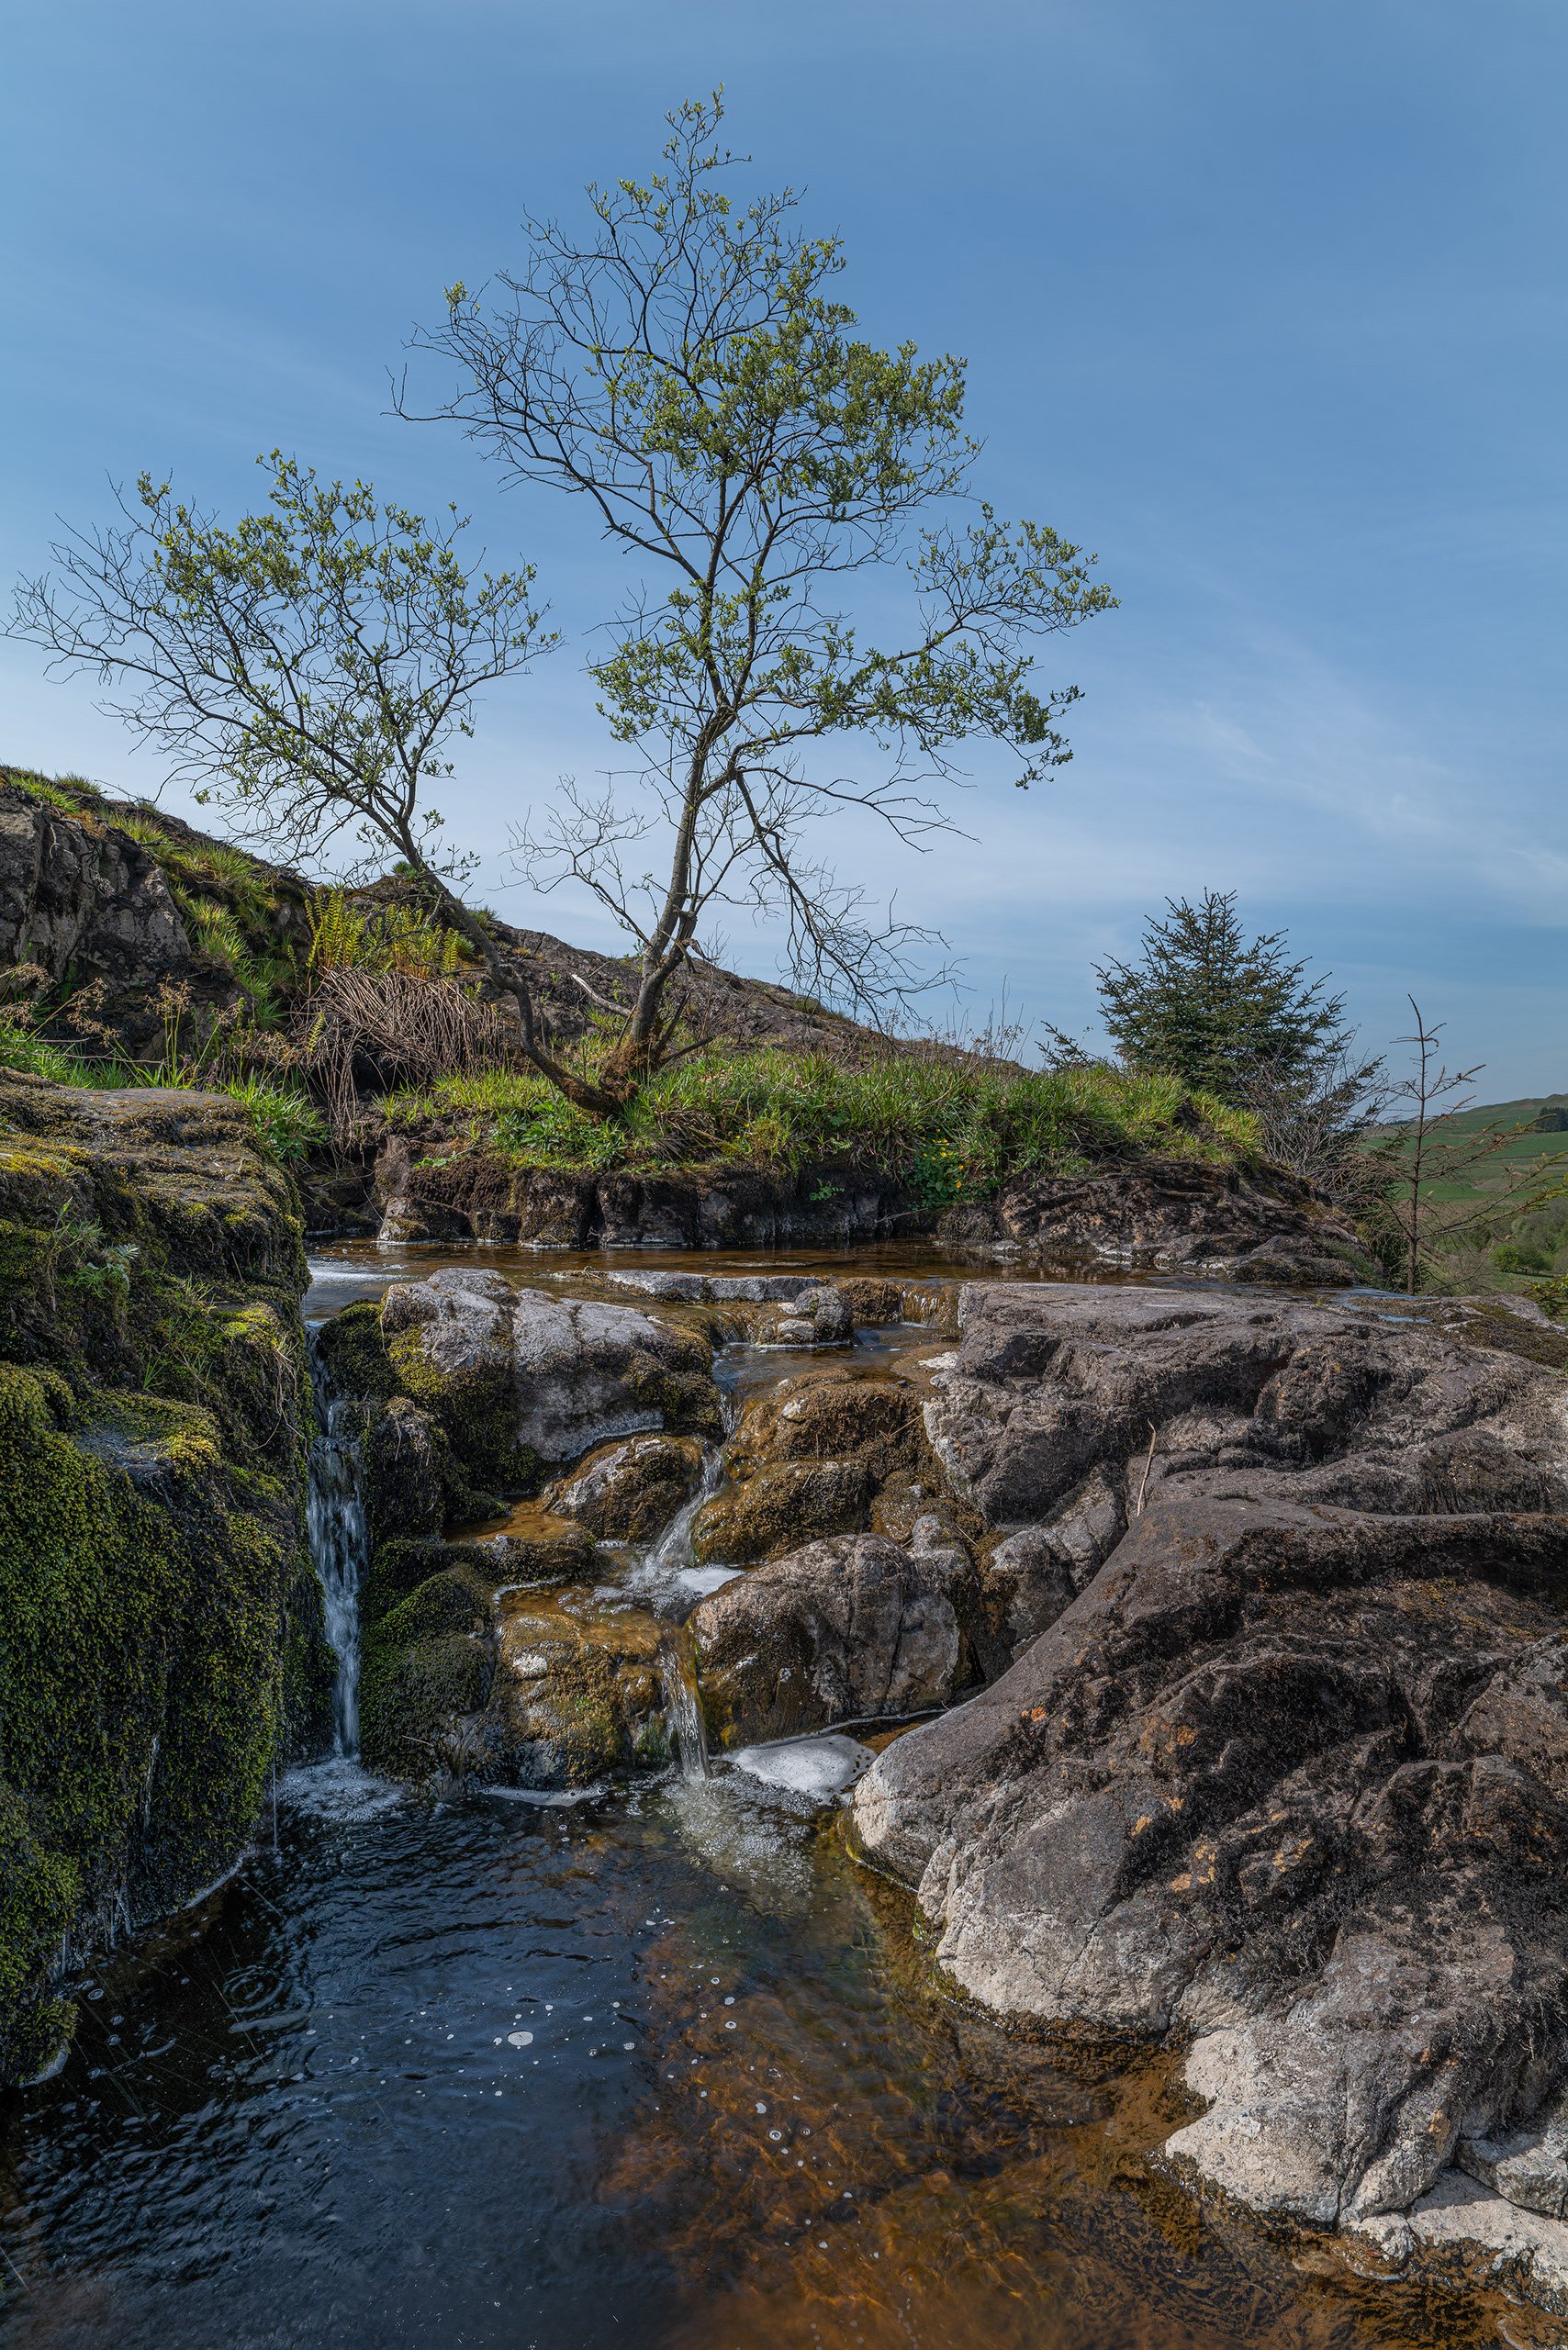
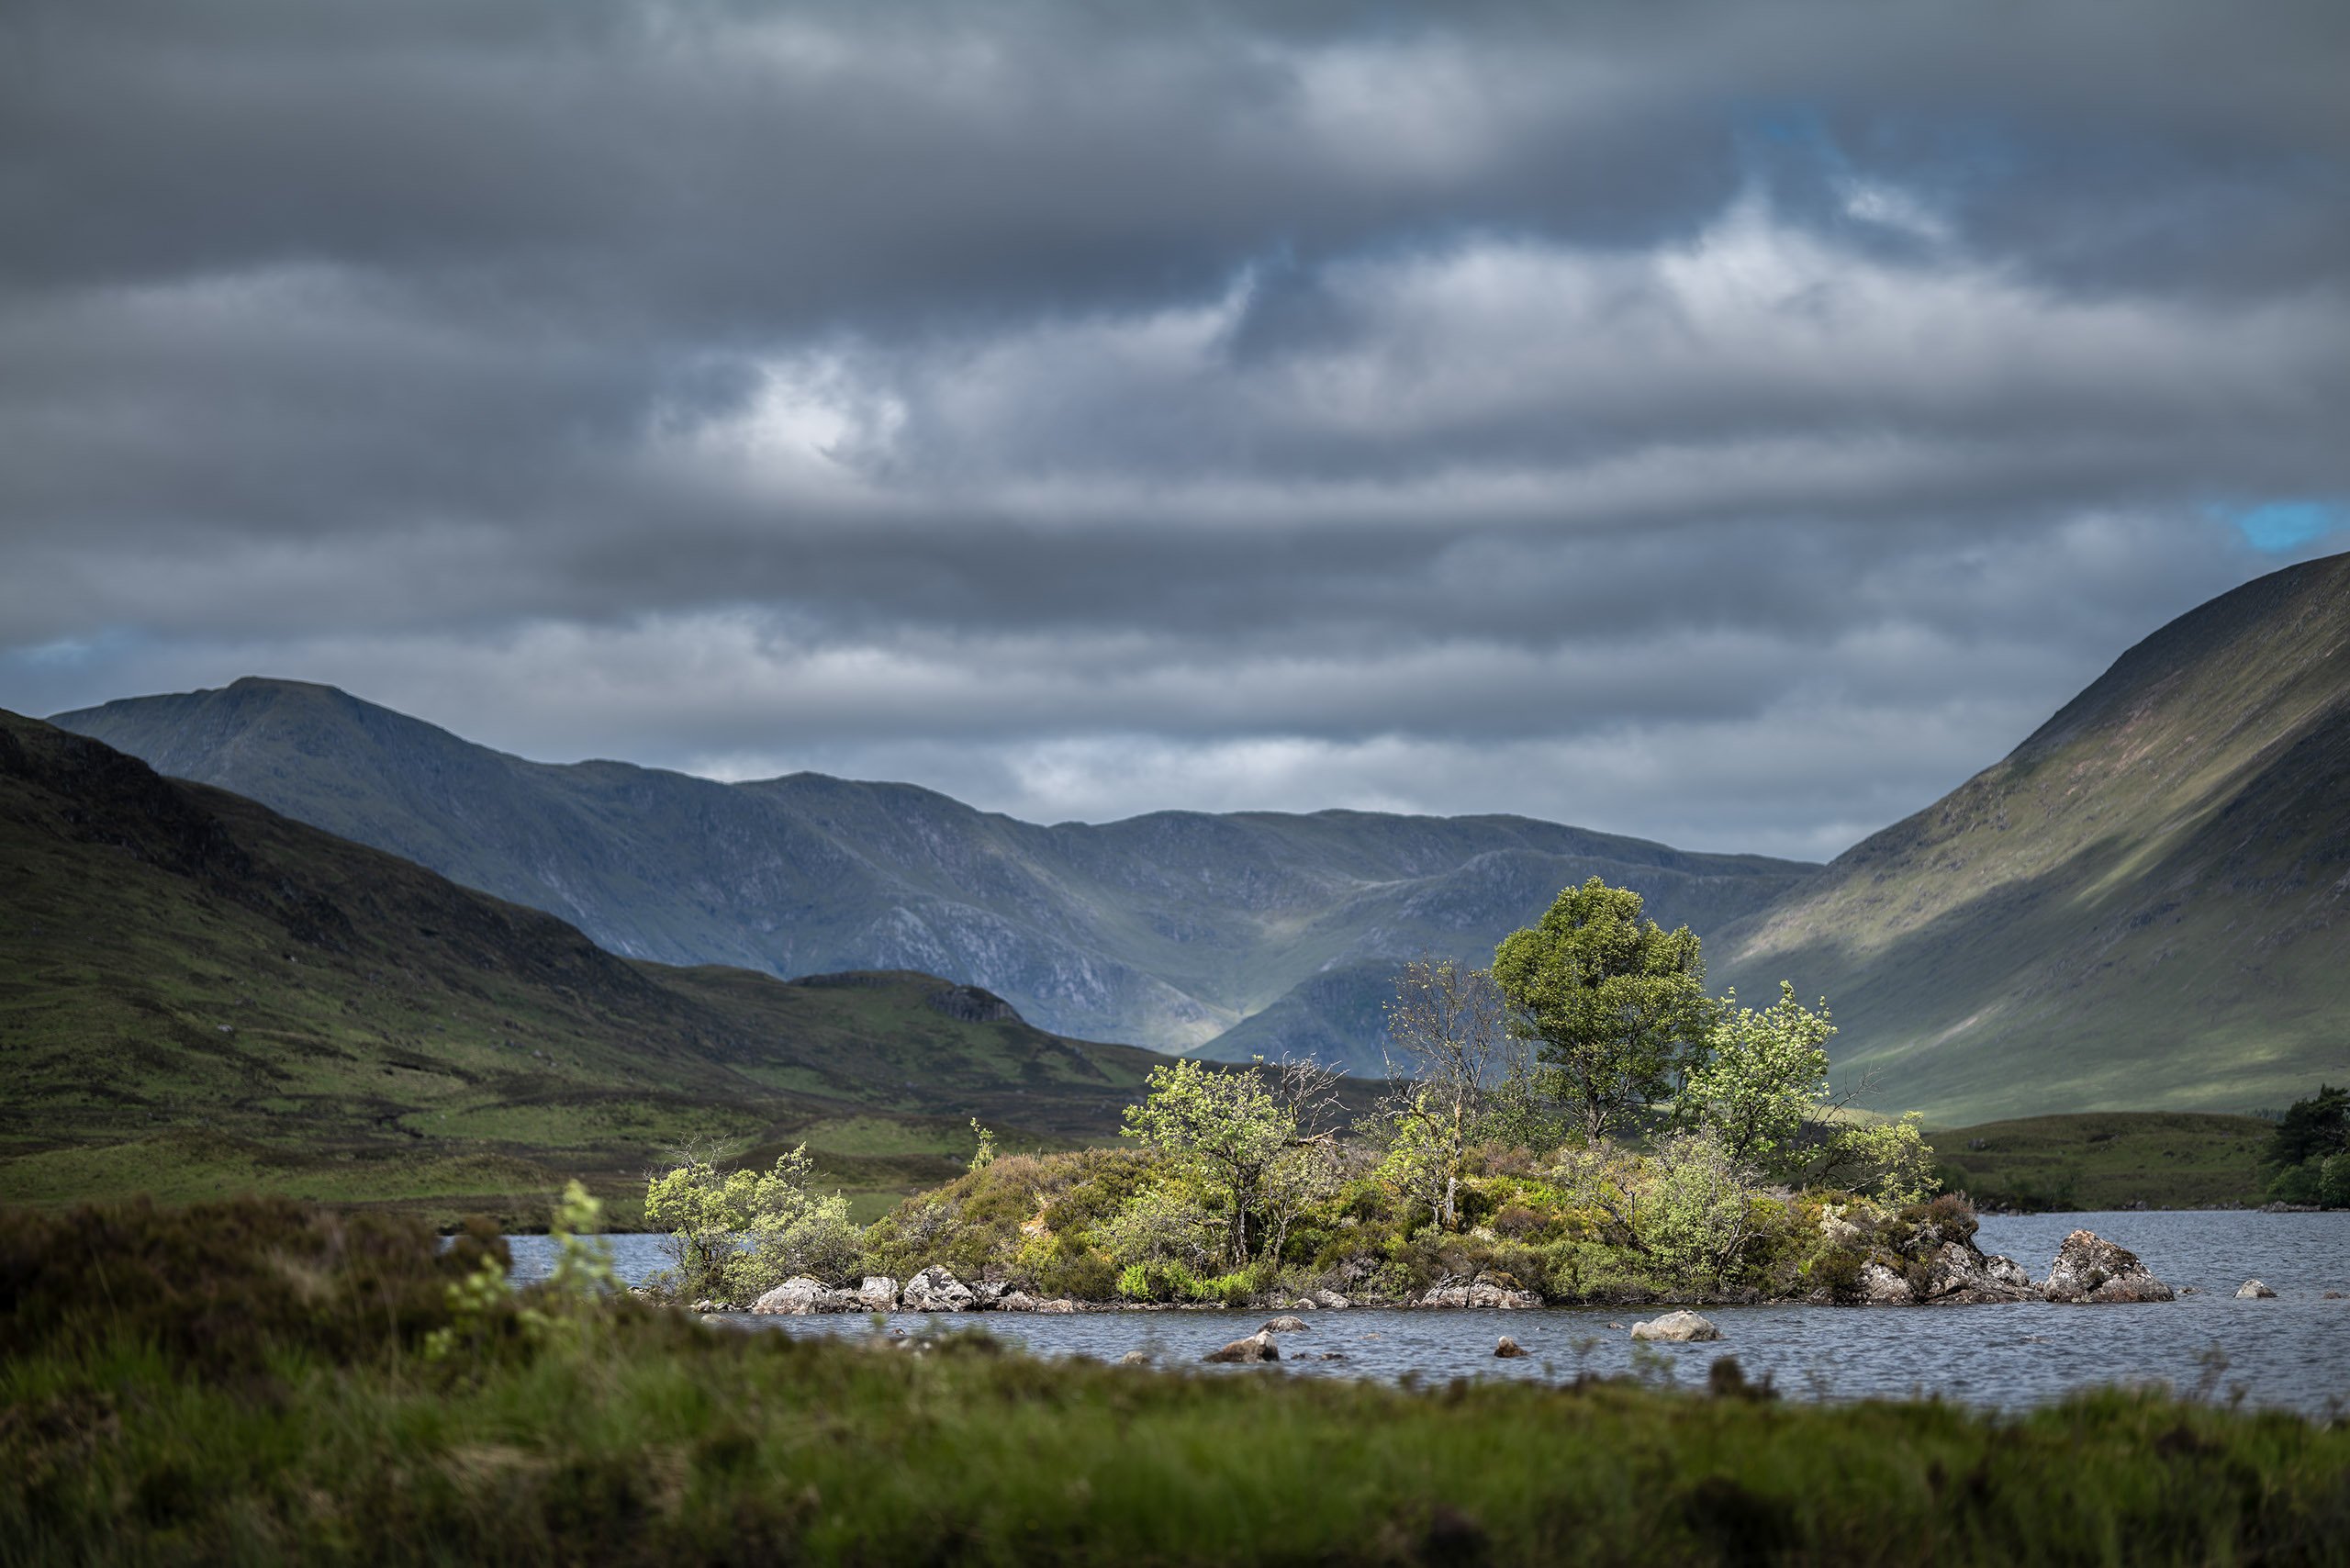
To test this, I took my trusty Sigma sdQ-H along with the Panasonic S1R with Sigma 12-24 f/4 out at Carrbridge and took similar shots. Here is the shot from the S1R that I enjoyed:
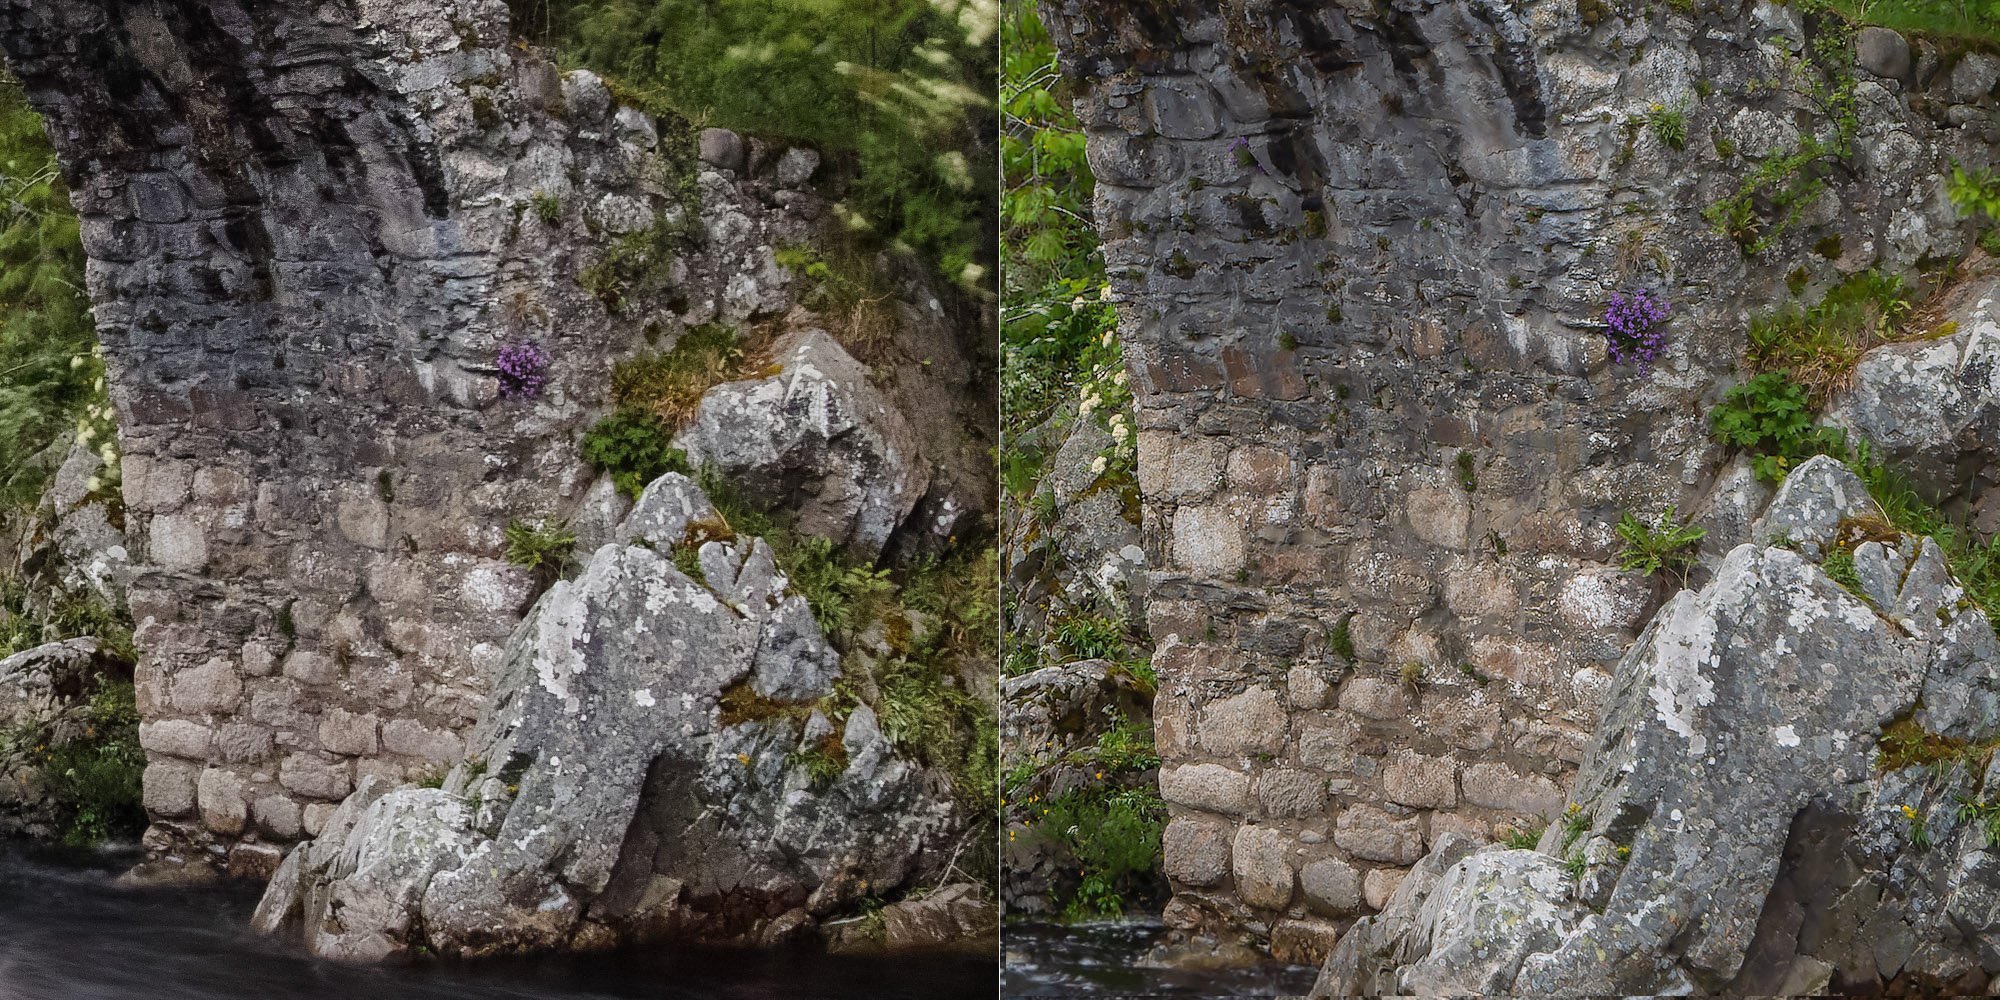
Here are the crops from both the Sigma sdQ-H (25.6mp) on the left shot in Super Fine Detail mode and Panasonic S1R shot in 187MP mode downscaled to 47MP.
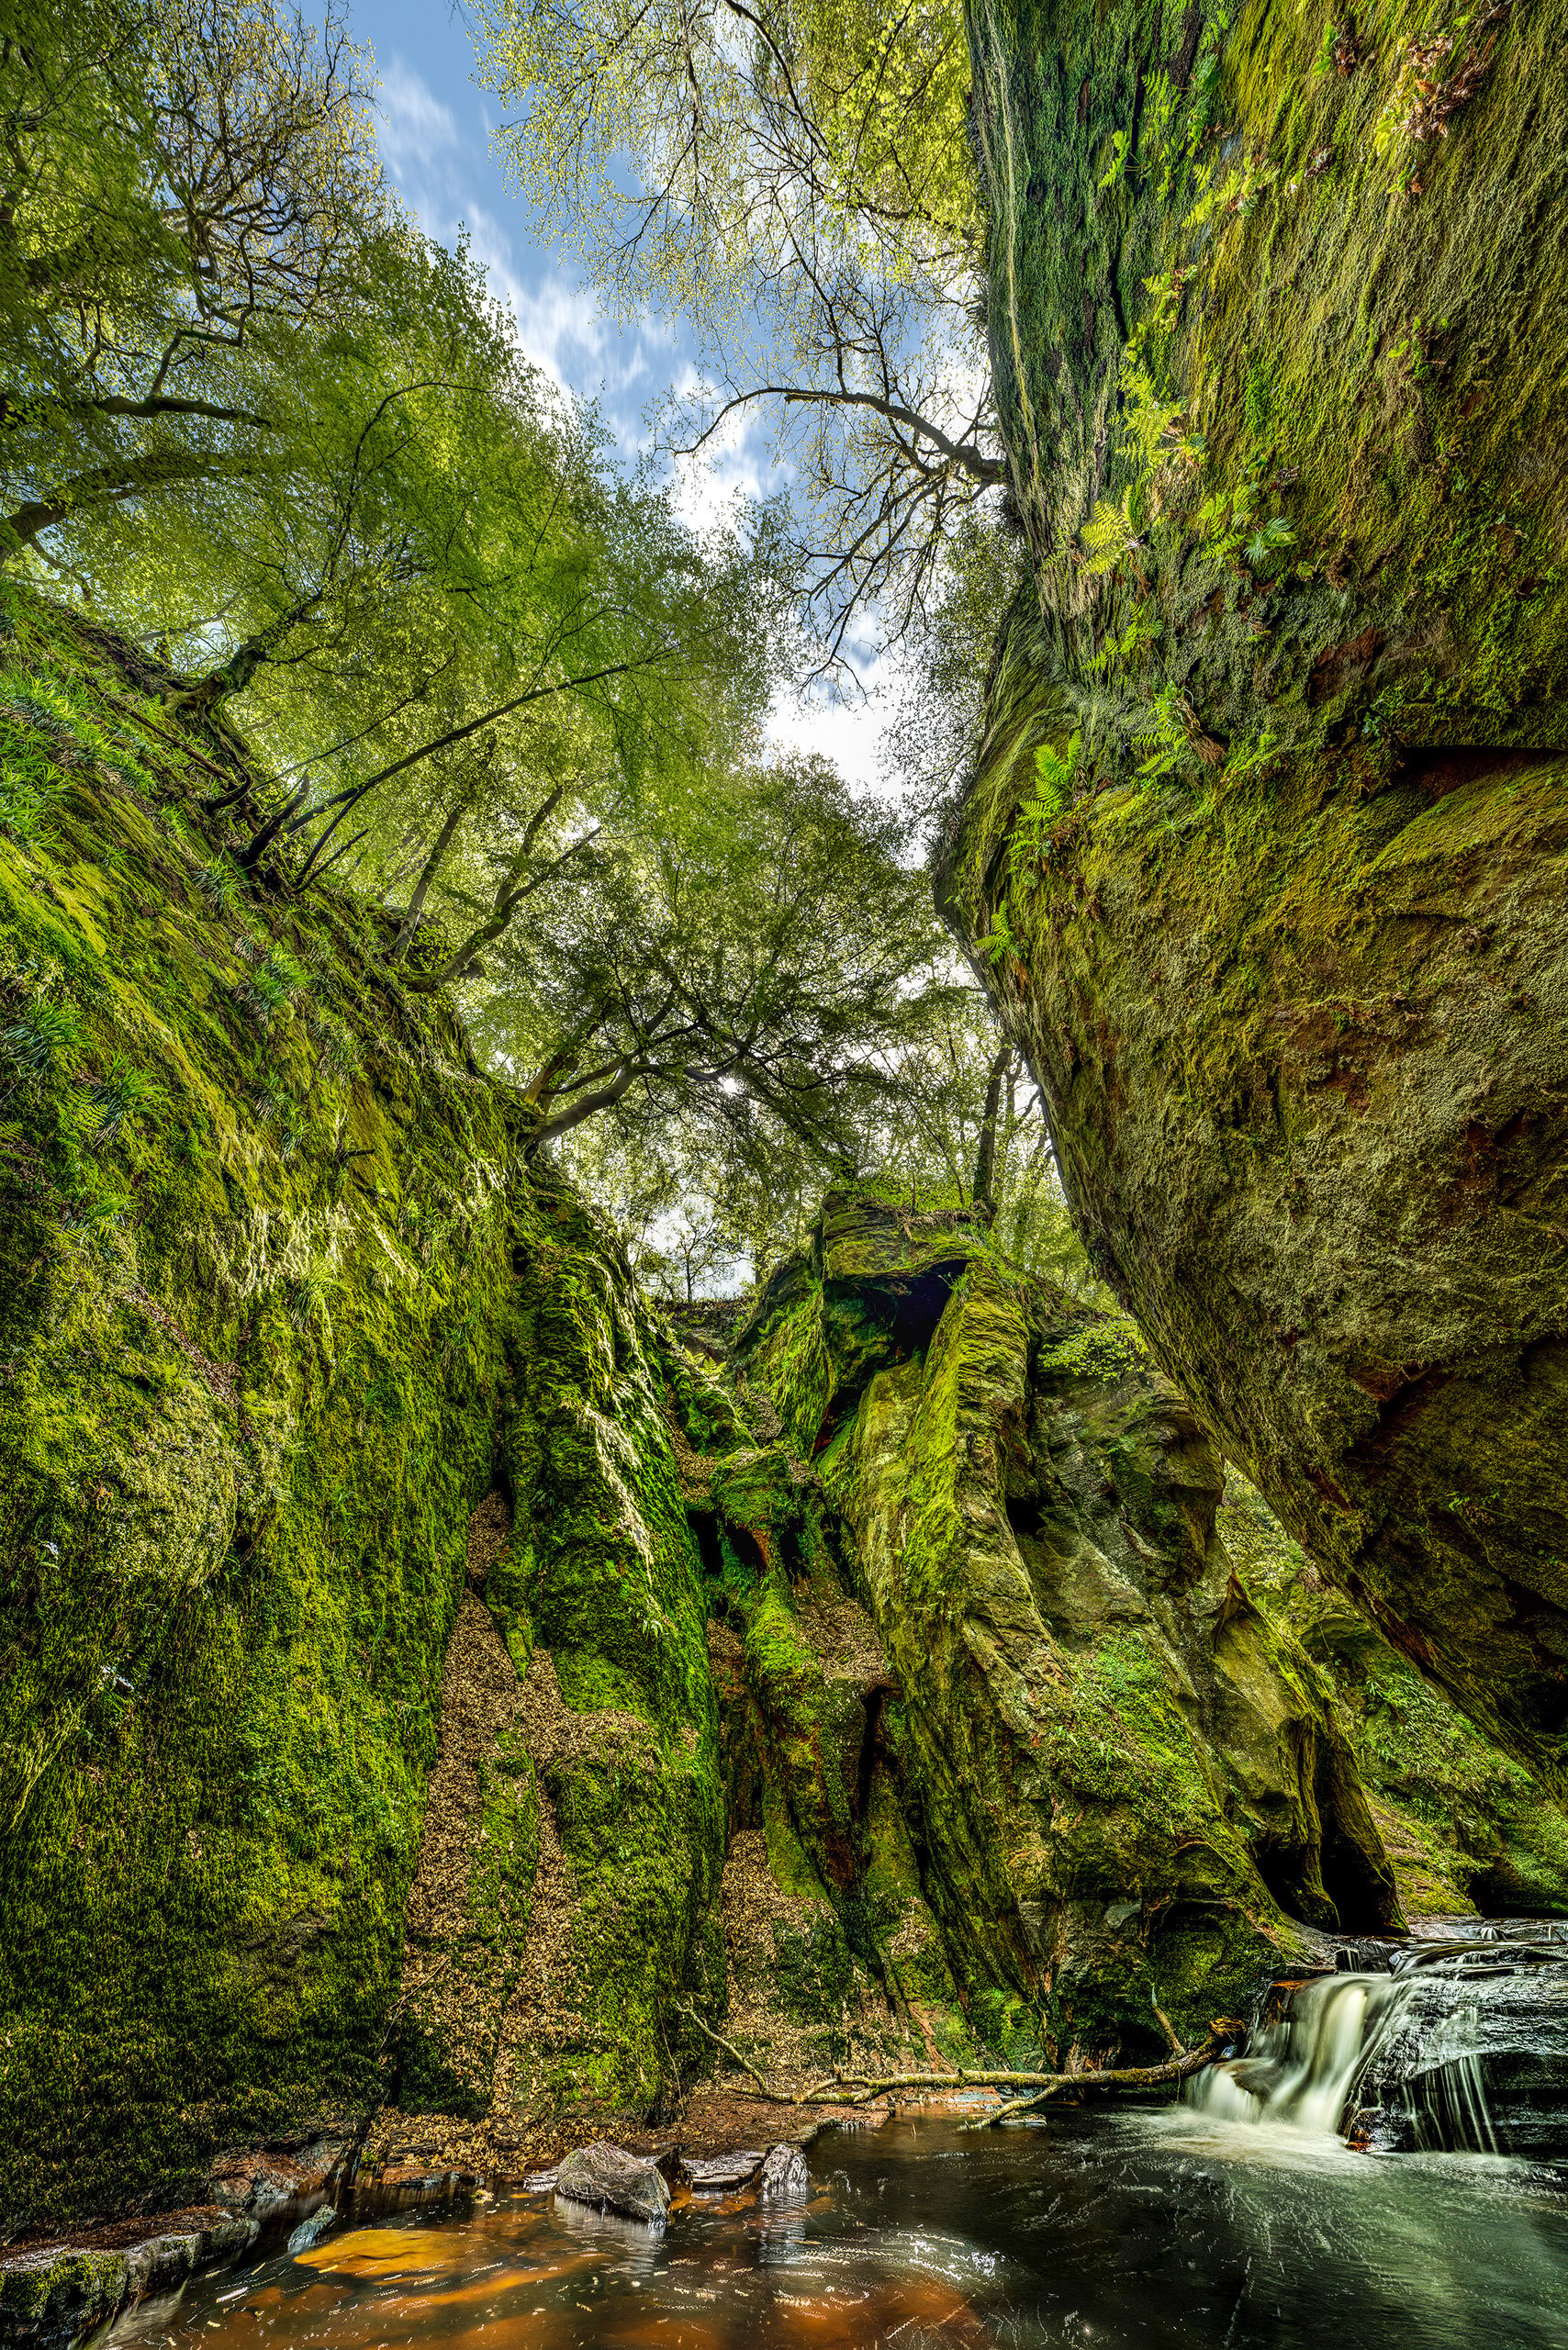
In this image from the Loup of Fintry, I overlaid and masked the single shot file over the high resolution shot to create a cleaner look to the water and the edges of the trees, while still resolving more overall detail.
While not all lenses will currently resolve the full 187MP (especially at infinity) I created this studio shot using the Sigma 105 f/1.4 Art, and the detail captured is absolutely staggering.
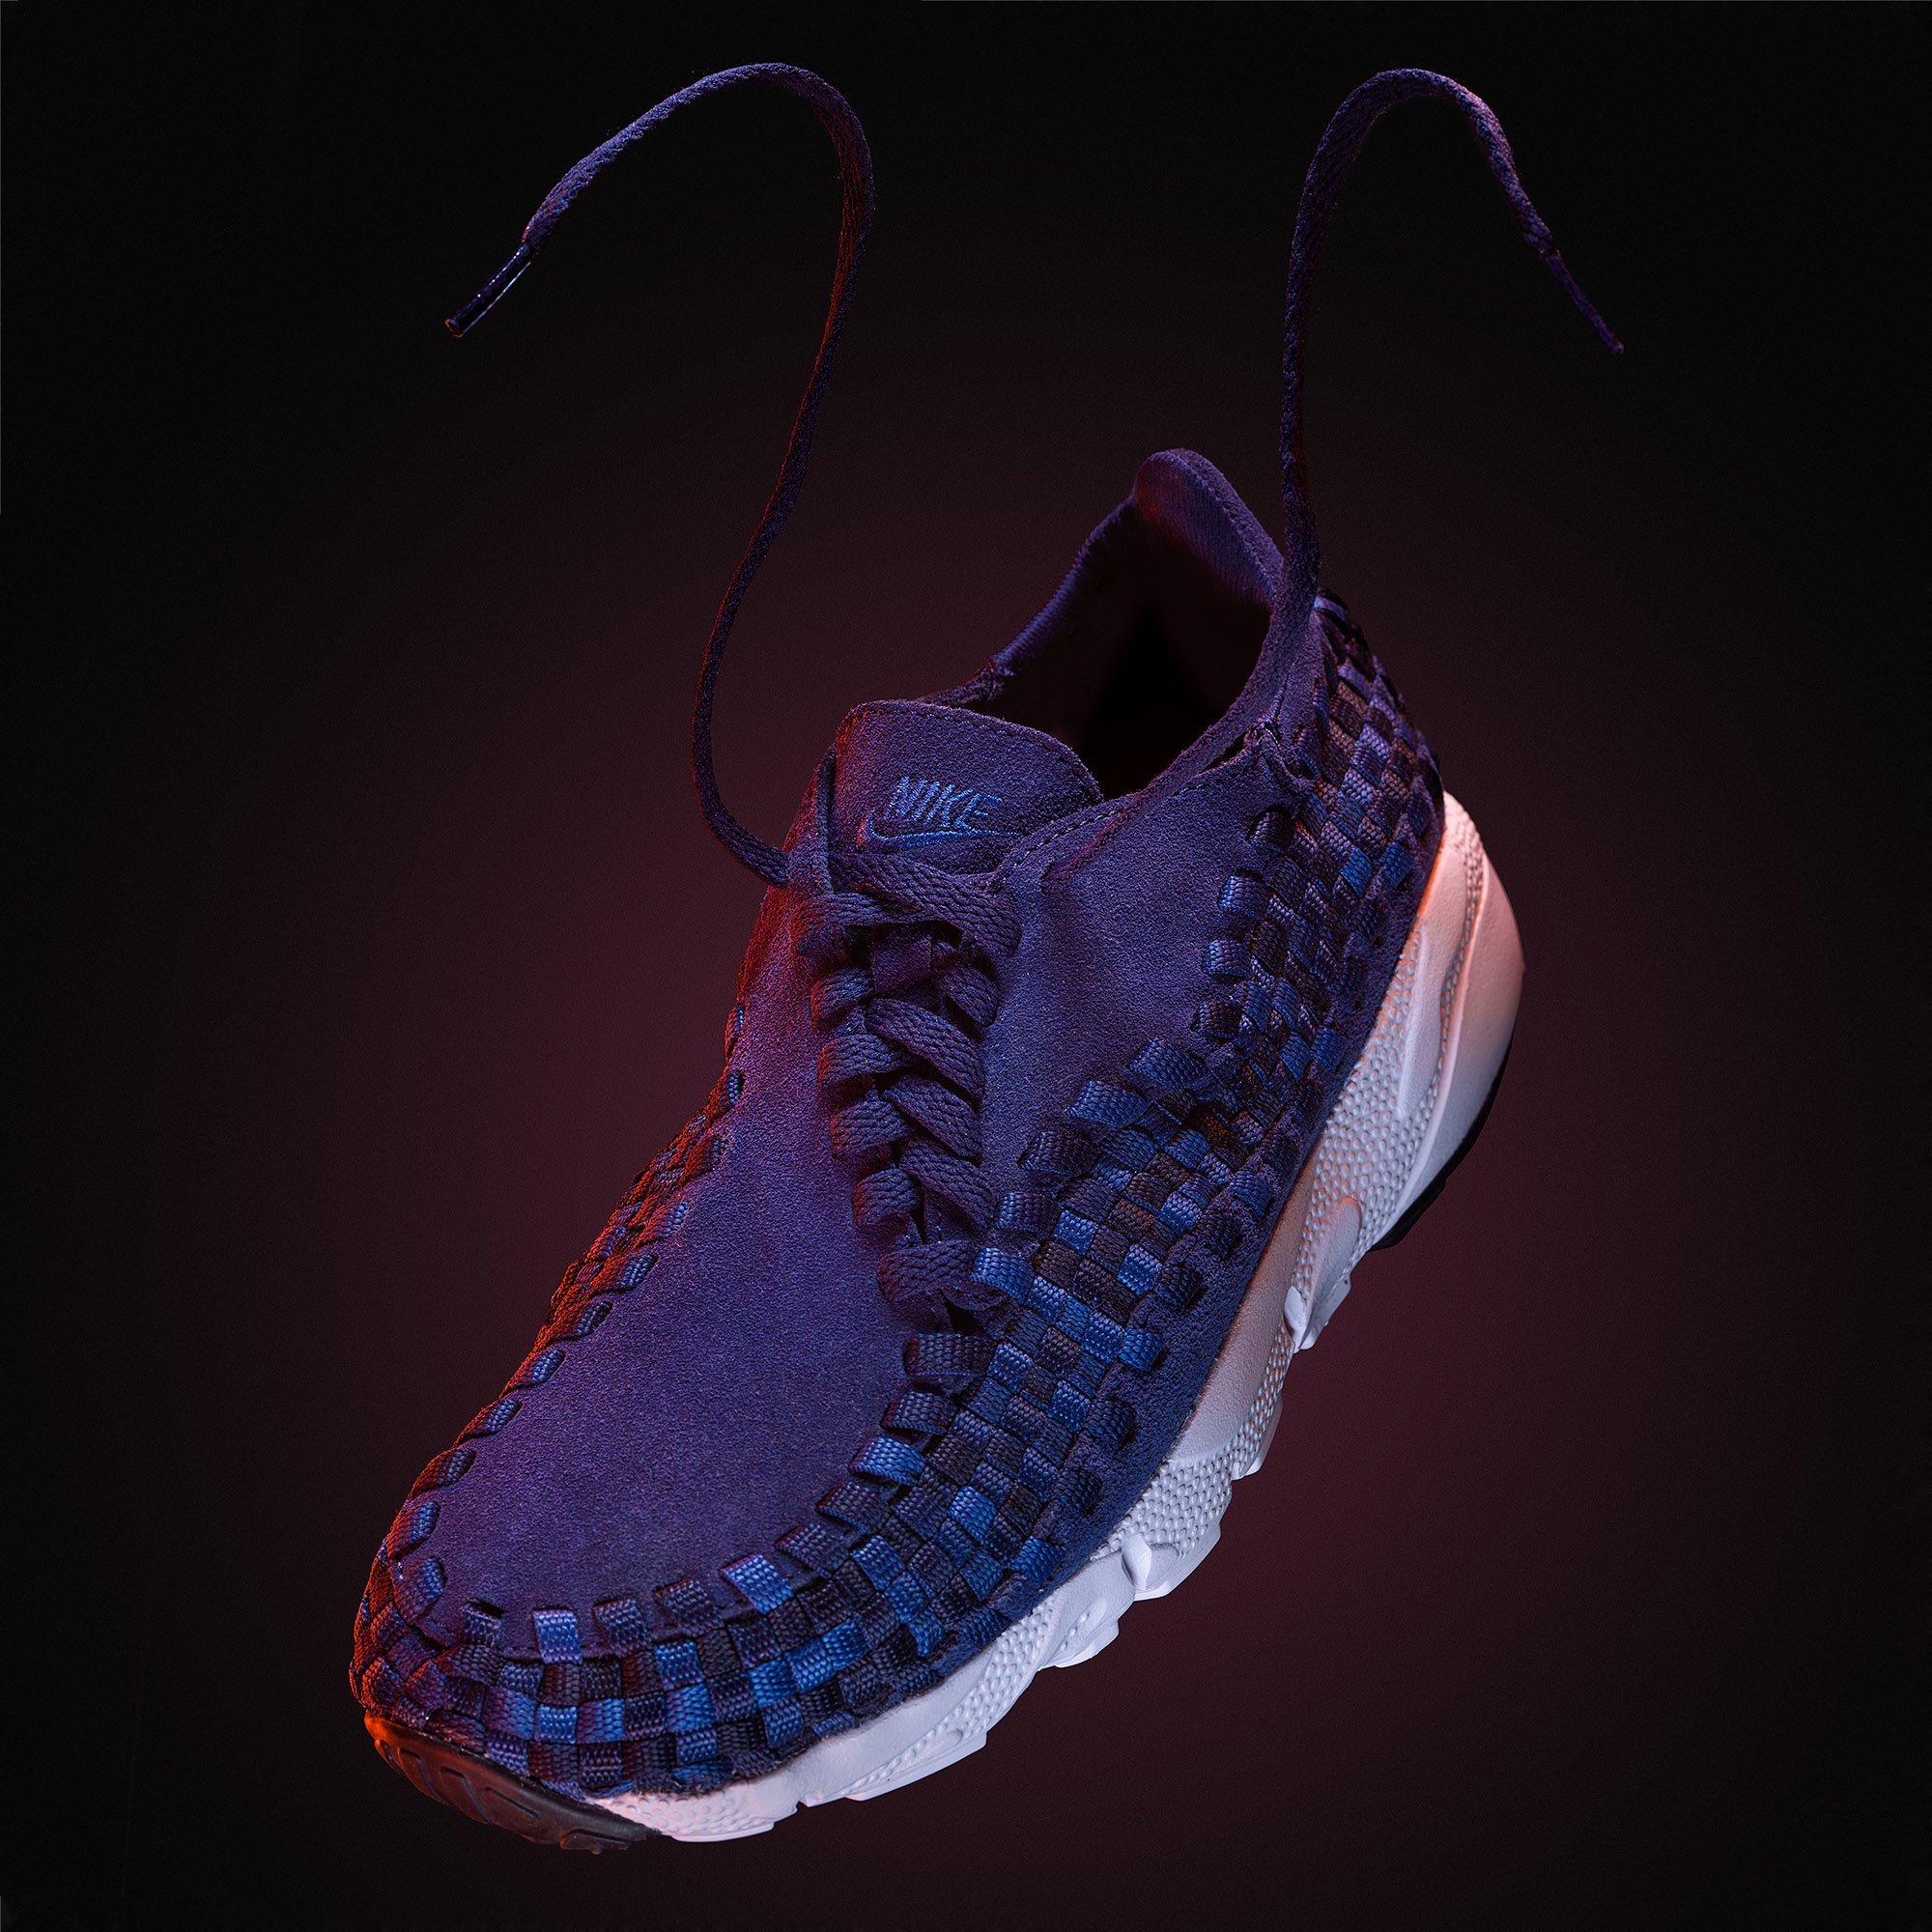
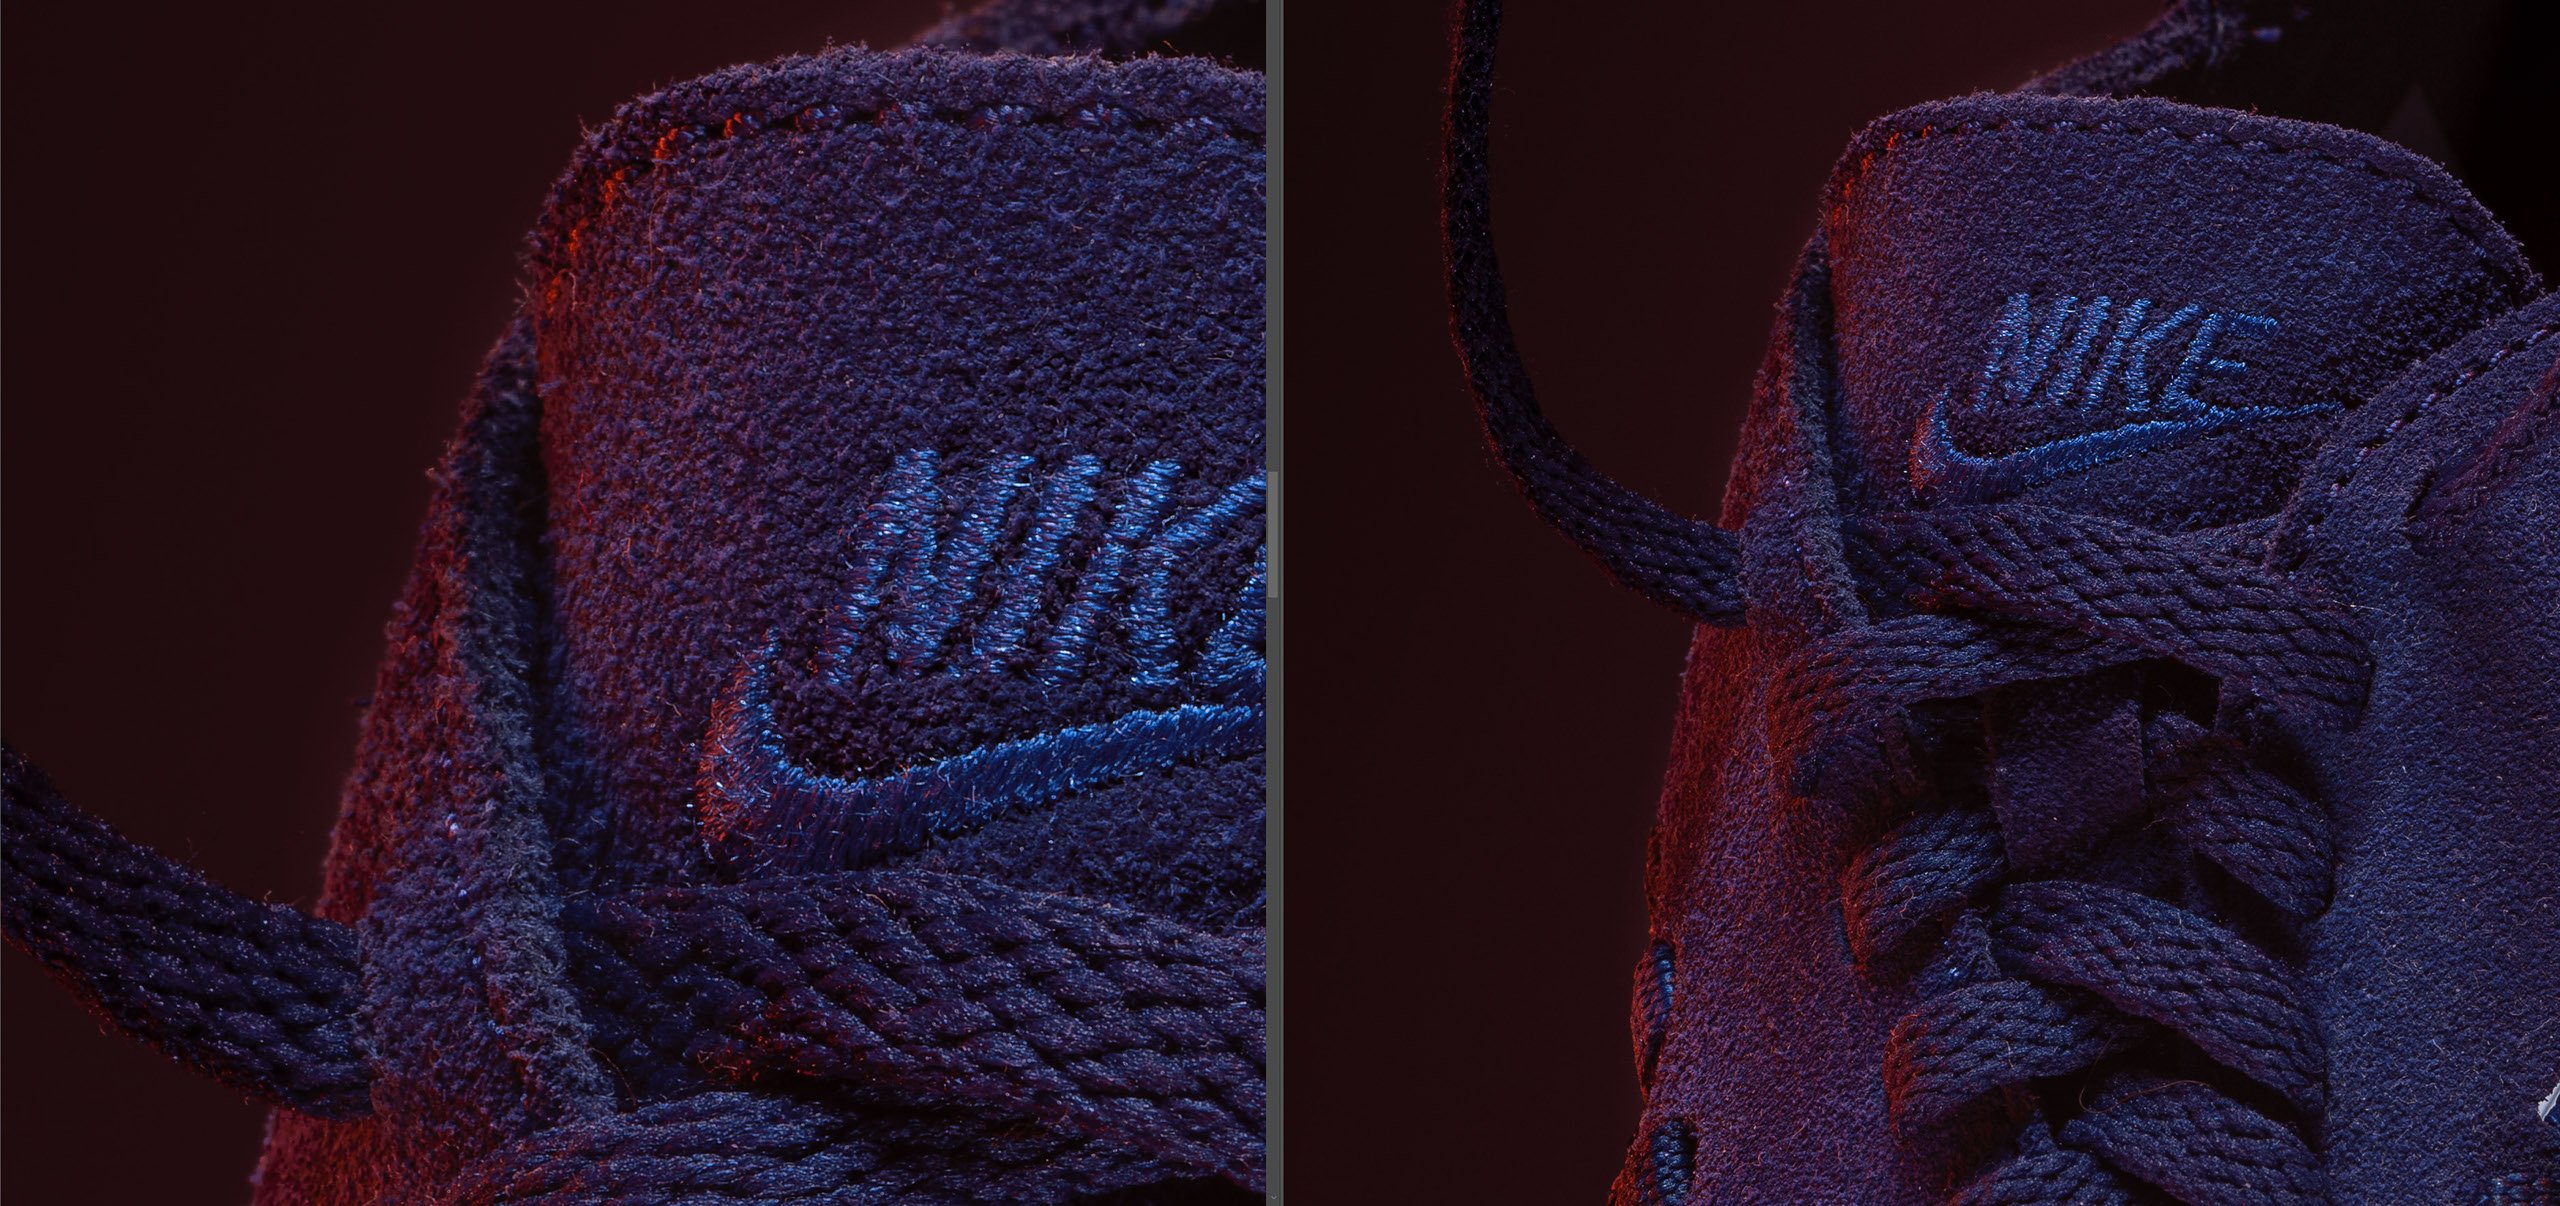
On the left is the 187MP crop, and on the right the same image down sampled to 47MP to show the different between the two file sizes.
As you can see, with the right optics and situation the camera is simply wonderful in the High Resolution mode. One downside is that you can’t use strobe lighting, so I used my Spekular LED lights to create this image as you can see here.
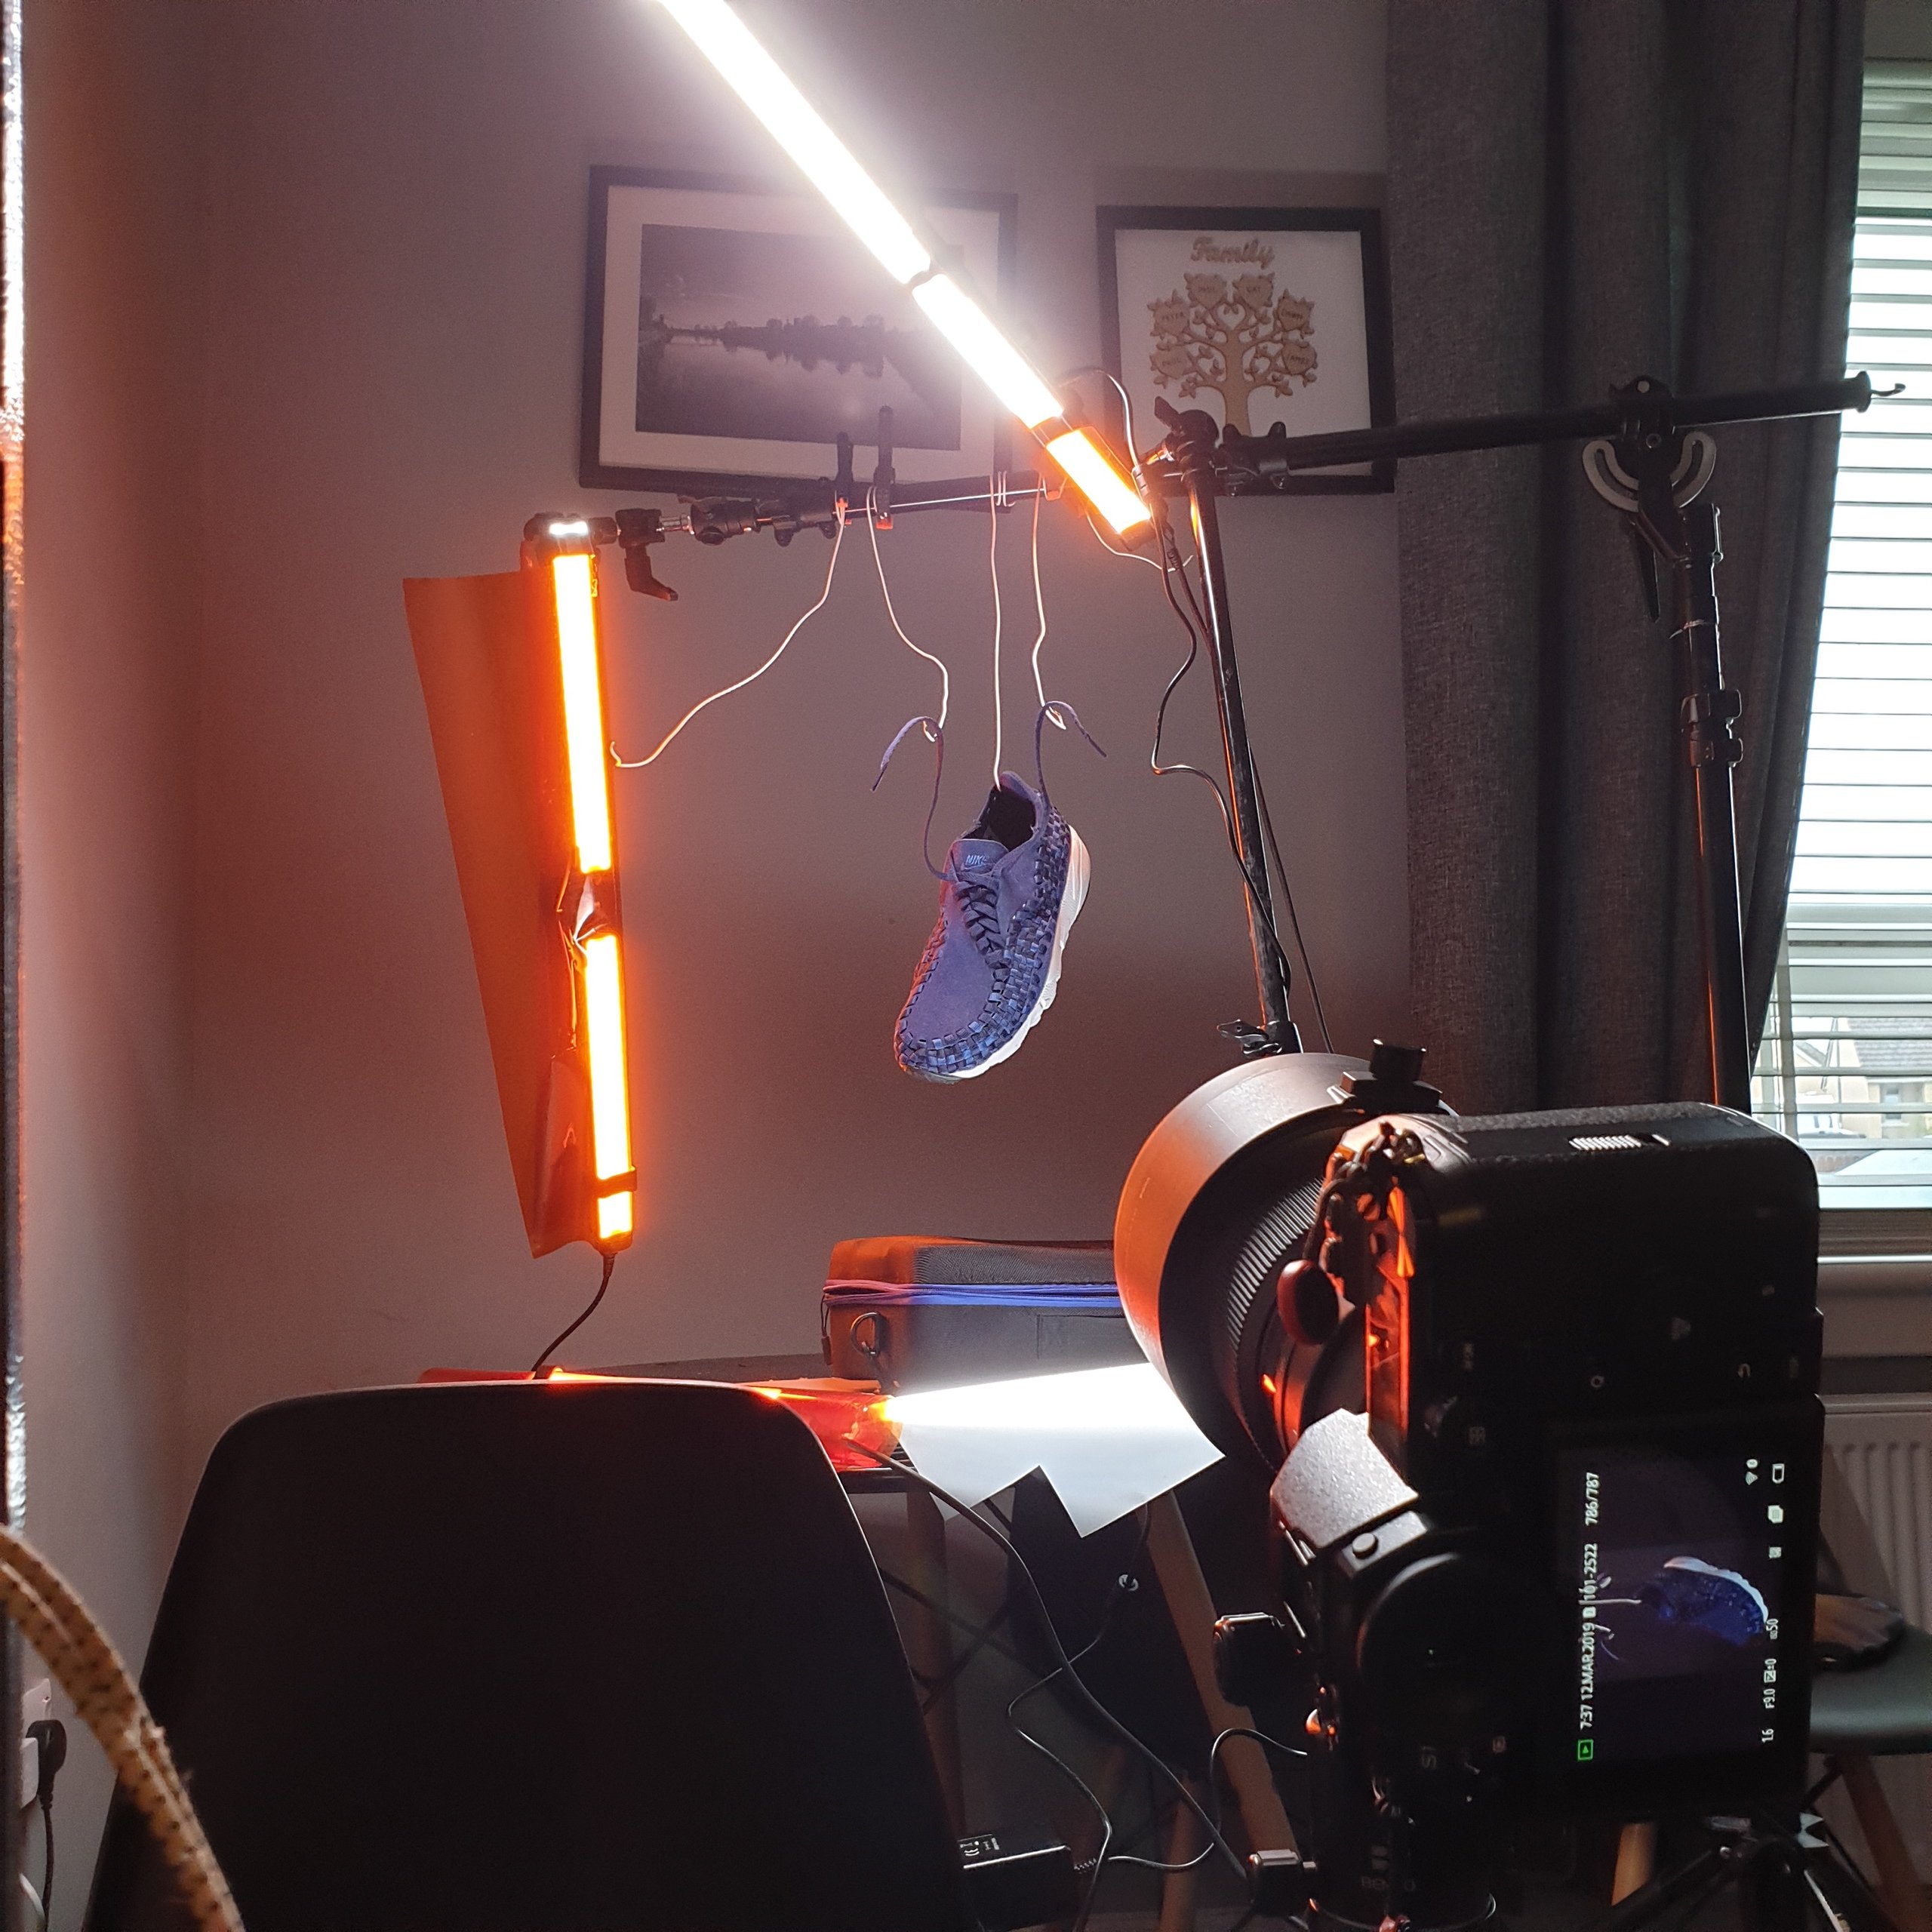
As the shoe was hanging on thin bits of metal wire, I used another feature of the camera here: the WiFi remote control. This helped, as the shoe would wobble around if I moved in the same room due to the wooden floor. Using this feature requires downloading LUMIX sync from the iTunes App or Google Play Store, but after that connecting is fairly simple if you follow the instructions, and it gives you full control over the camera from your phone including remote viewing.
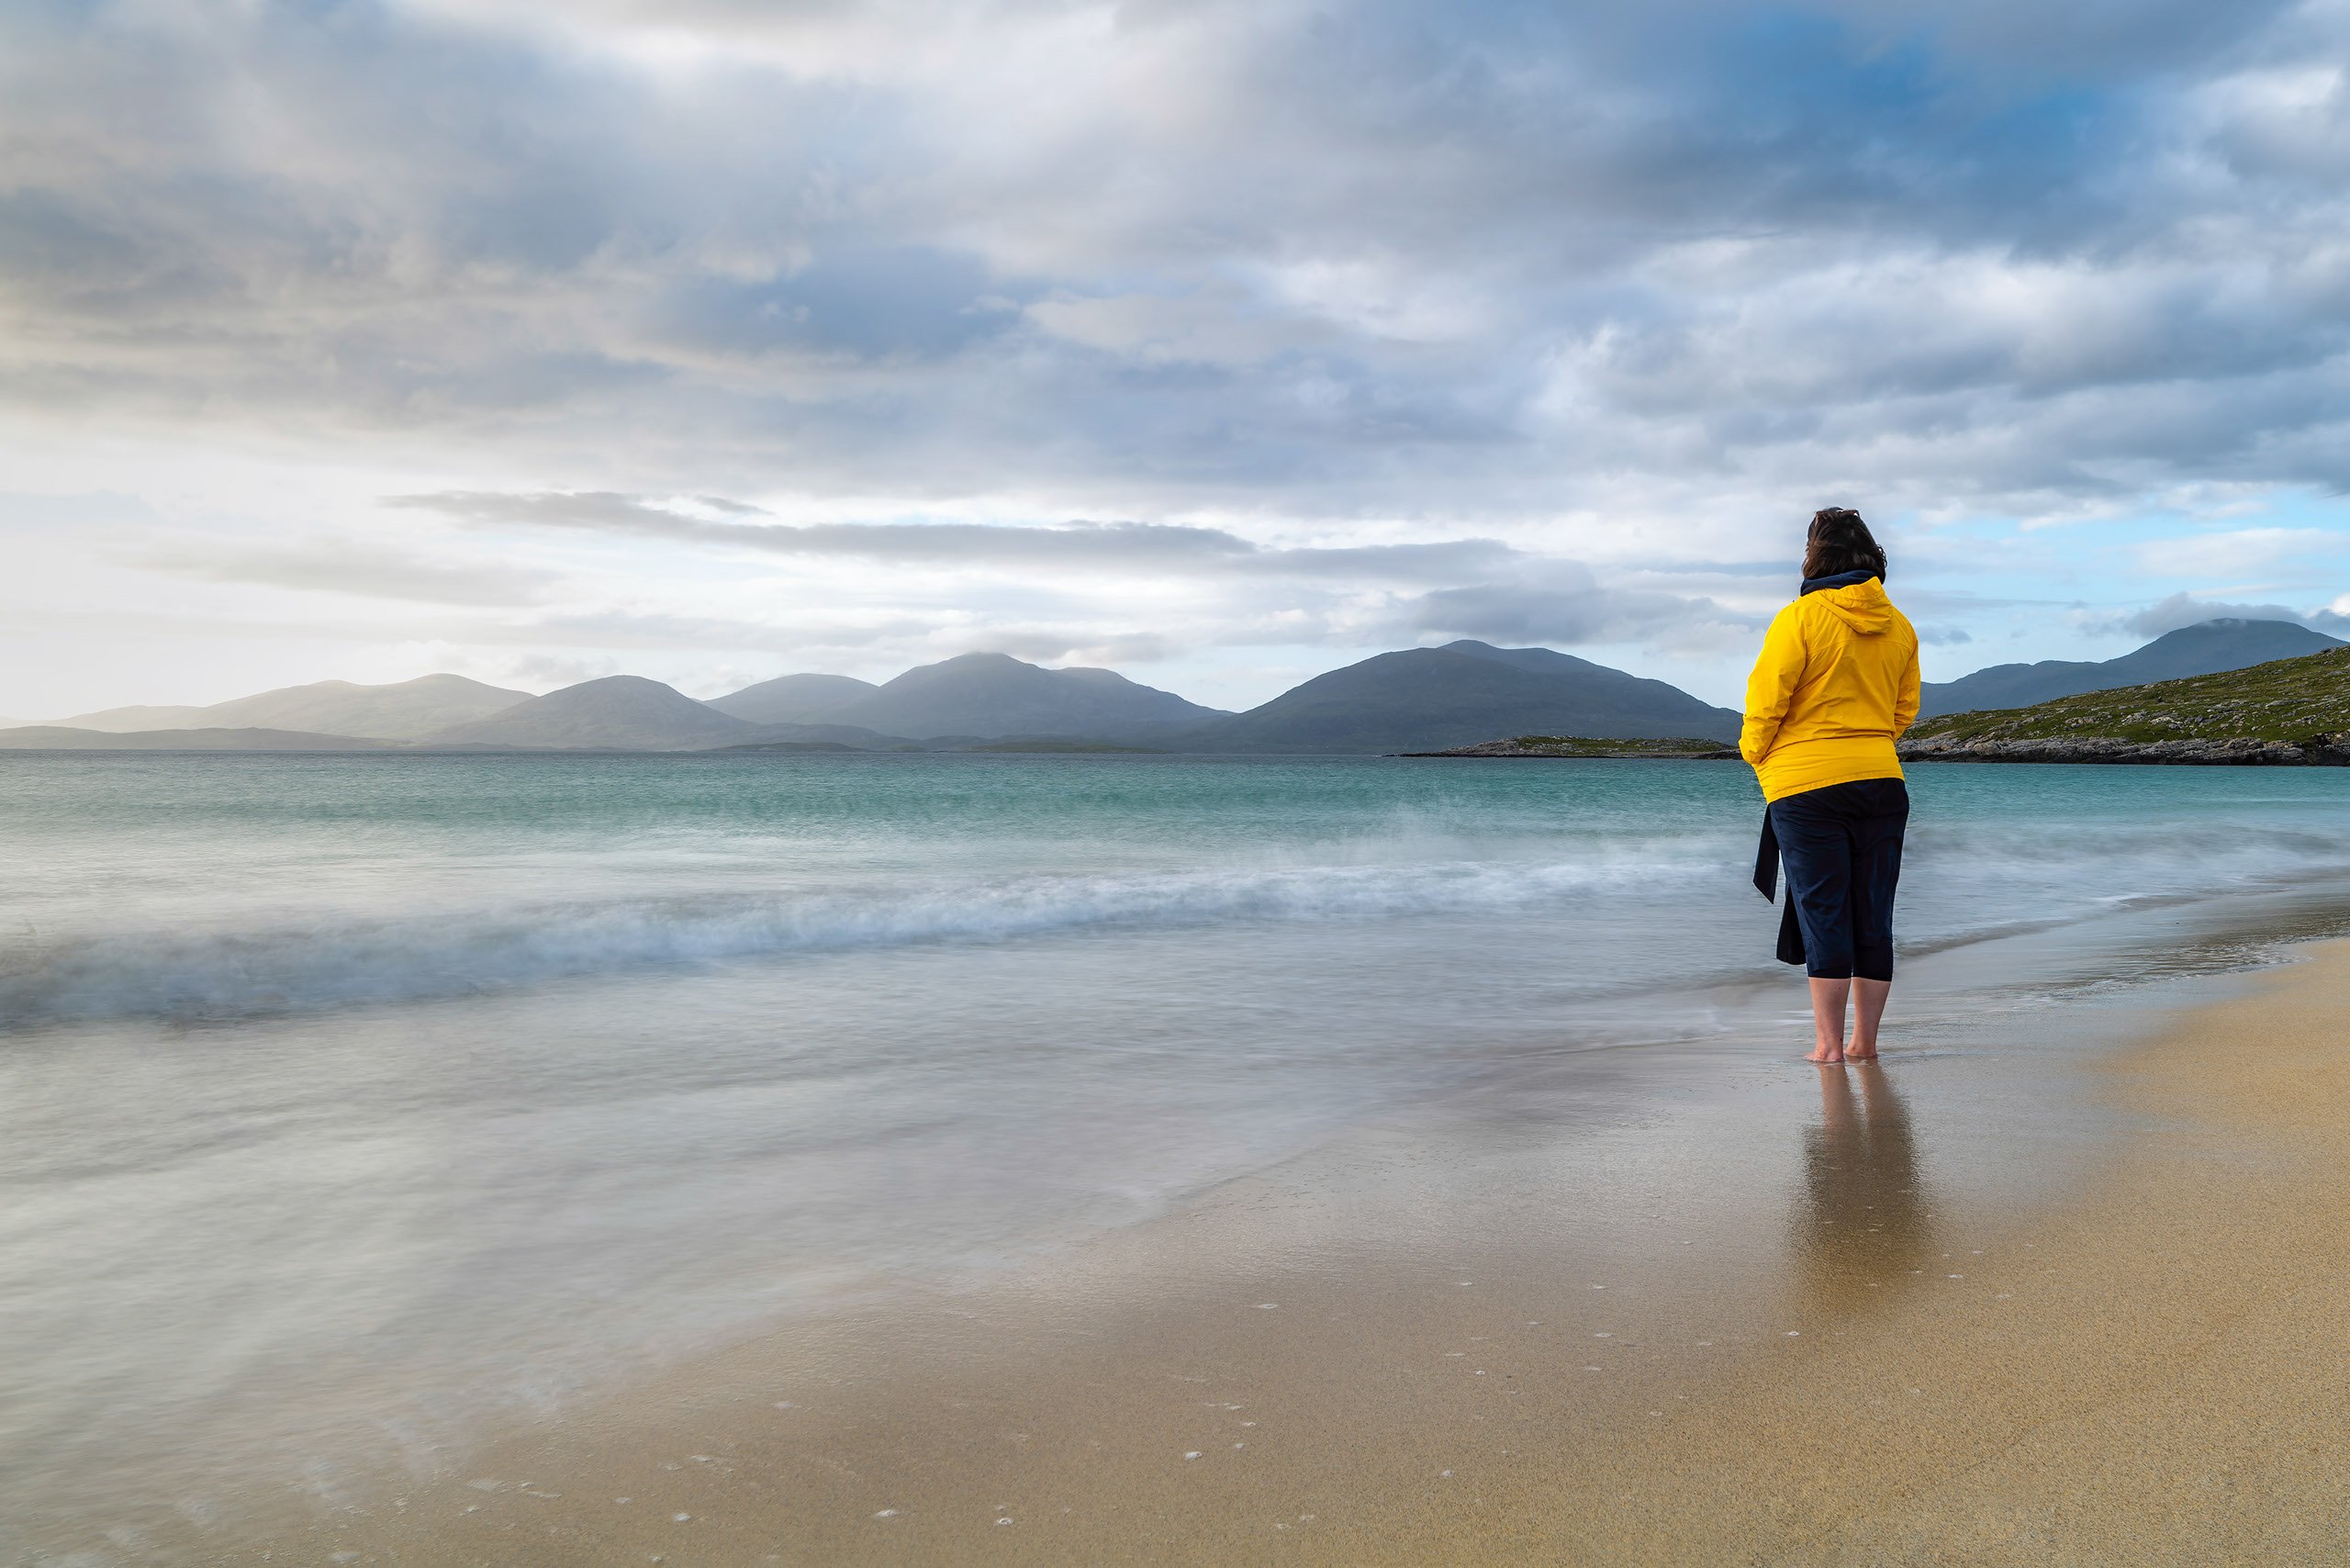
I know this feature is starting to become normal on cameras, but it’s not something I’m that used to and I’m already finding good uses for it. I used the feature to create this image for Cosyspeed while in the Highlands, as you can see in this little clip.
You can see me walk into frame, press to focus and capture the image all using the app on my phone. Here is the final shot.
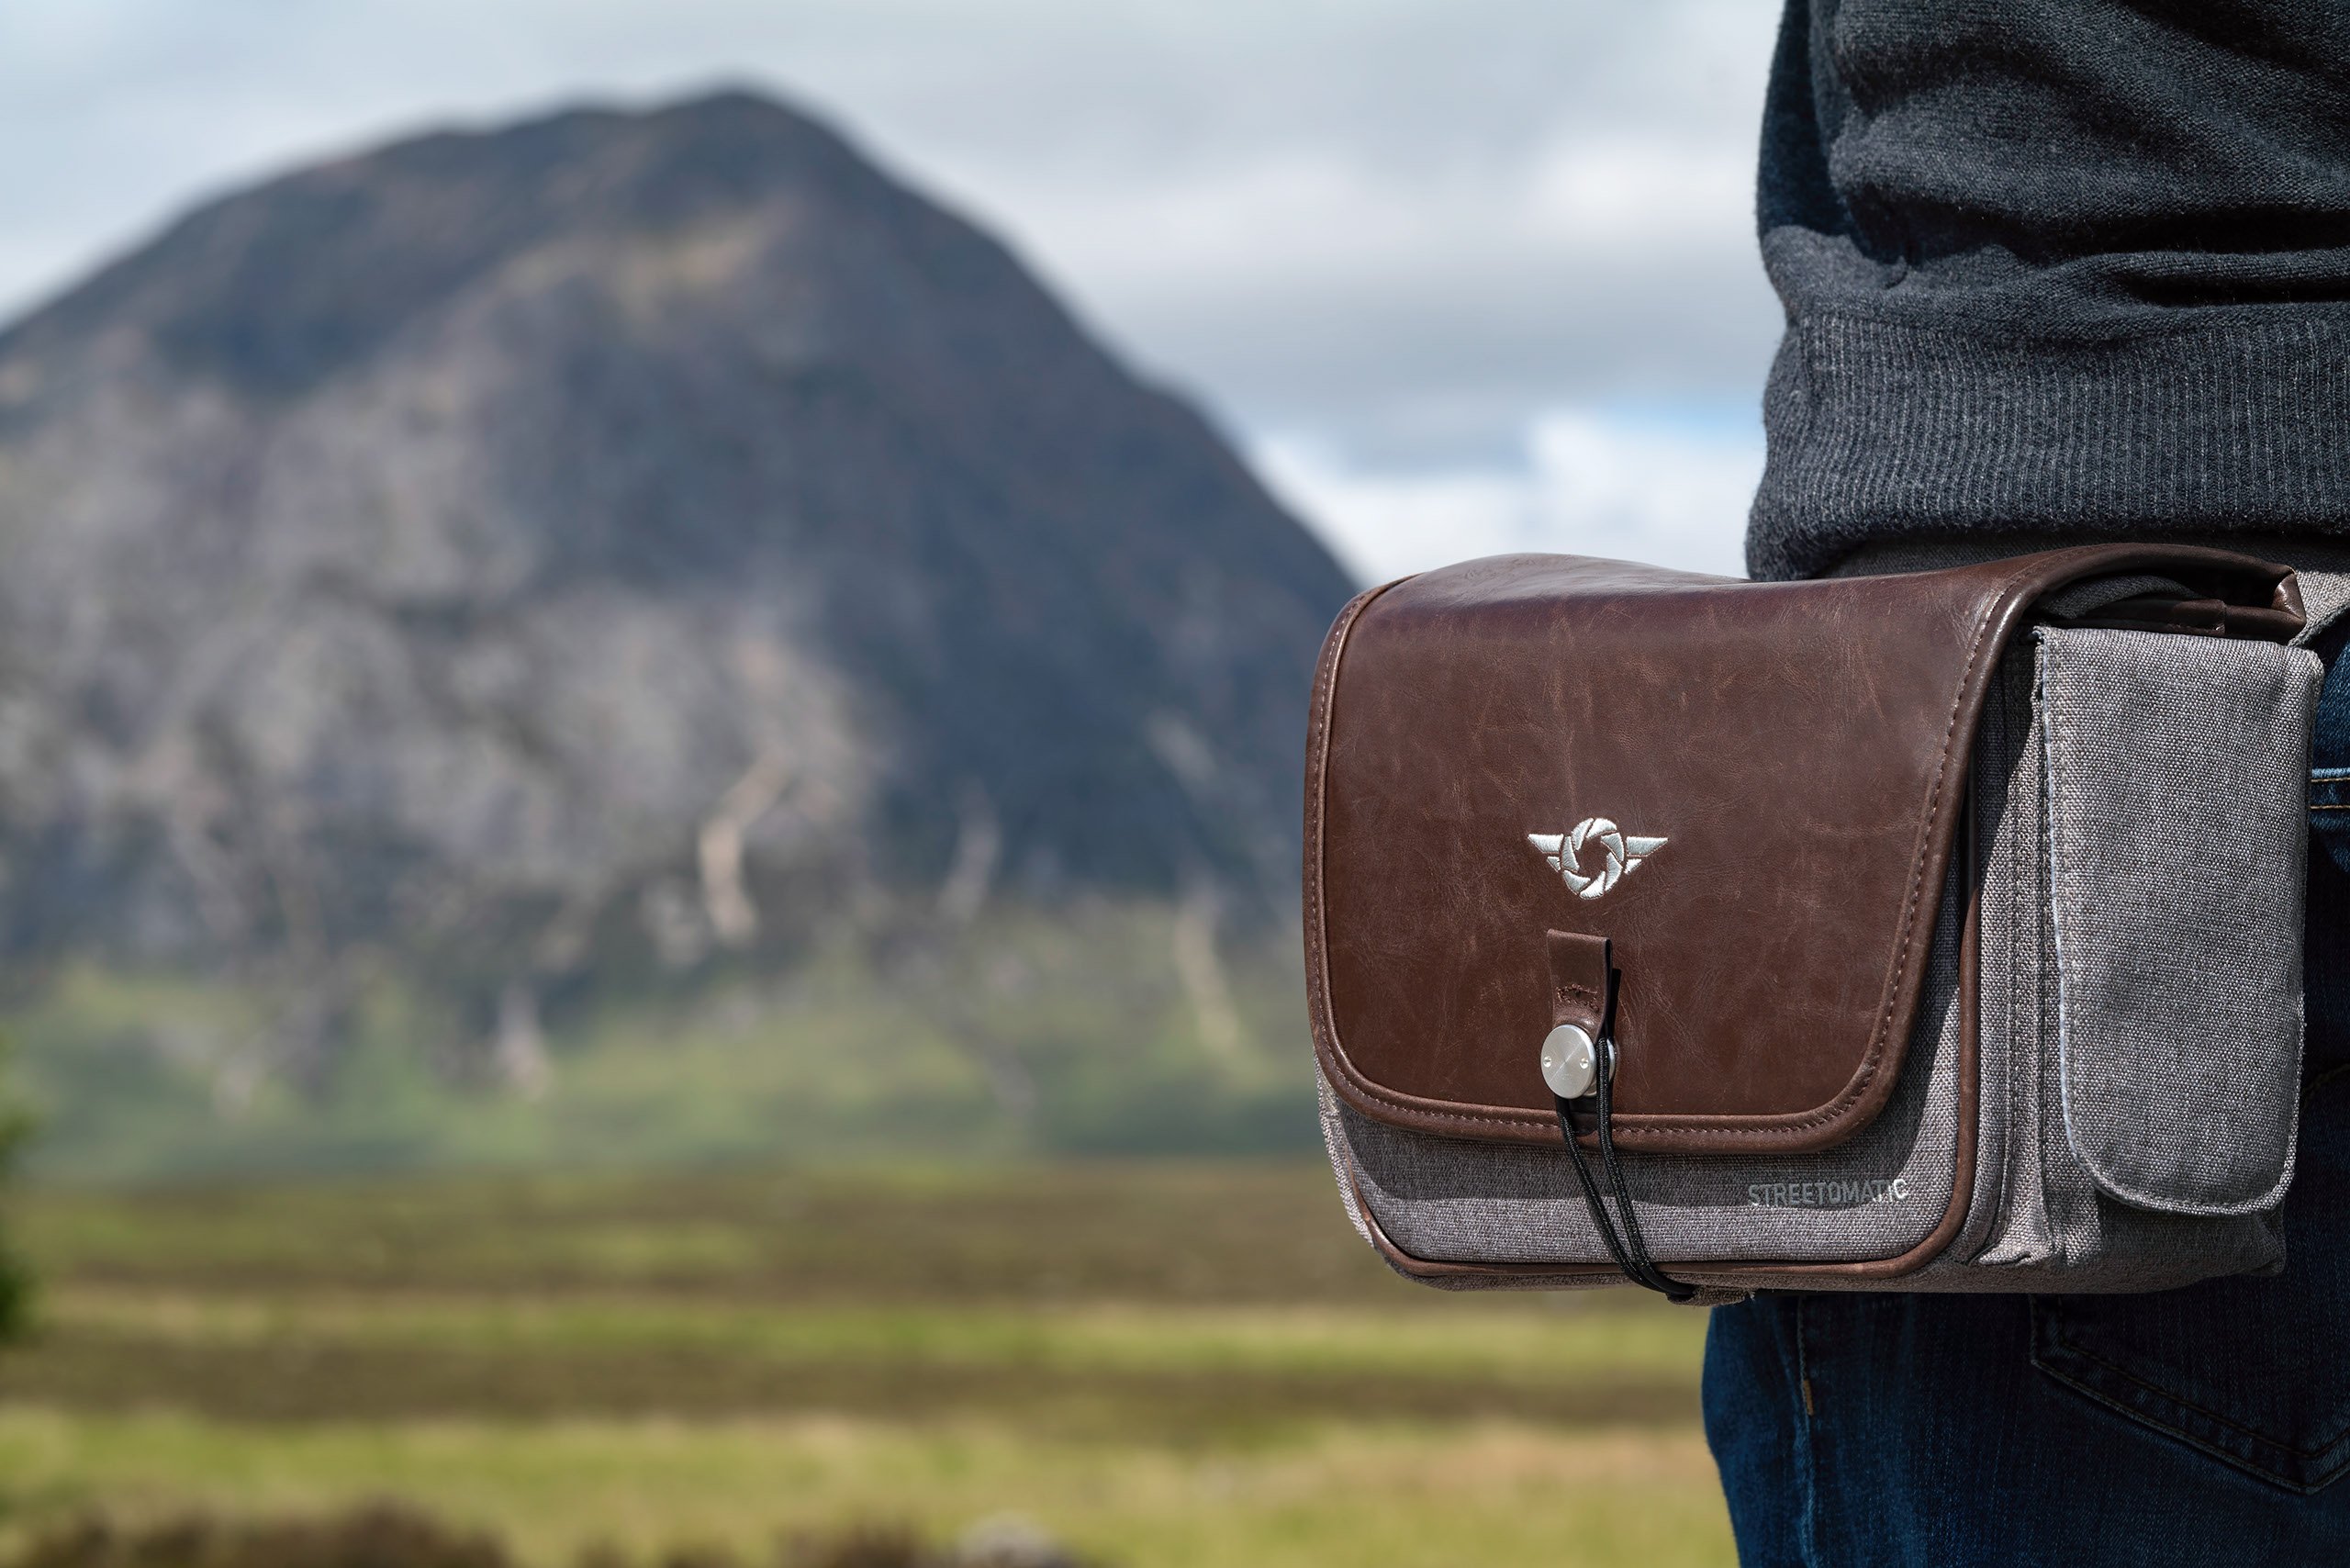
Trying to do this shot solo without the WiFi control would have been a challenge, but it was made easy thanks to that feature. The camera can also be tethered to a PC/Mac using the USB-C port, giving the same type of control through a different interface using a program called LUMIX tether.

If you’re in a studio setting shooting products it makes your life so much easier. You can download the images direct to the computer and view them on larger screens to show clients or even just to see if adjustments need to be done without having to zoom in on the camera’s own LCD.
The camera also supports a feature called “sheer overlay,” which allows you to set a photo as a transparent image on the screen. This is handy, say, if you have a setup where you want to replace an item with another but be consistent with placement.
I created a little video to demonstrate this feature. Sorry the quality isn’t the best, but I used my phone for this.
Much of what I have covered so far has been using the camera on a tripod, so what is it like for general everyday usage?
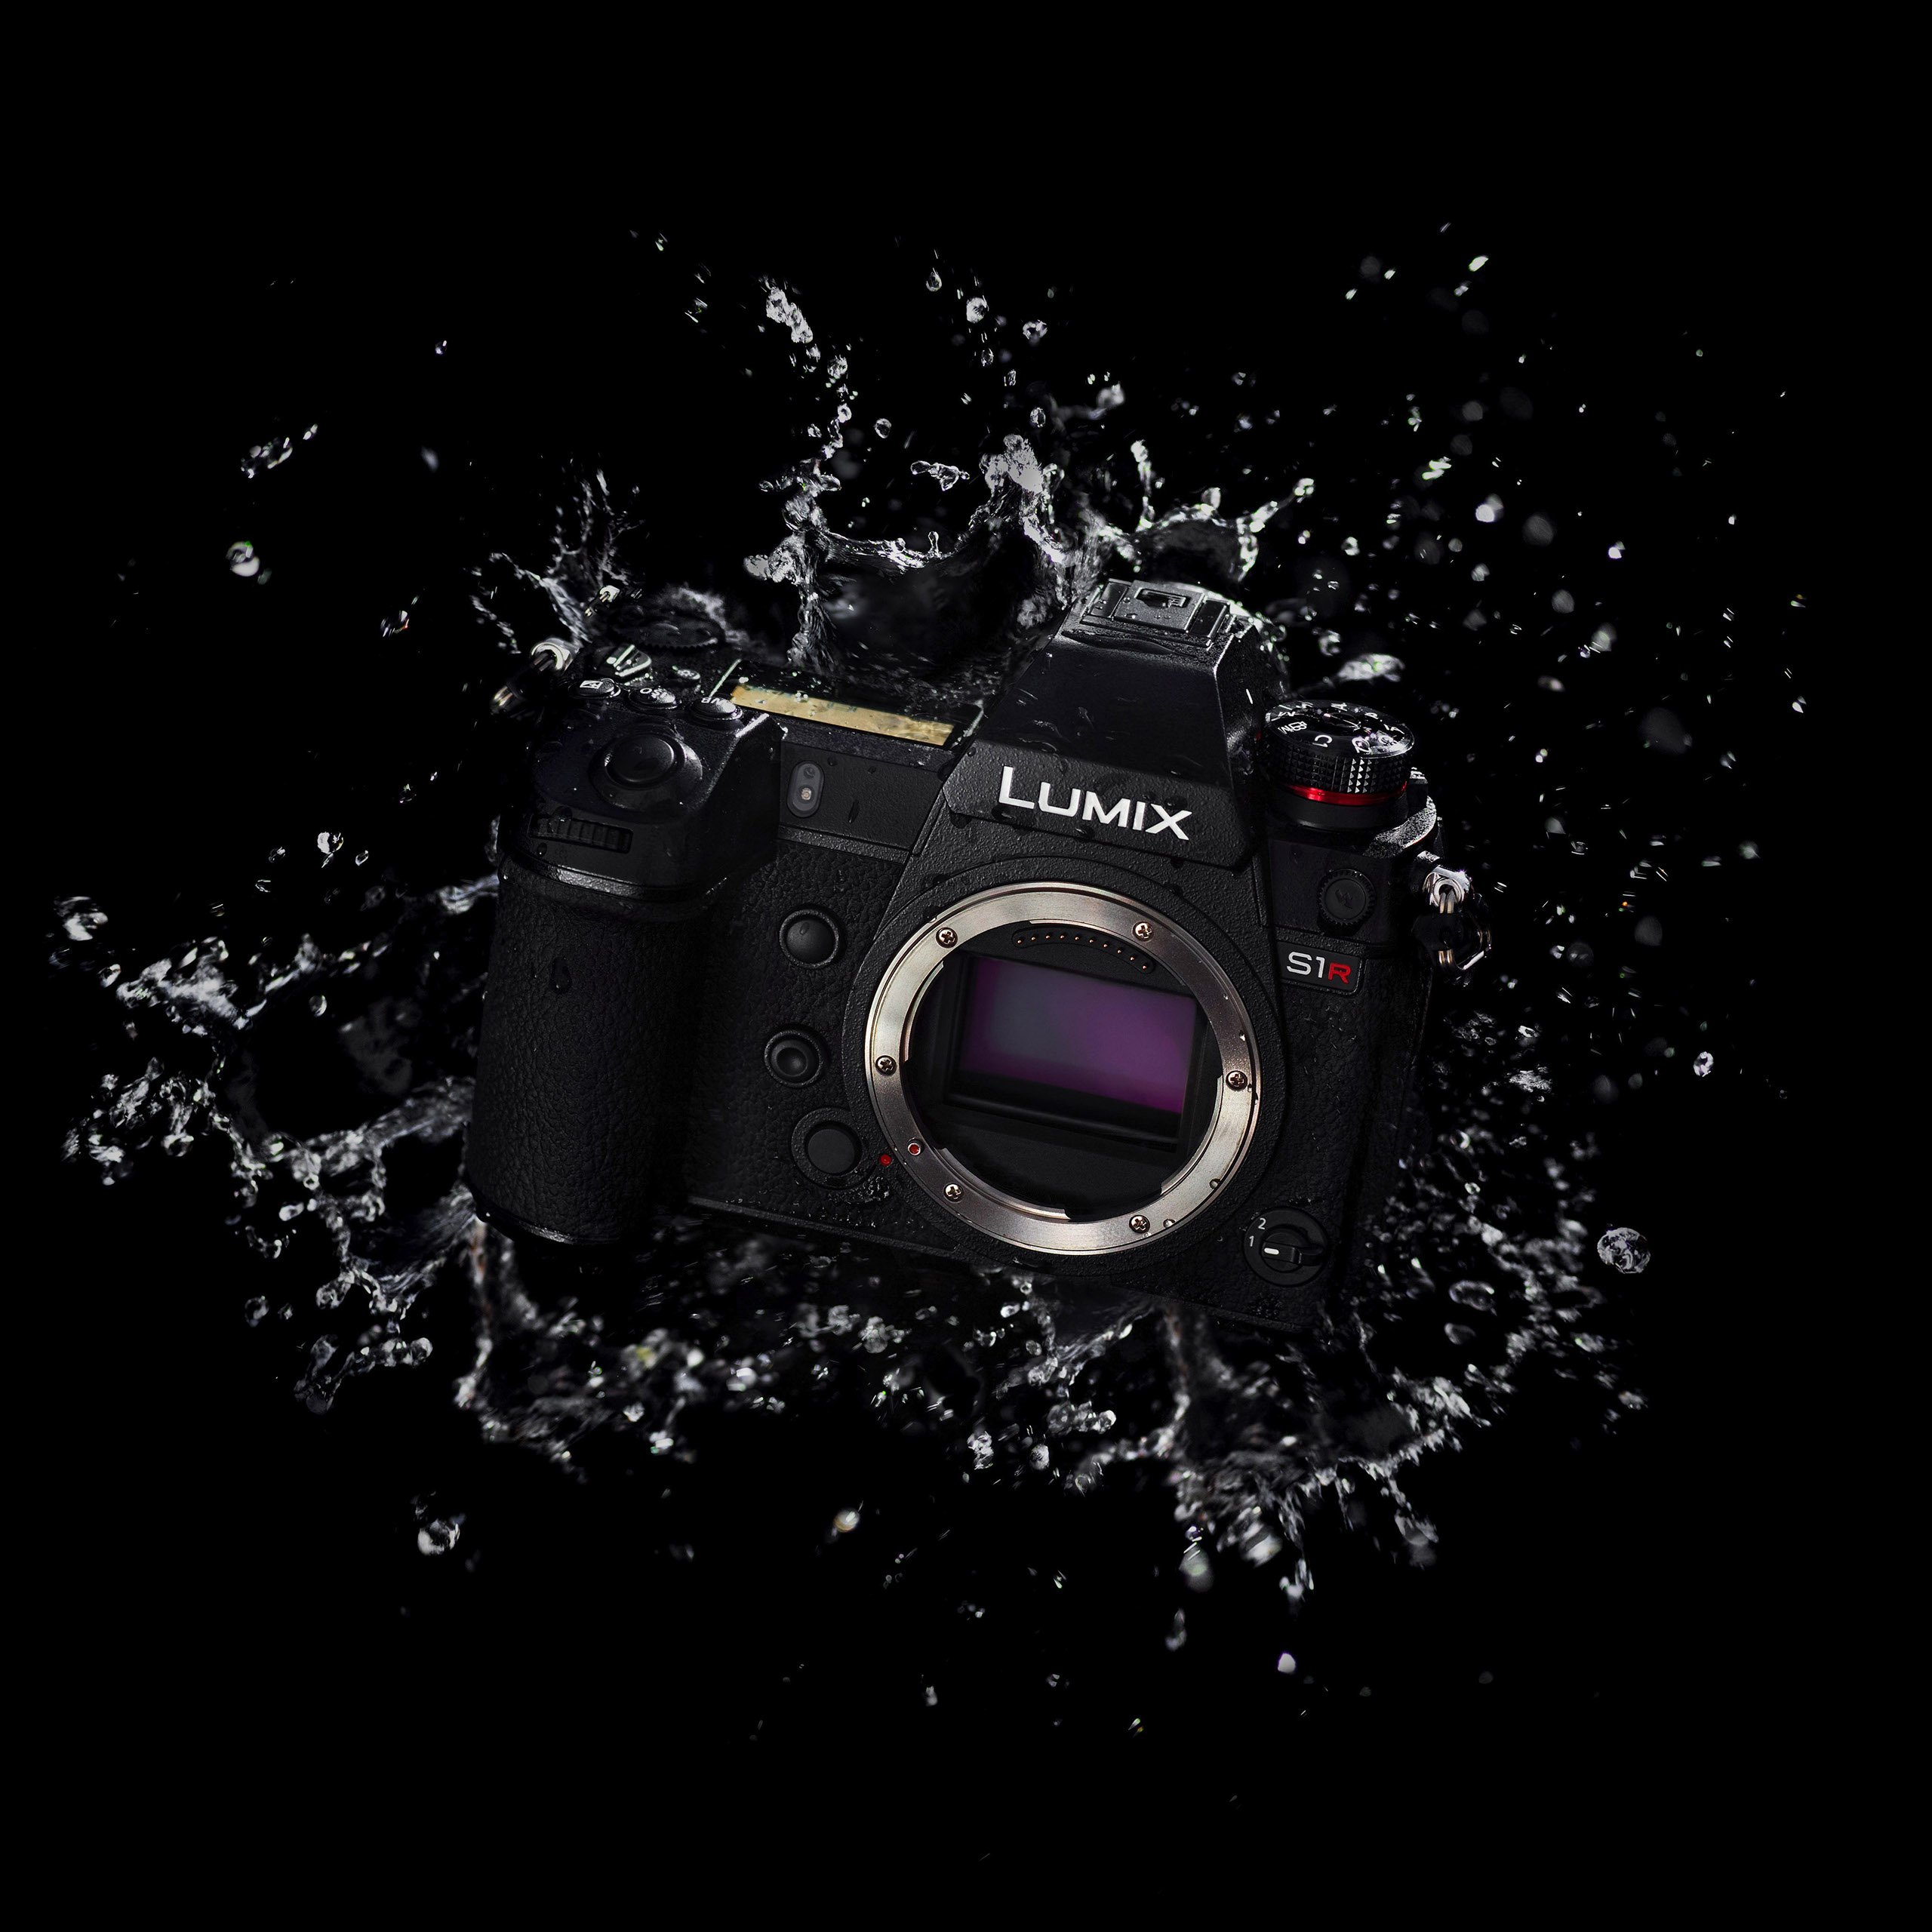
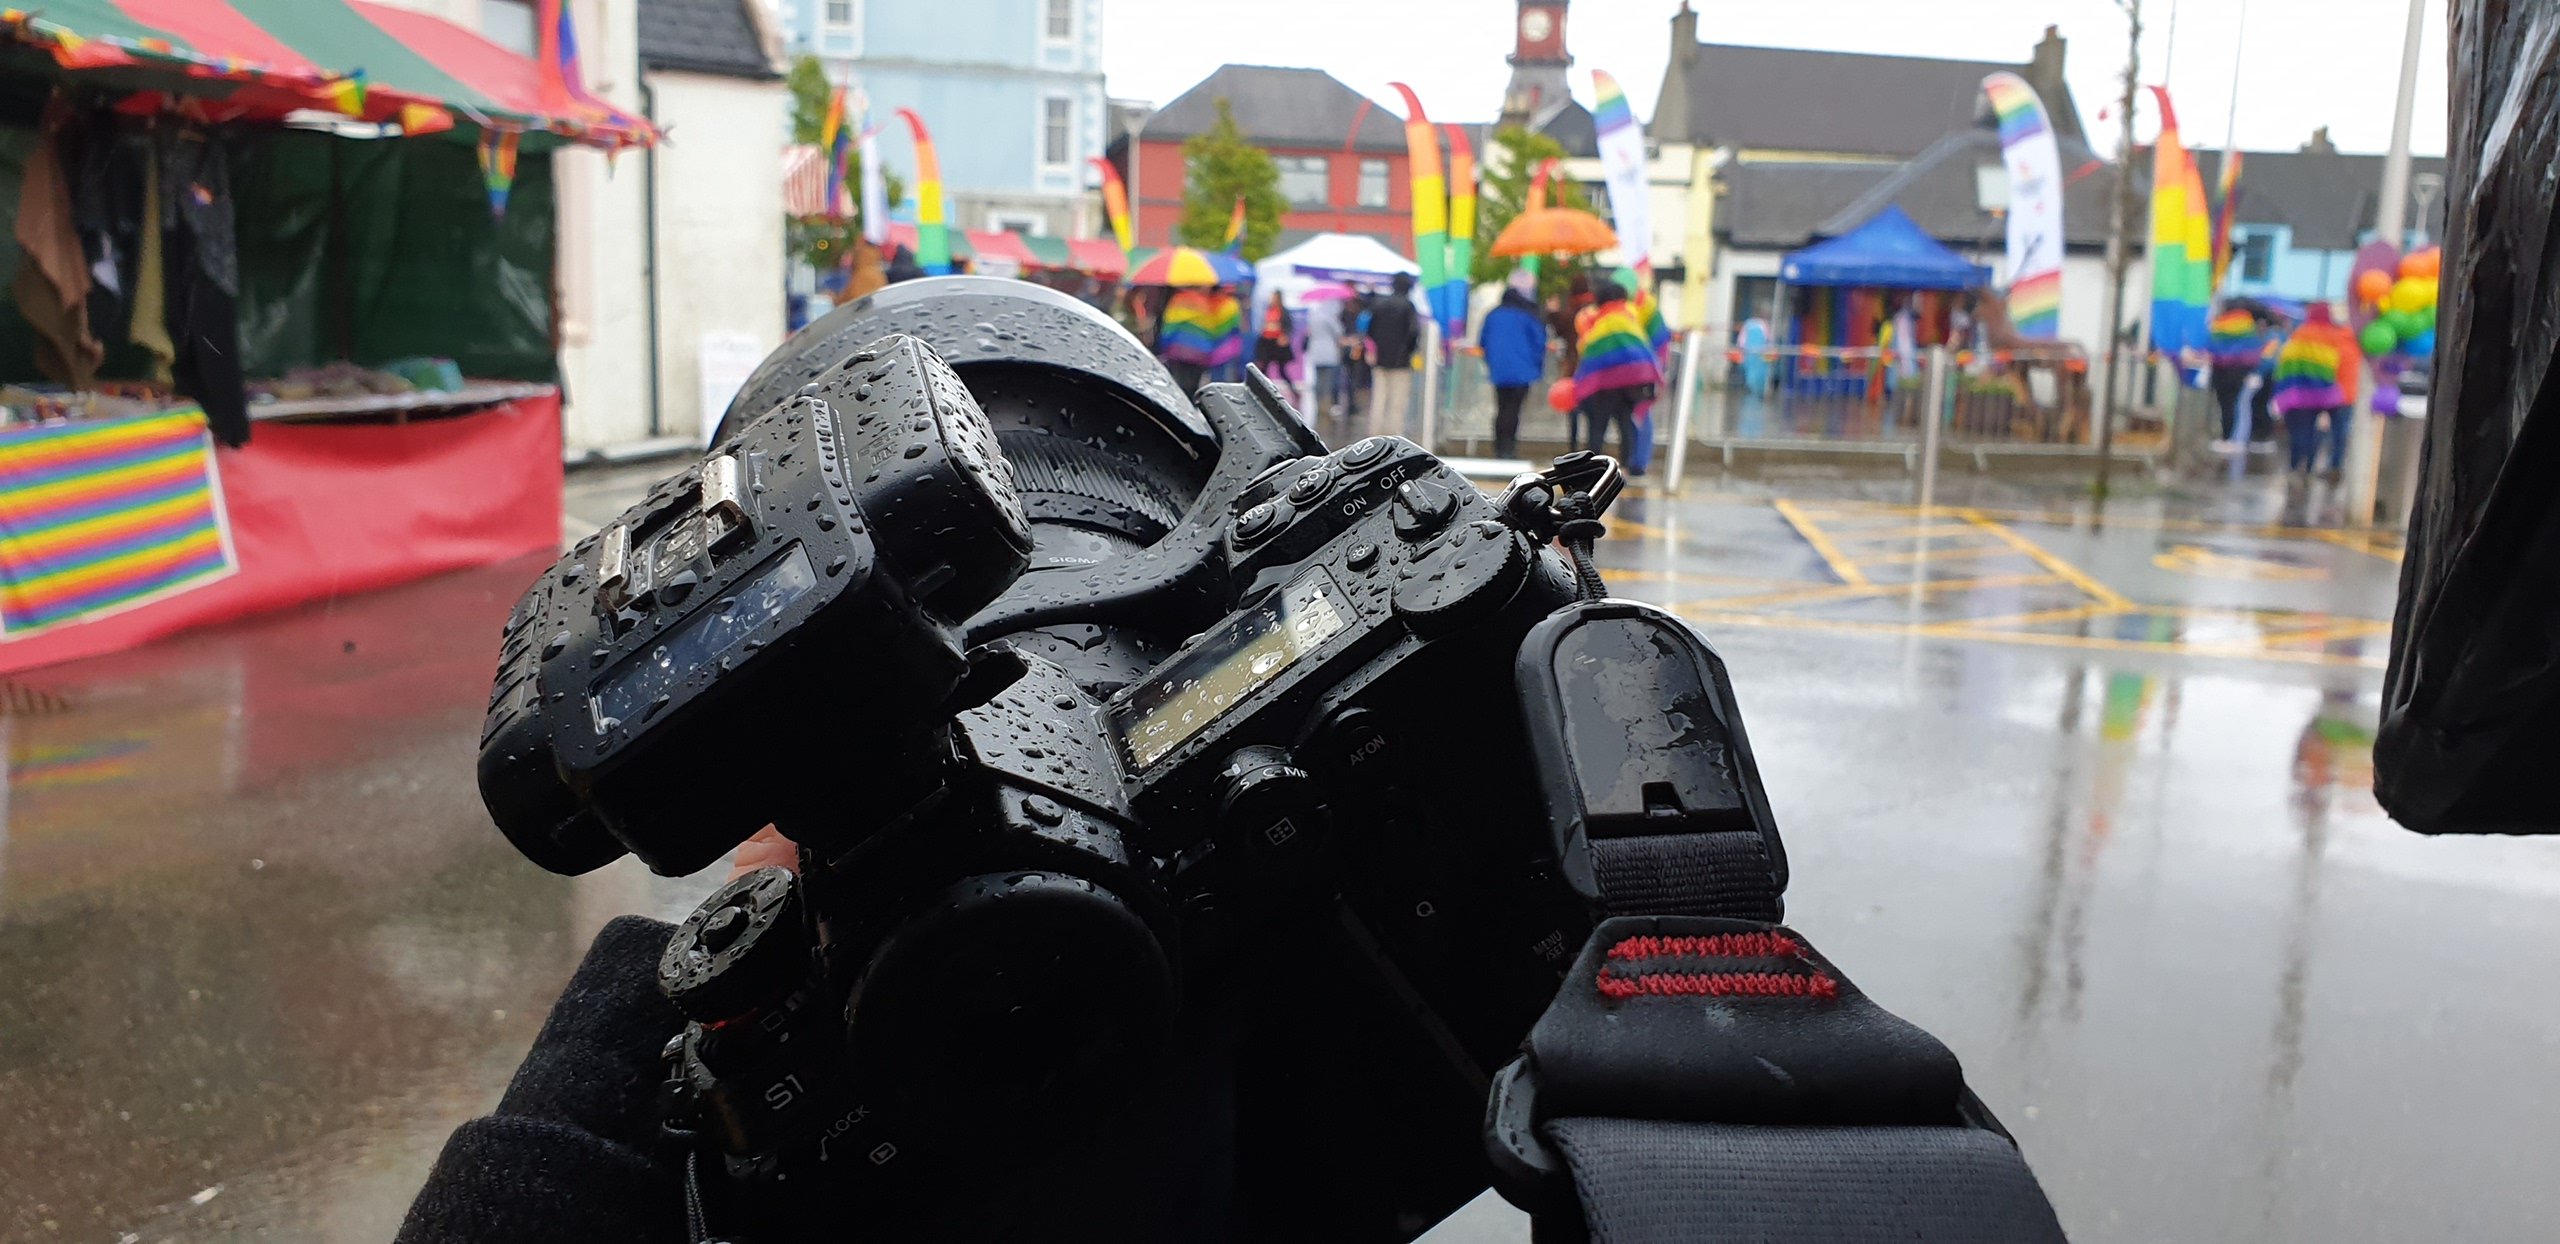
Well, for a start, the weather sealing really adds a sense of confidence when using the camera out on location, particularly with the typical Scottish weather like at the Hebridean Pride Festival on the Isle of Lewis.
Even though the camera was getting wet, I knew I could keep shooting and created a few portraits at the event with the Sigma 105mm f/1.4 Art via the MC-21, with a Cactus v6II firing a Godox ad360 inside a pop up soft box that was doing double-duty keeping the flash dry.

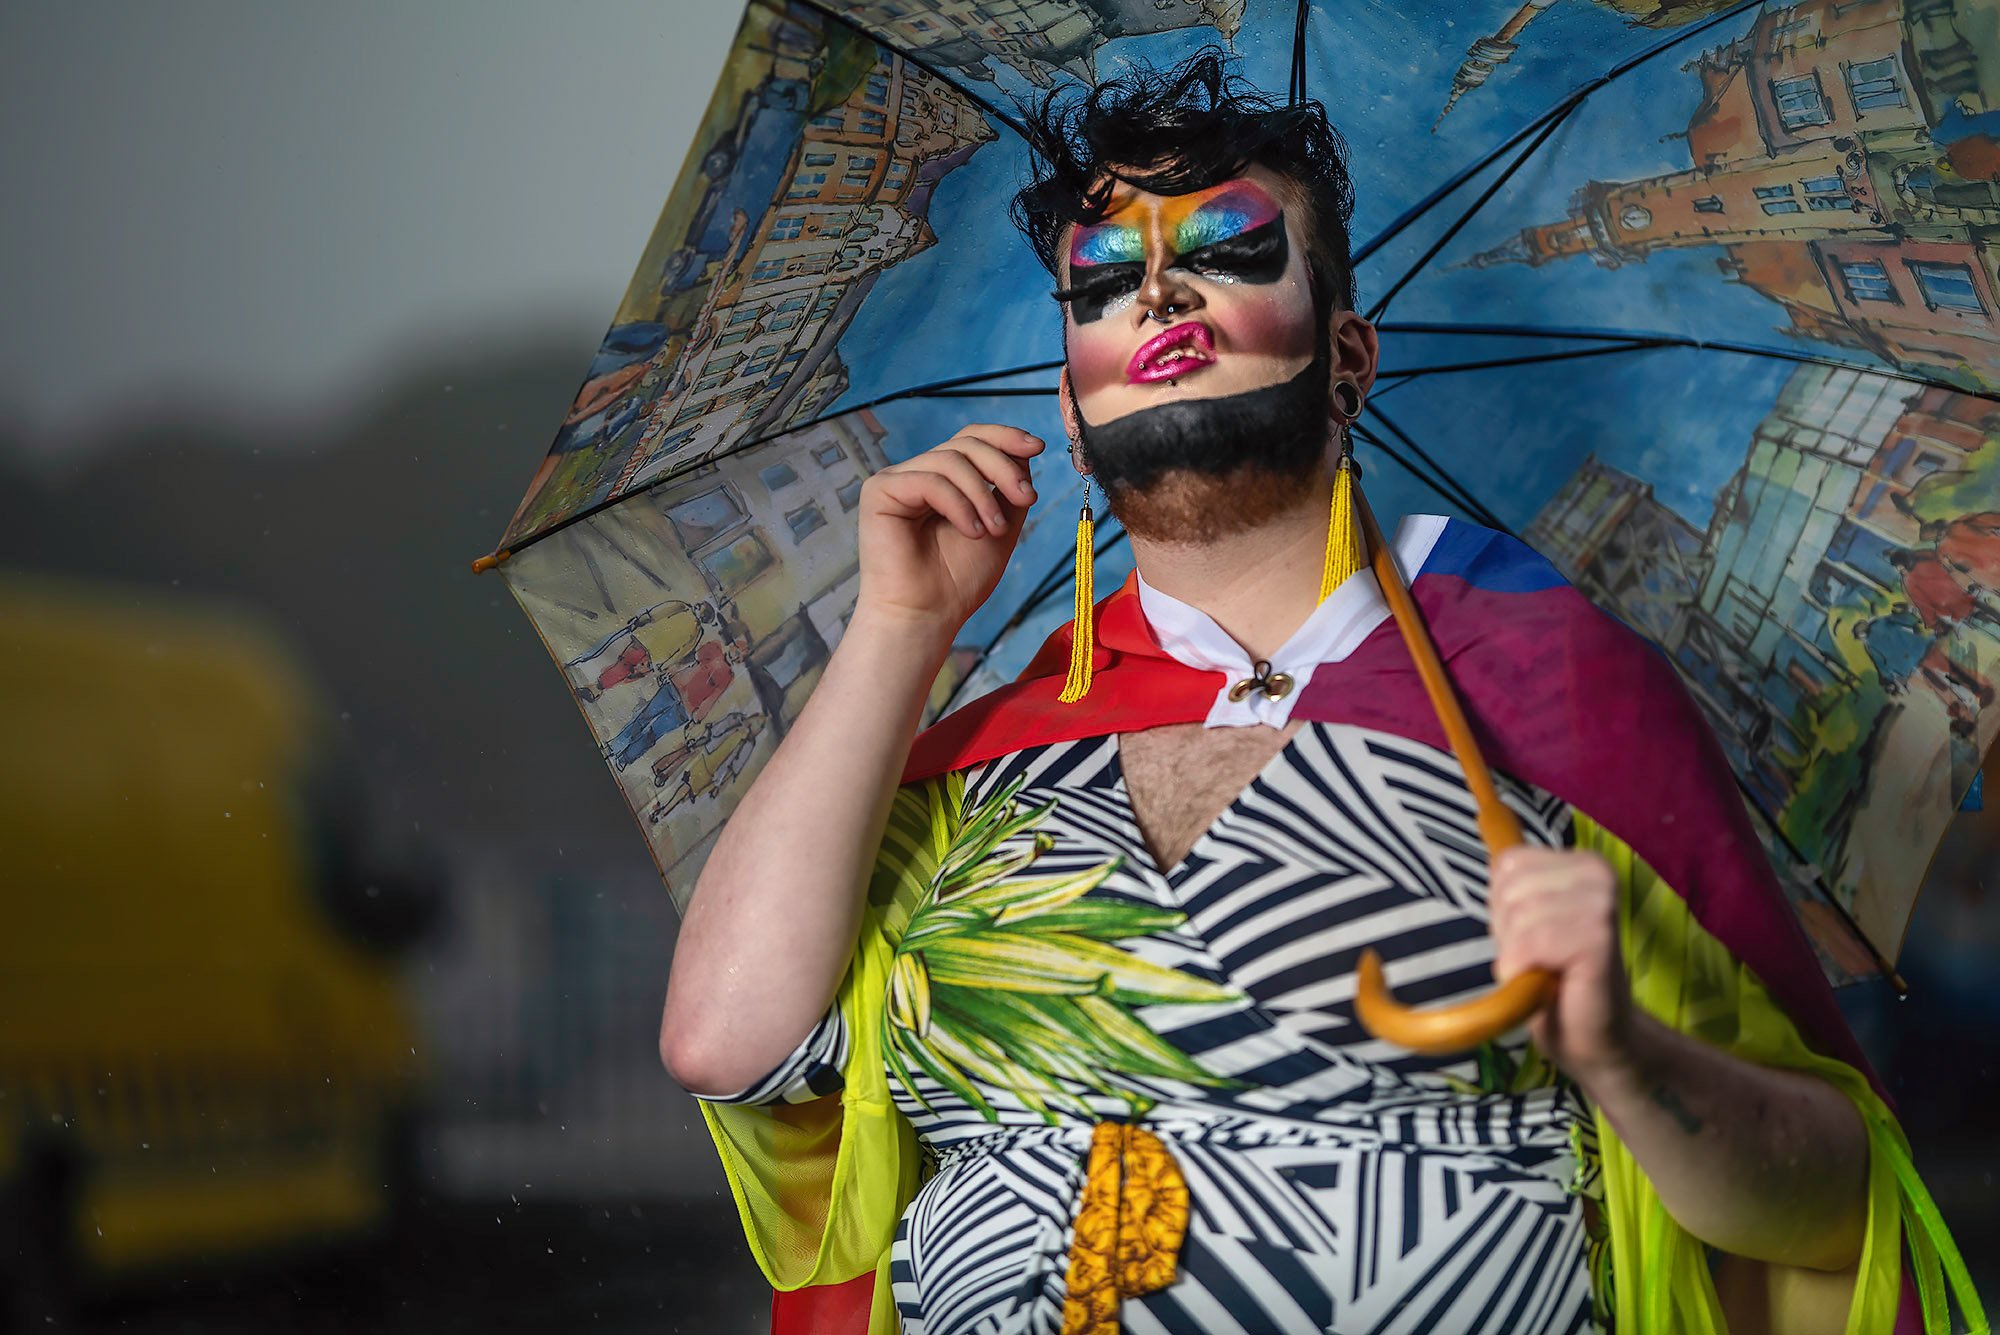

The Cactus triggers flashed with the Olympus TTL firmware worked great, giving me TTL functions on the Godox ad360 as well as High Speed Sync, which works all the way to 1/8000 of a second.
Here’s another shot using the same lighting combo, but this time with the Sigma 135mm f/1.8 ART. This is a photograph of my friend’s daughter in a poppy field.

To get an idea of the setup, I used something similar here for a photo of my son.
And here’s the final image:

And lastly, a recent studio shoot with the tribute band Little Fix:

What about low-light venues? Well it works rather well.
The camera was still able to pick out faces and even eyes in this low-light environment, although it’s not my main type of work and I do feel the 24MP Panasonic S1 would be better suited for this kind of work, as it’s easier to manage and edit lots of smaller images for a faster turnaround.

So I have done my best to use this camera in a verity of shooting situations from product photography, to portraiture, to landscapes, to events and casual shooting. It’s not a small travel camera by any means, and to make the best of the 47MP chip requires great optics that tend to be big and heavy (particularly if you like fast apertures) but the camera itself is a joy to use and I think the results from it are worth the weight.
The camera seems to have been designed just to go that little bit extra to make life easier—from its extra long maximum shutter speed of 60s vs the normal 30s in most cameras, to the 1/320 flash sync vs the average 1/180. It’s like this throughout the camera, and it just adds up to a great user experience.
On the video side of things, it’s capable of offering 4K video up to 60fps (in APS-C crop) or 30fps using a 1.1x crop of the full-frame sensor, although the S1 is the better option if video is your main focus. Regardless, it would be best to get feedback from someone who actually shoots video on a regular basis, so it’s not something I will cover here.
My only real issue with the camera isn’t even to do with the camera itself, it’s the fact that I can’t use AF-C when using the MC-21, when the same lens can use AF-C on the Sony cameras via the MC-11. The ability to track subjects just makes things a lot easier at times, particularly for event shooting. For people buying native L-Mount glass this won’t be an issue, but if you have a bunch of lenses already it’s something to take into consideration.
Hopefully, I will be able to try the camera with some real L-Mount lenses to see how the AF-C works, and also use the focus bracketing feature that is currently disabled for me due to the MC-21. I know Sigma have just announced a new 14-24 f/4 , a 35mm f/1.2 and 45mm f/2.8 all designed for mirrorless from scratch, so hopefully I won’t have to wait too long, but sadly the camera is on its way back home.
I am honored that Panasonic let me try out this camera and can only thank them for the opportunity. It has allowed me to understand more about the L-Mount, and I truly am looking forward to seeing how the system progresses as a whole. The ability to mix and match cameras and lenses from Leica, Panasonic and Sigma is a unique feature of the L-Mount, and with Sigma just announcing the tiny full-frame Sigma fp, things are looking interesting indeed.
The full spec list of the camera can be found at panasonic.com, and they seem to have launched a new loan scheme to allow more people to try the system. You can see more about that on the Lumix G Experience blog, but please enjoy a few more photos from the system before you go and remember to check out my article on the MC-21 if you’re interested in learning more about the adapter.


About the author: Paul Monaghan is a portrait photographer and Sigma UK Ambassador based just outside of Glasgow, Scotland. You can find more of his work on Instagram and Facebook. This article was published here and is being republished with permission.