Travel Photography: Equipment and Pre-Travel Checklists
You’re full of excitement, and new adventures and life experiences are just around the corner. You have finally completed those last minute errands and your bag is now bursting at the seams as you try to squeeze in the last few items before zipping that bad boy up and darting out the door for the airport. But you pause for a moment and find yourself staring at your bag. You think to yourself, “Have I forgotten anything?”
Please keep in mind that this is just a general guide, it’s fantastic if you have all the items listed below but don’t go putting your holiday on hold if you don’t have them.
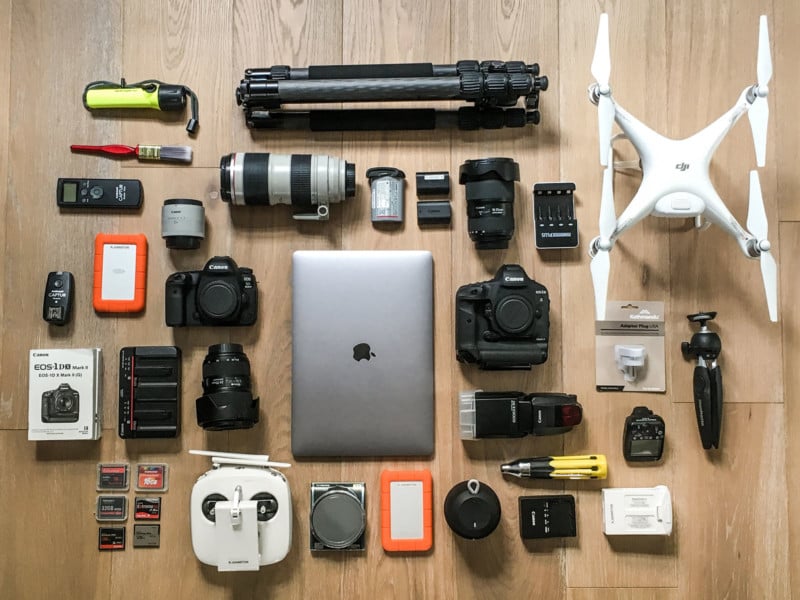
Equipment Checklist and Other Essentials
All the information in this article is as relevant as the next but because its tailored around travel photography lets start with the checklist that I am sure most of you are the most curious about:
- Camera bodies: If you’re just starting out, you will probably only have one camera body in your bag but if you can manage it, it’s always best to travel with a minimum of two bodies. This will safeguard you in the unfortunate event that your main camera body should break or malfunction while on the trip. It’s easy to miss moments if you’re not ready, having two bodies will mean that you aren’t going to be wasting time changing lenses, it will also help to prevent dust building up on your sensors every time you change lenses.
- Camera manuals: It’s always good to have these in your bag just in case there is a function on your camera you’re unsure about or if a problem arises with a camera, a manual may help to decipher it. Camera manuals can be bulky so in order to cut down on weight, its best to download the manuals for your cameras and store them on your laptop.
- Spare batteries: You may be out shooting for a whole day before getting an opportunity to recharge your batteries, so this is a pretty straightforward one.
- Battery charger and power leads: It’s also good to have a backup charging lead should you happen to forget to grab yours as you leave the hotel.
- Power adaptor: Do your research before leaving home and find out what type of power adaptor you will need for the country you are headed to as they will all vary.
- Home country power board with at least 4 outlets: Charging can often be an issue when on the road, taking a power board from home will mean that you will only need one power point to charge multiple devices, this will also cut down on the number of power adaptors you will need for each power socket.
- Memory cards: It’s always good to use a minimum of 64gb to 124gb memory cards, this will save you changing them constantly. It’s always good to have multiple cards in case one or two should break or fail.
- Wallet for holding memory cards: This is handy but not essential.
- Lens cleaning cloth: Take along plenty, as these will often get dirty or lost.
- Lenses: Its best to take along a variety of lenses which include a range of focal lengths. For travel photography, I prefer to use zoom lenses as this will help to cover a greater range meaning you won’t have to carry as many lenses. Personally, I carry a wide angle, something in the range of 16-35mm, a standard zoom 24-70mm and a telephoto of 70-200mm. If you’re planning on shooting wildlife it can be more beneficial to travel with a zoom lens which covers more ground like a 100-400mm.
- Wimberley Head: It can be a good idea to carry one of these should you be using 400mm+ telephoto lenses; this is not essential but can come in handy.
- Filters: Polarisers and neutral density filters for all lens sizes. Personally, I choose to go with a variable neutral density filter as you can adjust these to suit a range of light and they will help cut down the amount of equipment you will need to carry.
- Graduated ND filters and holder
- Teleconverter(s): If you don’t want to carry around big heavy lenses then teleconverters are a great alternative. I would advise against using anything greater than 1.5x on zoom lenses as larger converters can leave your images looking a bit too soft.
- Spare camera lens caps: To replace those you will inevitably lose, this is once again handy but not essential.
- Flash: It’s always good to carry one in your bag, these can come in handy quite frequently when it comes to portraiture or light painting.
- Spare batteries for flash: Don’t buy the cheapest batteries you can get your hands on because they tend to have slower recharge times and can run dead in no time. Try to buy rechargeable, this will save you money and weight in the long run. I find a great battery to be the Panasonic Eneloop Pros.
- Cable or electronic remote shutter release: There may be no one around to help push your shutter button if you’re in the middle of nowhere and you decide your image needs a human element. This will allow you to get out in front of the camera and still take the image you’re after, all by yourself.
- Large blower: You can often end up with a small fiber on your sensor when changing lenses, the blower will help to remove this in the field.
- Small bristle brush: This will aid in helping to clean and look after your equipment at the end of each day or help prevent dust from entering the camera housing whenever you decide to change lenses.
- Laptop and power cables: These will form an essential part of your daily routine as its advised to download and back up your images at the end of each day. These will also be used for editing images and any other possible business-related tasks you need to perform.
- Power packs: If you know you’re not going to be near power for a few days its advised to carry a few of these in your bag to help charge your equipment while on the road.
- External hard drives and transfer cables: Essential for backing up and storing your images safely at the end of each day. We strongly recommend a minimum of two. Back up is everything, how many times have you heard stories of other travelers losing images while on holidays.
- Monopod: These can aid in photographing from vehicles and can help to get your camera in positions you may otherwise not be able to. I personally use a tripod which pulls apart to form a monopod if needed.
- Tripod: Essential for landscape and astrophotography. Pack a carbon fiber tripod if you have the budget and know you are going to be doing some hiking or carrying it around for long periods of time.
- Tripod head and quick release plate
- Beanbag: If you plan to be shooting from cars with long-range zoom lenses
- Camera vest: With as many large pockets as possible.
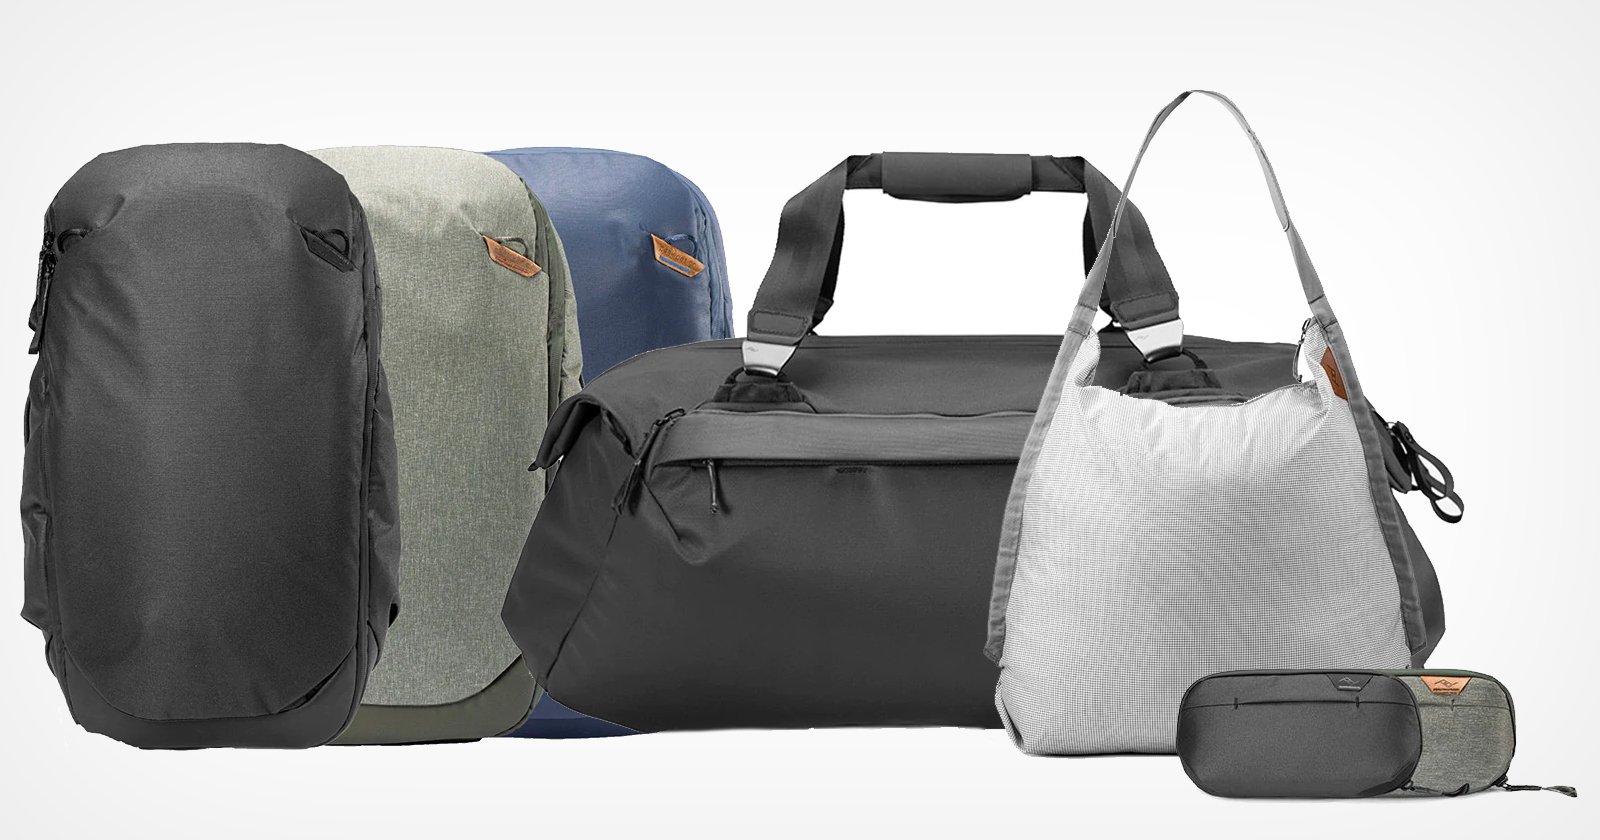
- Soft-sided duffle bag with wheels: For all the non-camera stuff that can go into an aircraft hold
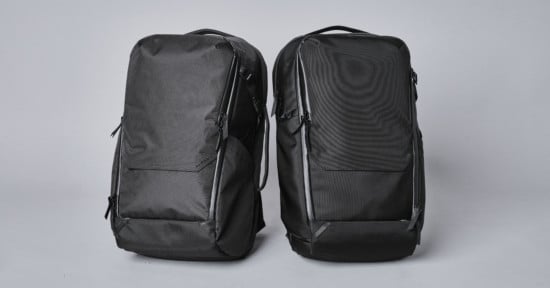
- Camera bag: Make sure you take a good quality pack which can carry all the equipment you expect to use on a daily basis. It can always be a good idea to try and find a camera bag which doesn’t look like a camera bag if you are headed to areas with high crime rates
- Plastic zip lock bags: Useful for protecting spare memory cards or lens caps.
- Cable ties: Useful for locking backpacks when traveling on planes or leaving bags with equipment unattended in hotel room.
- Binoculars
- A flashlight (and spare batteries) or LED headlamps
- Jeweler’s screwdrivers: In case you need to perform any repairs while on the road. Always pack in check-in luggage.
- Swiss army knife: Always packed in check-in luggage.
- Leatherman multitool with pliers: Always packed in check-in luggage.
Baggage Sizes and Weights
There is a very likely chance that you are going to be moving around constantly so in order to protect, store and transport your equipment you’re are going to need to take a few things into consideration:
The maximum size of carry-on luggage for the aircraft – If possible, you want to avoid having to check in your equipment because it is too big to take on the plane with you. Should your check-in luggage go missing or get delayed, the last thing you want to be without is that precious equipment. This way you can still carry on photographing, downloading images and charging equipment even if your clothing doesn’t arrive on time.
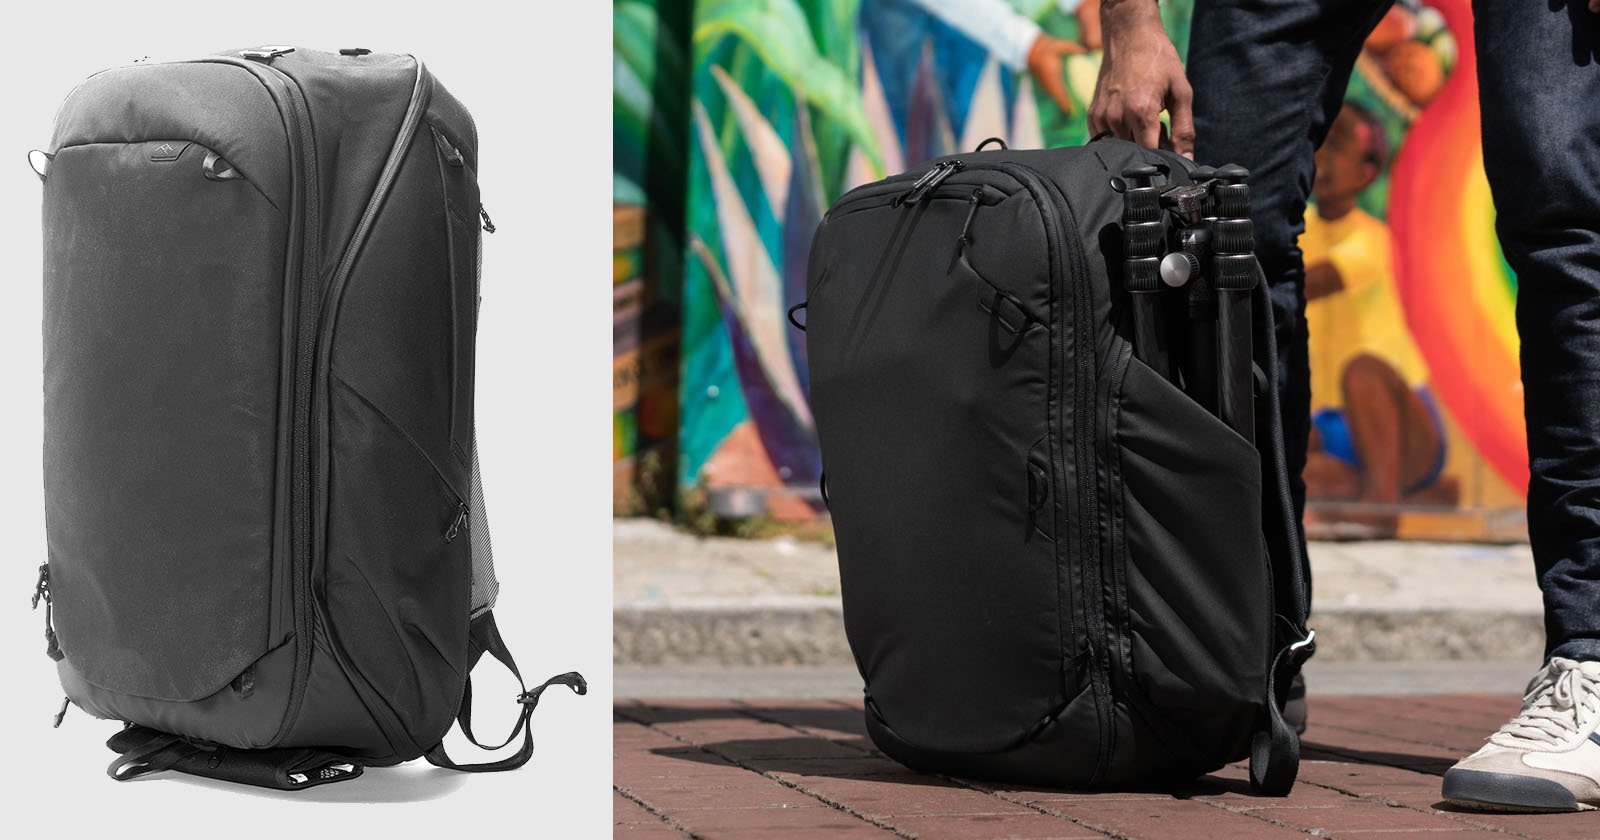
The size of the plane you are going to be flying on – Larger commercial aircraft carriers are happy for you to carry on hard cased bags to store in the overhead bins. But if you are flying on a smaller aircraft as many travel photographers do when they head to remote destinations, a soft-sided travel bag is preferred. Rigid, hard-cased bags and Pelican cases are often refused by pilots in smaller planes particularly when they do not fit into the aircrafts luggage pods.
Weights of your carry-on luggage: Its best to keep the luggage within the limits listed below.
- 1 piece of in-hold luggage weighing no more than 45lbs/20kg
- 1 roll on camera bag: circa 22lbs/10kg
- 1 carry on camera bag/backpack: circa 22lbs/10kg
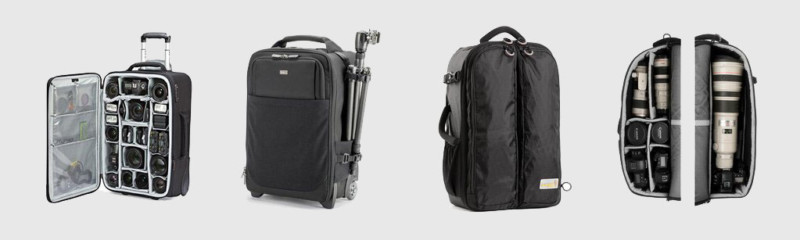
The Kiboko 30L backpack which can comfortably hold an 800mm lens and the Think Tank International Roll-on Bag are two great examples of bags which are within the carry on limits.
Power Supply and Charging Equipment
Depending on if you are staying in a Hotel or in a Tent, sometimes you will have access to power points in your room and other times there may be designated charging bays. For this reason, it’s always a good idea to label your batteries, chargers and any other equipment which could potentially end up in a charging bay. This will help prevent any mix-ups when it comes to other people collecting their items.
This is another reason why it’s a good idea to travel with a power adaptor for the country you are visiting and a four-socket power board. This will ensure all your devices will be charged successfully and will be ready for another full day’s use.
Money Matters
It’s a good idea before heading overseas to do some research and find out the currency of the country you will be traveling to. You should always exchange some money before arriving in your destination country, this will ensure that you have enough money to get you from A to B and will keep you going until you manage to settle in and get your bearings.
Don’t forget to let your bank know where your headed and how long you will be there for. The last thing you want is to arrive in a foreign country and find out that your bank has just canceled your card due to suspicious activity.
Airports: Immigration and Customs
Before arriving at your destination and in order to make the arrival process as smooth as possible it is worthwhile doing some more research to find out if you are going to require any visas to enter the country. Not every country allows you to apply for a visa upon entry. Some countries require you to have this paperwork completed well before you arrive.
Personally, I also like to print out a full itinerary of where I will be staying and when any additional flights and activities planned. I file all this information in a folder which I carry with me at all times. Not only does this help if asked by customs what my plans are but it also makes traveling easier as there is a likely chance I may not be able to pick up a WIFI signal at every location.
It’s also important to check if the country you are traveling to requires vaccination documents. If you cannot provide these at the borders because you have not been vaccinated, then you will not be granted access.
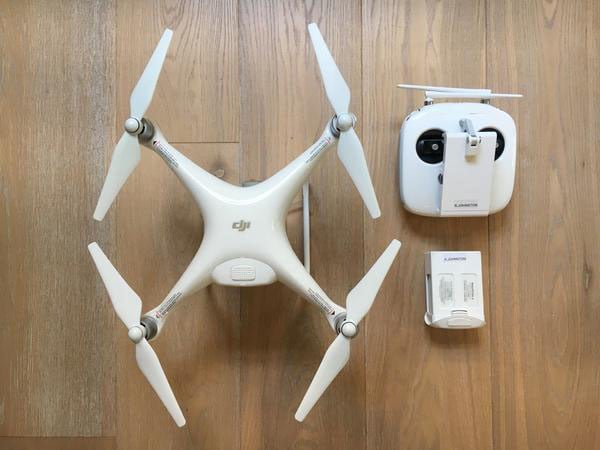
If you are traveling with a drone, not every country permits their use without approvals, so do you your research before leaving home. The rules of each country should always be respected but if you have your heart set on taking it and decide to risk it, just be prepared to leave it at the airport if customs catch you.
About the author: Richard Johnston is an award-winning Australia-based freelance photographer who publishes under the name Lonely Hunter online. The opinions expressed in this article are solely those of the author. You can find more of Johnston’s work on his photo site, wedding photo site, Facebook, and Instagram. This article was also published here.