The Creative Process of Photography: A Case Study
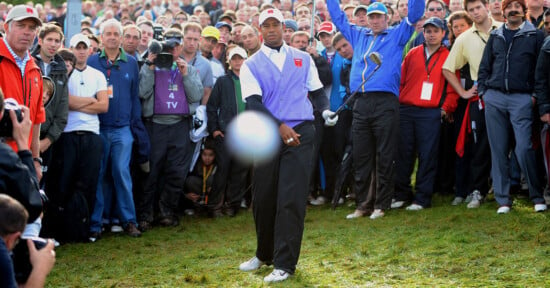
I often hear: “I really like your photos. You must own an amazing and super duper expensive camera!” My reply to these people is: “If you own Tiger Woods’ golf club, would you be able to play at his level?” In Woods’ case, it all comes down to years of practice and a healthy dose of raw talent.
Each photo that I’ve ever taken is the result of a creative process. Sadly, there are no rules or laws that prescribe this process. However, I can walk you through one specific example. I will describe step by step why I made certain decisions leading to this final result:
Before we start:
1. The following photos have not been post-processed.
2. This is not a beer advertisement. The beer is only available in a small part of Belgium.
A friend of mine started brewing beers and asked me if I could take some ‘original photos’ in return for a lifetime of free beers. As an insect and travel photographer, I’ve never photographed beer. Luckily, I love challenges (and beer), so I accepted the offer.
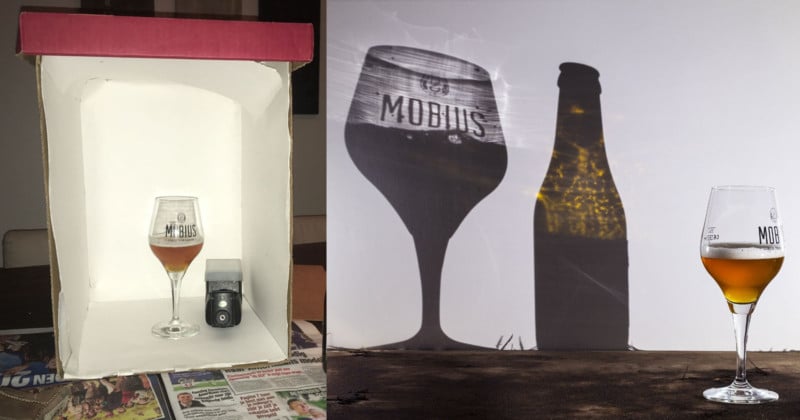
I started by placing the glass in a self-build mini studio:

The idea of a mini-studio is that the light coming from the flashgun bounces against all the sides. Like this, the inside of the box becomes a large light source resulting in soft light on your subject. Not knowing how to photograph a glass, my first photo looked like this:
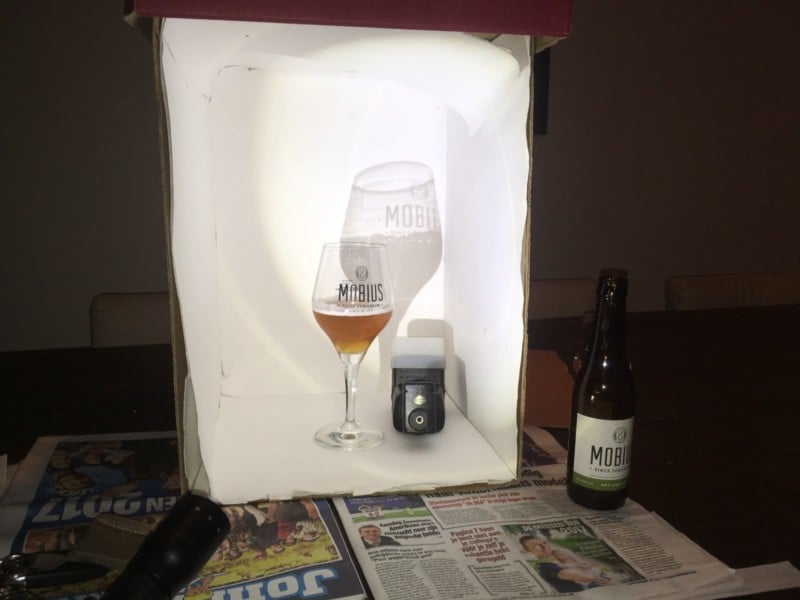
Not great… I’m glad I never lived in the analogous era where every photo had to be good. So, let’s move on! Some more flash power could help, no? Yes:

Better, but nothing special, right? As I had problems focussing (due to a lack of light), I decided to point a flashlight towards the glass. The setup now looked like this:
Adding the light came with a special phenomenon that people call a shadow! This is a tip I can mention: Don’t only focus on your subject: Most of the time, a photo will contain more surrounding elements than just the subject.
From this point on I knew I wanted to work with the accidentally discovered shadow. The first test came out like this:
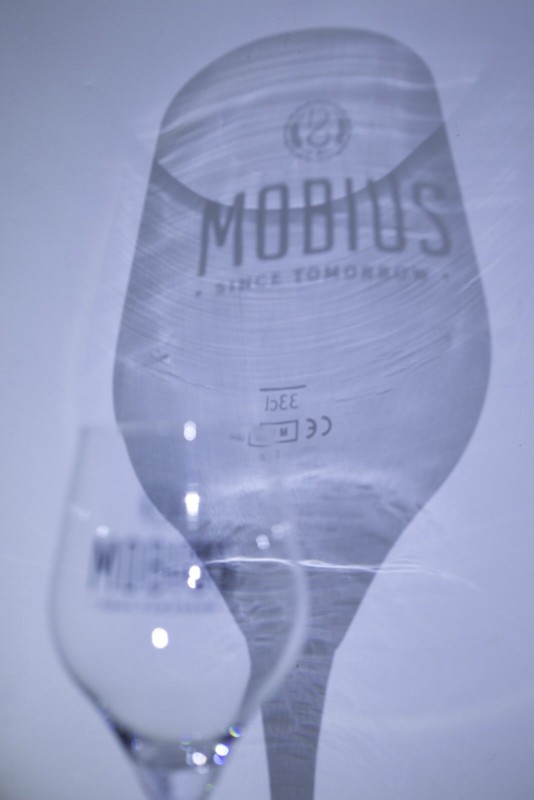
With every photo shoot, be it of insects or people, I always look at my display after taking a photo. My brain quickly processes the strong and weak points of the image and uses them in the next shot. In this specific case, I really liked the shadow, but the blurry glass destroyed the final image. I decided to take the glass out of the mini studio and brought it into the kitchen. This new environment provided me with more space. The setup now looked like this:
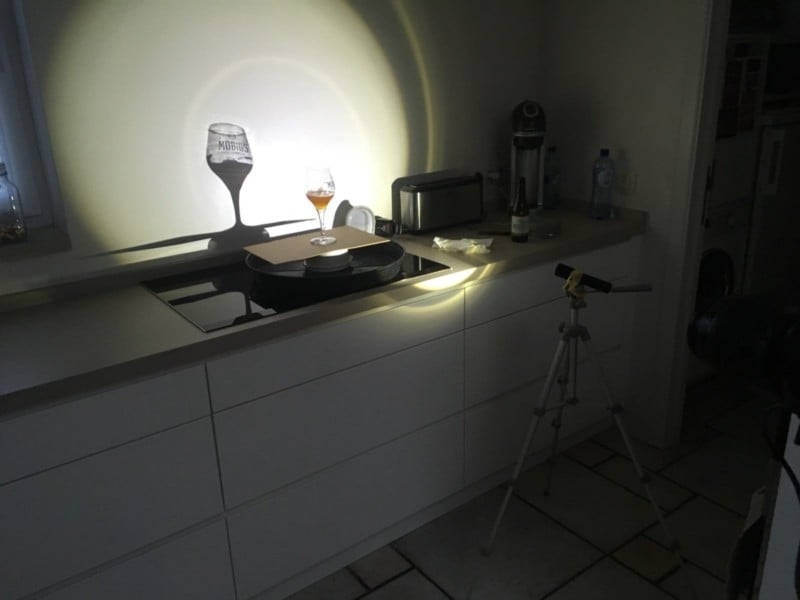
First kitchen result, featuring only the shadow:
From this moment, a conversation between brain and set-up took place.
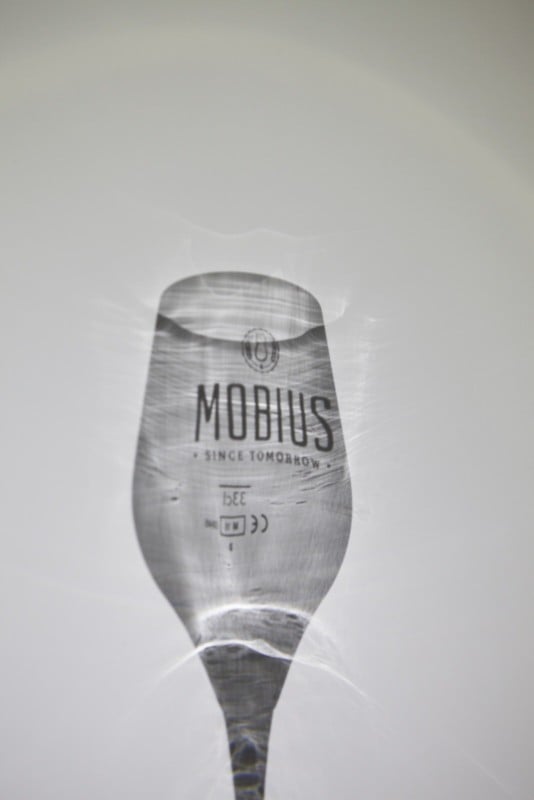
Brain: “Too boring, let’s add something.”
Set-up: “Ok, let’s try it with a bottle!”
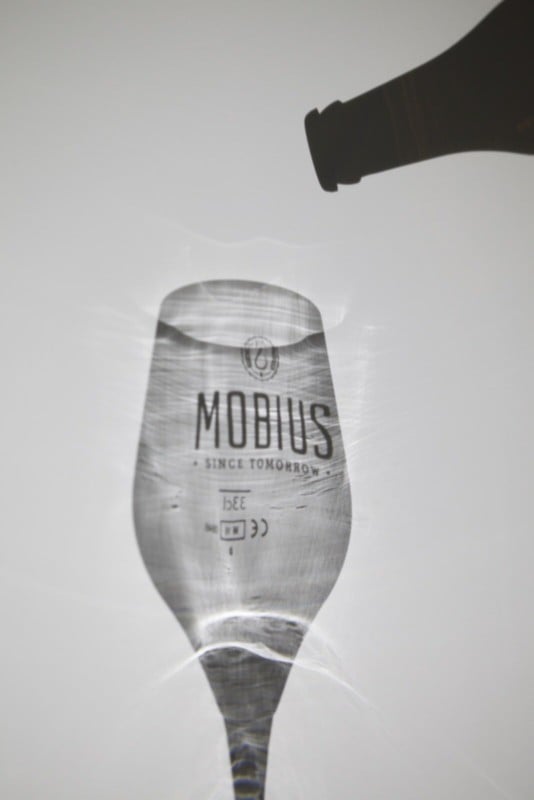
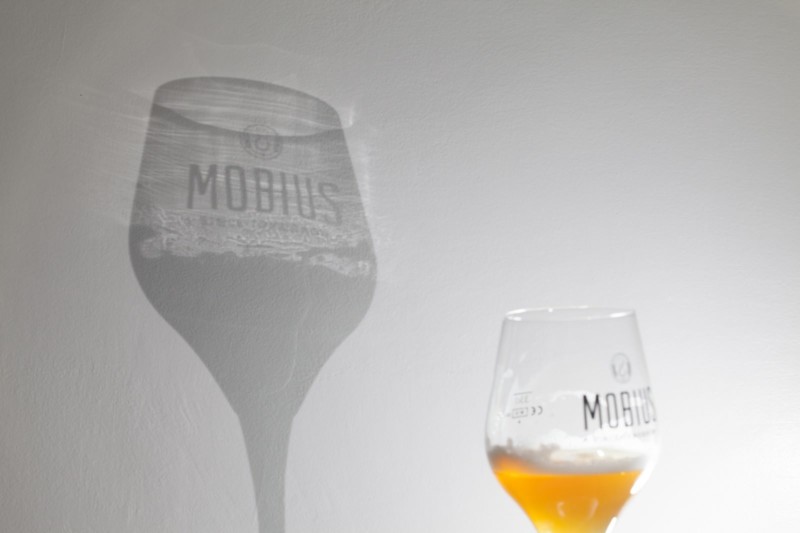
Brain: “Not completely convinced. I miss a foreground that adds a feeling of depth to the photo.”
Set-up: “Let’s bring the glass back in view, maybe it works this time!”
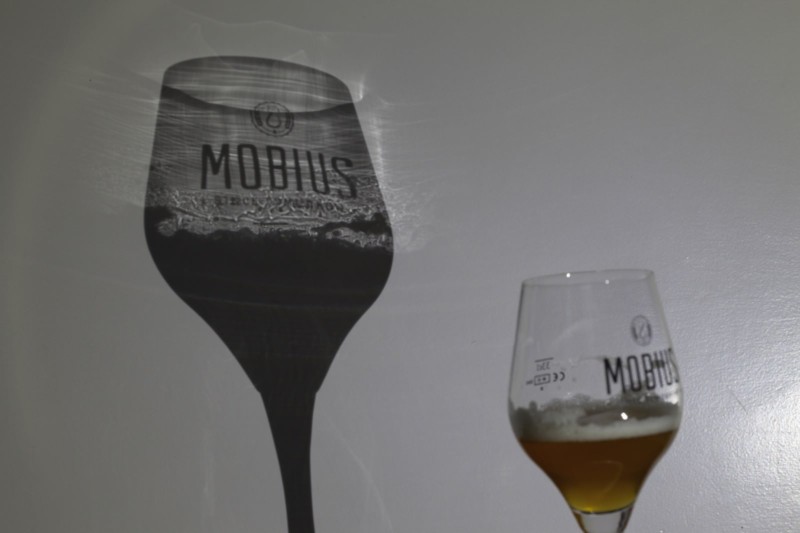
Brain: “Sorry set-up, but this is not it. I admit: the shadow looks nice, but the beer doesn’t stand out. We have to make it more attractive.”
Set-up: “Maybe we can add a flashgun coming from behind the glass. This will create a back-lit effect in the beer.”
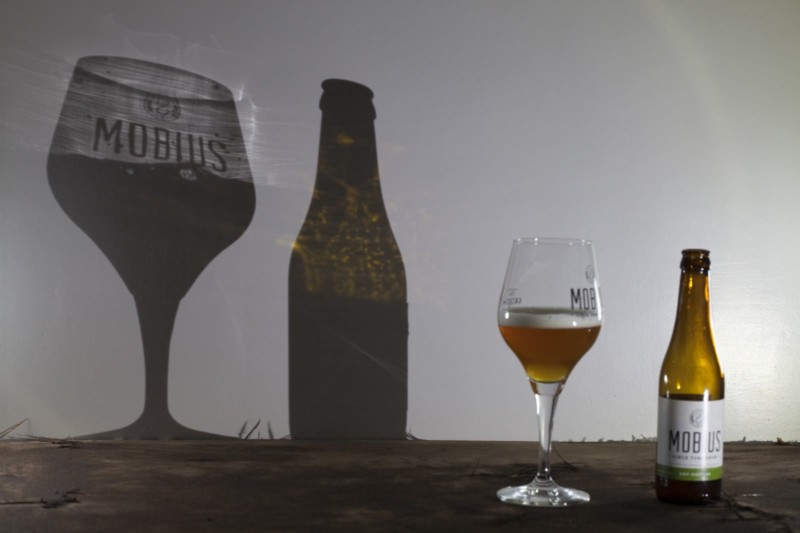
Brain: “That’s a good first step. However, the shadow is too bright and we should show the whole glass, not only the top. Now it looks like a photo of a person in which you crop a leg just below the knee. It’s an unwritten rule — you don’t do that.”
Set-up: “Alrighty, let’s move the camera further away from the subject. We still have some space in the kitchen.”
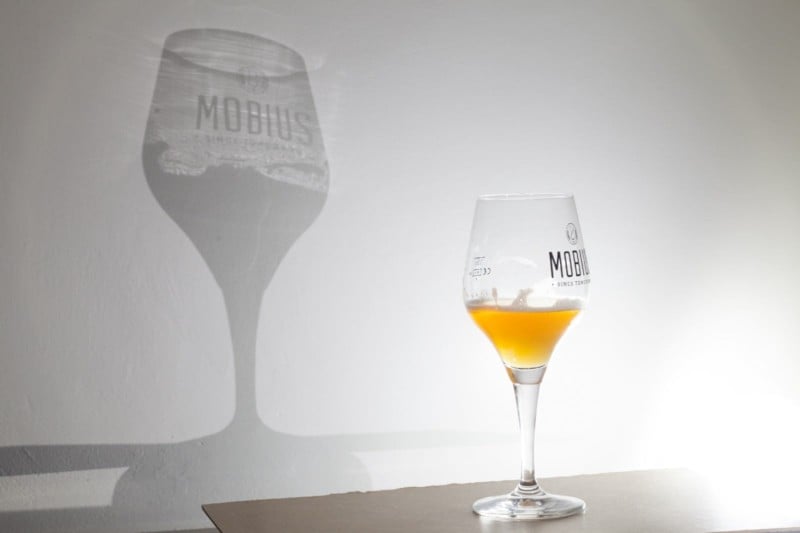
Brain: “Yeah, but no. We need a bigger surface to support the glass. Also, the point of view should be lower.”
Set-up: “I have an idea! Remember, last week you sweat your ass off to remove the wooden floor? We still have some big wooden plates laying around somewhere, let’s use one of these!”
Brain: “Yeah set-up, we’re getting there. I’m not satisfied yet though… We’re missing something.”
Set-up: “Indeed, we forgot to add the bottle!”
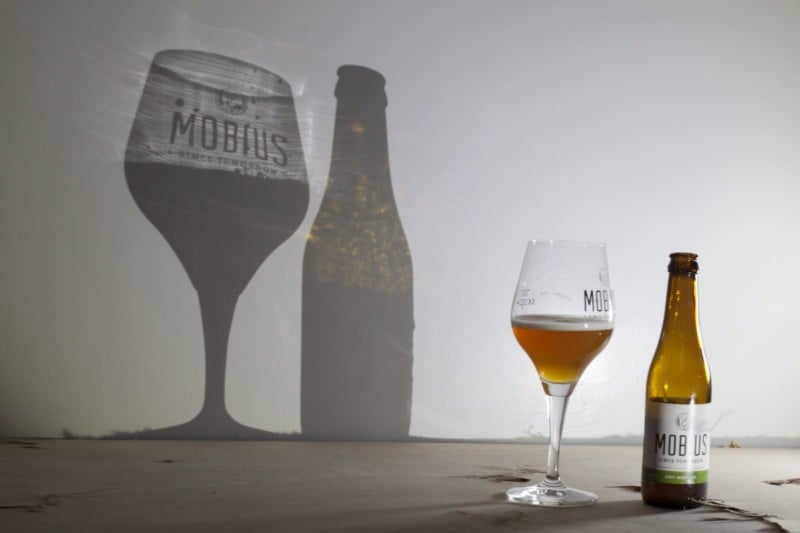
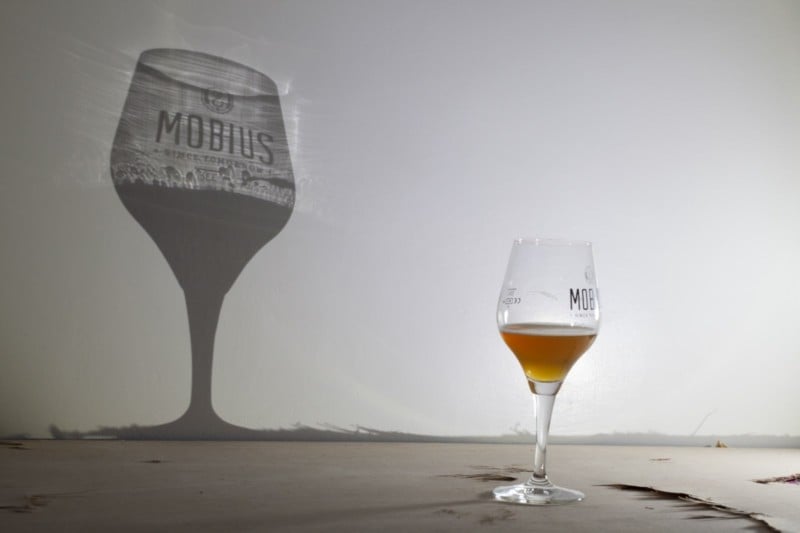
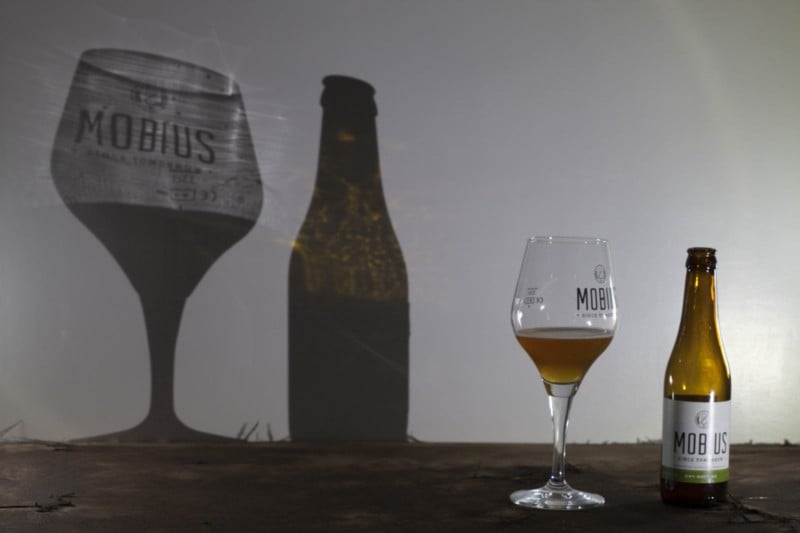
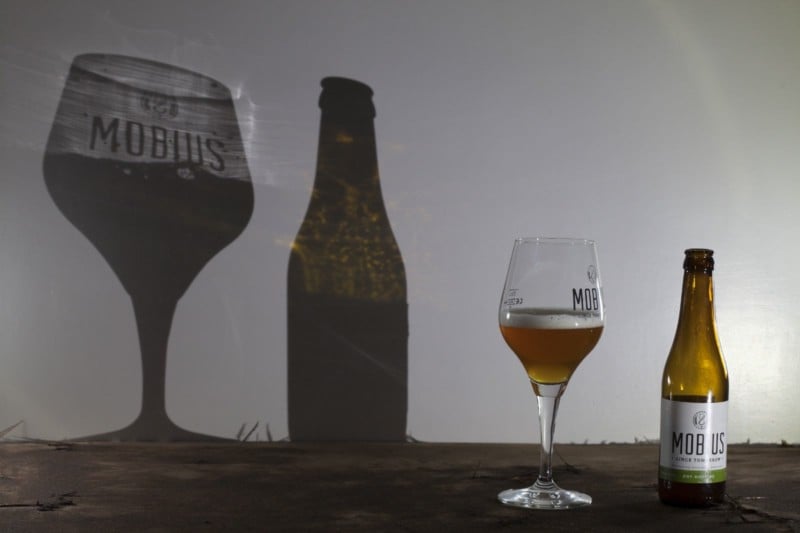
Brain: “Woah, cool! I like the color in the shadow of the bottle, but the bottle itself needs some more light from the left side. The label isn’t popping out now.”
Set-up: “Luckily, we have a second flashgun. In total, I will have a flashlight pointing from the front to create the shadows and two flashguns pointing from the back-right and back-left sides to illuminate the beer and the bottle. Ok?”
Brain: “Yeah, let’s do this!”
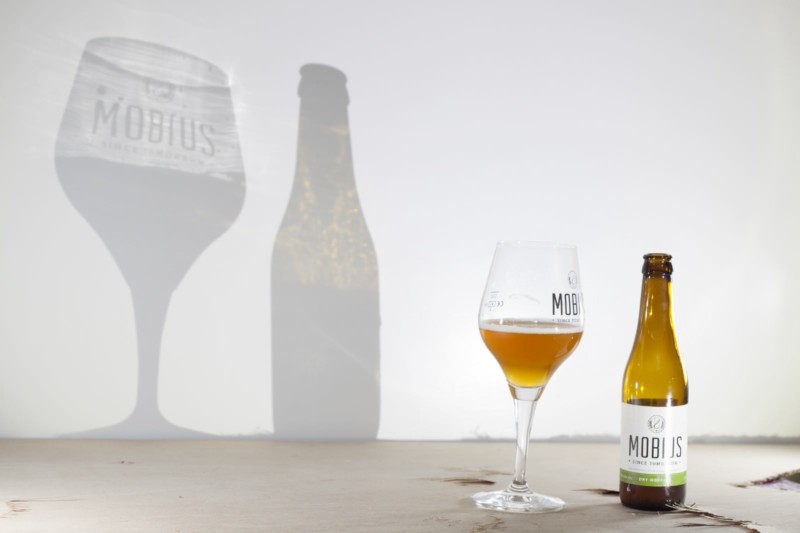
Brain: “Much better. The shadow is too bright, but that’s just some minor tweaking of flash power. To my feeling, the overall image is too flat. We’re missing contrast.”
Set-up: “Lucky you, you live in Belgium! I can provide you with freshly wet-rained sand and leaves.”
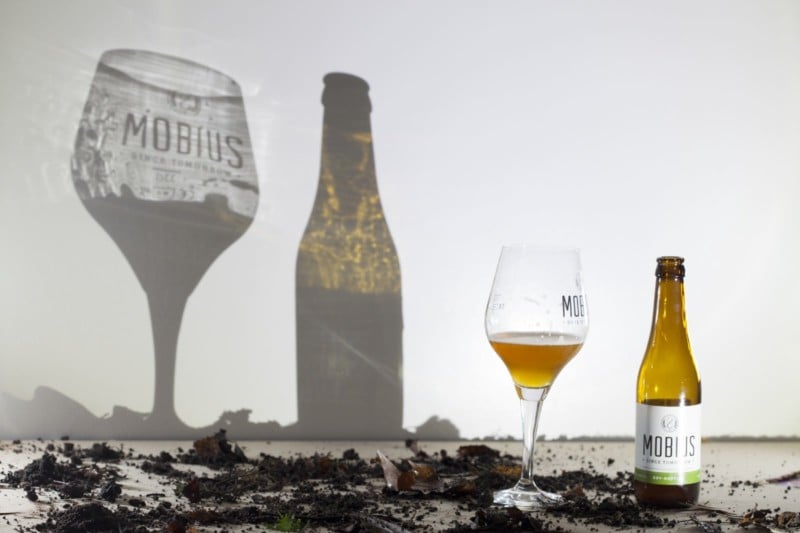
Brain: “Mmmm, I don’t know. Maybe it’s not enough?”
Set-up: “It’s just a word!”
Brain: “Maybe it’s not spread enough?”
Set-up: “One second!”
Brain: “Nah, I don’t like it. I don’t know where to look. It ruins the image. BUT: I like the darker color.”
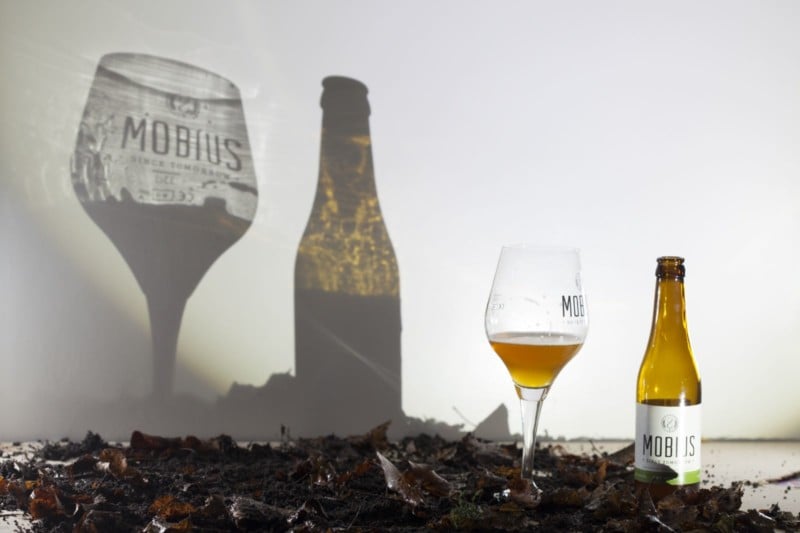
Set-up: “Agreed. You know that you control two hands? Use them to rub the whole plate with sand to maintain the color without having to keep the sand and the leaves.”
Brain: “Pffff, ok.”
Set-up: “I now look like this:”
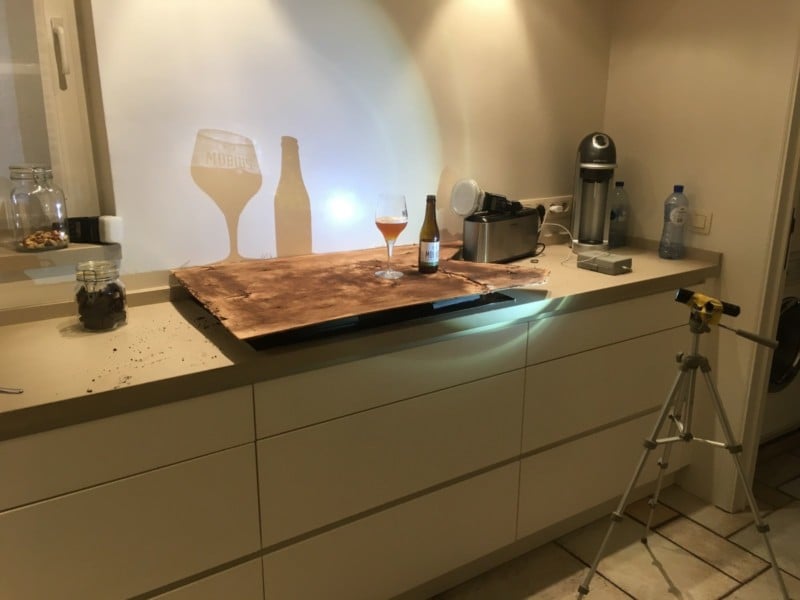
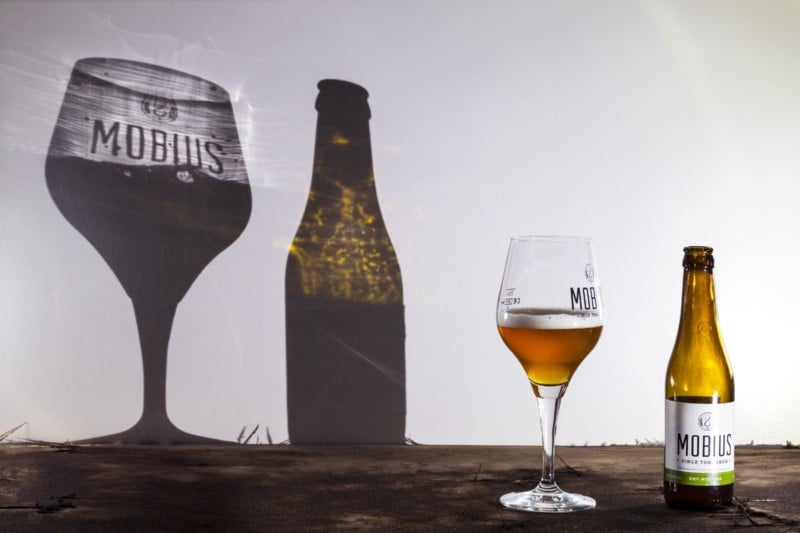
Set-up: “And this is the result:”
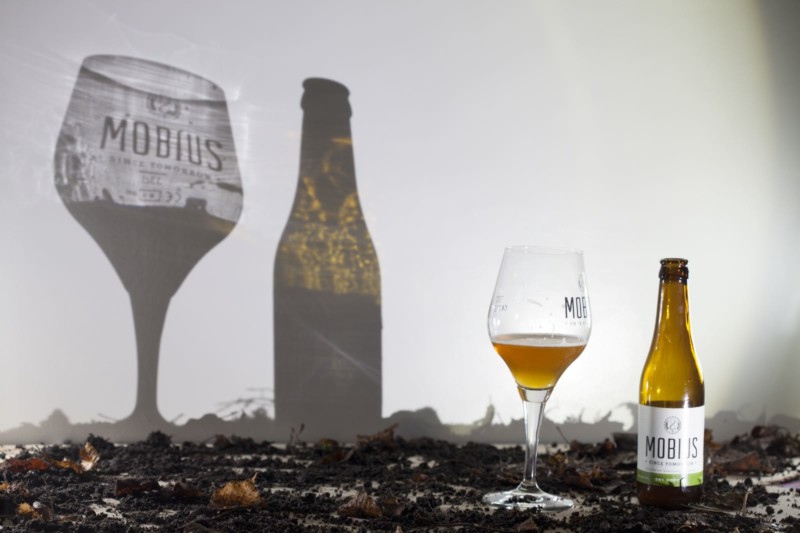
Brain: “I’m satisfied! Let’s add some new beer because this looks like 2-day old piss.”
Set-up: “Ok, cool”
Brain: “Perfect. In this shot, the shadow is in focus, but the bottle and glass are not. Let’s take a second image where those two are in focus and focus-stack it with this shot.”
Set-up: “Ok, that’s the last thing I’ll do for you!”
Thus far the conversation between brain and set-up. In this specific case, I chose to underexpose the image such that the shadow is most defined. It’s easier to add brightness and keep details than the other way around. In post-production, I thus focus stacked two images, increased exposure, added some more contrast and vibrance, reduced noise, increased sharpness and straightened the bottle and glass. I also locally increased the brightness in some places of the shadows and the bottle. Let’s show the final result one more time!
What do I want to achieve by sharing this?
1. Although I do own a second-hand reflex camera, some lenses, and two flashes (which are all over 7 years old), I’m not the most technical person. I just follow what my brain tells me. That’s what I want you to do as well. Don’t focus on material or technical excellence. In the end, it’s all about the feeling that comes with your photo. And this feeling has nothing to do with the price of your camera. Combining subject and surrounding and playing with light are most important. Fundamentally, a photo is a capture of light and you’re the captor. The trap is your camera, but you decide what you want to trap.
2. From start to finish, this creative process took me around two hours — and three beers. Just like any form of art, it takes time to achieve a good result. Don’t give up on the first try. Scroll back up and look at my first try. It was awful. Learn from each shot and make the next one better.
3. Not a lot of photographers share their creative processes. I hereby want to open a door to offer a peek into my brain. Almost all photos I‘ve ever taken evolve like this. The photo you see is always preceded by hundreds of ‘failures’. Failures may not be the right word because all of these shape the final result. But it’s just these failures that are rarely shared. I wanted to change that!
About the author: Maxim Piessen is a self taught macro- and travel photographer. Maxim started keeping exotic insects at the age of 10. He shared his knowledge on various insect forums. In order to give his posts more body he decided to photograph his insects using a cheap compact camera and magnifying glasses. After some time the visual part became more important to him than the written part. By not having the money to buy expensive gear, Maxim had to use creative camera and DIY lighting setups. These setups resulted in a unique style represented in his photography. You can connect with him through his website or Instagram. This article was also published here.