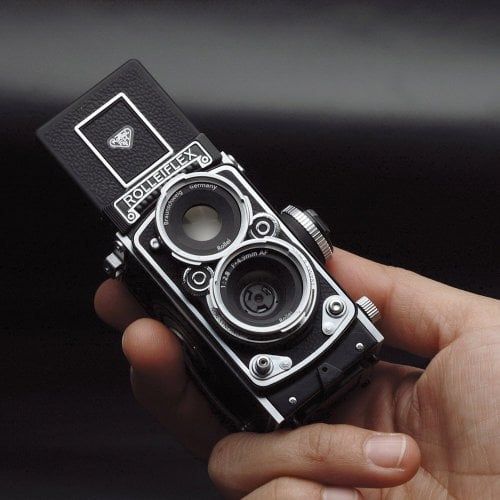
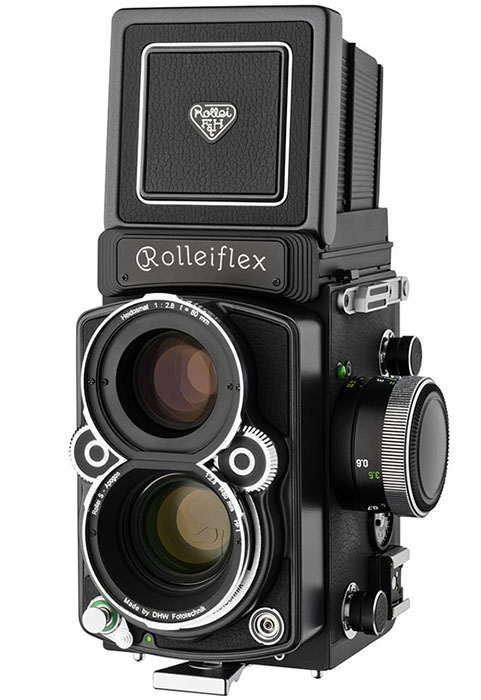
Shooting a Rolleiflex with Studio Flash and Rolleinars
In this fast-changing age of digital photography, one ingredient missing is a full frame square format camera or digital back. Yes, you can always crop off for a square, but this is not the same as looking through a dedicated square format camera with full resolution. So, what does a photographer preferring the square format do? My option has always been to shoot square format film cameras.
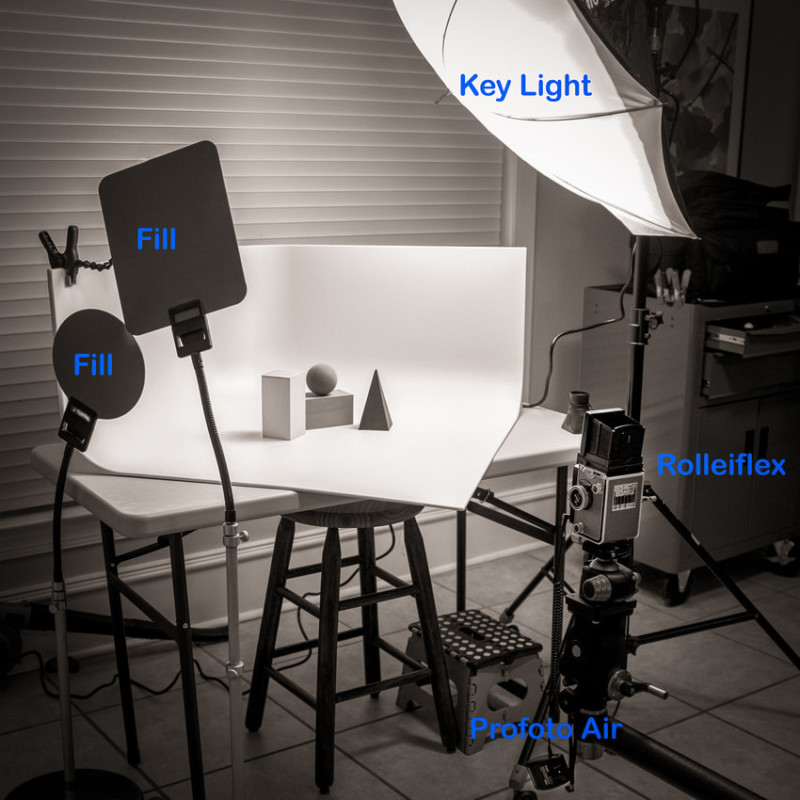
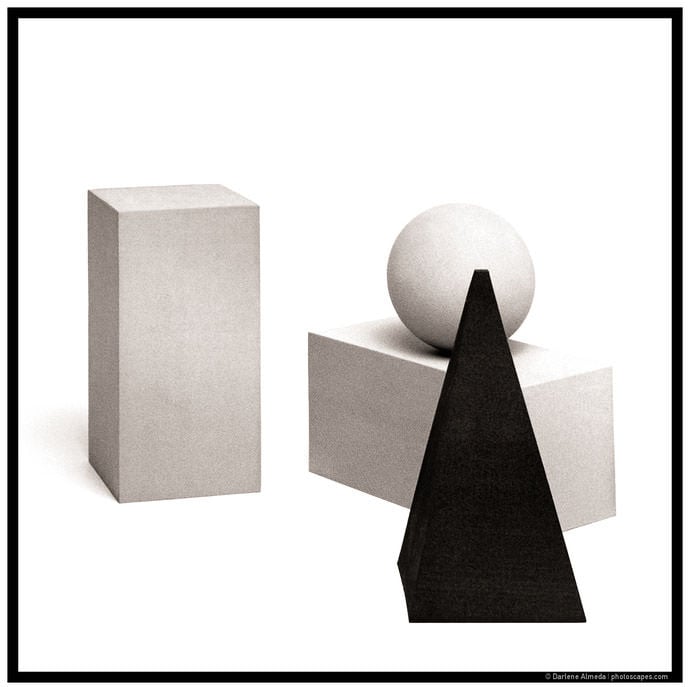
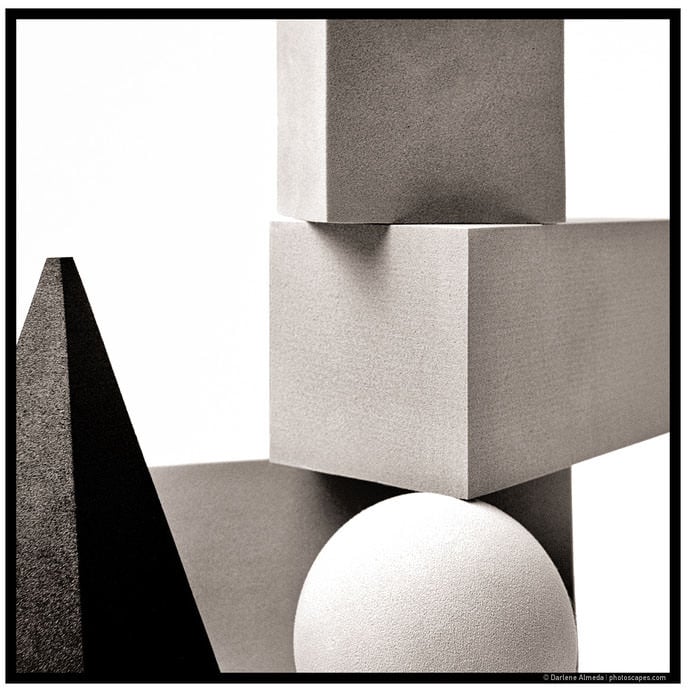
I enjoy abstract art and decided to shoot geometric shapes for this test. I find playing with shapes fundamental to how I approach framing shots. I like to keep things simple with lighting, so I will use one light with mirrors-as-fill light, and the camera will be mounted on my studio camera stand. Take note that because of the waist level design, the camera will be low to the ground since I am 5’3”.
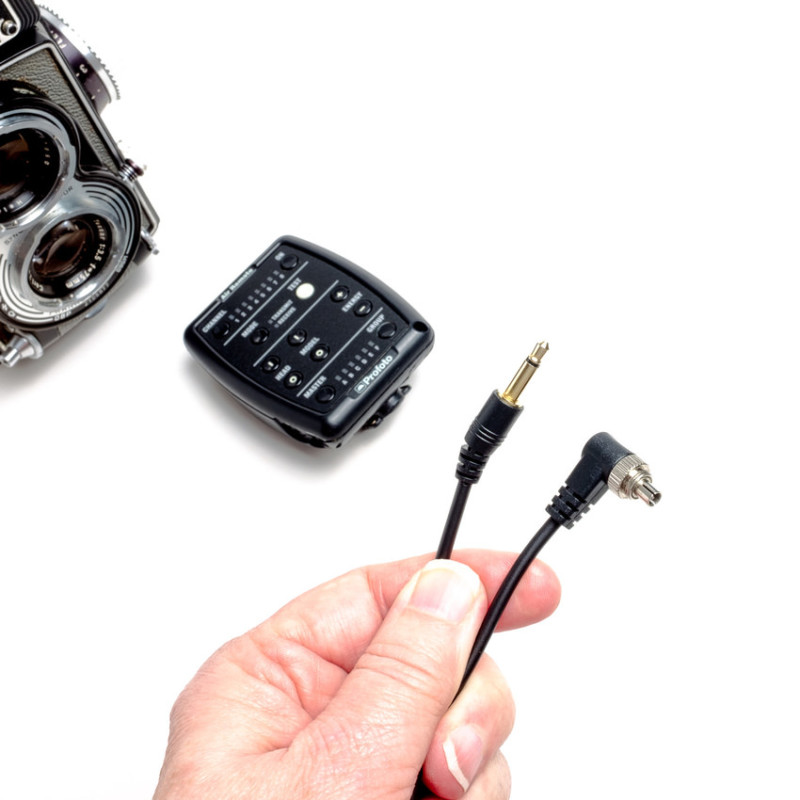
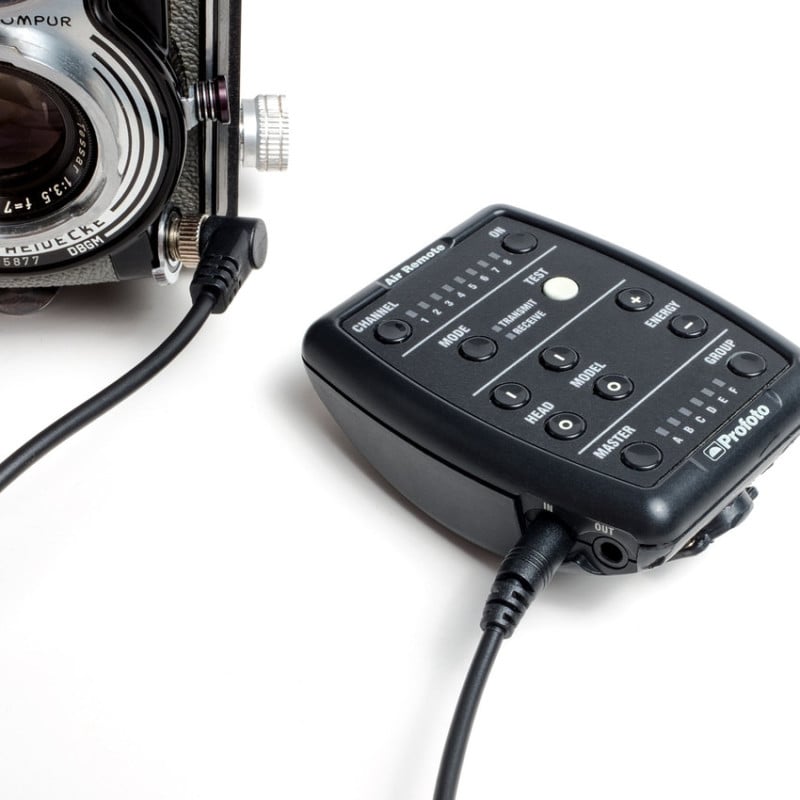
Here is the connection between my studio light and the Rolleiflex, a basic PC Sync Cord with a 3.5mm mini plug to PC (Prontor-Compur). I buy these a few at a time because from my experience, the PC cord is the first to break the connection between camera and flash. Before I retired from commercial work, I had Paramount Cords make custom cords for my equipment, and I may resort to that again, but as long as I have a few in the studio, I have backups. Different remotes may use different sized mini plugs, so do your research here as well. If your light does not have a remote-control trigger, use a cord that fits your light’s PC connection and your camera.
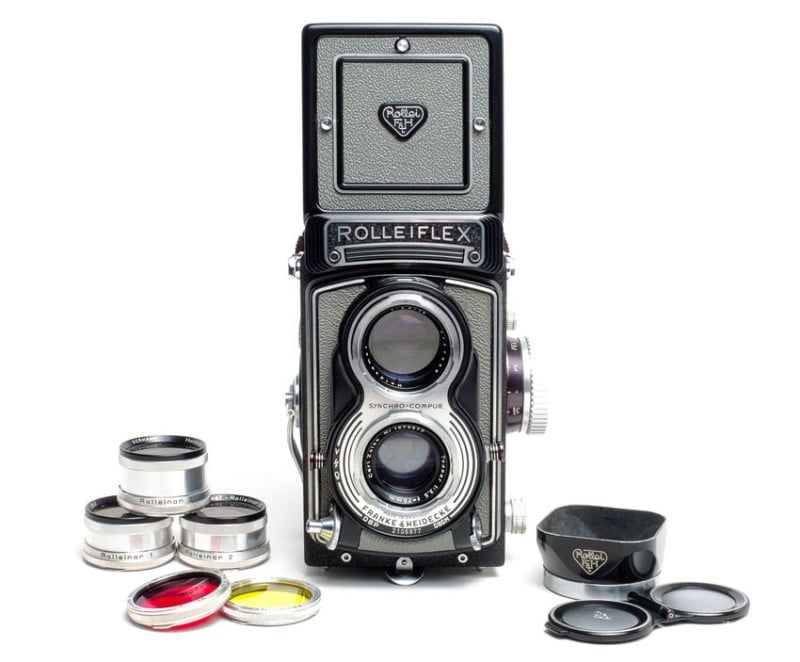
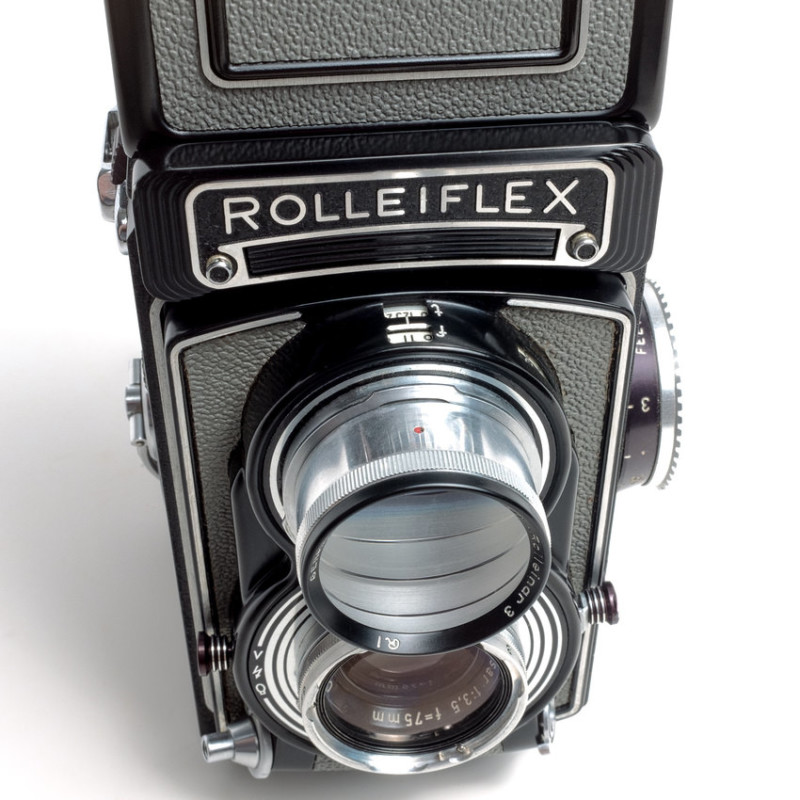
Now that the lighting is set, I can test the Rolleinars. Why am I testing these? Because the first time I used them, I screwed up a few photos by not paying attention to a very important Red Dot. The newest of the Rolleinars come in a set of two. The smaller lens is for the taking lens (bottom lens takes the picture), and the larger lens is for the seeing lens (top lens is for seeing). The top part of the Rolleinar is larger because it incorporates a prism along with the diopter that corrects for close focusing parallax.
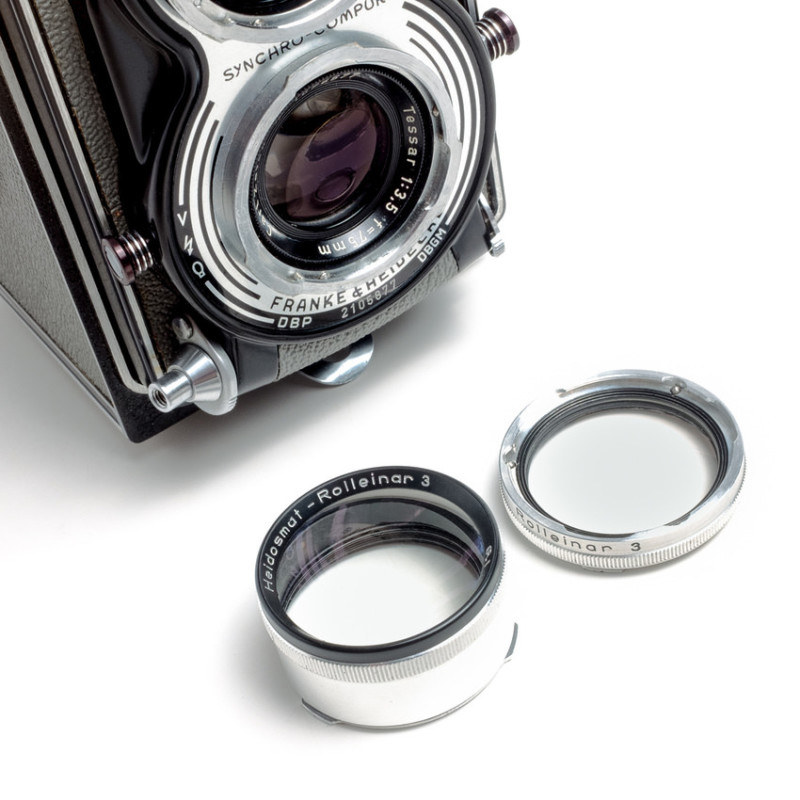
If you do not have the Red Dot aligned as shown in the photo, “what you see is not what you get.” At least in my case that is what happened, as I lost about a third of my photo. Not only did I want to test for parallax in this session, but I also wanted to see from a standing position what I could do with the power of the Rolleinars.
The Results
The photos below were shot at f/16 with Acros 100 developed in Pyrocat HD. The film was scanned on an Epson V700 and post-processed in Lightroom. There was no stacking of filters and the four photos were shot in an orderly sequence: no Rolleinar, Rolleinar 1, 2 and 3. The following photos are shown not in the sequence as shot, and it is up to your vision to try to guess which Rolleinar was used. I hope you have enjoyed what you have read and seen in this article. Happy Holidays!


About the author: Darlene Almeda is a commercial photographer and photography teacher of over 30 years. You can find more of her work and writing on her website and blog. This article was also published here.