How to Brighten Portraits in Photoshop in Just 2 Minutes
There are different techniques you can use in Photoshop to brighten up a dark and dull portrait. This 4-minute tutorial by PHLEARN shows a 2-minute technique that avoids desaturated, unnatural skin tones.
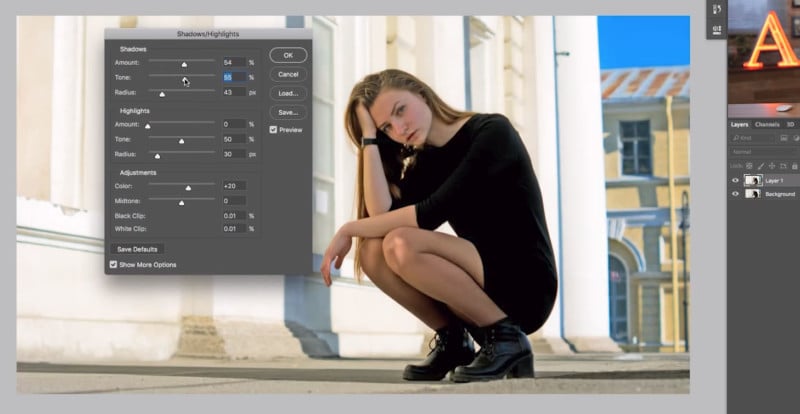
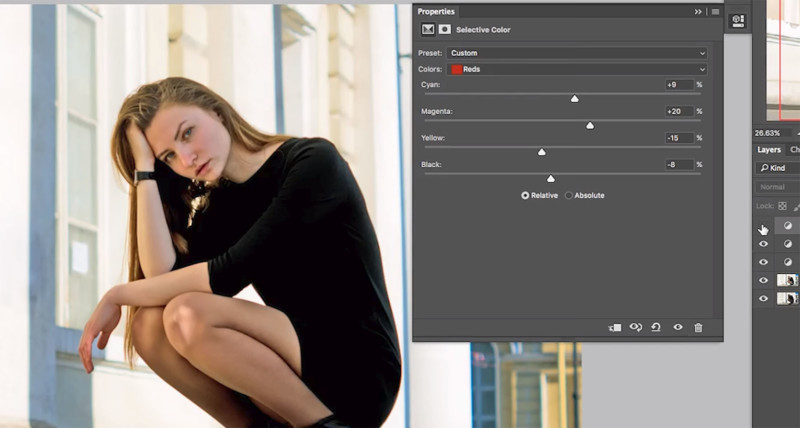
Once you’ve figured out the exposure you want, use the Color slider in the Adjustments box to bring some life back to your subject’s skin tones.
Instructor Aaron Nace then uses a Curves Adjustment Layer to add contrast to your highlights and help separate your subject from the background.
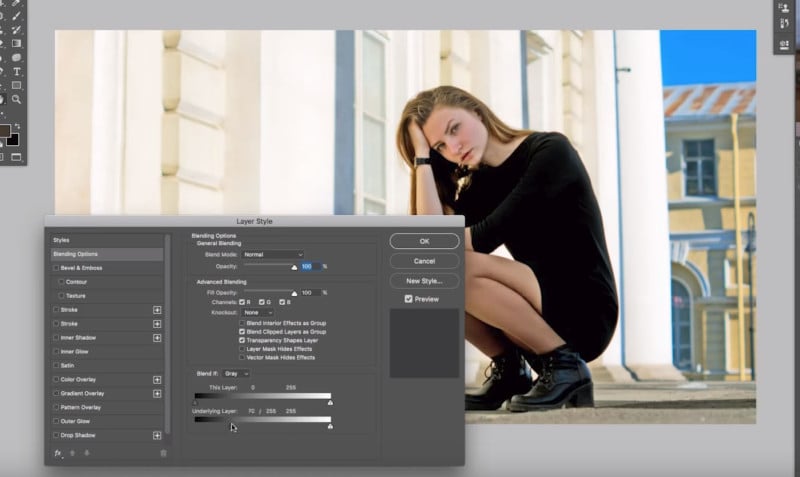
Nace uses a Layer Mask to selectively apply the Curves effect to parts of his photo, using Blend If to target just the highlights.
Finally, use a Hue/Saturation Adjustment Layer to fine-tune your subject’s skin tones to look natural again after the brightening.
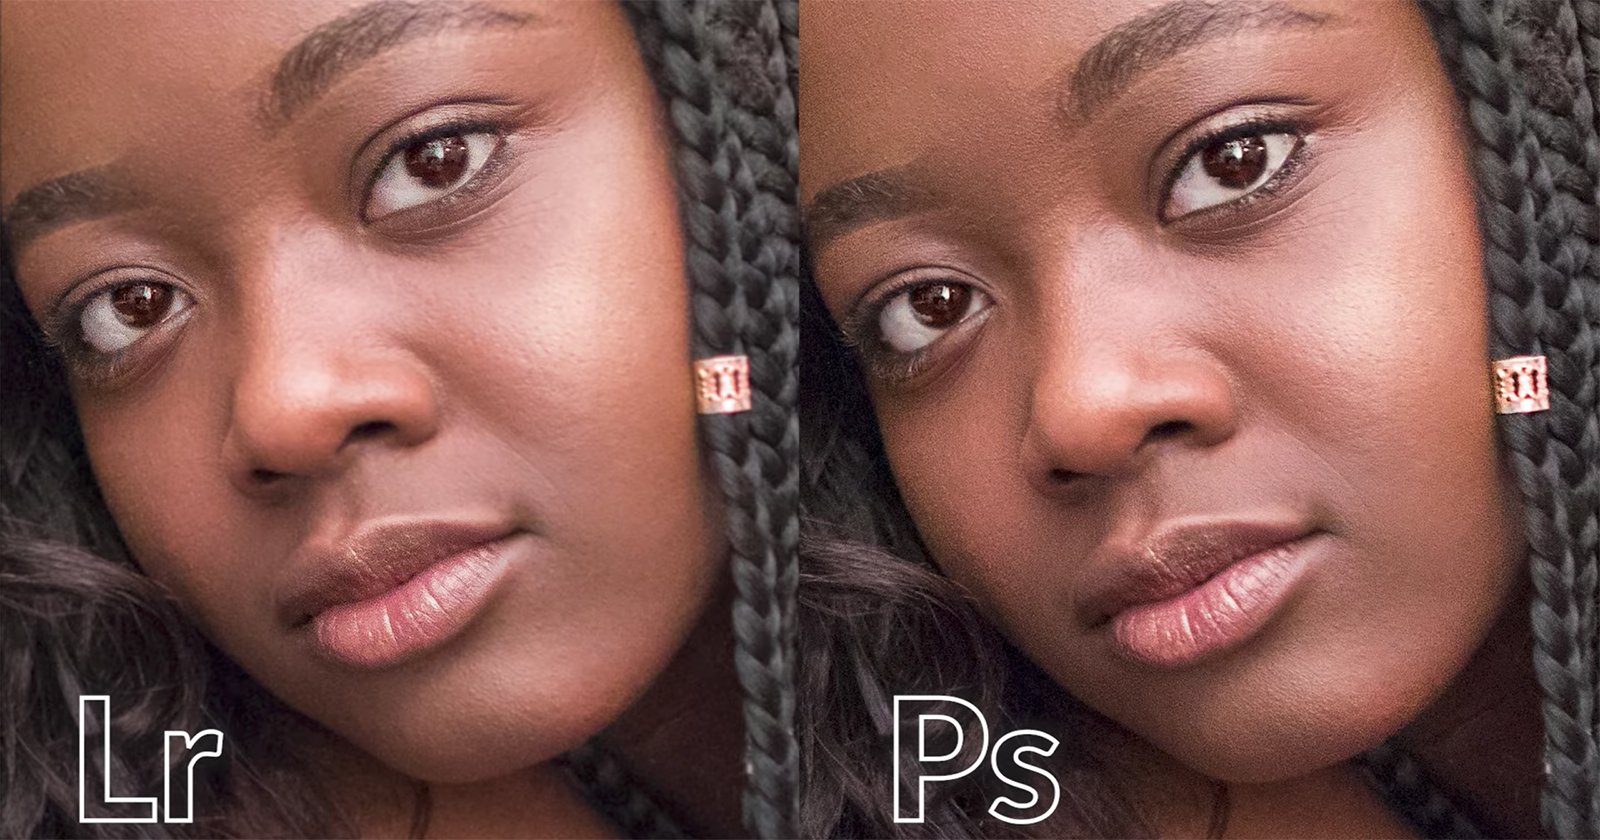
Voila! A quick, easy, and effective technique for brightening up your subject in any photo. Here’s what the portrait in the tutorial looked like before and after this brightening:


Watch the video above for a detailed step-by-step walkthrough, and if you’d like to try your hand on the same portrait in the video, you can download it over on PHLEARN.