A Photographer’s Guide to Freelensing, The Poor Man’s Tilt-Shift Lens
Freelensing is a relatively inexpensive way of getting the similarly unique effect of an expensive tilt-shift lens, where the focus plane is thrown out of whack with the added bonus of natural light leaks. No, this isnt anything new, and the look that an expensive tilt-shift lens gives has been around for a while, but I wanted to share with you my experience with it and how I did it.
I had tossed around the idea of spending the money on a tilt-shift lens that would easily cost me over $1000, but after reading about the freelensing technique from Sam Hurd, I figured I would give it a try. At the end of the day, it’s the unique look that I’m going for, so if I could get that by breaking a $150 lens, I’m down to do it.
The idea behind a tilt-shift lens is tilting the lens at an angle to the sensor to change the orientation of the plane of focus (PoF). The technique of freelensing, not only gives you the ability to change the PoF, but it also gives you some pretty cool light leaks from not having the lens actually attached to the camera.
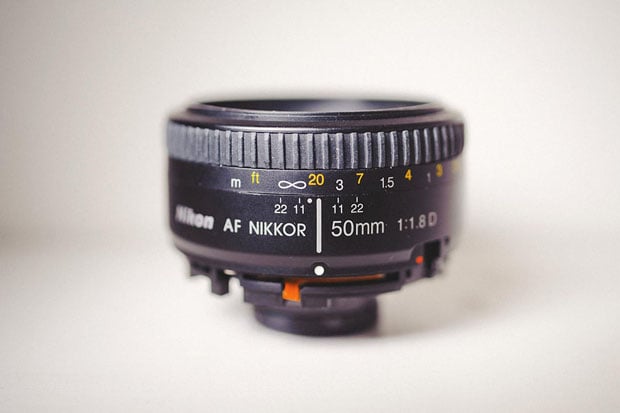
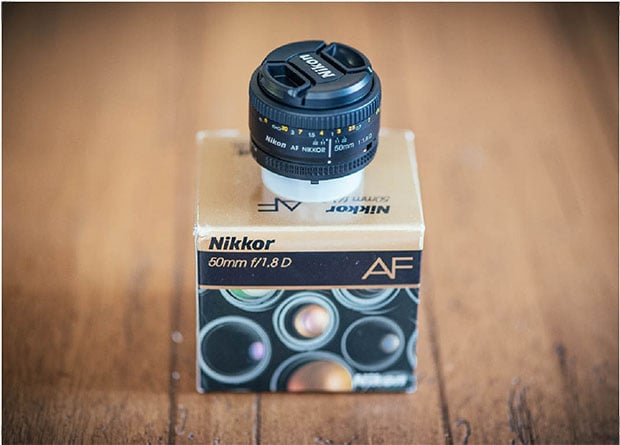
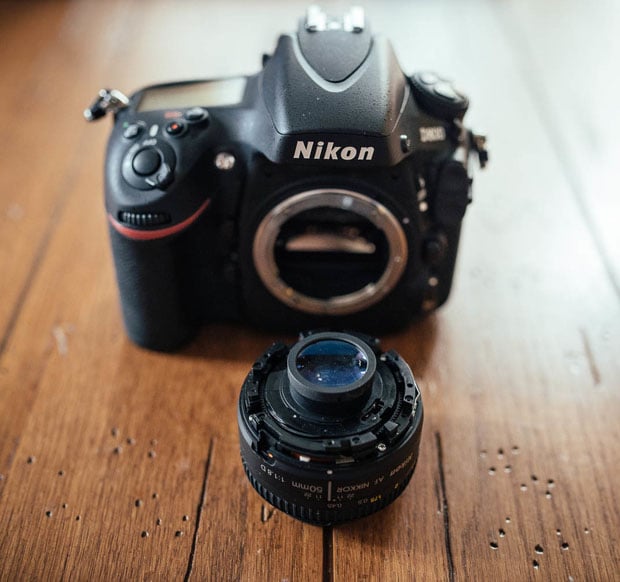
You can do this with both Nikon and Canon DSLR cameras, and also Sony from what I’ve read, and a cheap 50mm lens seems to work the best, the Nikkor 50mm f/1.8 worked perfect for me. Since you’re not actually mounting the lens, the manufacturer of the lens doesn’t matter, you can use a Nikon lens with a Canon or vice versa. Before ordering the Nikon 50mm lens, I first tried the technique using a Canon 50mm f/1.8 lens that I use on my Canon 35mm film bodies.
The technique worked, but the problem was the rear element is pretty flush with the lens mount which didn’t allow me to get close enough to the sensor. It didn’t look like I could take only the mount off very easily, and since it is the only 50mm Canon lens I have I really didn’t want to go ripping it apart. I knew that in order for this technique to work I needed to be able to get the rear element closer to the sensor, and once I realized the only way to do this was to do a little re-constructing of a lens, I hopped online and ordered up the $120 Nikon 50mm f/1.8.
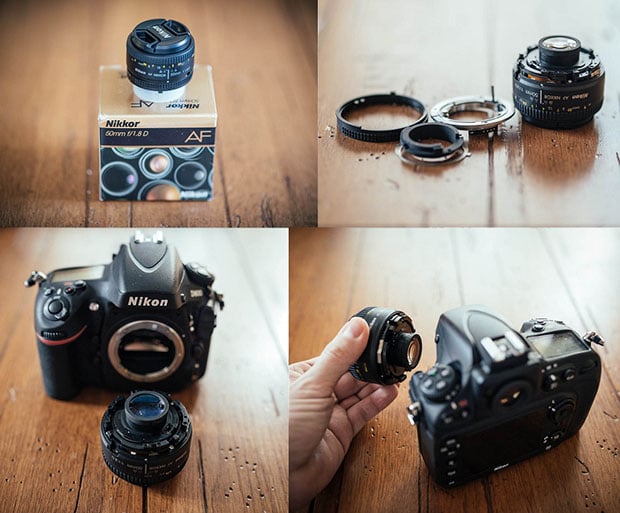
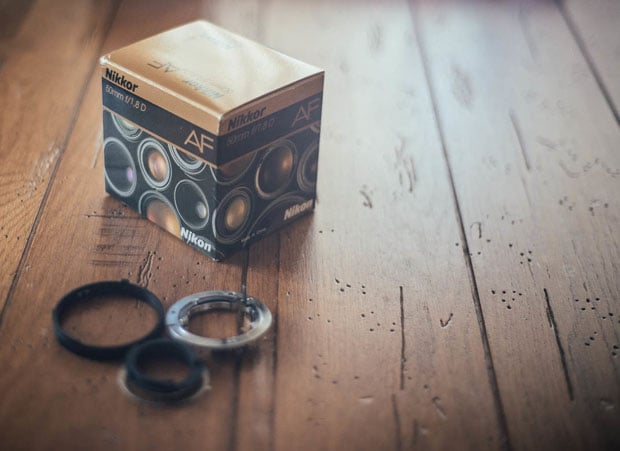
Three days later big brown showed up with my new lens and you would have thought that $1830.00 Nikon 85mm f/2.8D PC-E tilt-shift lens had arrived I was so excited. Screw driver in hand, I opened the box and like a surgeon I began to operate.
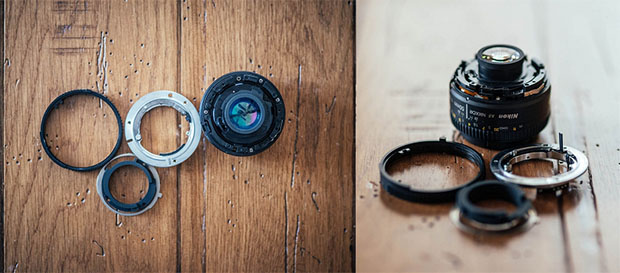
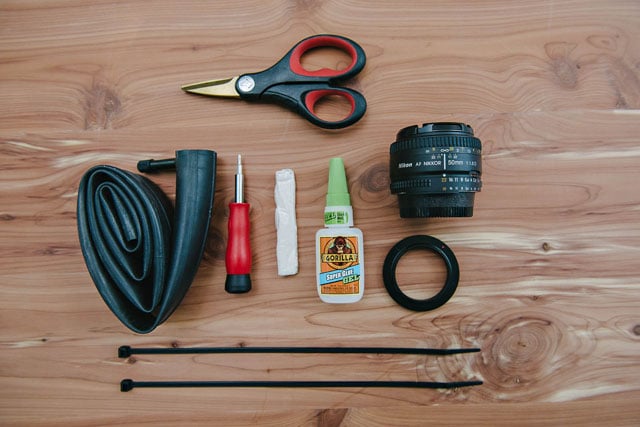
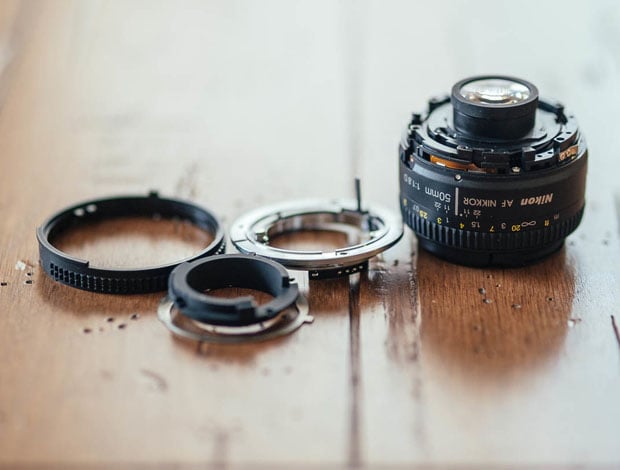
I removed the mount, aperture ring, and while trying to not glue my fingers together, glued the aperture ring so it stays wide open. This wasn’t by any means a ground breaking procedure, this technique of using a broken lens has been done before, but anytime you purposely break a lens right out of the box it just feels… well… a little odd.
Once I had it stripped down, the rear element stuck out like a sore thumb and there was now room for it to get closer to the sensor. If anything, now I would have to be careful not to hit the mirror with it.
Perfect!
Once the glue was dry I grabbed my D800, dismounted my 24-70mm f/2.8 that was on there, made sure it was on Manual Mode, then turned on Live view and started moving the broken 50mm lens around in front of the sensor.
WOW, that did it; getting the rear element closer to the sensor was the trick. Now, getting something in focus… that would take a little practice. I set the focus ring to infinity and moved the rear element back and forth from the sensor to get the focus I wanted.
The first things I noticed were…
- The focus plane just go whack, which is what I wanted, but in order to get the results that I wanted from this, I would need to be able to nail the focus on the one spot I wanted in focus.
- After some practice I was able to start getting focus up close and further away, it is difficult to do, but at the right angle and set up, there can be two points of focus which is pretty cool. (Same as a tilt shift lens).
- Light leaks are a really cool effect, when they are controlled. It was hard not over doing the light leaks and getting too much light in was something I needed to watch out for.
- If you like bokeh and razor thin DOF…this will blow your mind.
- There is a lot of vignetting, which just helps put the focus on the subject when done right.
- DUST! I needed to order some sensor wipes, dust was going to be an issue no matter how hard I tried to avoid it, but as long as I’m at least careful it shouldn’t be that big of a deal. After freelensing for over a week the dust still wasnt that bad, and only needed air to clean the sensor.
- Yes, this is a lot different that using a Lensbaby. A Lensbaby gives a tiny sweet spot in focus, one point of focus, and blurs out everything else. Throwing off the focus plane is much different. The same difference between a tilt shift lens and Lensbaby, a line of focus compared to a spot of focus.
So was my freelensing project successful? I think so. Is it something I can use on every shoot or regularly for Cass Imaging? No. Is it something I can toss in my bag and bring with me to sneak in a few shots with certain clients that would appreciate a little creativity and uniqueness? Absolutely.
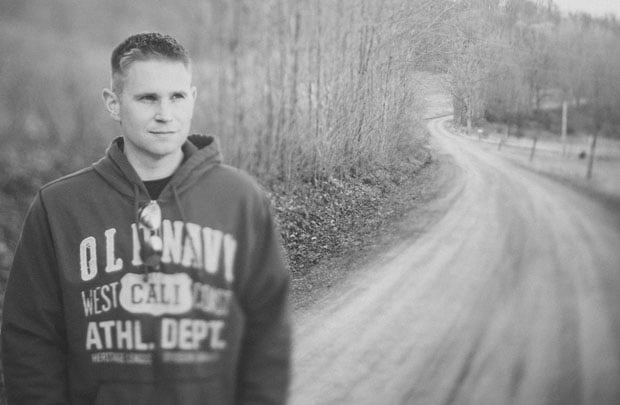
I’ve been able to create some pretty neat and unique images in only a weeks time, so I’m excited to use the technique more in different situations.
No, the look this technique gives isnt for everyone, and I’m sure there are going to be a lot of you scratching your heads still at the fact that I broke a brand new lens. But overall, I couldn’t be happier with my decision, and I now have no real desire to spend well over a grand to buy a tilt-shift lens.
It’s going to take a lot of practice to get good at it, but that’s what photography is all about: getting out and shooting, and getting better and better at whatever technique it is that your practicing. I’ve been messing around with my poor man’s tilt-shift since I broke it and you know what, I’ve been having a blast.
It’s cool. It’s unique. It’s a lot of fun.

There are a couple different techniques that I use, such as the bokeh panorama or Brenizer Method, to add a little creativity to certain shoots, depending on the client. It may surprise you, but for the most part they end up loving those shots in the end, and its the final product they are concerned with, no matter how you got it. Whether it be a broken $120 lens or a $2000 tilt-shift lens.
Creativity goes a long way in photography, and setting yourself apart from everyone else with a camera — or cell phone — is what you should be striving for.
You want to stand out, you want to separate yourself, you want to have people recognize your work and know that a photograph is yours without using a watermark. Yes, this is difficult to do, especially in today’s world of smart phones and Instagram, but the more techniques and tricks you have in your bag the better. The more you can do with a photo pre-processing and straight out of the camera is huge.
I hope you enjoyed the article and I definitely recommend giving freelensing a try if you have a few extra bucks to spend on a lens to break. A used 50mm f/1.8D can be found on Craigslist for about $100 if not cheaper, it doesn’t have to be brand new.
Here are some shots I’ve taken using the freelensing technique:


Editor’s note: As mentioned in the post, photographer Jay Cassario wrote up this walkthrough/tutorial after seeing Sam Hurd’s tutorial, which was published here two months ago.
About the author: Jay Cassario is a photographer based in Atco, New Jersey. He is the owner of Cass Imaging and Jay Cassario Photo.