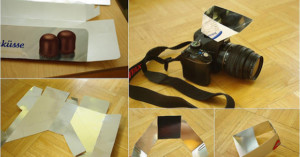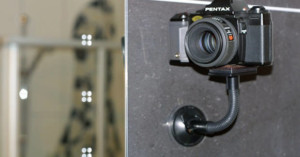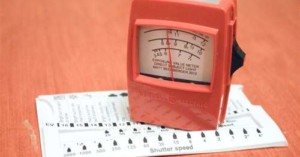
How to Transform a Cheap Foot Candle Meter into a DIY Light Meter
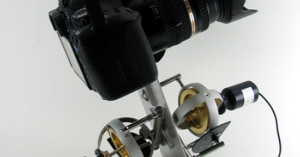
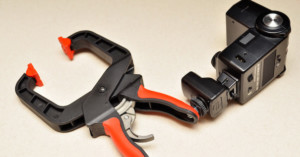
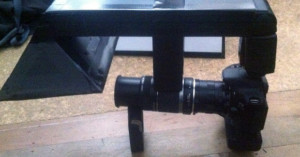
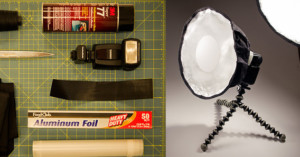
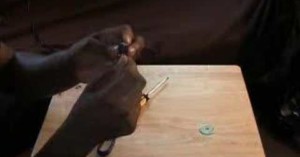
For those of you amateur photographers out there who like shooting film, sometimes old cameras don't have the right light meter for getting the correct exposure. Sometimes they are faulty, inaccurate or have no light meter at all! Photographic light meters can be pretty expensive but analog foot-candle meters are cheap because they don't really have any photography purpose, until now. This guide will show you how to put it to work for photography.