
How a Composite Sports Photo is Made
In this video, commercial photographer Jay P. Morgan walks through how he went about shooting a composite sports photograph of Mexican soccer player Rafael Márquez.
In this video, commercial photographer Jay P. Morgan walks through how he went about shooting a composite sports photograph of Mexican soccer player Rafael Márquez.

Photographer duo Joachim Guanzon and Marden Blake (AKA aesonica) created this short behind-the-scenes …
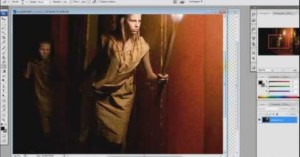
Photo enthusiast Robert Simpson created this informative behind-the-scenes video detailing how he created …

Here’s an illuminating (pun intended) video walkthrough by photographer Eric Curry, showing how …
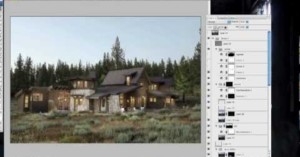
Here’s an educational time-lapse tutorial by Los Angeles-based architectural photographer Mike Kelley in …
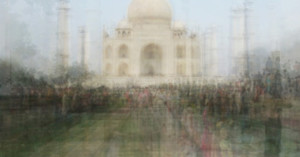
For her series entitled "Photo Opportunities", photographer Corinne Vionnet gathered hundreds of photographs taken by tourists at famous locations and combined them by layering them together, creating surreal views of places we've all seen before in photographs.
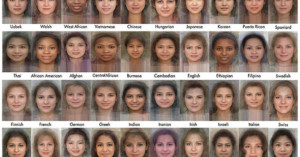
What you see here are portraits created by taking photographs of women in 40 different countries and averaging them with Face Research software. These are the most neutral faces for various nationalities.
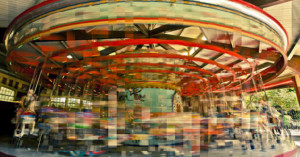
For his "In Transit" series, Diego Kuffer takes multiple photographs of scenes, then creates neat-looking composite images afterwards. Kuffer tells us,
The idea behind the series is all about time, but in a more condensed way, also known as "moments". I wanted to capture a moment with photography, but it only allowed me to get instants. So I decided to use the idea behind the movie making techniques (a great way of capturing moments) and apply it to photography. So, I took several snapshots of the same scene, sliced them horizontally and vertically, and assembled them in to a single one, chronologically. I like to think about these grammar as Chrono Cubism.