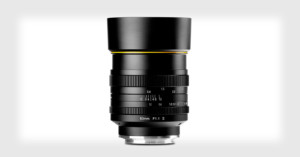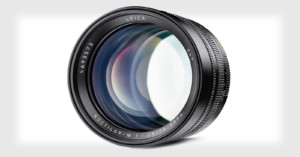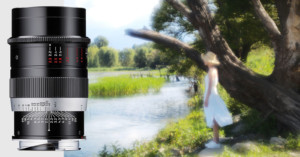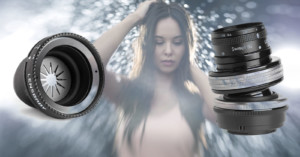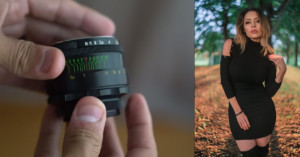
This Rare 75mm f/1.9 Cinema Projector Lens is the King of Swirly Bokeh
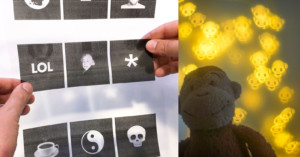
YouTuber Mathieu Stern is a weird lens expert, but even he didn't realize the gem he'd uncovered when someone sold him an old cinema projector lens for 2 Euros at a flea market. It turns out this rare 75mm f/1.9 lens produces some of the most intense swirly bokeh Stern has ever seen.