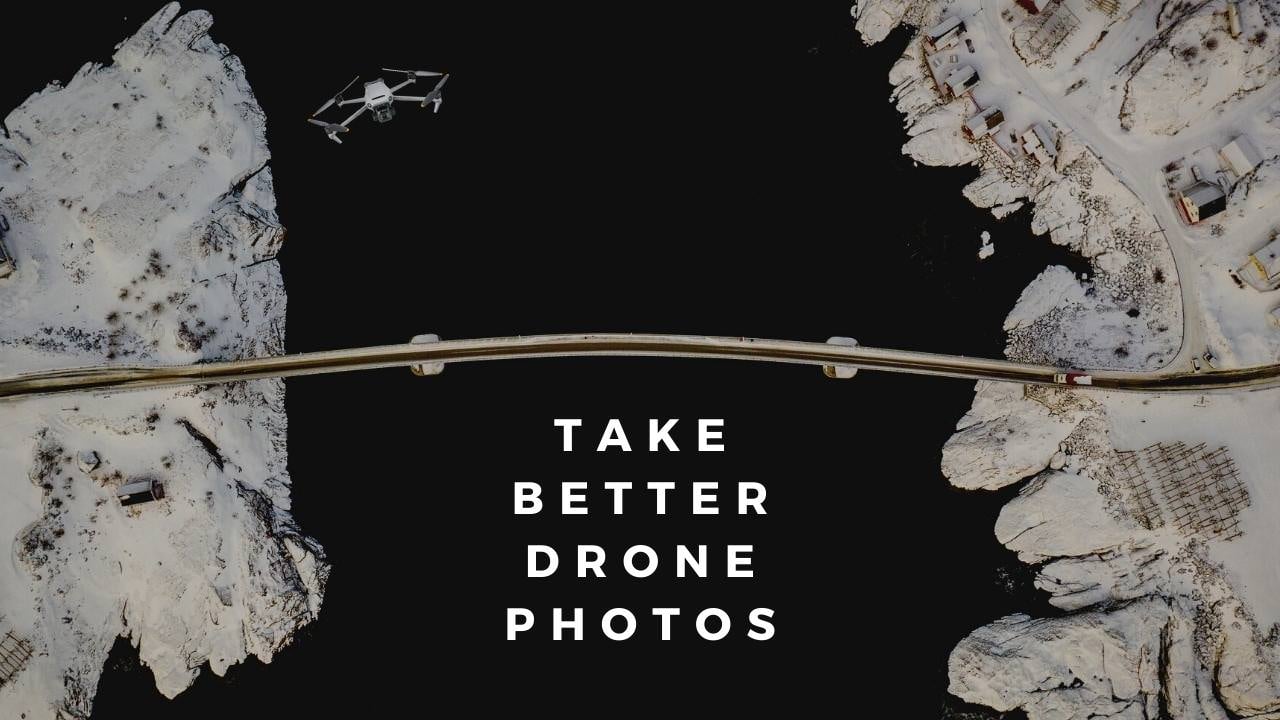
10 Pro Tips for Taking Your Drone Photography to New Heights
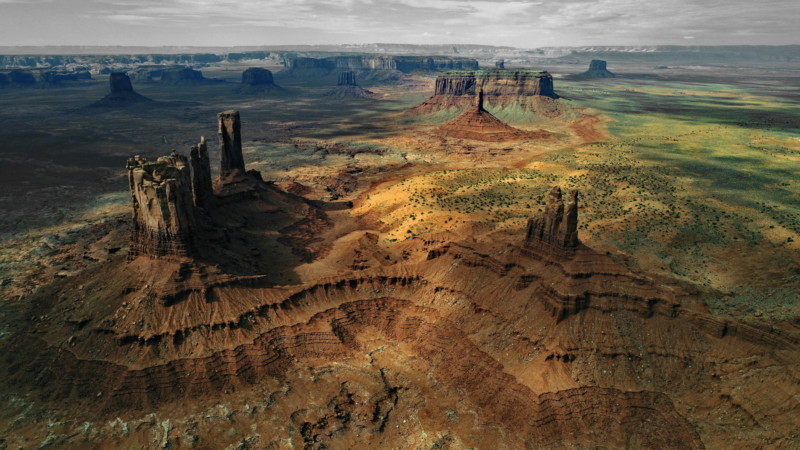
Ever since I began traveling for work, I’ve looked for ways to capture the beauty of planet Earth from above. As early as the 1990s, I began experimenting with every alternative imaginable: ultralights, helicopters, seaplanes, hot air balloons and hang gliders. For me, the drone was simply a dream that materialized in front of me – the beginning of a new era that opened all the doors I desired and freeing me in my search for new photographic elements, perspectives, and composition.
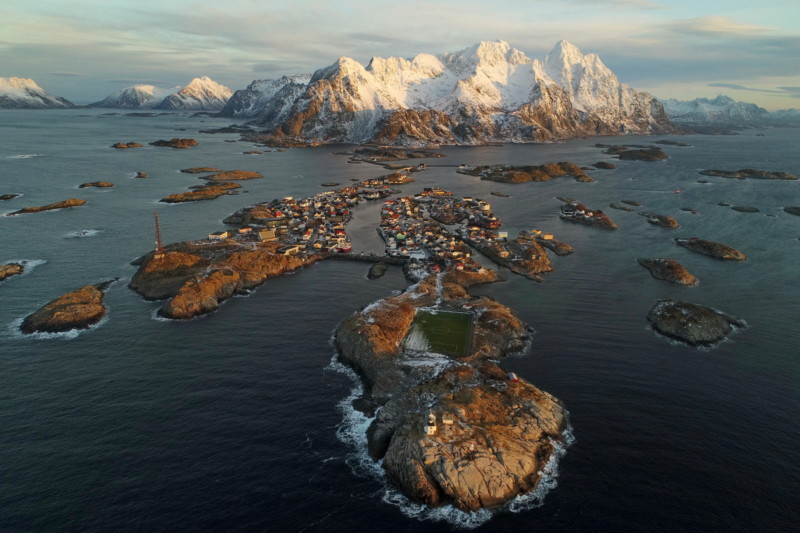
I began my drone career with the DJI Phantom 1, then the 2, 3, 4 and 4 Pro, as well as the Mavic Pro, the 2 Pro, 2 Zoom and the Parrot Anafi. Since 2016, when the reliability and quality of drones finally satisfied my every need, I began flying everywhere and have since shot with drones in 17 countries around the world for my project, “Over the Horizon.”
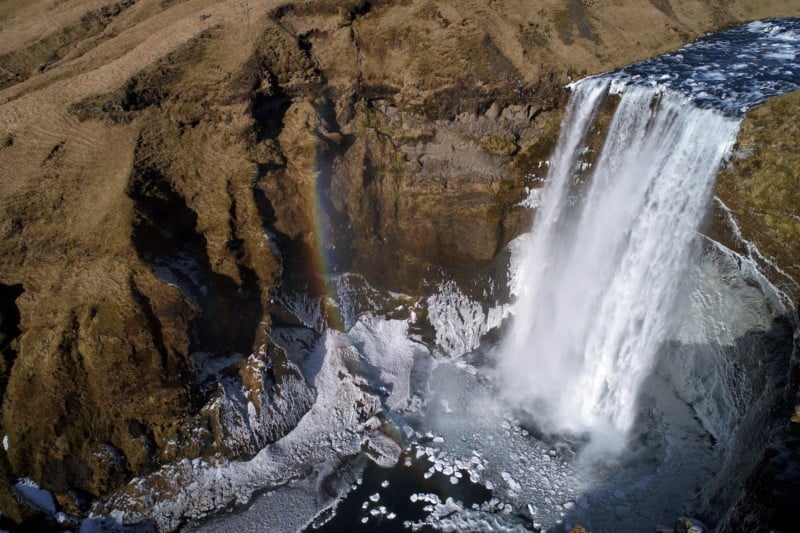
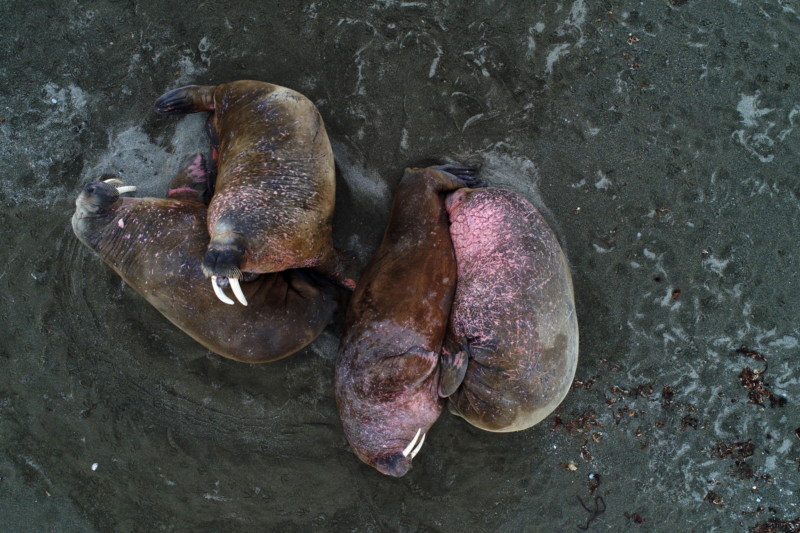
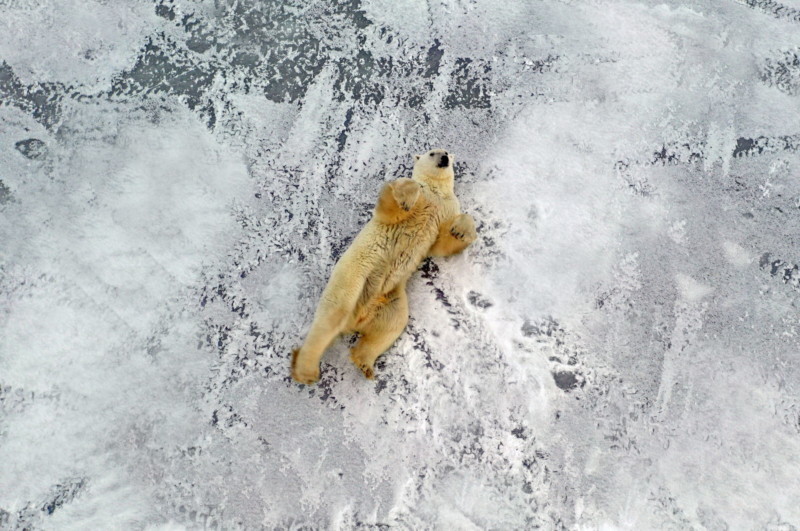
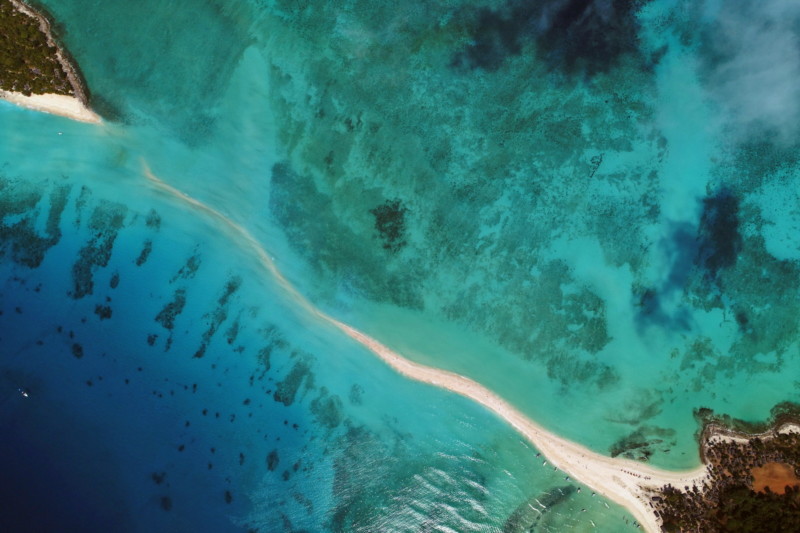
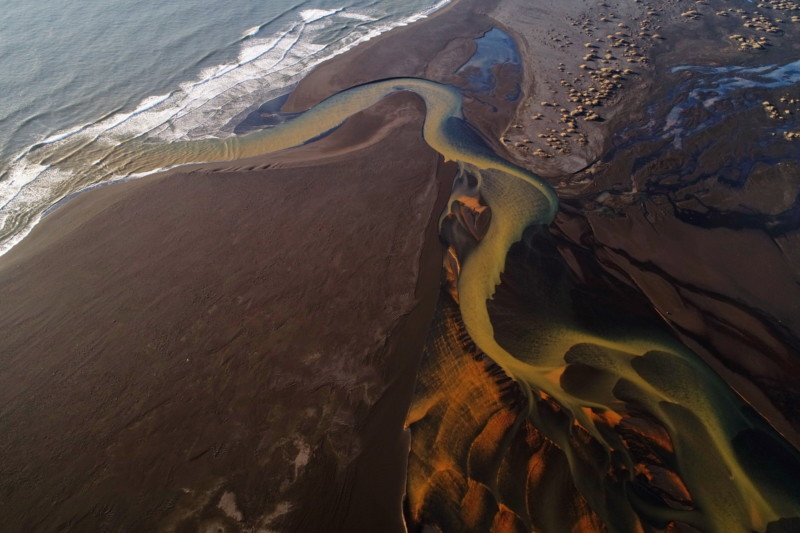
I increasingly specialize in extreme environments with flights as long as possible. In a multitude of environments, including glaciers, icebergs, waterfalls, geysers, deserts, steppes, savannahs, oceans, coral reefs, and volcanoes, I’ve tested the limits. I’ve flown beyond the 80th latitude north, at 20 degrees below zero, reached a flight distance of than 3.5 kilometers and even reached the altitude threshold of 1,500 meters in order to capture the beauty of Madagascar’s stunning Nosy Iranja islands, never seen from such a view before then.
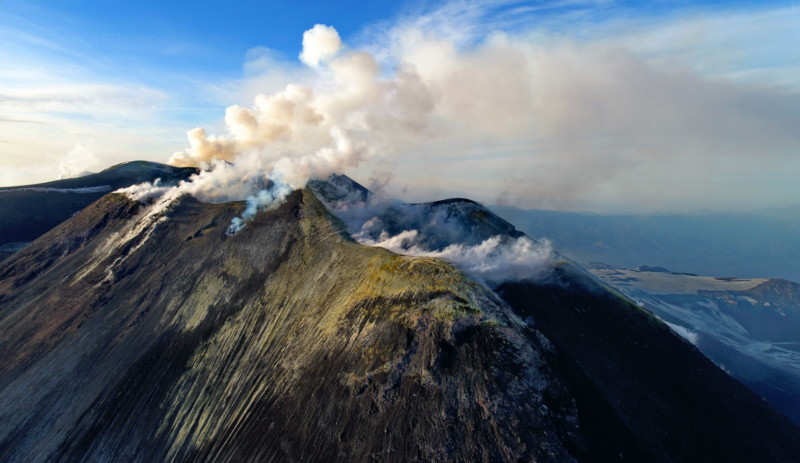
At the opposite end of the spectrum, I’ve also flown just 30 meters from the mouth of Stromboli’s erupting volcano and the glowing Lava of Sicily’s Mt. Etna.
Here are 10 of my tips:
1. The first rule of drone flight is to think about security, not so much that of the drone but people. For this reason, despite having pushed the drone beyond all limits, I generally never fly in close proximity of people and avoid crowds & gatherings and, if possible, even cities, unless working on a special assignment that requires and allows for such footage.
2. The second rule could be defined as the Steve McCurry philosophy — rules are meant to be broken. But in drone work as with traditional photography, the same basic principle applies: rules must be learned before they can be broken. That said, despite having earned two drone pilot license certifications, I do exactly the opposite of one rule taught in such courses (taking into account the remote areas in which I typically fly) and that is the much-discussed rule of keeping the drone in sight! The VLOS flight (Visual Line of Sight) is really only necessary when flying very close to subjects near your take-off point. Otherwise, in order to have maximum control of the craft and fully immerse yourself in a flight while making images, you must work in total harmony with your remote without ever looking away from your screen/phone. For maximum efficiency when returning for a landing, manually turn the nose of the drone towards yourself so you can see what the drone sees. Using the DJI Go 4 App, follow the map and direct the arrow towards the starting point. Also, if you are flying from a boat, remember to set the remote control for the dynamic starting point and not the static one for RTH (Return to Home) — otherwise your drone may land in the water!
3. Although drones are increasingly sophisticated and equipped with smart batteries, my advice is to always check the status of batteries and cells, especially at the outset of a flight. Before taking off, allow the drone to hover for a few seconds, then try pitching and rolling in all 4 directions with your sticks to make sure the drone remains stable. In case of missions at low temperatures (-20 degrees Celsius/-4 degrees Fahrenheit and below), it is a good idea to keep the batteries warm and perhaps add a hand-warmer, attached with simple tape, while flying. Also, never put batteries in checked baggage while traveling by air, but always carry them with you in your hand baggage. Discharge the batteries to avoid any risk of fire on board (see Samsung Note 7 combustion problems for reference).
4. Beyond the batteries, the other fundamental element for ensuring a successful return of the drone to home base is the compass. Rather, “compasses” as there are two redundant units. So every time you proceed, always perform the compass calibration step first, especially if you are working in a country different from the previous flight. The worst message that your drone can give you is “compass error” which means that it can literally lose the compass and its orientation, and even the RTH function will not work. In this case, your only recourse is to try to turn off the GPS and, if the drone is not too far away, bring it back in “ATTI (Attitude) mode which, especially in windy conditions, is not easy. DJI suggests never flying beyond the 70th parallel north due to its proximity to the magnetic and geomagnetic north pole that affects the compasses. DJI is certainly right. In fact, one of my drones goes “crazy” precisely at the 80th parallel but the arctic beauty that can be captured at those extreme latitudes is well worth every risk!

5. For video, even more so than for still shots, it is absolutely recommended, even mandatory, to use a neutral density (ND) filter. It’s best to have an entire series of ND 4 to 32 on hand so you can easily choose the right one depending on the lighting conditions and type of landscape below (sea, forest, ice, sand, etc.). To create video that is as smooth and fluid as possible, especially during flight motion, it is ideal to shoot at 25 or 50 FPS (frames per second). Therefore, especially for drone models that do not have an aperture control setting, it is absolutely essential to decrease the amount of light that the camera will read in order for the shutter to reduce its speed at the above values accordingly.
6. Night flying is always the riskiest as you can never rely entirely on the sensors that work in the daytime, nor on the four sides when flying in manual mode because at night they auto-switch off completely. The easiest way to keep an eye on the drone is to place the bicycle lights on the drone arms.
7. Pay particular attention while flying in strong wind conditions. Always use the anemometer to understand if the wind is over 40 kilometers per hour (25 miles per hour) and never take off from the ground but always from the hand accompanying the launch of the drone itself. It’s always best to fly against the wind so that even in the worst-case scenario, the drone will still be pushed in your direction. In case of rain, it is always best to avoid flying altogether, not so much for the protection of the engines, as for the camera lens, as drops of water falling on the lens will render the shots and especially video, unusable.
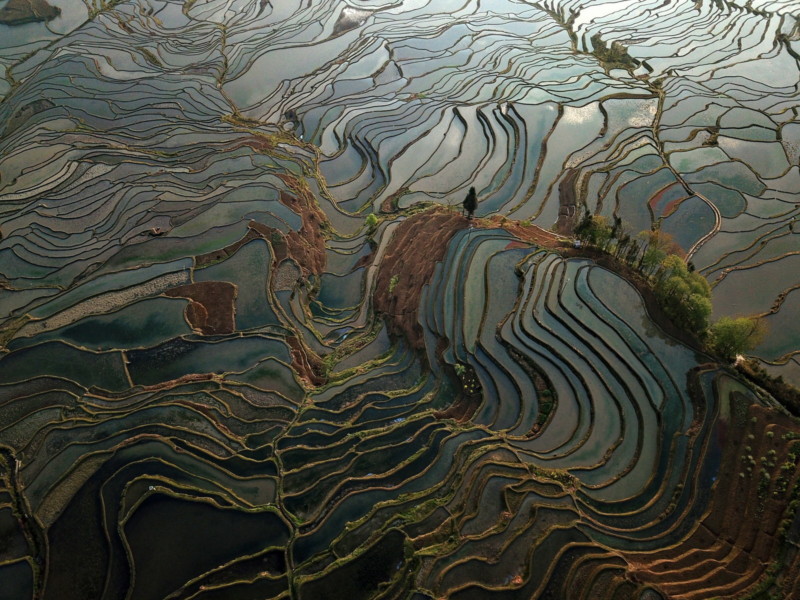
8. I once flew over a huge area of terraced rice fields in China and landed with 1% battery! Apart from that it is absolutely not recommended, mainly due to the stress on the batteries that should never get so low. However, you must take into account that at 20% the drone will signal Return to Home (RTH) but once the battery charge drops below 10% the drone will begin to automatically descend wherever you are, still trying to land. Only by pushing the control of the engines can you can keep it at altitude, but this is very difficult to manage, especially if you are not used to performing the maneuver and the scenario is best avoided. Always set the altitude of the RTH depending on where you are. It’s best to stay high to avoid any risk of collision and I personally set my default at 100 meters.
9. Learn to fly your drone in full-manual mode, especially while handling the most demanding maneuvers. This is the only in this way to become fully skilled and to accomplish special effects. For example, rotations on static central subjects like the beautiful dolly zoom effect that, if managed manually, often makes the difference in mediocre versus great footage. To be “good” you should be able to manage 3 manual stick movements simultaneously. In order to achieve “phenomenal” status, you must get to 4!

10. Last but not least, always take at least two if not three drones with you to a shooting location, because conditions and flight events are always unpredictable. This is especially critical in remote locations. If you are working in the Mongolian taiga, for example, or filming above the reefs of Raja Ampat, immediate solutions will be difficult, if not impossible. Remember that every flight could be the last one. For this reason, I change the SD card and battery at the end of each mission. I also recommend that you download the streaming video data via your app, at least. By doing this you can ensure that even in a worst-case scenario, at least your video, even if it is low quality, will not be totally lost. With this, I wish you good fun and good flights! And above all, remember the first rule — respect for people and their safety must always come first.
About the author: In 32 years of photography and reportage, Italian photojournalist, explorer, and television producer Luca Bracali has traveled to 141 countries documenting the world’s most fragile ecosystems and threatened cultures. The opinions expressed in this article are solely those of the author. Bracali specializes in arctic exploration and is a licensed drone pilot, a Fuji X-Photographer and lifetime Ambassador for “Save the Planet,” a non-profit organization dedicated to raising awareness of environmental issues. The author of 13 books, Bracali is a frequent National Geographic contributor and has enjoyed more than 50 solo shows worldwide, including an exhibition at European Parliament highlighting the global impacts of climate change. You can find more of his work on his website, Facebook, Twitter, and Instagram.