How to Shoot Portraits in Dappled Light
I’ve been photographing weddings for 10 years now, so I’ve seen and dealt with nearly every lighting scenario possible, from a dark church with no windows, to a wedding ceremony at high noon with not a cloud in sight. But one thing most photographers don’t know is how to photograph in dappled light!
And it’s important for your clients to know that they’re in capable hands when you’re documenting their day. There are no re-shoots for wedding days.
So, dappled light. This is probably one of the worst types of light that a photographer can come across. And yes, in general, I would say that you should avoid it at all costs in most situations. (Note, I would absolutely avoid this kind of lighting with big groups.) However, if you’re working with a couple, it is workable.
First things first: your camera settings and equipment. This kind of lighting can leave “hot spots” on the couple, which may or may not work for you. If you can find a way to make it artistic, absolutely go for it. If not, here’s what I recommend…
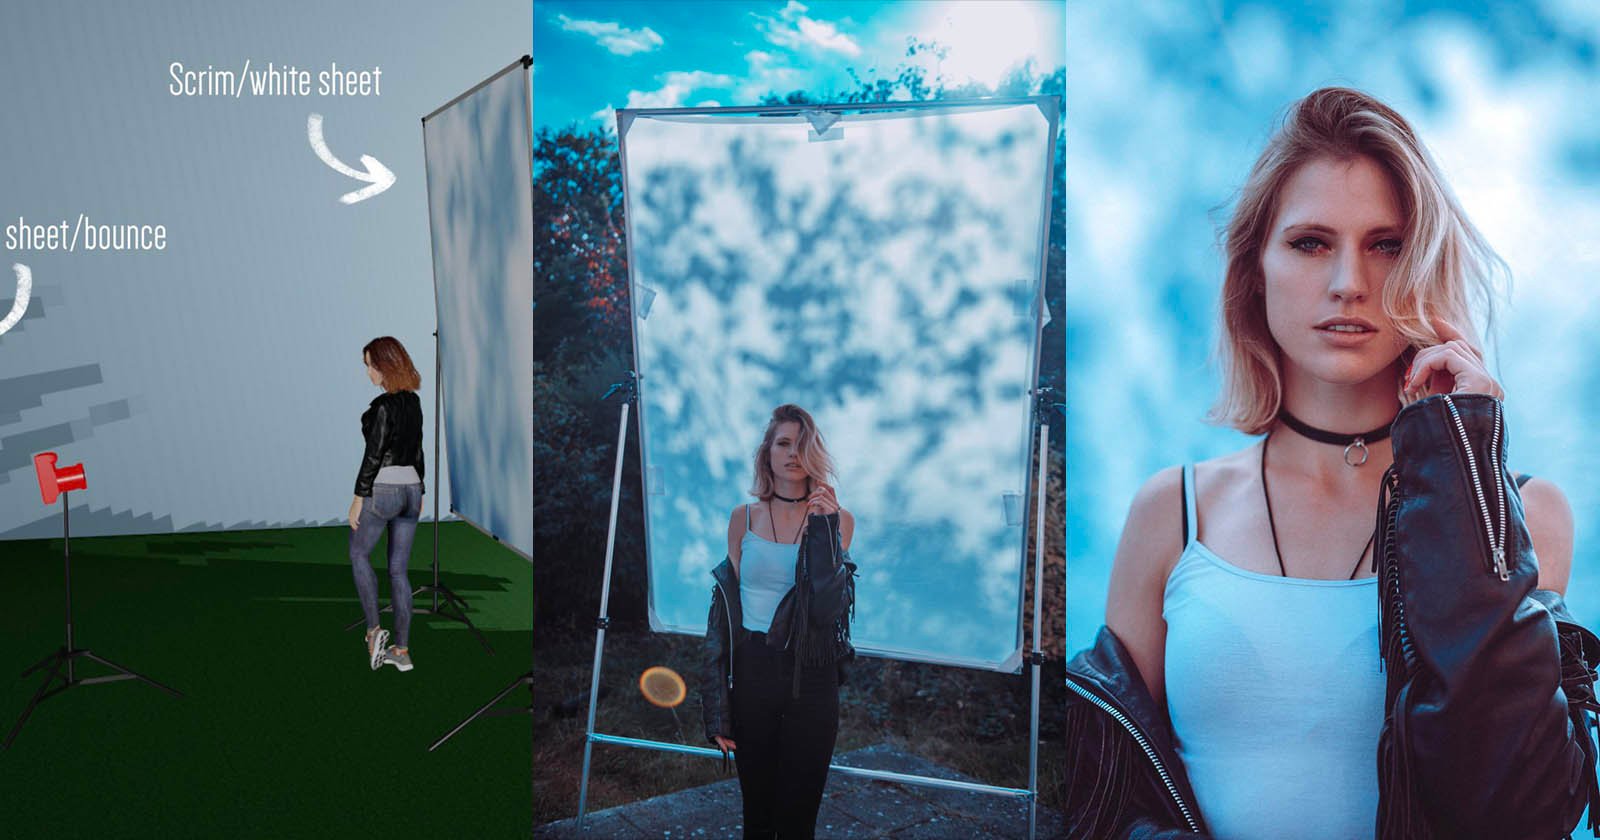
1.) If you have external lighting or reflectors, you should definitely use them in this situation. It will work as a fill-light and soften any weird lighting. (I would worry more about how the light is falling on their faces more than anything else.)
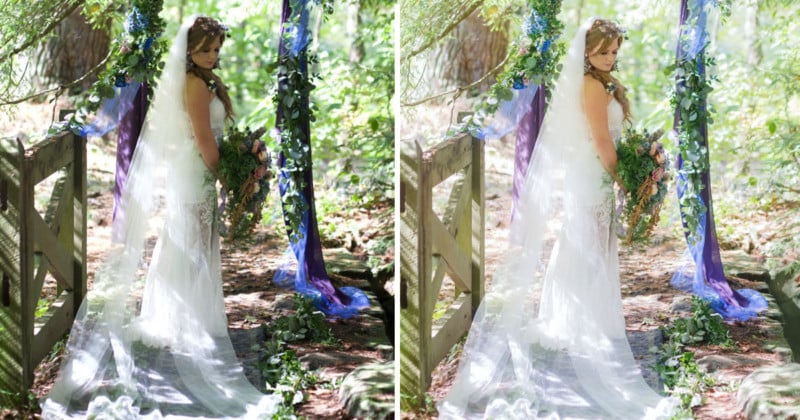
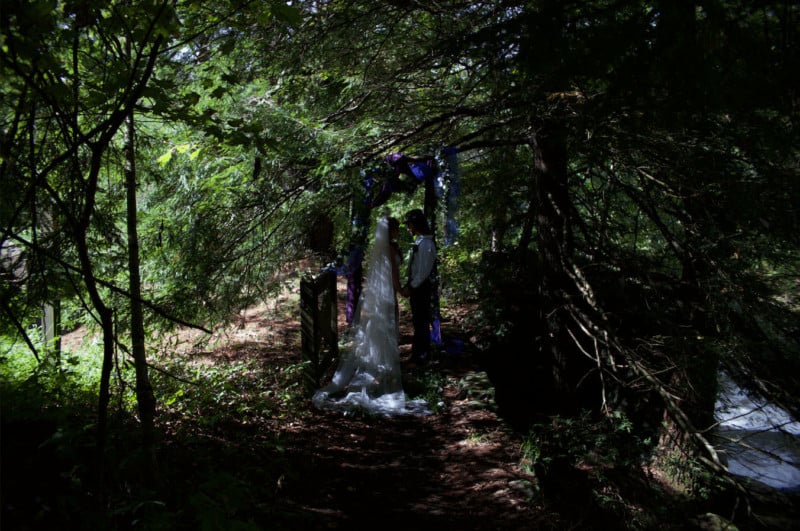
2.) If you aren’t using external lighting, then underexpose so that none of the “hot spots” or highlights are over-exposed.
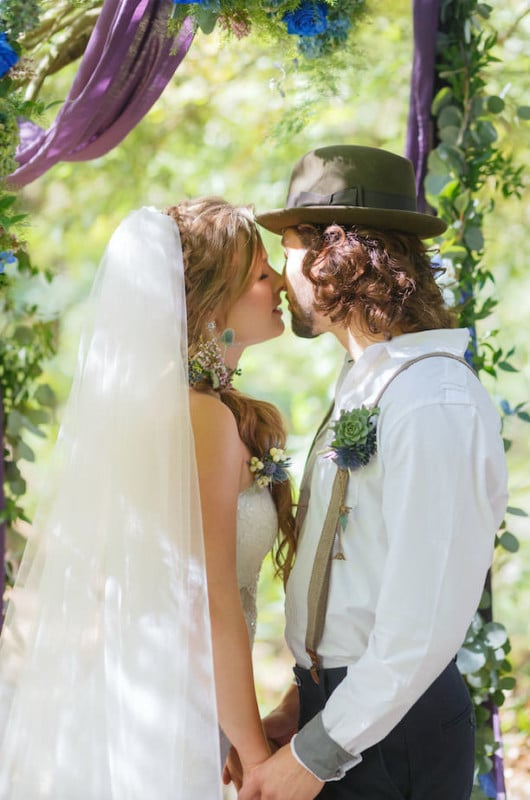
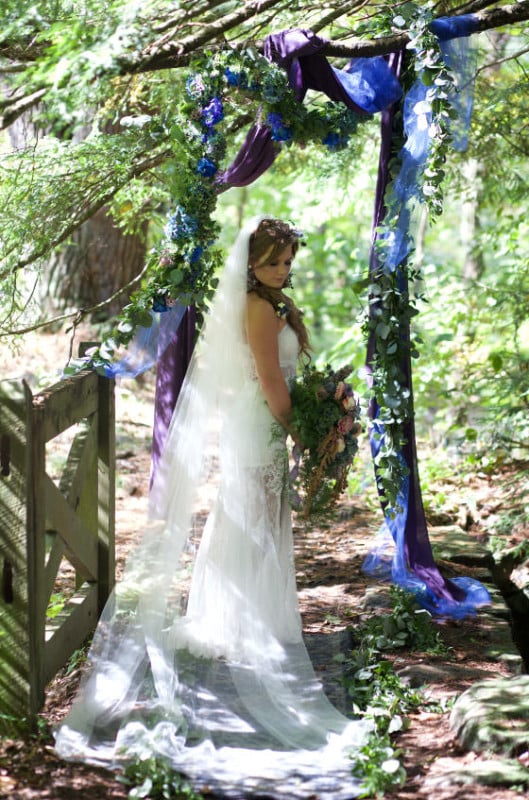
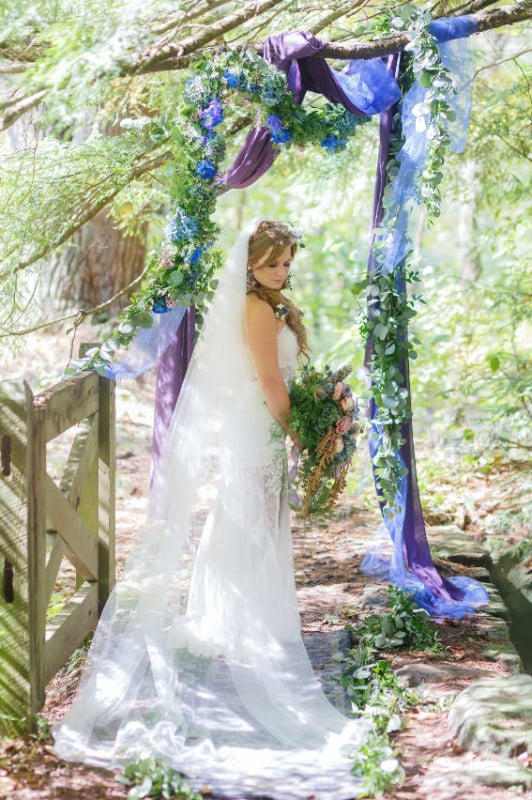
Now, once you have taken the photos, here is where you’ll do the real work. I had to learn this earlier this year when I was doing a styled shoot. (Where you would think we would have control over things like that!) We had set up this gorgeous wedding arbor on a trail up at Ohiopyle, but by the time we started the session, the sun was coming through the trees at such a weird angle that it was completely unflattering on the couple (insert rage and sadness here).
So, here’s what you do next.
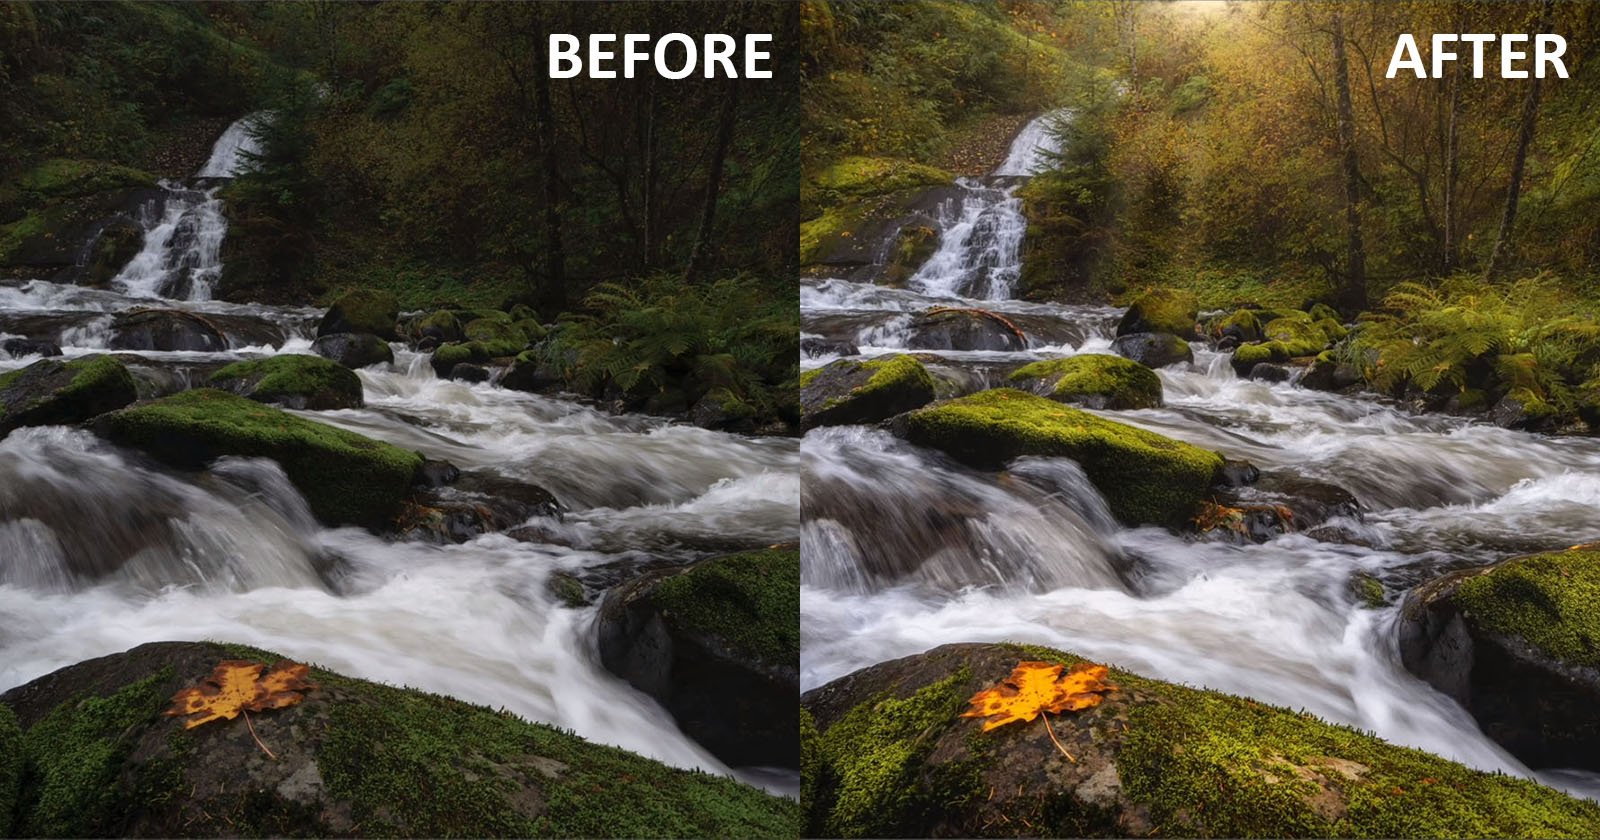
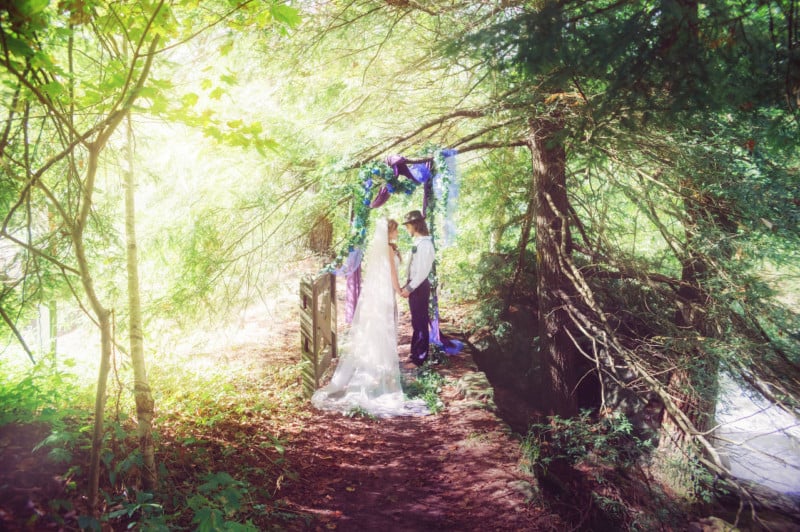
3.) Load your photos into Lightroom. Use whatever presets you normally do to your photos, and then go to the specific photo you want to fix.
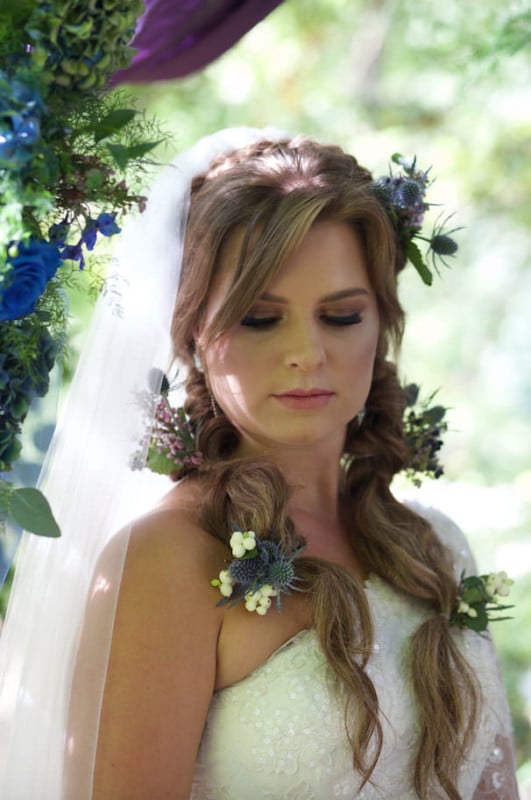
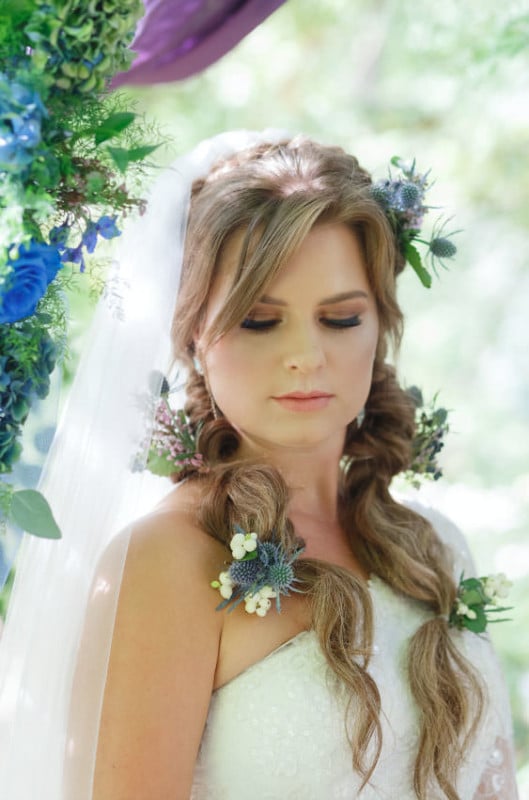
Now, dappled light is super contrasty, right? Okay, well, take the Contrast slider, and move it at least halfway over to the left. Now, use the brush tool, and use the clarity slider, and move it slightly to the left as well. Use this brush over the area of dappled light to ‘soften’ it a bit.
Still have some weird lighting? Take it into Photoshop, and use the ‘Patch’ tool, and ‘Clone’ tool as-needed, add back any contrast back that you lost earlier, and voila!
P.S. If you’re interested in learning more, you can also contact me about my photography mentor sessions!
About the author: Angie Candell is a wedding and fine art photographer in the Pittsburgh, Pennsylvania area. The opinions expressed in this article are solely those of the author. You can find more of Candell’s work on her website, Facebook, and Instagram. This article was also published here.