Shooting a Professional Timelapse on a Smartphone
Hi! My name is Patrick Poh, I’m from Singapore, and I have been playing with timelapse photography for a few years. I recently completed the above timelapse video using a 3-year old phone (Sony XZ Premium) and a phone gimbal (Zhiyun Smooth Q), and I want to share about how it was done.
Earlier this year, Kirill Neiezhmakov (another award-winning timelapse/hyperlapse professional) visited Singapore and we had the opportunity to meet up again. We visited several locations to check out the Singapore sights and sounds and some interesting places that are suitable for his own timelapse project.
Timelapse is usually done using professional gear such as (multiple) DSLR cameras, motion control systems that can automate the sliders, and pan-tilt modules. All these come together to create the incredible visuals you typically see online.
However, this equipment can be very costly and also very bulky. It is very strenuous to carry so much gear, and it can take a lot of time to set up and dismantle just one shot.
During the location visits with Kirill, I tested using my smartphone to do some simple timelapse, to pass time whilst we chit chat and help keep watch over his timelapse equipment.
At first, I tested using some generic timelapse apps. They were easy to use, but the quality didn’t seem to be the best that could be produced by smartphones — the reason being the results were usually compressed videos. When done correctly, timelapse sequences are made from high-quality JPEG photos (most timelapse photographers will only be using RAW files).
After a few trial-and-error attempts, I decided on using a basic app (Intervalometer, developed by mobilephoton) that works similar to a basic intervalometer, and can trigger the native camera app on my phone, and the native camera app was set to “manual control mode” in order to prevent flickering and any other unwanted automated changes while shooting the timelapse sequence.
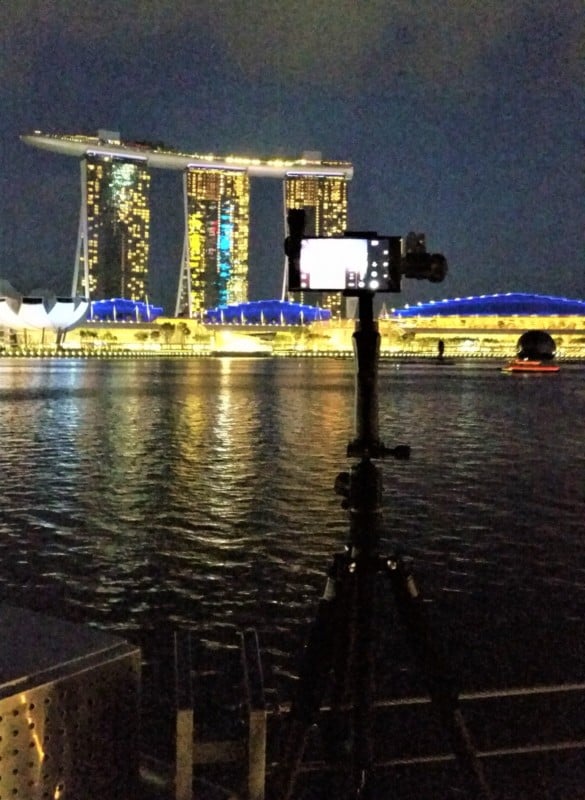
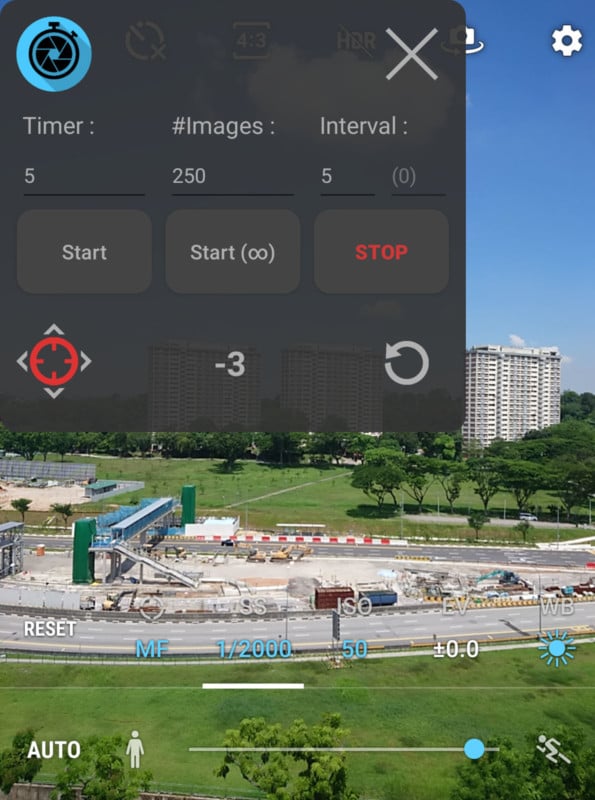
This process proved reliable as it minimized the probability of the app crashing midway through a shoot or the phone overheating and shutting down.
The highest possible quality was achieved since photos (this phone could only shoot JPEG photos) were shot instead of compressed videos. These photos were then transferred to a computer for post-processing (as per standard timelapse sequences that have been shot on DSLR).
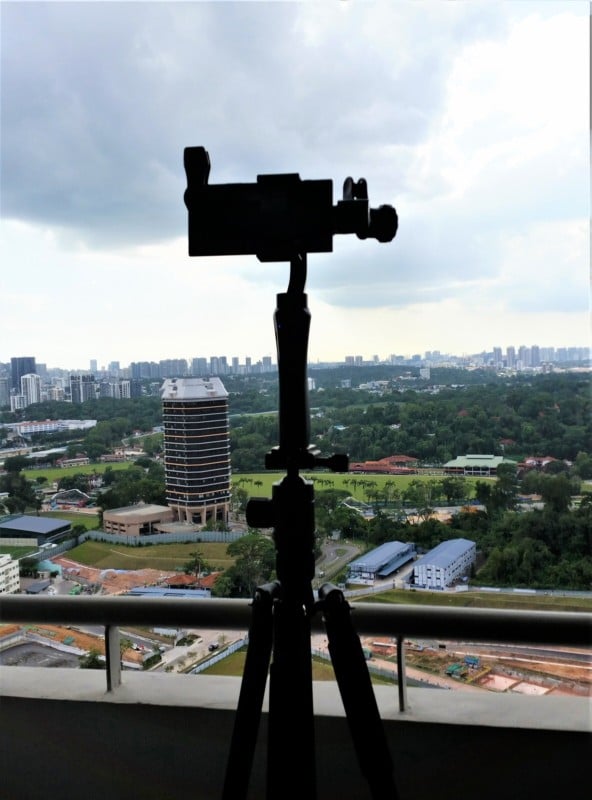
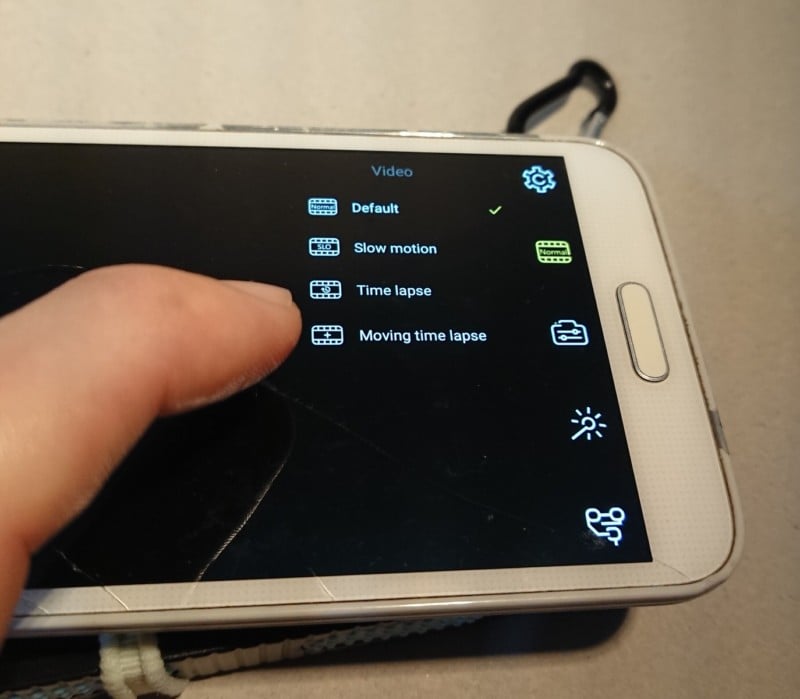
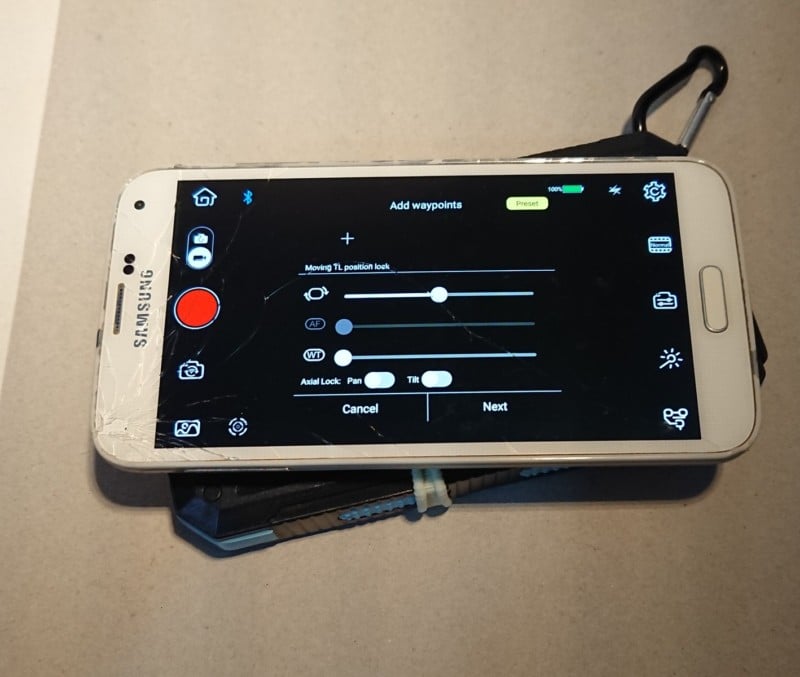
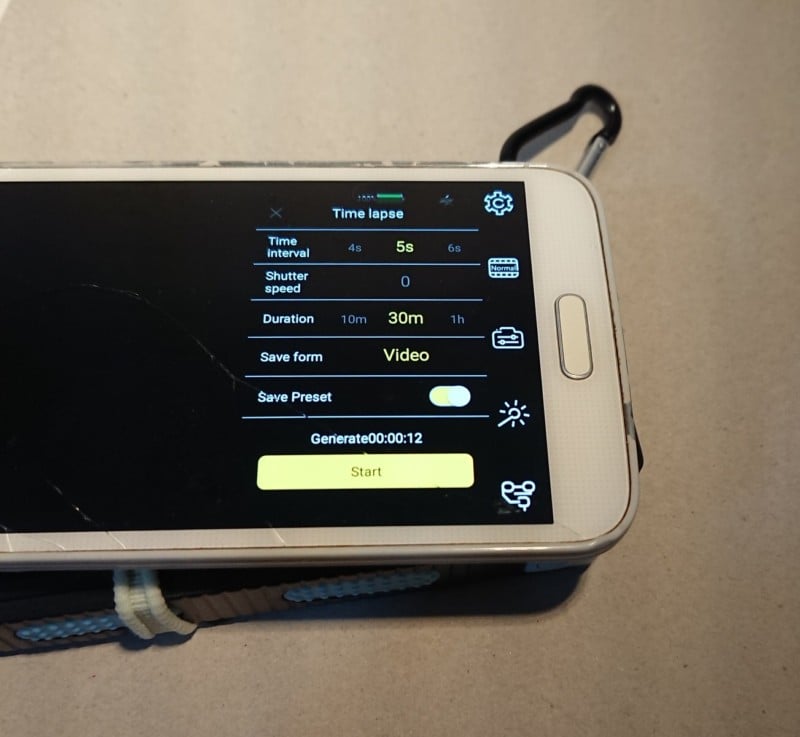
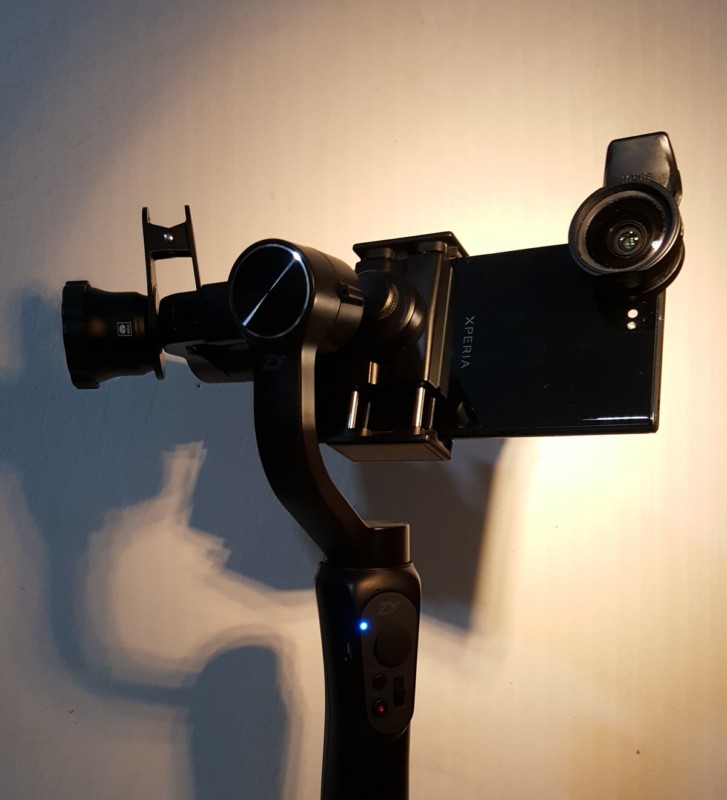
Then I started testing shooting timelapse with a smartphone gimbal. For this purpose, I used the Zhiyun Smooth Q.
The app from Zhiyun was easy to use and allowed control of the gimbal to shoot “Moving Timelapse”, meaning the gimbal can be controlled to Pan, Tilt (and even Roll). This gives the option of basic movements.
I used a spare phone to install the Zhiyun app (solely for gimbal control only). This method prevents the different apps from conflicting with each other in a single smartphone device and also helps in conserving power on my (main) phone which is carrying out the timelapse shoot.
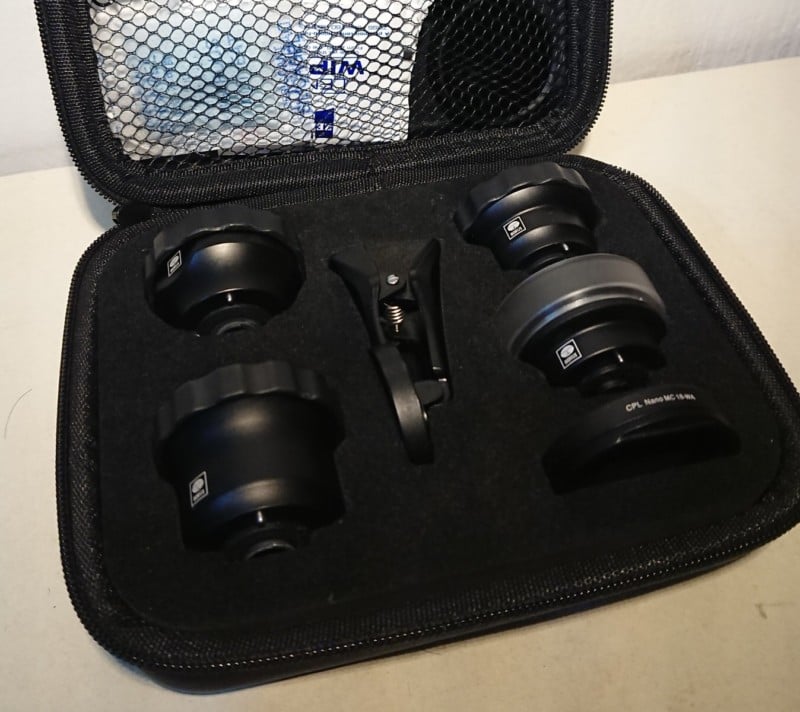
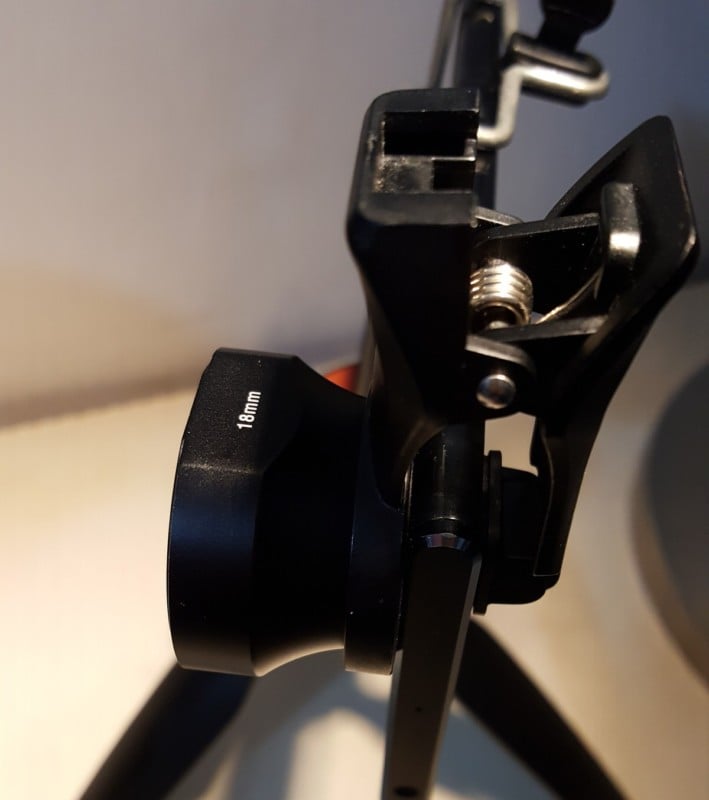
Lastly, as my phone only had a single rear camera, I went to look for wide-angle lens attachments so that I could have “wide and zoom” capabilities.
I went onto Carousell (a local 2nd hand online marketplace, somewhat like eBay) and found a set of Sirui lenses for about $100. For this project, the wide-angle lens was the most useful out of the whole set and was reasonably sharp in the center. The corners will be cropped away slightly anyway when photos are converted to video (due to 4:3 to 16:9 aspect ratio).
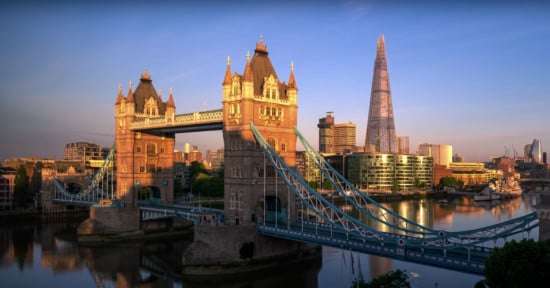
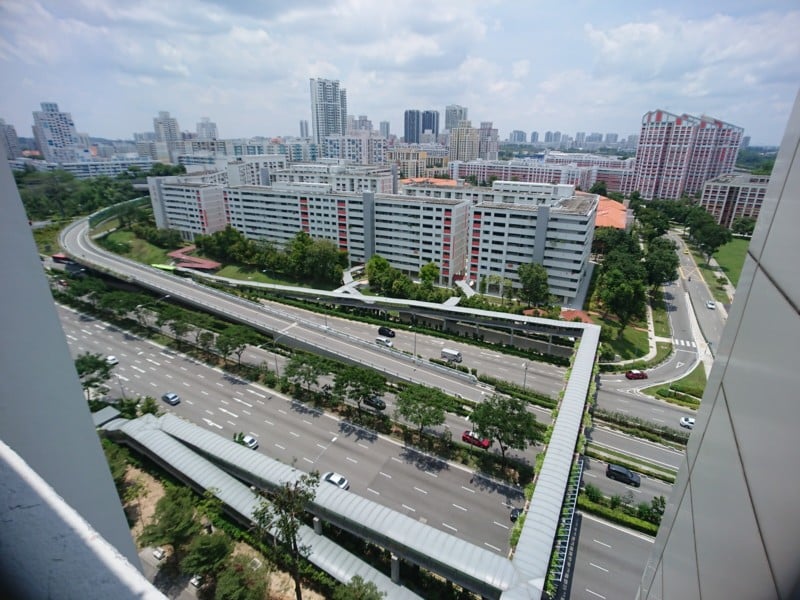
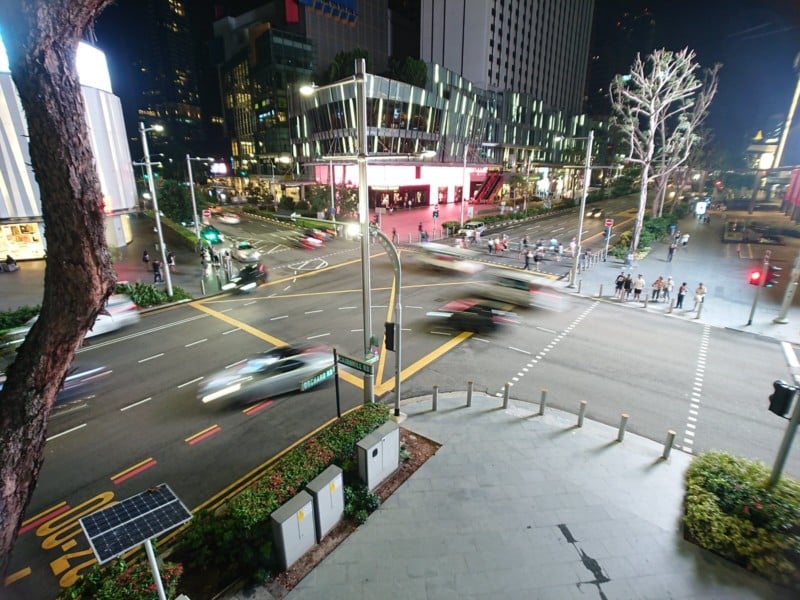
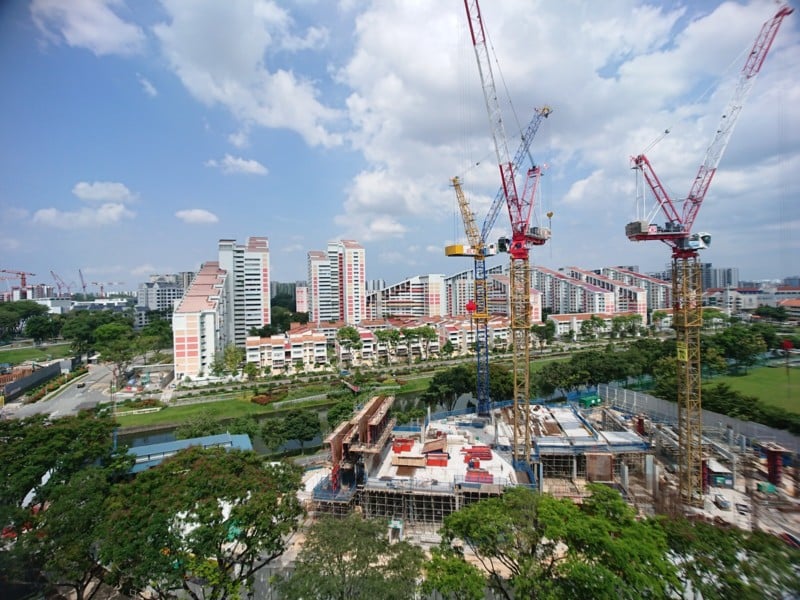
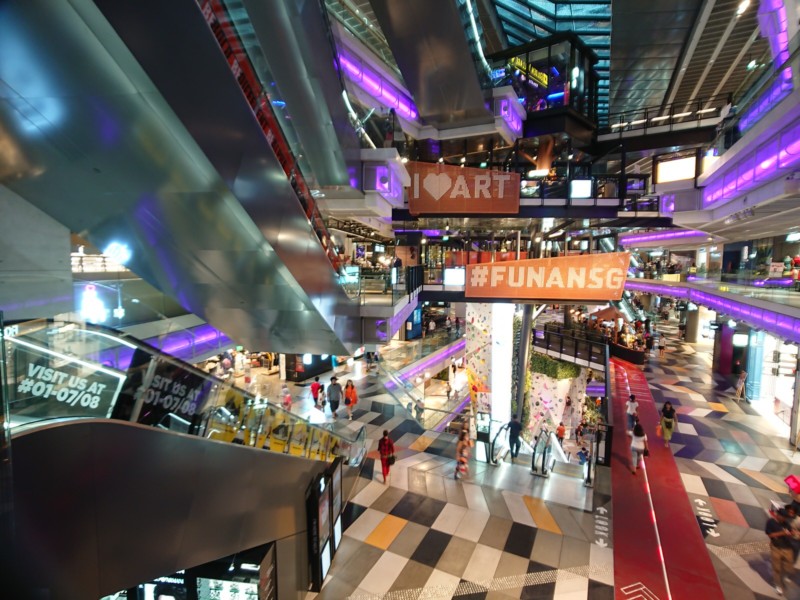
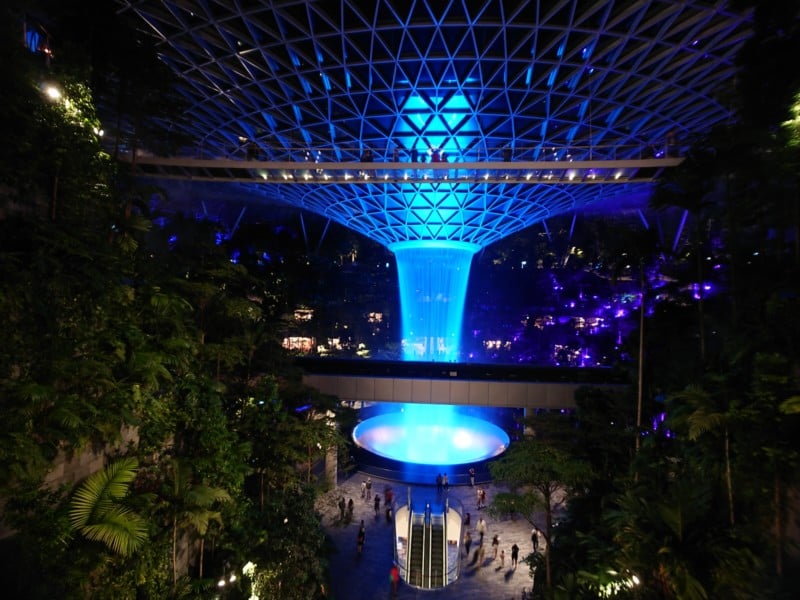
The project was shot over 24 separate outings (from late January to early April), at locations including the Marina Bay vicinity, Chinatown and Gardens by the Bay. I also managed to include Changi Airport and Jewel, the newly revamped Funan shopping mall, Southern Ridges near Harbourfront area, and the heartland areas such as Toa Payoh, Punggol, Jurong, and Dawson in order to showcase our public housing areas and architectural designs.

Hopefully, through this experience, more people will be interested in experimenting with timelapses and create videos that offer viewers the opportunity to “see and tour” their cities and neighborhoods.
Unintentionally, this video becomes a display of life in Singapore from the start of COVID-19 until when we had to implement a “Circuit Breaker” (partial lockdown). A showcase of how we went on with our daily activities without fear or panic, when the streets were still filled with life and people, and a reminder for ourselves that one day (hopefully very soon), everything will be back to the way they once were.
About the author: Patrick Poh is an amateur timelapse photographer based in Singapore. The opinions expressed in this article are solely those of the author. You can find more of Poh’s work on his YouTube channel.