How to Edit Portraits in Affinity Photo
Portrait and headshot photographer Ivan Weiss recently created a helpful tutorial that walks you through his entire portrait editing process in the popular Adobe alternative Affinity Photo. If you’ve been wanting to give Affinity a shot, this is a phenomenal resource.
Alongside Capture One Pro, ON1, and a few others, Serif’s Affinity Photo has become a go-to for photographers who want to escape the Adobe subscription yoke. It’s a “fully-loaded photo editor” for Mac, Windows, and iOS that delivers a lot of bang for your buck at just $25 for a perpetual license (usually $50). You get RAW editing, a layer-based workflow, PSD and smart object support, stitching, selection tools, HDR merge, and more, and a very snappy interface to boot.
But getting started in a new piece of software is always daunting, which is where videos like this one by Weiss come in really handy. He’s put together a 30-minute masterclass in portrait editing that is focused on creating a dramatic look through color grading, texture overlays and more. As a bonus, he includes 1 LUT and 2 color/texture overlays as free downloads at this link, in case you want to replicate his style.
Here’s the before image:
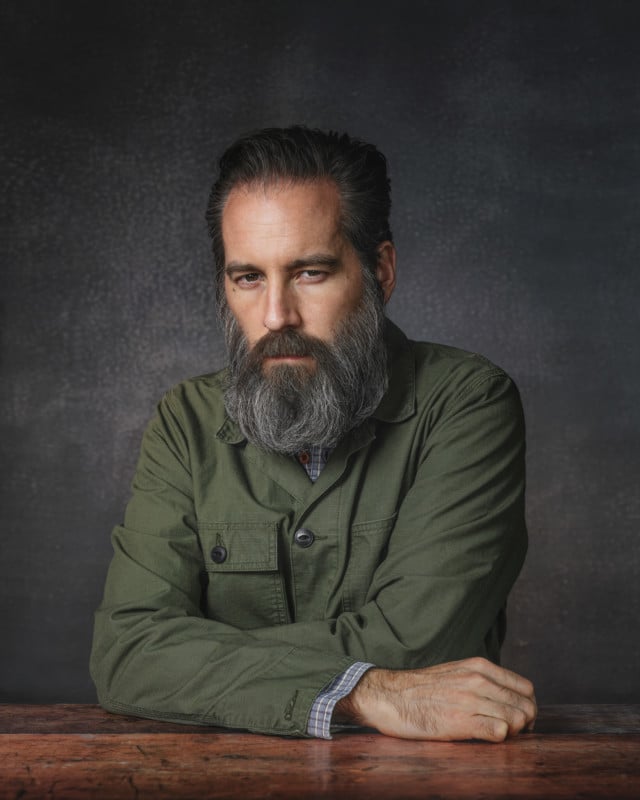
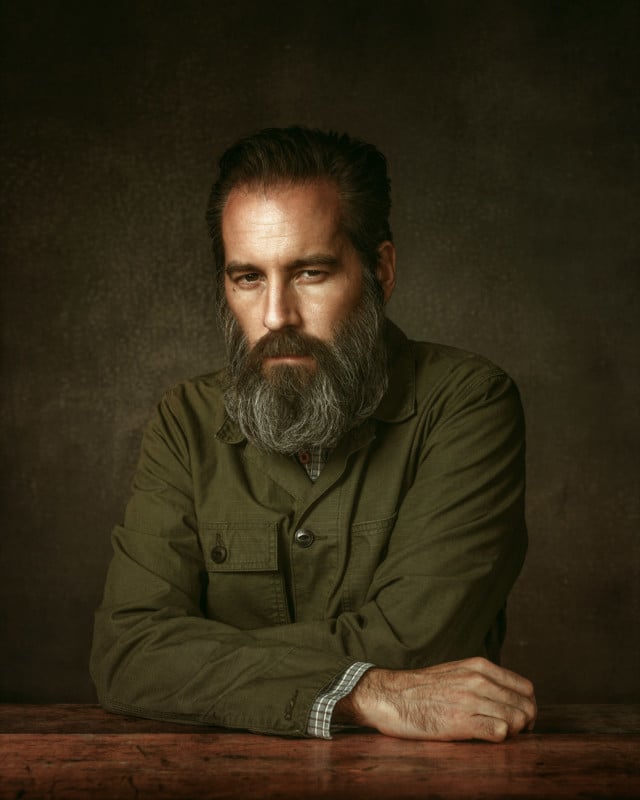
And here’s after:
Of course, Weiss’ style might not be your particular cup of tea, but the video gives a great general overview of how to edit portraits using Affinity Photo. And since this is one of the most popular, non-subscription based alternatives to Adobe Lightroom and Photoshop, it’s nice to see in-depth walkthroughs like this start to pop up. Especially since you can try it for free for 90 days as of this writing.
Check out the full tutorial up top, and keep an eye on the Affinity YouTube channel for more useful content like this. And if you want to explore Ivan’s impressive portraiture, you can find lots more on his website and Instagram account.
Image credits: All photos by Ivan Weiss and used with permission