Wedding Photographer Posing Guide: Poses That Work

Do you often struggle when posing newlyweds, not knowing what to do next? Shooting under pressure, you then ask the couple to kiss while neglecting their body positioning, posture, hand movement and facial expression.
My name is Jimmy Chan, the wedding photographer of Pixelicious from Montreal, Canada, and this in-depth guide is…
- Packed with actionable step-by-step tips for your next assignment;
- Written in a language that hobbyist / amateur photographers can understand;
- Featuring images of real clients, never models in stylized shoots;
- I will tear down some of my favorite shots by explaining what didn’t work and how would I have done things differently.
If you find my previous article on wedding photography lighting helpful, this will be just as worthy of your time.
Common Misconceptions
Unlike lighting and composition where I would encourage others to experiment, the human anatomy hasn’t changed much in the past few thousands of years. In other words, a flattering pose for a female subject will remain a flattering pose, there’s no need to reinvent the wheel.
Instead, they say “I don’t really care about what other photographers have done in the past. I’d rather experiment and find out on my own what makes things work for me and my clients!”
Do you really believe that anyone can figure it all out by himself?
If you’re looking for the easy way to become a creative portrait photographer, then continue to study here, to practice, and to grow. If, on the other hand, you decide that you’d rather make your life difficult, go ahead and learn the hard way—put this book away right now and try your own hit-and-miss techniques until you might stumble on something that will work once in awhile. It’s up to you.
—Monty Zucker in Portrait Photography Handbook
This might sound strange, but nothing in this article is new. I am only sharing knowledge gathered from other master photographers who spent decades perfecting their craft: Monty Zucker, Cliff Mautner, Jerry Ghionis, Roberto Valenzuela, Sue Bryce, Lindsay Adler and so many others whom I will credit as we go along.
Don’t expect a laundry list of “best wedding poses” that you can replicate, we all know this is a recipe for disaster. Instead of blindly copying others, develop a systematic approach to posing your clients that works for you which will yield consistent results shoot after shoot, even when pressed for time.
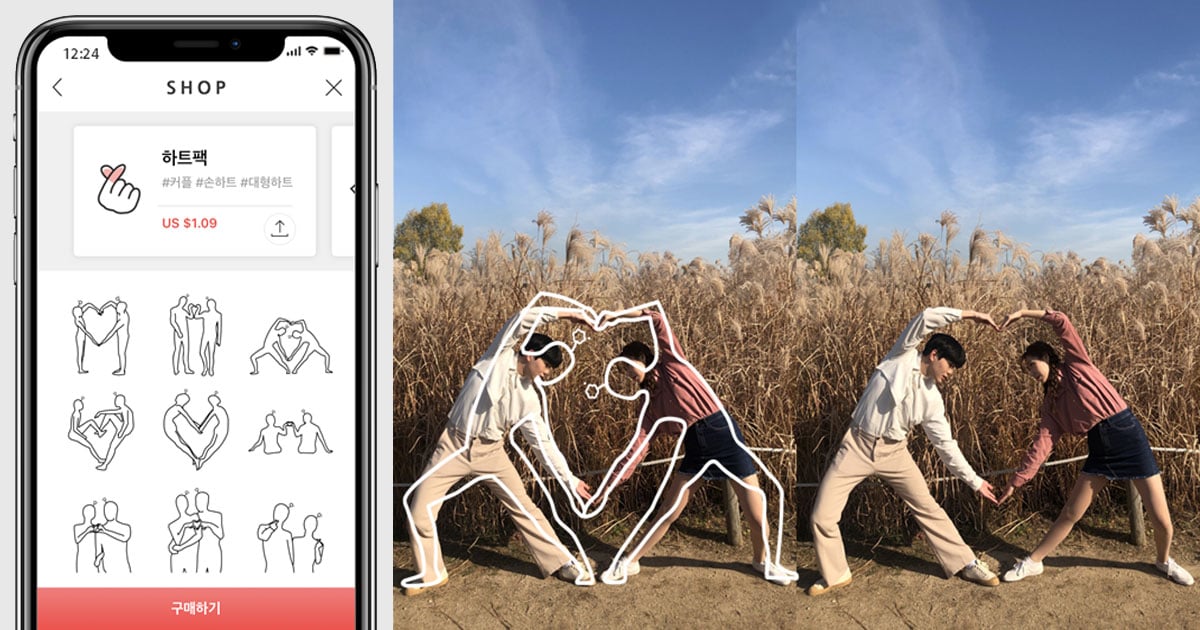
Remember that we aren’t working with models so don’t expect them to pose like one. It also means that they expect guidance from us. This is wedding photography, not photojournalism. The bride will not magically hold her bouquet with her eyes closed waiting for the camera. You must ask, direct and pose for the shot you wish to achieve. Here’s an excellent posing guide with models for those interested.
Building a Strong Foundation
The body is positioned for light and composition. After a couple of test shots, my exposure is set. By having 3 out of 4 ingredients taken care of, I can now fully concentrate on the posing and interaction with my clients.
Tip on exposure: I want you to observe your subject’s face before grabbing the camera next time. Does her face become brighter or darker by the second? If not, then why does your exposure need to change? Shooting in Manual mode not only makes sense, it will save you tremendous time because you can batch edit the images later. Being constantly worried about exposure will undermine your ability in posing your subject.
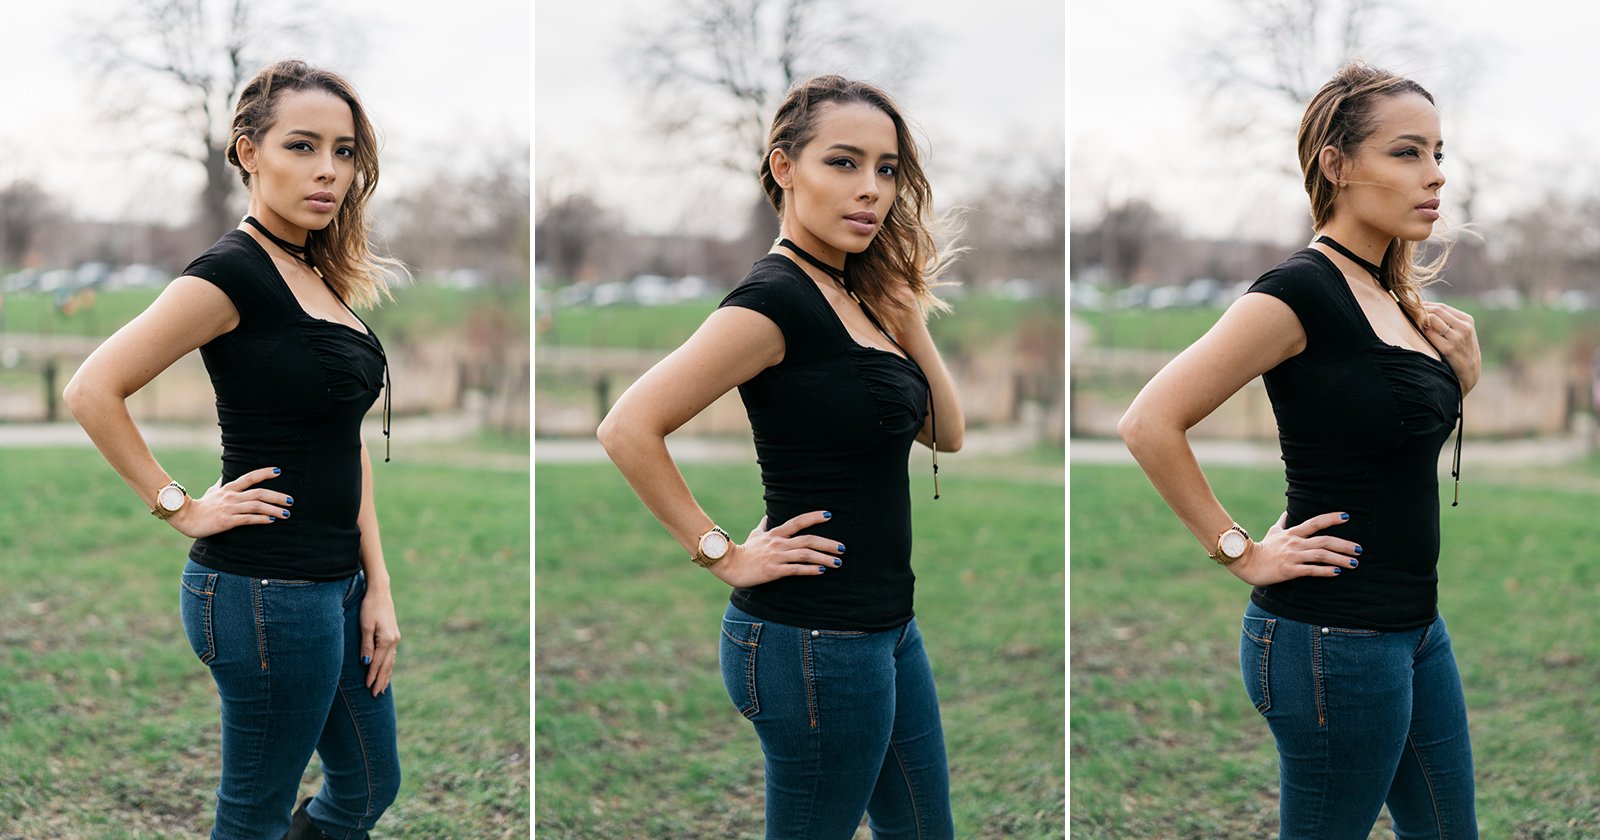
Posing the Eyes, Hands and Spine
I want my brides to look tall, elegant and confident. I do this by asking them to really stretch their spines, no slouching allowed.
The spine is the cornerstone of any pose. Ignore the spine and the whole pose will fly out the window. So if I can help you with one thing in this book, let it be this statement: The spine must always be straight and as tall as possible.
—Roberto Valenzuela in Picture Perfect Posing
You might have heard of Jerry Ghionis’ mirror technique for posing (fast forward to 10:15 in the video below). The idea is to have your subject follow your movements instead of communicating verbally. Not only does it work, I will shamelessly attempt all the feminine poses you see in this article and I am a guy. The brides end up laughing (at me) and this has become a great icebreaker for those who are reluctant in posing for portraits.
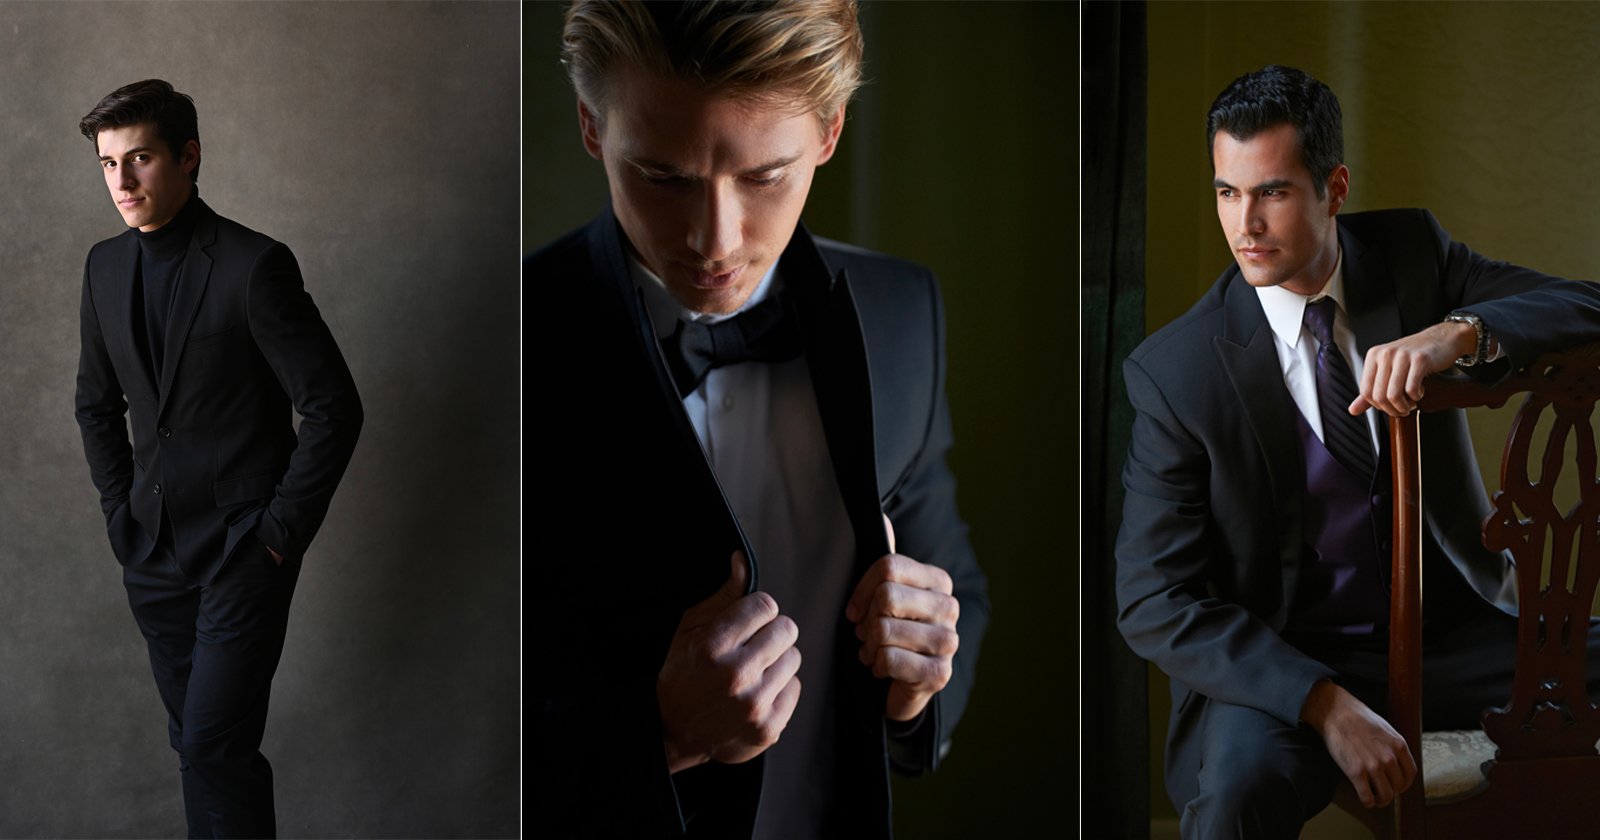
Gentlemen’s club
I like my grooms to look classy and handsome. This can be achieved by reverse engineering how I pose female subjects:
- Lift the back leg instead to shift his weight forward to look more imposing. I can also have him lean forward for upper body shots;
- We tend to rotate the female’s hand to avoid seeing the palm or backside, but strong hands are suitable for men;
- Tilting the head and chin towards the higher shoulder looks feminine, do the opposite to achieve a more masculine stance.
The Need for Speed
Wedding photographers are always pressed for time so I have since learned to not sacrifice productivity for perfection. I recognize countless flaws in my images, but a photographer sees pictures differently from a client. Don’t get me wrong, when the stars are aligned, go all out and get that money shot. Otherwise, capturing the safe shots first, then move higher on the difficulty scale, remains a viable strategy.
We are not looking to make the Mona Lisa sometimes, we are looking to create texture, dimension, and mood, and give a nice array of images, fast.
–Cliff Mautner in Searching for the Light
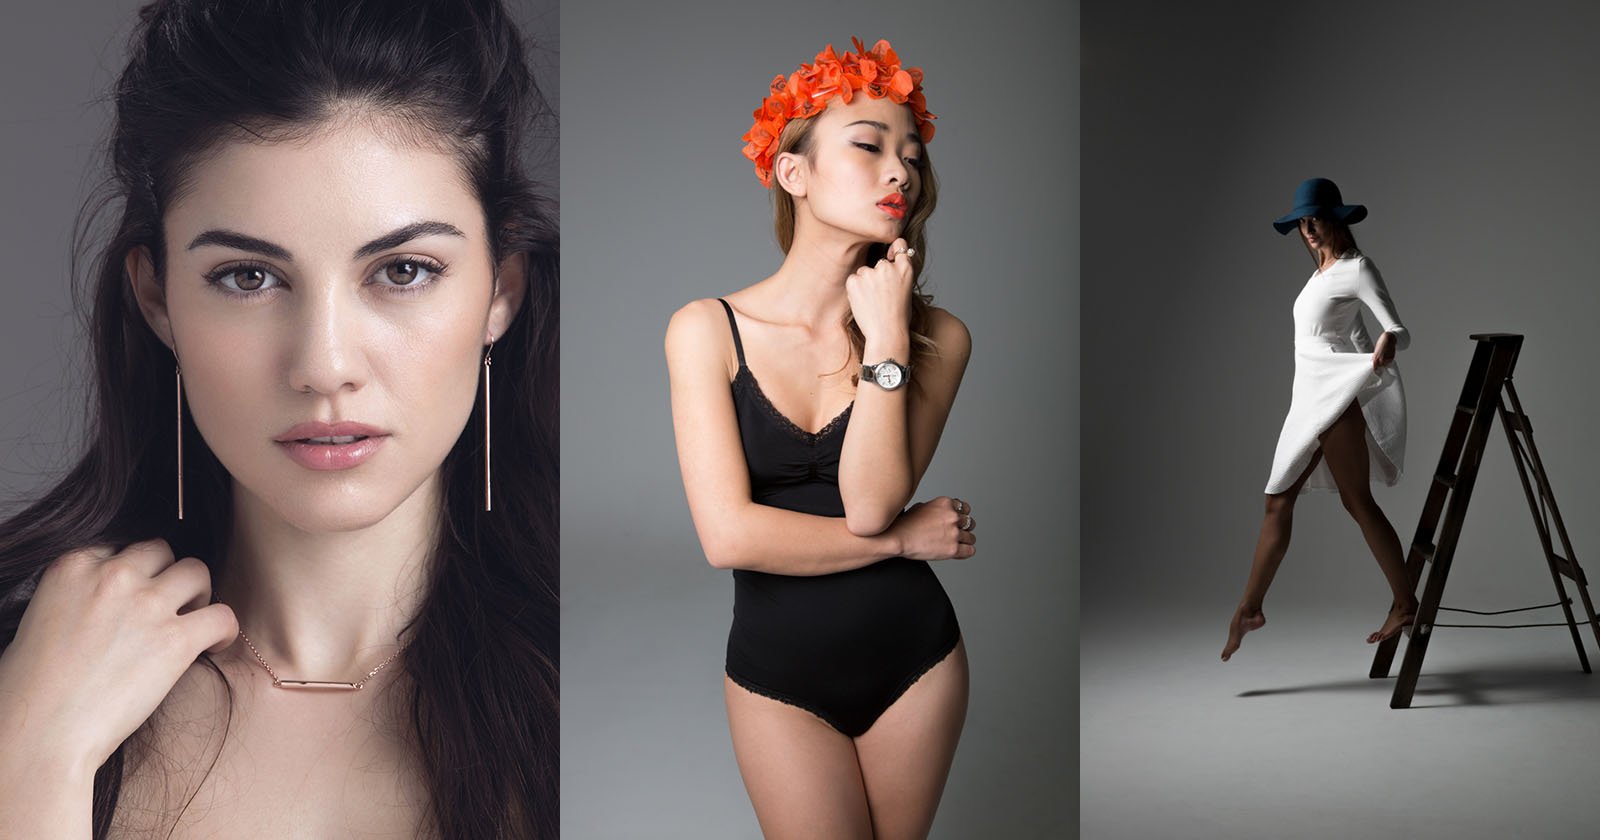
If you watched Jerry Ghionis’ video above on posing, you would come across what he refers to the “phone number” technique (fast forward video to 25:28). By making small changes to the pose, you end up with a different picture. In practice, I can capture both holding hands (one shot), one hand raised (another shot), both looking at the camera (another shot), both looking at each other (another shot) and so on. You don’t need to memorize and execute 50 poses, only a few strong ones will suffice. Quality over quantity, always.
When I was just getting started in photography, one of my mentors taught me this amusing saying: “When’s the best time to take a horizontal image? After a vertical. When’s the best time to take a vertical image? After a horizontal.”
—Lindsay Adler in Fashion Flair for Portrait and Wedding Photography
3 focal lengths x 2 orientations x 3 small changes = up to 18 workable images for me to further cull down at home from “one pose”. This can be achieved quickly with minimal effort from the client.
Other Common Posing Scenarios and Pitfalls
Let’s dive further into other common scenarios we’ll come across:
Tip on composition: Whether on the street or at the lake, you will come across the horizon in the form of a dominant horizontal line across the frame. When shooting at eye-level, this line can slice through someone’s joints: elbows, hips, knee or ankle. You can “control” the horizon line by lowering yourself, such as kneeling or laying down on the ground.
Posing for Groups
The bad news is that clients aren’t necessary fans of family formals. The good news is that all the posing techniques apply, whether for the bridal party or the guests. To help expedite the process, prepare a list of must-have groups in advance. Also, inquire about the family dynamics to prevent awkward situations (putting divorced parents together).
Adding Children into the Mix
Children play a big role at weddings so don’t neglect them. We want to capture them naturally so it’s best not to force things. Also, lower ourselves down to their height when shooting, let them invite us into their world. Elena Shumilova shares some amazing tips on how to photograph children.
If you also have wedding photography posing tips that weren’t covered in this guide, feel free to share them with the community in the comments below.
About the author: Jimmy Chan is a wedding photographer based in Montreal, Canada. The opinions expressed in this article are solely those of the author. You can find more of his work on his photography wedding business website, Pixelicious.