8 Reasons You Should Buy a 50mm f/1.8 Lens
When people ask me what lens they should get after buying their first camera, I always tell them to buy a 50mm f/1.8 lens because it’s one of the cheapest and one of the coolest lens you could buy. I have an old 50mm which is a little bit dirty and also quite old so I don’t use it that often. But recently, my girlfriend bought me a brand new 50mm lens, so I fell in love with using the 50mm again.
This is a very small yet very powerful lens, and many people don’t know the tricks that you can do with this lens, so I’ll share some of them in this article.
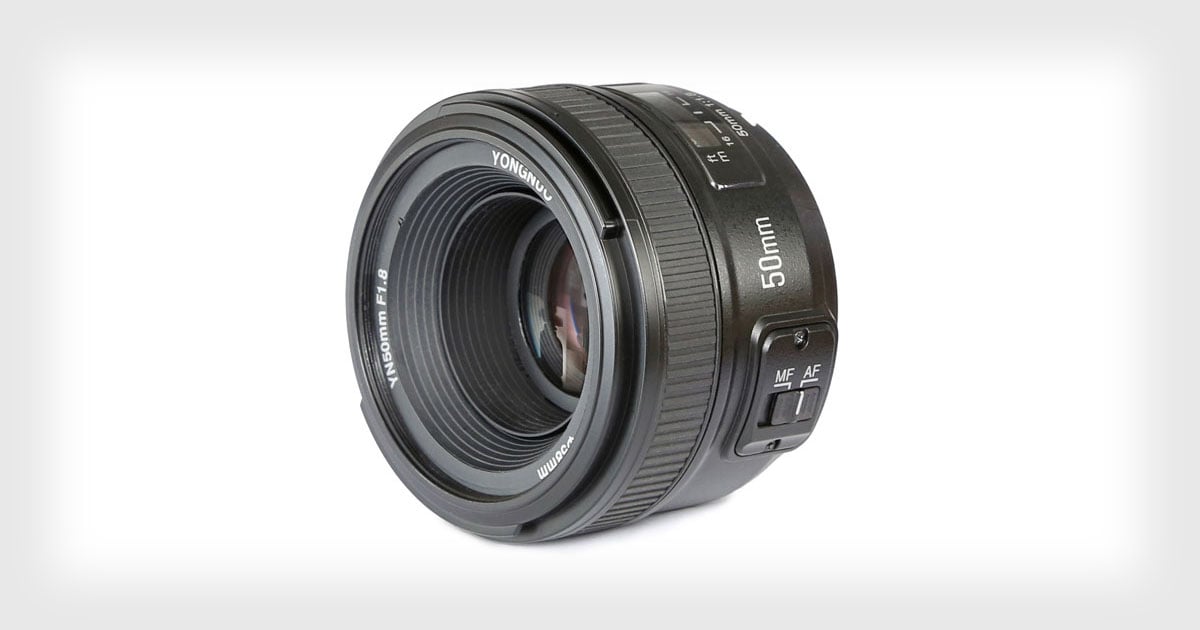
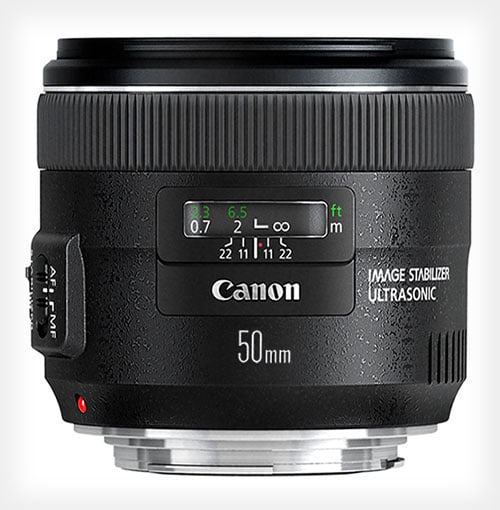
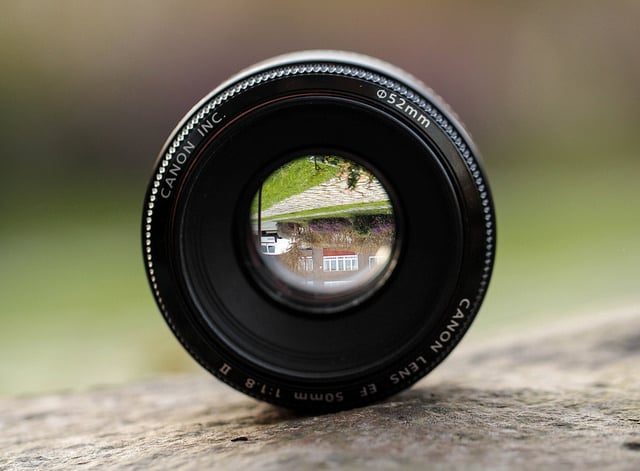
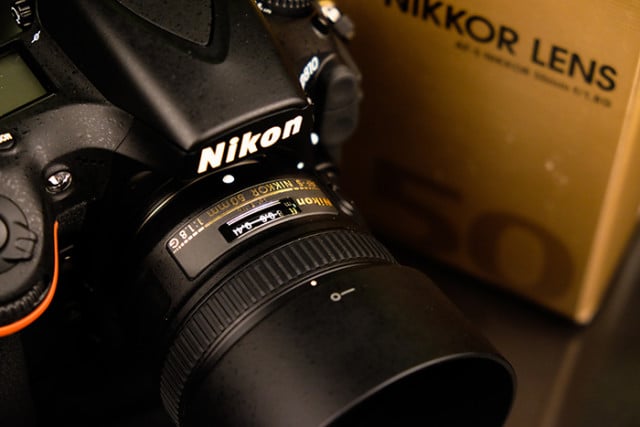
#1: It’s Cheap and It’s Small
If you’re a Nikon or Canon photographer, the 50mm is one of the cheapest lens you can buy. It’s also a great walk-around lens because of its size and weight.
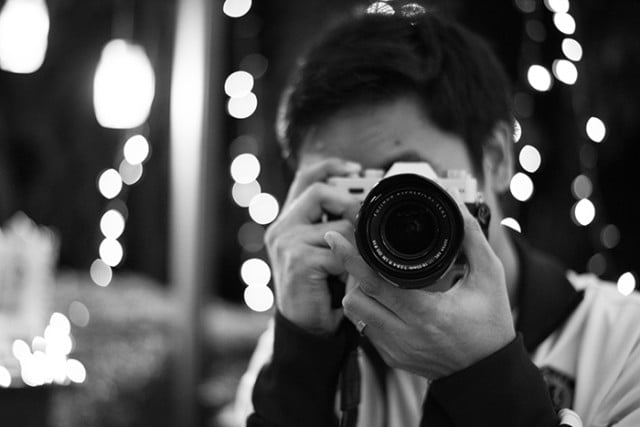
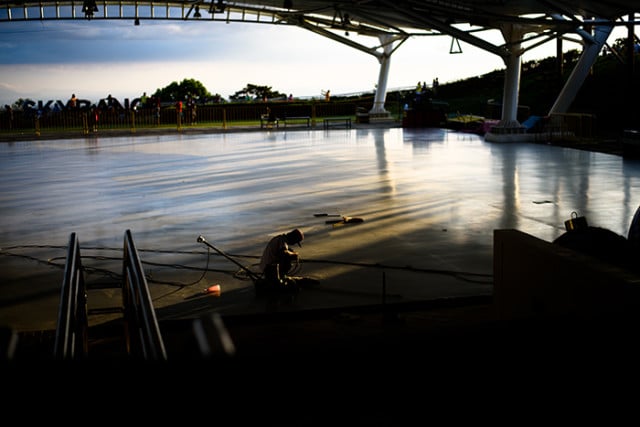
#2: It’s Great for Low Light Conditions
Because of its large f/1.8 aperture, it’s a really great lens to shoot with at night or in any low light situations.
#3: The “SLR Look”
Many people buy a DSLR because they want the look that they see in magazines or online (a very shallow depth of field) but can’t get the look that they want because they are using a kit lens. Here is the answer to your problem: a 50mm lens.


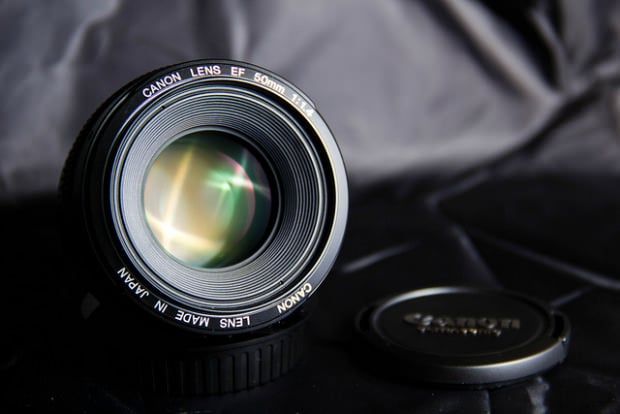
#4: It’s Pretty Sharp
For a small and cheap lens, it’s actually pretty sharp, and even more so when stopped down a little.
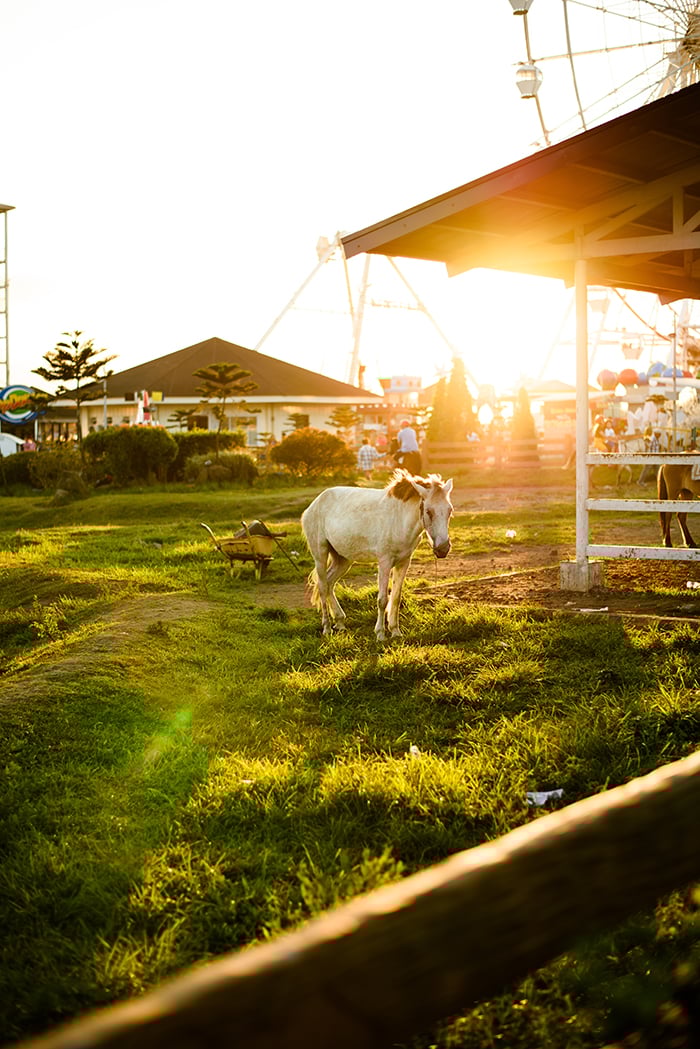
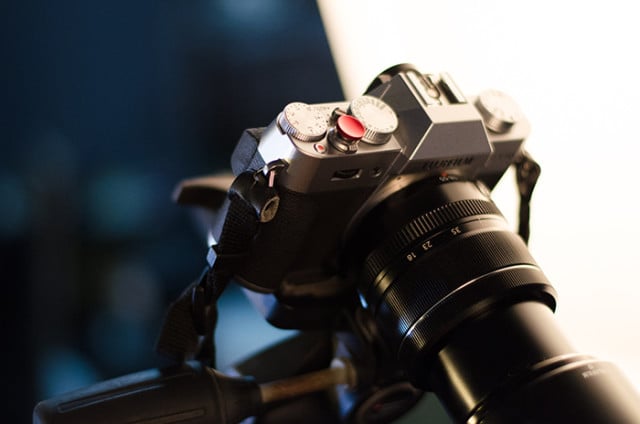
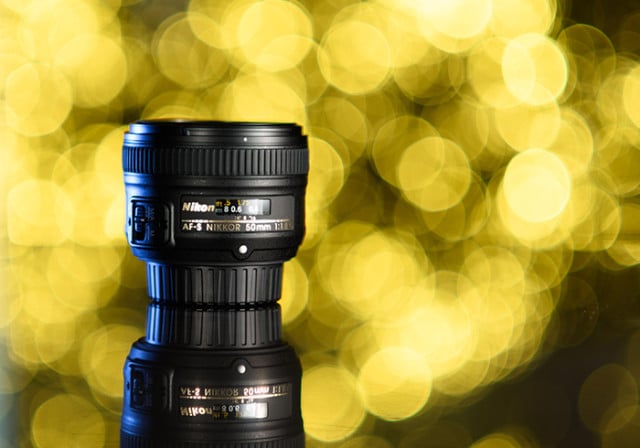
#5: The Bokeh
We all know that this lens creates really amazing bokeh and a very shallow depth of field, so if you want that really smooth and creamy bokeh, this lens is the way to go.

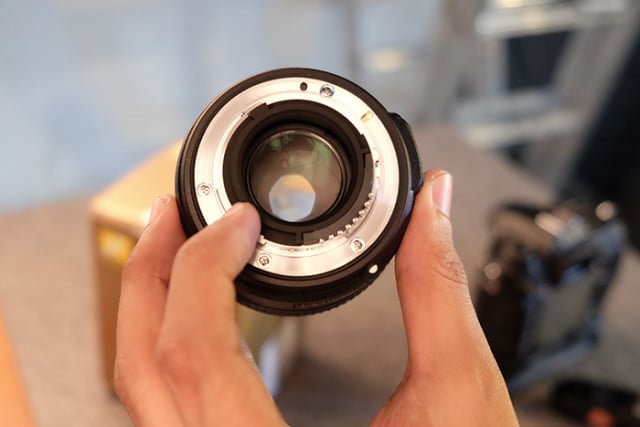
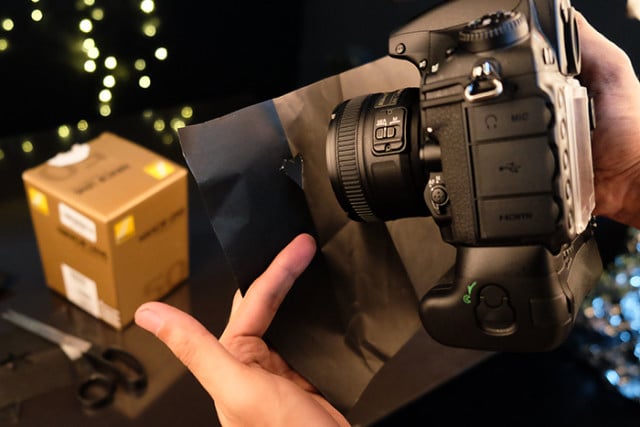
#6: Macro Photography
It’s not advertised and also not an attractive hack for some photographers, but you can use this lens as a macro lens.
Remove the lens from the body of the camera, reverse the lens and hold it near the body of the camera.
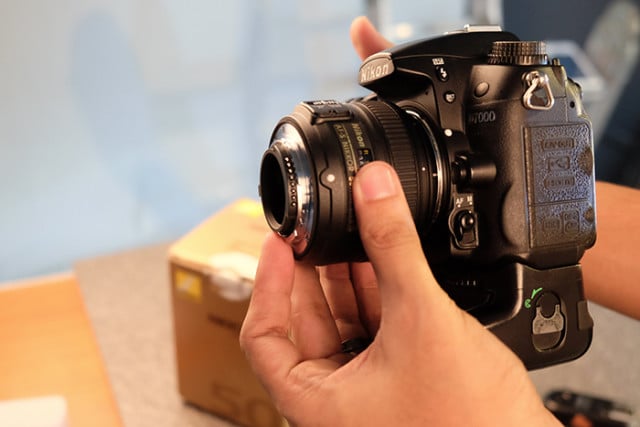
You can also buy a reverse ring mount to mount it directly to your DSLR, but you can also hold it just like I do.
If you have a non-aperture ring lens, there should be lever at the back which you can slide to control the aperture.
A couple of example macro shots:
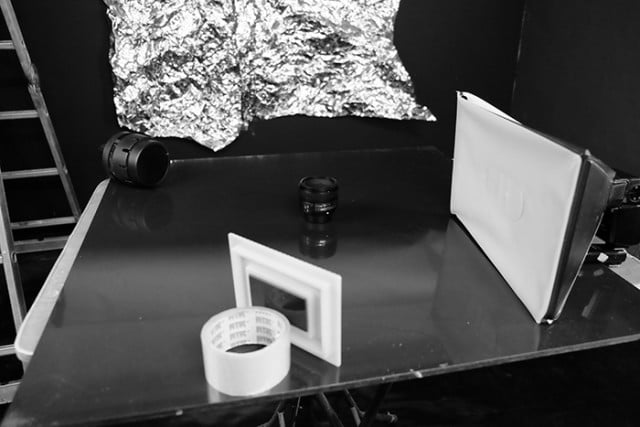
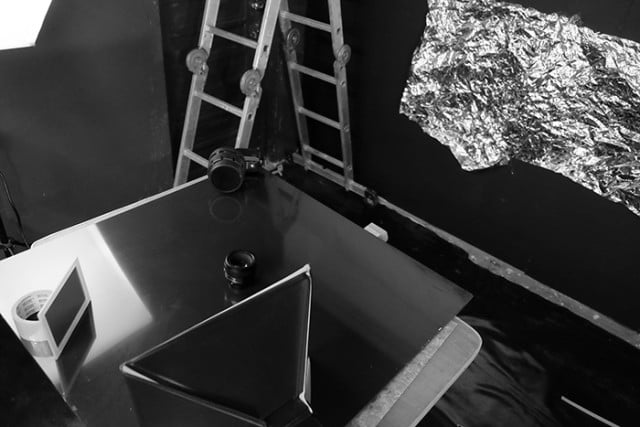
#7: El Bokeh Wall
A very quick setup I do when shooting products is what I call the “El Bokeh Wall.” It’s easily done by getting aluminum foil or silver gift wrapping paper and crumpling it up and taping it at your background. I got a speedlight with yellow gel and placed it below my table, pointing at the background (aluminum foil) to light it up. I also have one small softbox on the right side of the subject for the mainlight, and a small speedlight with grid on the back left for the rim light. I was shooting wide open at f/1.8 for this.
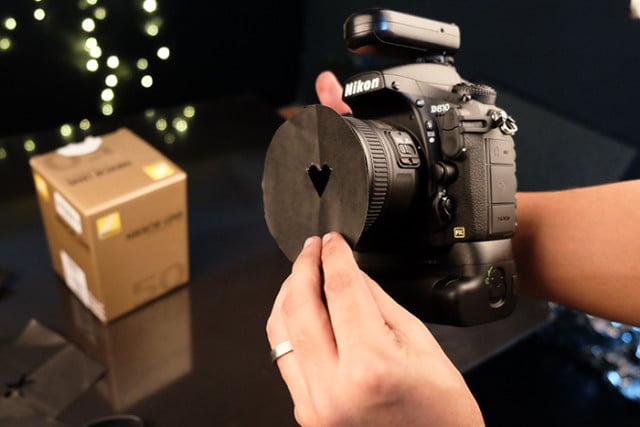
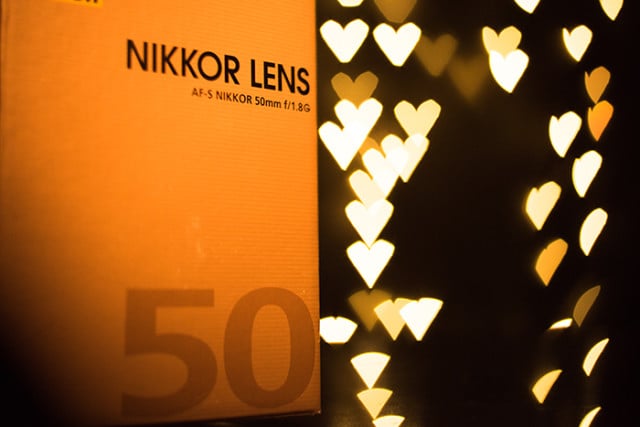
#8: Bokeh Shapes
Normally the bokeh shapes are round, but by simply putting a black paper with a cut out shape infront of your lens you can change the shape of the bokeh.
Put the cut out shape directly infront of the lens. You can also cut it out like a lens or just tape it to your lens for easier use.
Still not satisfied? Trust me: just buy one and see for yourself. You won’t regret it.
Image credits: Header photo by Axel Naud. All other photos by Laya Gerlock.