How to Make Color Photos Using Only B&W Shots
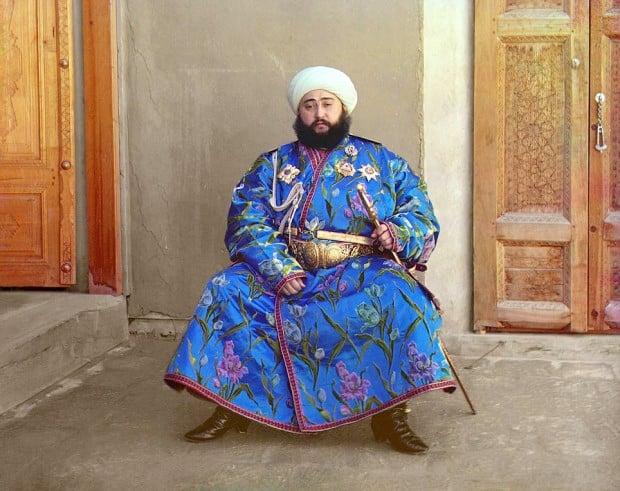
Before the introduction of color film, Many photographers experimented with ways to record color images using black and white mediums. One of the more famous examples comes from Sergey Prokudin-Gorsky and his photos of Russia from the early 1900s.
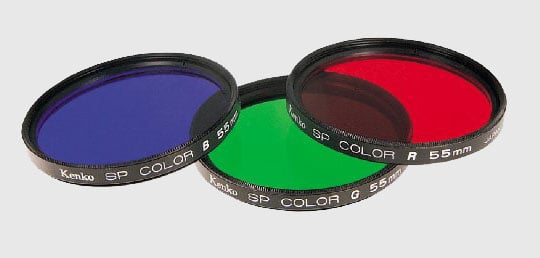
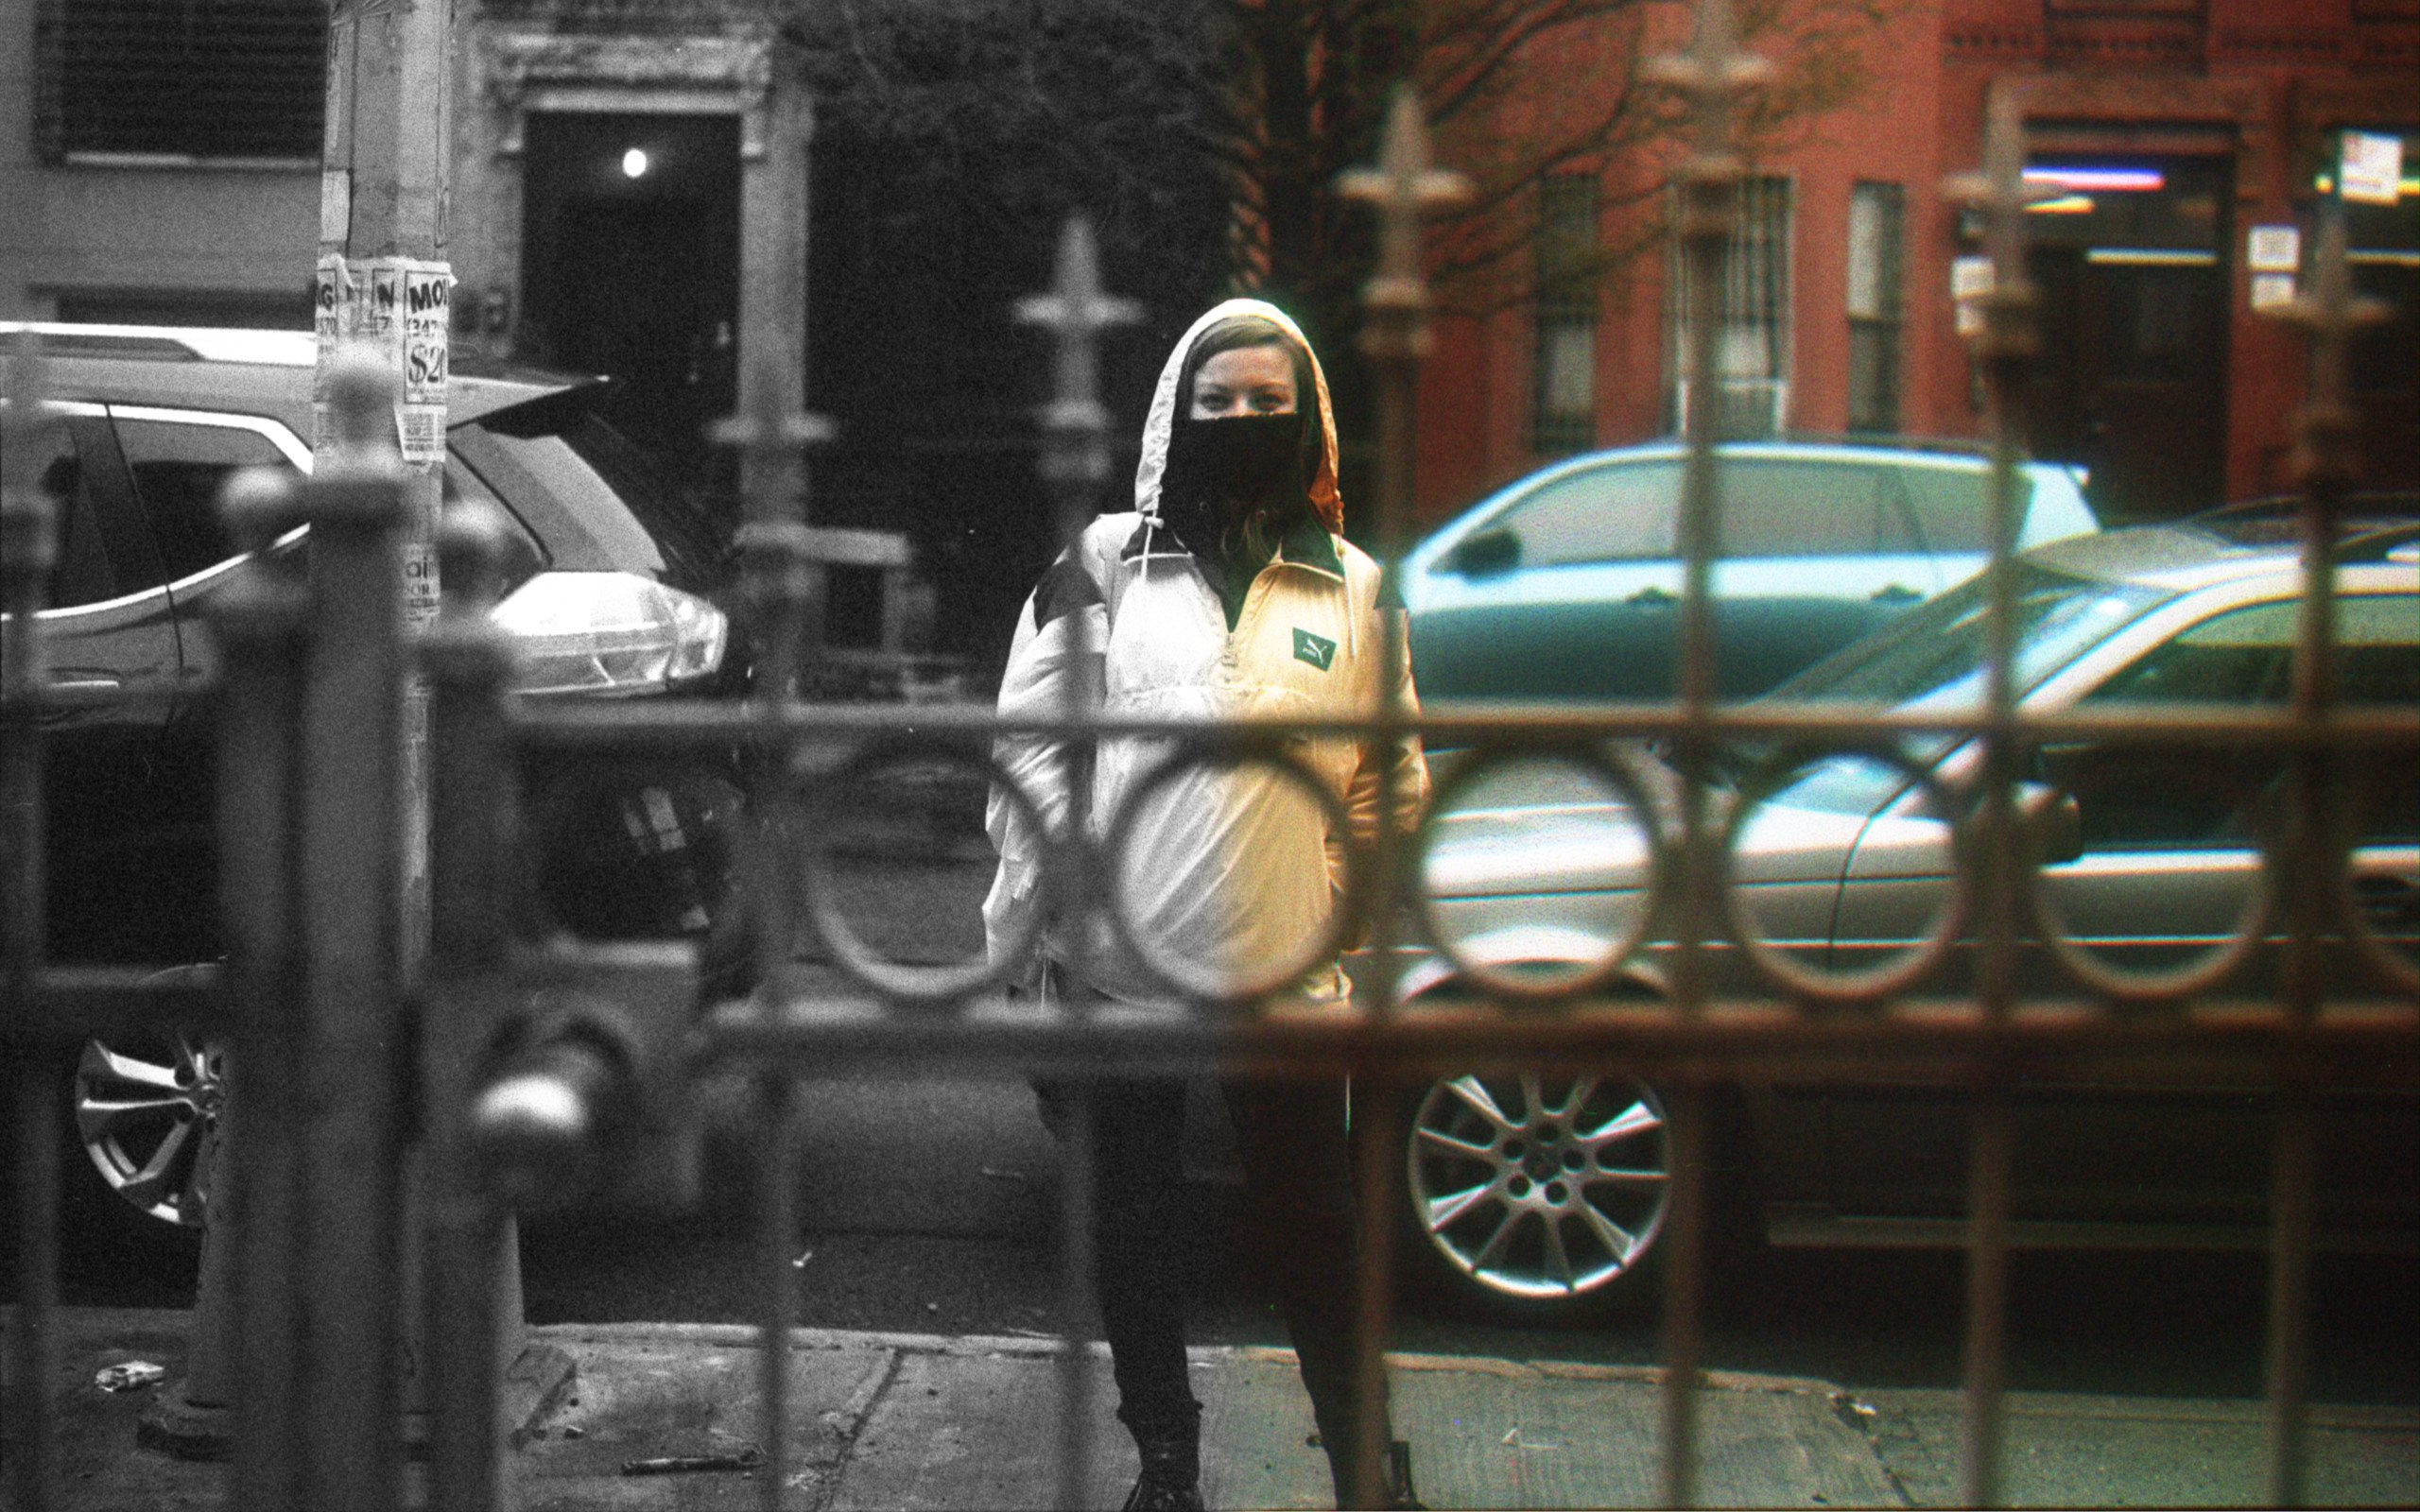
To create these photos, you’ll need a red, green, and blue filter. I used a red and green filter from a black & white filter kit. Most of those kits don’t come with a blue filter, so I had to purchase that separately. The filter I used in my example shots was meant more for color balancing than color filtering, and let in some colors other than blue, resulting in a sort of retro-looking blue cast in the final image. If you want more accurate color, you’ll need to use filters that only let in one color of light.
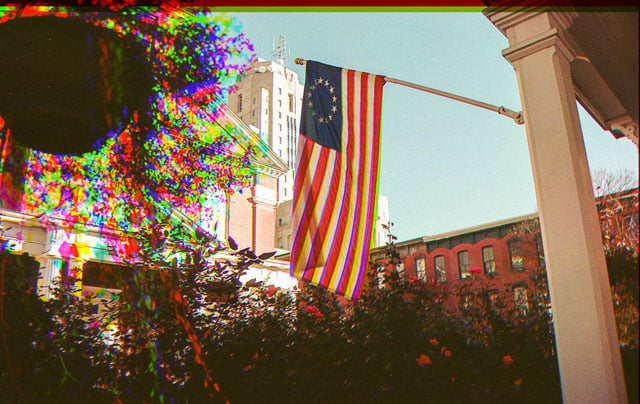
A tripod is absolutely necessary for this, as you’ll want as little movement in the scene between exposures as possible (unless you’re going for some kind of “trippy” vibe). A windy day is also not an ideal time to try this. The wind picked up in this shot, causing lots of wild color ghosting.
If you’re shooting on black and white film, it’s especially important to remember the order that you used the filters in. I was careful to take each shot in order of red filter, green filter, blue filter to prevent mixing up color channels when combing them in Photoshop.
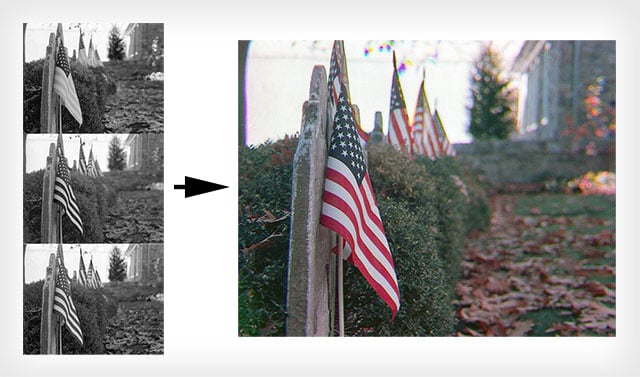
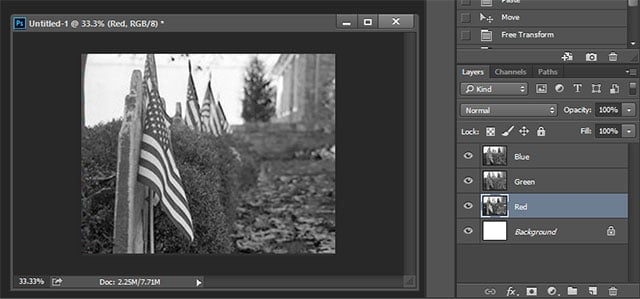
After you’ve developed and scanned your film (or copied the photos if you’re using digital) it’s time to fire up Photoshop. I haven’t tried this on GIMP, but I suspect it would also work. First, copy each channel into a separate layer. It helps to label them so you’ll know where to copy them later.
At this point, you should select Edit->Auto Align Layers. This probably isn’t necessary when doing this digitally, but it helps to align the color channels when pasting them into the final image.
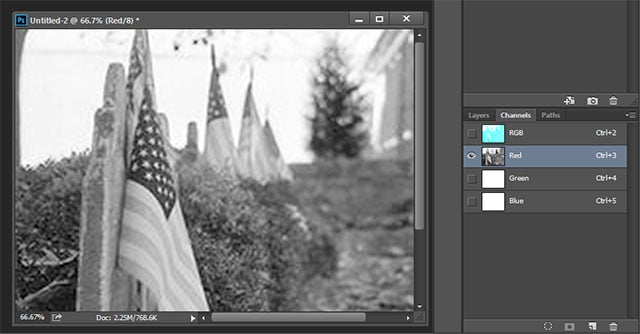
Next, make a blank document of the same size where you’ll copy each channel into. I like to do this in a separate document to avoid confusion when pasting the channels. Copy the layer you shot with the red filter into the red channel, green into green, and blue into blue. Even with auto-align, you may need to adjust the position of some of the channels.
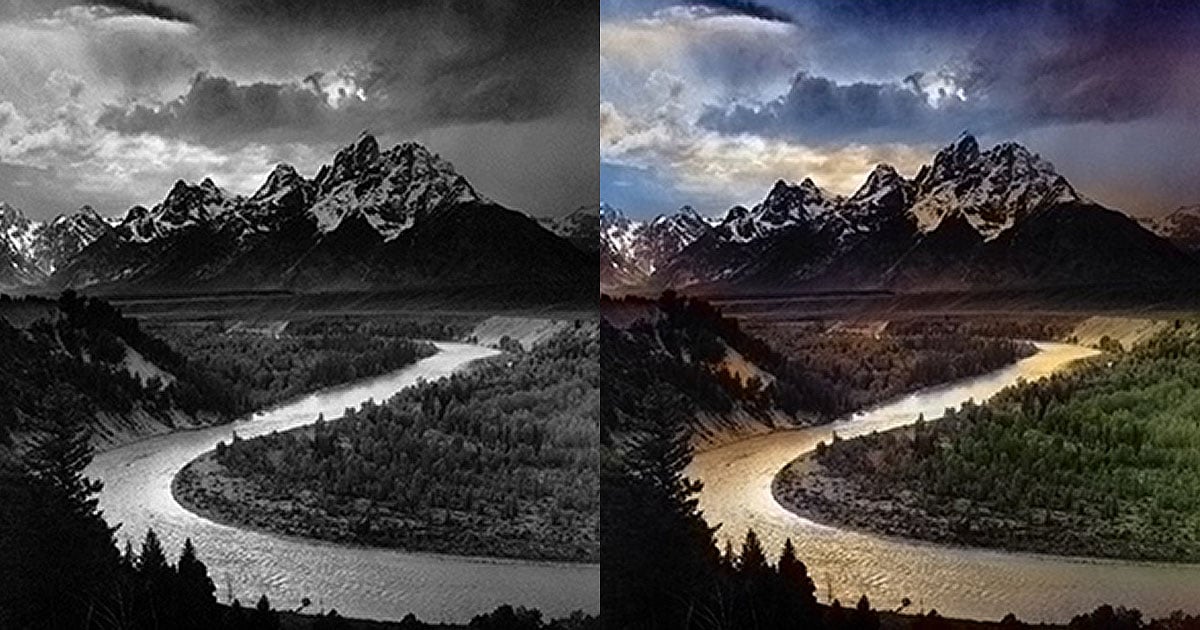
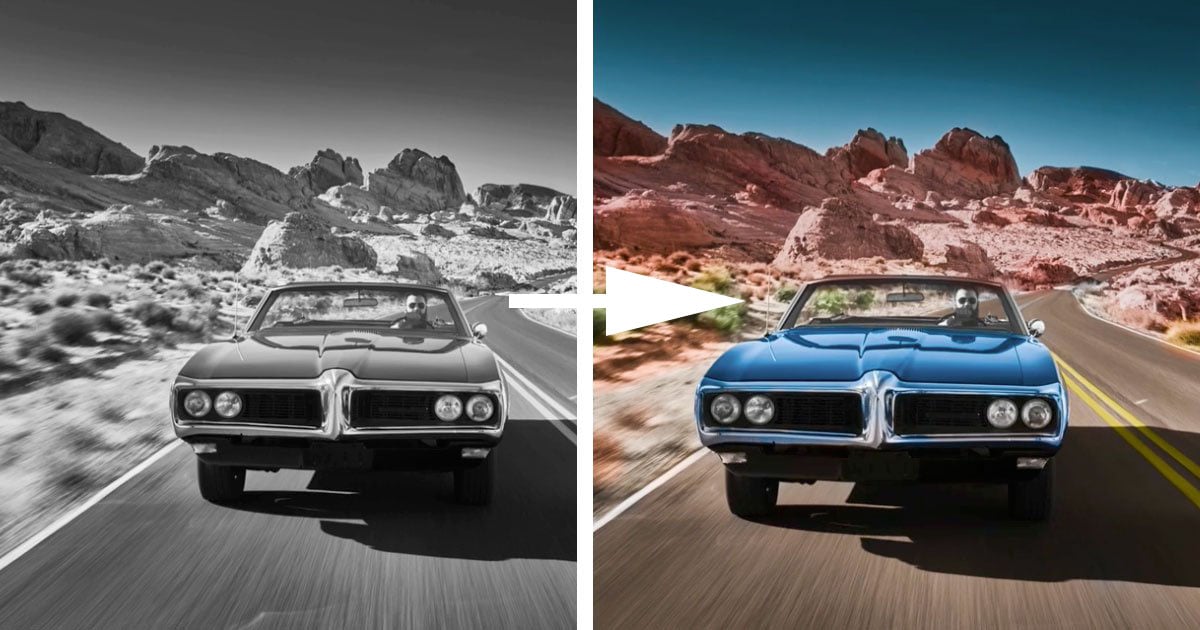
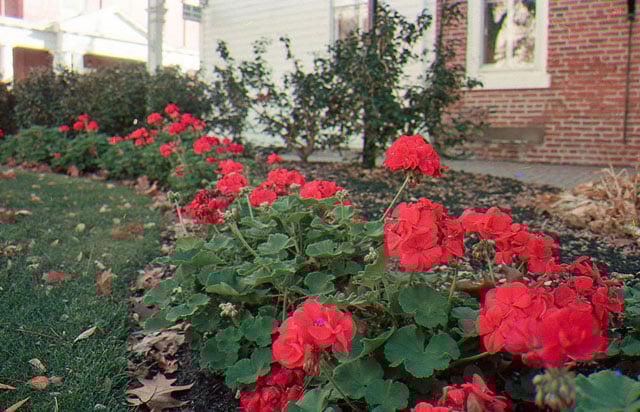
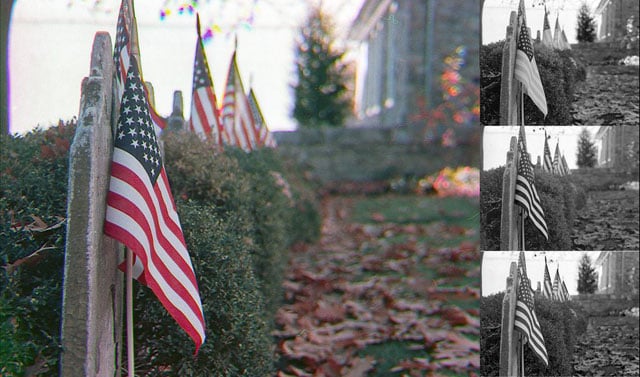
If you’ve done everything correctly, the end result should be a full color image from only black and white exposures!
About the author: Matt Point is a photography enthusiast who enjoys photographing nature and wildlife. You can find his photos on his 500px page.