My Lightroom Post-Production Workflow After a Day Behind the Lens
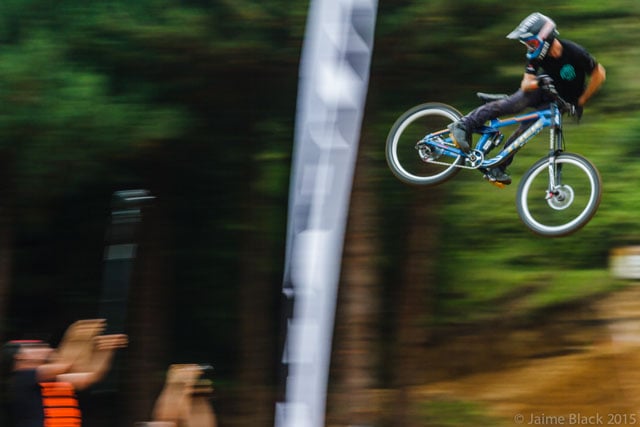
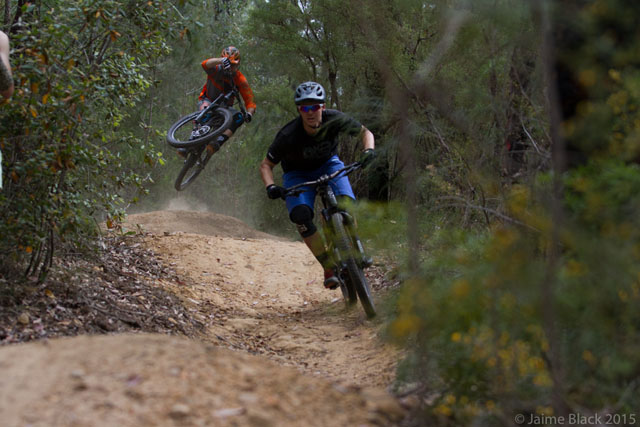
This post is a basic rundown of how things work behind my lens, after a big day of shooting. In this case, it’s mountain biking. However, whether you’re shooting a party, a bike race, a wedding or flowers in the garden, all post-production works the same way.
Post-production can be confusing, though, and it’s easy to get lost in a whole bunch of windows and options, missing important adjustments and taking hours longer than you could. I hope this little guide can help you achieve what you want from your photos, in less time, and with greater confidence.
After debriefing with the client or your team, it’s time to head home. The hard work is over, but the job is only beginning.
Import
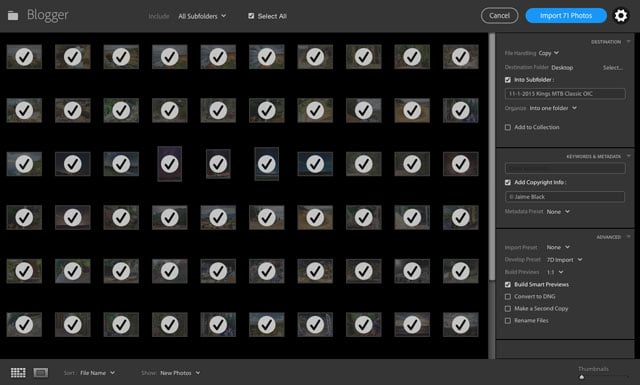
Arriving home it’s all about feeling clean and getting refreshed. I’ll have a shower, eat something and get a drink — tea or beer, it’s up to you (and the time of day). Unpack the used cards and batteries, bin rubbish, and boot up Adobe Lightroom (LR) to drag in some photos. A shoot might be 150 photos, or it could be 1500 photos, and it takes time for the computer to handle Raw files (I always shoot in RAW).
At this point we’re going to give the photos some identification, so once they’re in our system they won’t be lost forever. After they import, give the computer time to build its previews and you’ll save a lot of pain waiting for each image to render properly. (Increasing your cache size can speed up Lightroom).
1. Open Lightroom’s import dialogue
2. Enter some details about the shot, it’s location, the job name, and the context eg: ‘wedding’. Lightroom already knows the date, and setup used to take a photo. Keep it simple.
3. Assign a folder for the photos to be copied to from your card, and used by Lightroom for all your editing. If you move the folder, you might lose contact with them in LR. This is where you’d apply an import preset to alter the way the photos ‘develop’.
4. Using the ‘add to collection’ feature will also help you keep all your photos at your fingertips.
5. Make your selection, double check your settings, and hit import.
Editing
1st Pass
Once the photos are in the system, it’s time to start working on them. The first pass through the photos is quick and simple. Cull all the unsharp shots and test shots, and flag some favorites to edit first, later – usually I’ll pick one from each angle if I’ve been shooting in the same spot (read: same light) for a number of shots.
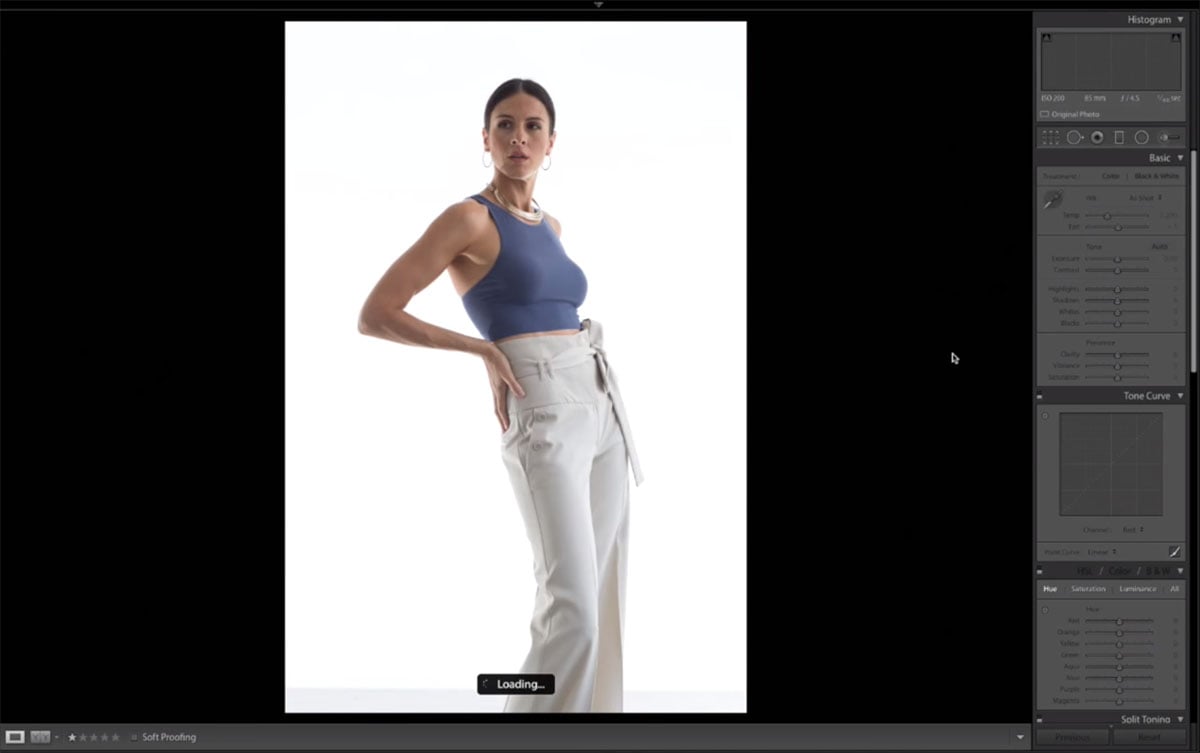
Then I’ll make major changes such as color correction and exposure adjustments to get the right contrast and pop. Add sharpening, lens corrections, and a basic curve, and we are getting a little closer to the final product. On a bunch of 500 photos, the first pass and edit will take around an hour. Keyboard shortcuts and copy-pasting develop settings will speed up your workflow here.
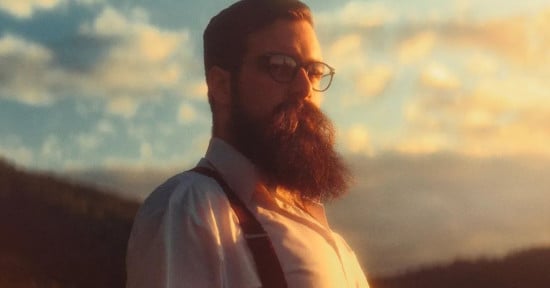
This step isn’t about changing the photo or the idea behind it, it is about interpreting the raw data captured by the sensor into a completed image. I’m inspired by emotive, real pictures with strong color, like a warm mental image, and this is generally what I aspire to with free-range photography projects – call it my creative license, for typical daytime photography.
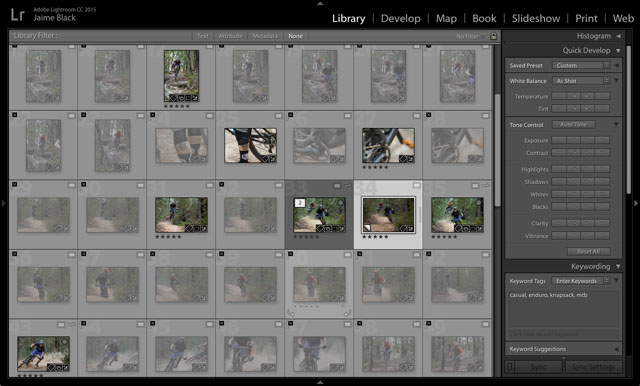
2nd Pass
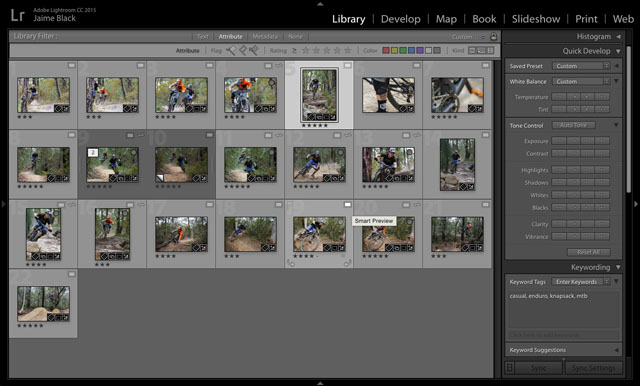
More data goes here. After looking at the photos individually once before, we’re pretty sure this is the set to keep – I call this part the ‘tag-n-bag’. Using the Library module (hotkey ‘e’), the subjects of the photo are ID’d so they can be found later.
The riders from a race shoot have number plates on their bikes, but at a wedding you might tag ‘groomsmen’, ‘bride’, ‘mother-in-law’, etc. This not only helps you find them later, but allows web search functions to locate the shot too. Pass 2 is very quick, mostly just keyboard shortcuts and entering keywords — so less than 30 seconds per shot, or sometimes just a few seconds. In this case it’s a private shoot, no need to ID the riders as there are only 2.
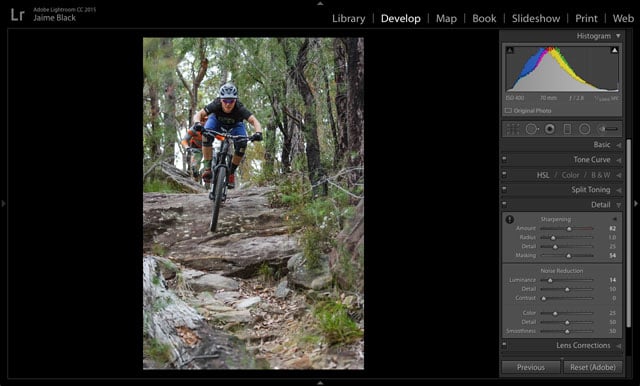
3rd Pass
The tail end of business.
By this point there is Develop settings on every photo, at very least sharpening and some contrast or saturation. In the 3rd round of editing the final touches are made with a close eye to each image. We’re looking for issues such as noise, a distracting background, incorrect composition or sharpness problems. In this time I will make a few minor exposure or saturation adjustments, and crop if it’s needed – all in the develop module (hotkey ‘d’).
Basically, don’t move on until you’re ready to deliver that image. 2-5 minutes per shot for bulk shots, potentially hours for larger projects. Now is also when you want to use the number keys 1-5 to rate your shots. I generally use 5 for my best shots, 2 or 3 for keepers, and 1 for any unique shots I want to hold onto and access easily.
Export
Using the ratings from the last step, in the grid display (hotkey ‘g’), use the attributes feature to pick the shots you want to export. Hit the clean flag to hide rejected shots, and use the text field to remove or include any extra shots. All this depends on the job and how you have set yourself up to this point.
Things to consider when exporting:
1. Use of the images – will it be used for print, or solely online?
2. How can we achieve the highest quality with the smallest file size?
3. Does the image require a watermark?
This is irrelevant if you have specific instructions from a graphic designer or the client. However, sometimes it is up to you to decide on the right size and format of the image to output. Sure, you can save a 15mb jpg with a resolution of 300ppi to your phone and upload it to Instagram, but you can do the same with a 500kb image with no noticeable difference. That’s 30 images in the space of 1. The export dialogue is pretty self explanatory: location, size, watermark, etc. This is the part where you need to know your stuff to decide what’s right.
I use a standard web-size for my uploads — one which is a little heavy on the dimensions and file size, but more than adequate for any digital use I come across: 500kb max file size, 72ppi and 2048px wide.
For print, it really depends on the format and surface. For example, canvas requires half the resolution of paper, and even different grades of paper are accompanied with varying suggested resolution. Rest assured that 200-300ppi is standard for printing. 500kb is also going to be too small; expect your print files to be far bigger than a couple of MB if you’re going large.
We can generalise all day about how to handle your files for output, but when it comes time to print a photo, the purpose of the print is most important. Find out the purpose and the size of print required, and it’s a simple path to the correct settings. Google is your friend.
Conclusion
Photography is not as simple as just pressing a button or knowing the right settings that will make a nice shot. Behind the scenes, there is a lot of work to be done in producing what went through the mind that took the picture. Post-production is not a new thing, and the amount of work involved can be compared in some ways to physically developing film photographs — aside from the instant preview, and lesser developing costs, the process is very similar.
While this guide doesn’t steer far into editing technique, it does highlight key adjustments and powerful tools which will help provide the leverage we seek on our images. Local adjustments, gradient filters, presets, catalogs and an endless list of tools enable us to adapt our work, but it is a photographer’s personal judgement that will create the image – it can be a magical moment when the shooting, perception and post-production of a shot come together to create a piece of art. For me, the value is in being there and having captured the moment.
About the author: Jaime Black is a photographer, writer, and rider based in Blue Mountains, Australia. You can find more of his work and writing on his website and blog. You can also connect with him on Facebook, Twitter, and Instagram. This article was also published here.