How To Create a Recoverable Workspace in Mac OS X For Safe Photo Editing

Many photographers unfortunately know the horror of editing a photograph and accidentally saving over the original copy all too well. While Lightroom implements a non-destructive system for saving files, Photoshop can be a bit more dangerous, and accidents do occur. Today, we will show you how to set up a safe workspace area on your Mac that will back up photographs as you edit them.
Preparing to Set Up The Workspace
We will accomplish this task by creating a designated safe ‘Workspace’ folder, then backing it up to an isolated part of your drive to ensure the safety of its contents. It is worth noting that your workspace folder backups will be limited by the size of your drive. If your drive is already full to the brim and you aren’t able to clear up some space, then this solution is not for you.
First decide how large of a workspace you will need. I generally don’t edit more than 10 GB of photographs at a time, so I have decided that my workspace’s backup will be twice that size at 20 GB.
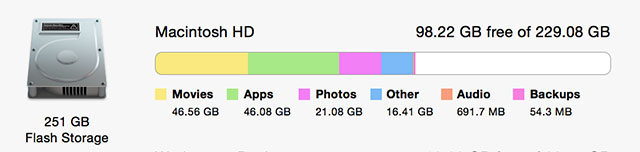
You can easily view the amount of space you have on your personal drive by clicking on the Apple icon in the upper left-hand corner, then selecting ‘About This Mac’. Under the ‘Storage’ tab, I can easily see that if I use 20 GB for my workspace backup then I will still have lots of room left for my usage.
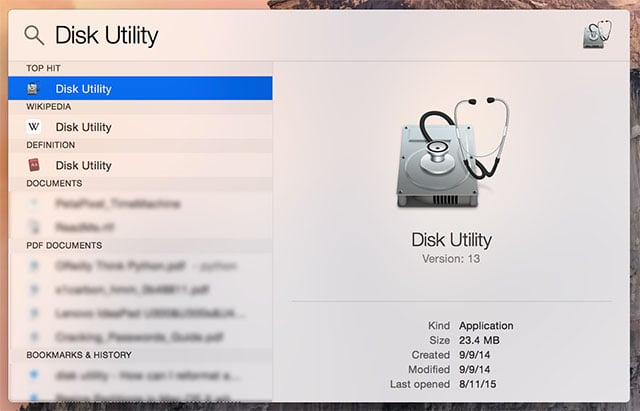
Once you have determined how much space you will set aside for your backup, we can head into the Mac OS X’s Disk Utility. Simply invoke Spotlight by hitting ‘Command + Spacebar’ on your keyboard, type in ‘Disk Utility’, and then hit ‘Enter’.
Creating the ‘Workspace Backup’ Partition
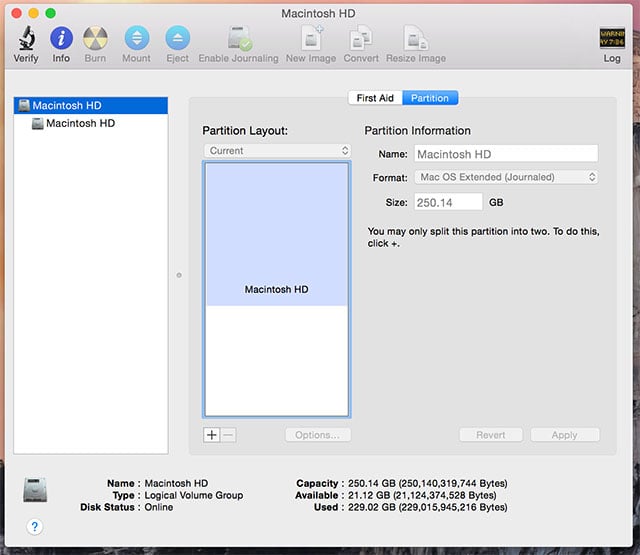
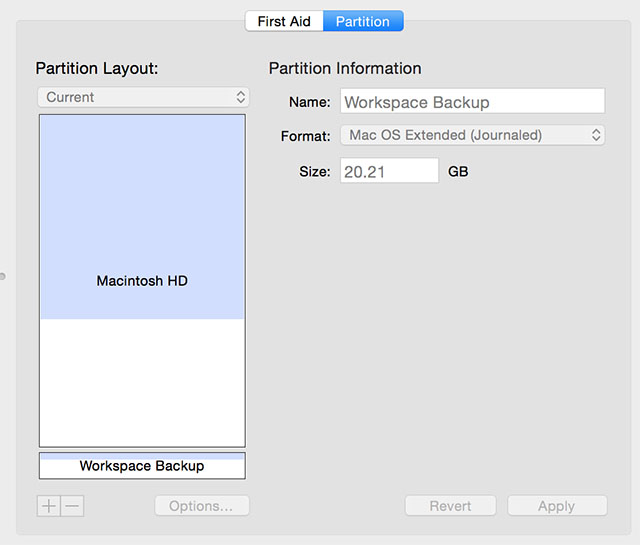
On the left-hand side, select the top ‘Macintosh HD’ entry and navigate to the ‘Partition’ tab. From here, you can see how your drive is split up. At the moment, the drive is one piece labeled ‘Macintosh HD’. If you have boot camp set up, then your setup may look slightly different. Either way, we are going to create a new ‘partition’ (area of your drive) for backups.
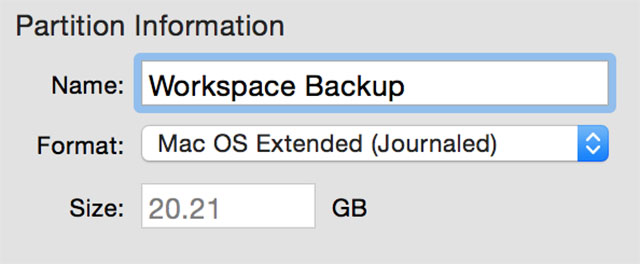
Hit the ‘+’ button to create the new partition and then name it ‘Workspace Backup’. You can adjust the size of the partition to the size of your choice. As mentioned before, I have chosen to setup a backup space of 20 GB. When you are happy with your selection, hit ‘Apply’ and confirm you decision. Once the loading bar has disappeared the partition has been created and we are ready to continue.
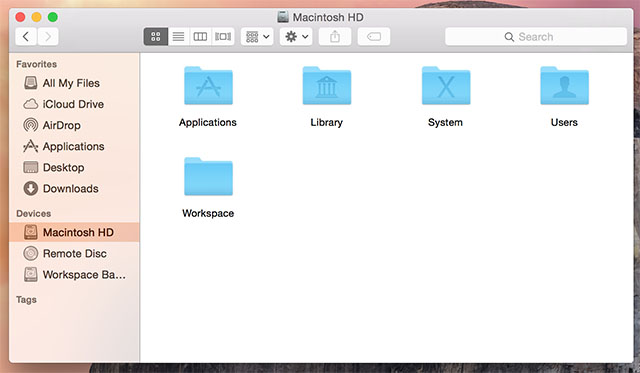
Close the ‘Disk Utility’ window and open a ‘Finder’ window. Navigate to the ‘Computer view’ by using the top menu bar and selecting ‘Go’ then ‘Computer’. Now, double click the ‘Macintosh HD’ in the window. We are going to create a new folder here called ‘Workspace’ by right-clicking and selecting ‘New Folder.’ You will be prompted for your password to create the folder and then again to name it. Once the folder is created, I recommend dragging it to your ‘Favorites’ list in Finder for easy access.
Setting Up Time Machine For Backups
The last step is to set up Mac OS X’s Time Machine feature to backup the folder when needed. To begin, head to ‘System Preferences’ – it can be accessed via Spotlight as aforementioned. Once in System Preferences, click on ‘Time Machine’.
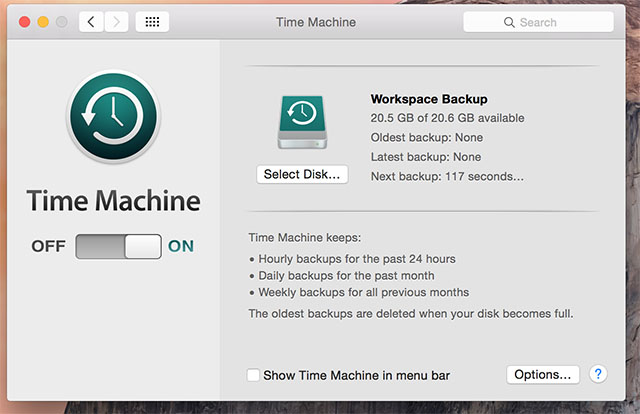
Slide the Time Machine switch to the ‘On’ position and, when prompted, select the ‘Workspace Backup’ drive we created as the backup disk. Now, we have to tell OS X to only backup the one ‘Workspace’ folder we created. Click the ‘Options’ button in the lower right-hand corner to set this preference.
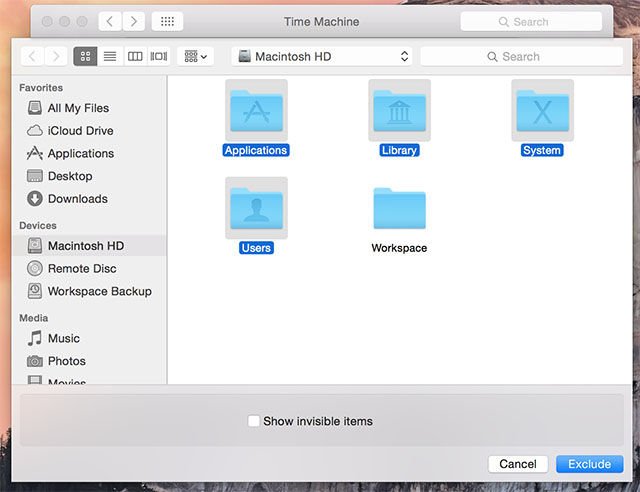
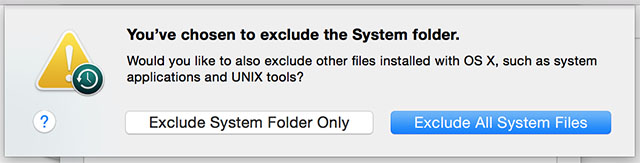
Click the ‘+’ button to add all the locations you want to exclude. Select ‘Macintosh HD’ from the drop-down menu, then select and add every folder to the exception list except the ‘Workspace’ folder. When you select to exclude the ‘System’ folder your Mac will ask whether you want to skip backing up all system files; choose to ‘Exclude All System Folders’. Once finished, hit the ‘Save’ button.
Before you leave the Time Machine settings area, be sure to tick the Show Time Machine in Menu Bar option. We will need this option enabled for later usage.
Using The Safe Workspace Folder
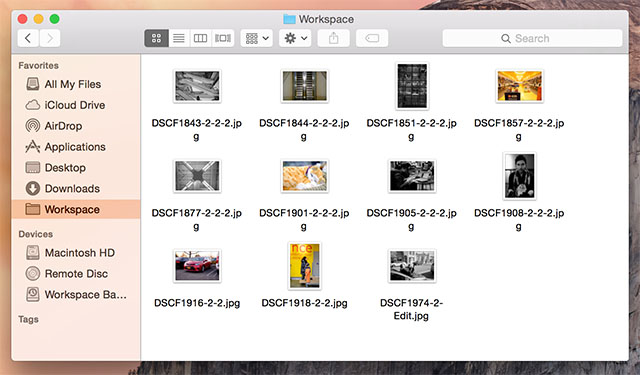
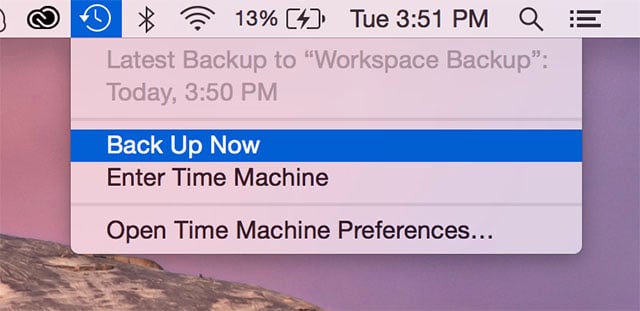
Now you are set up. Here is how to use the Workspace folder to protect your work. Next time you transfer images to your Mac, save them to the ‘Workspace’ folder. Then, before you begin working, click on the ‘Time Machine’ button in the top bar and choose to backup the folder. After the initial backup is complete, you can get to work. Time Machine will continue to backup any editing changes you make every hour.
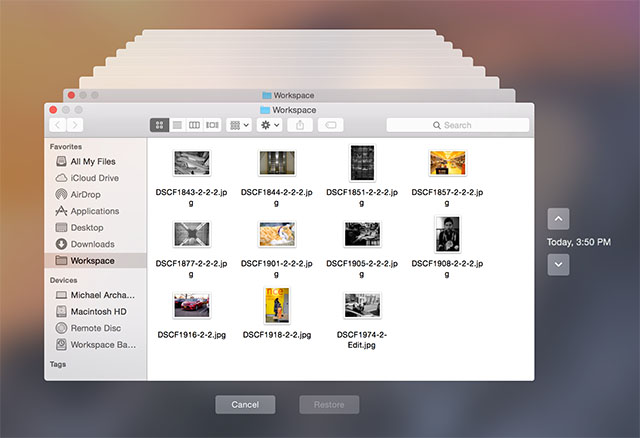
If you find that you have made a mistake, head to the Workspace folder then click the Time Machine button in the top bar and choose ‘Enter Time Machine’. You will be presented with snapshots of the folder. Just scroll to the time you wish to reset to and hit ‘Restore’.
If you want to remove the safe Workspace we set up, simply start by deleting the Workspace folder. Next, head to ‘System Preferences’ and turn off ‘Time Machine’. Lastly, open up ‘Disk Utility’ and select the ‘Workspace Backup’ partition and delete it. Pretty simple, eh?