Primer: Using Frequency Separation in Photoshop For Basic Skin Retouching

Photoshop contains a world of post-production tools that photographers can use to bring their works of art to life. Today, we are taking a look at the technique of frequency separation, including how it works and how it can improve your images. For the rest of us without advanced knowledge of image processing, frequency separation is simply a method we can use to separate the colors and tones of a photograph from its textures. By utilizing this technique, you can obtain better control of your photos for retouching or other work.
Within a photograph’s frequency spectrum, high frequencies contain fine detailed information (what we may call textures), and low frequencies provide information about an image’s color and tone. Using Photoshop, we can separate these spatial frequencies onto different layers and thus edit the color and tone separately from the textures.
In our example, we are going to be using a public domain image of a young woman – the photo can be dowloaded at a 1920 x 1280 resolution by clicking here. We will use the technique of frequency separation to even out portions of the subject’s skin where there are slight blotches of color.
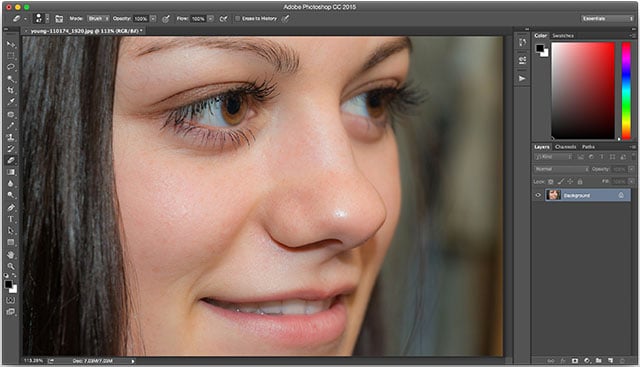
Once you have downloaded the image, begin by opening it in Photoshop. For this tutorial, we will be using the latest version of Adobe Photoshop Creative Cloud. If you are using an older variant of Photoshop, then your experience may differ.
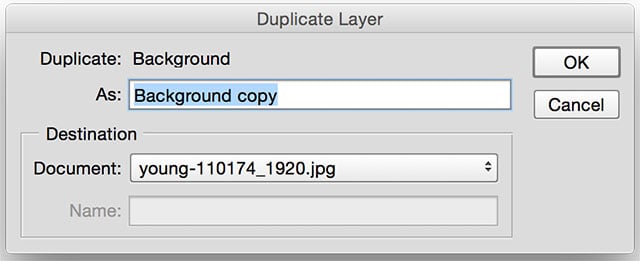
Begin by duplicating the background layer two times; this can be achieved by selecting the background layer then going to the ‘Layer’ menu option and selecting ‘Duplicate Layer’ twice. You should now have three total layers that showcase the same image. For convenience, we are going to name the top layer ‘Details’, the middle layer ‘Colors’, and the bottom layer ‘Original’.
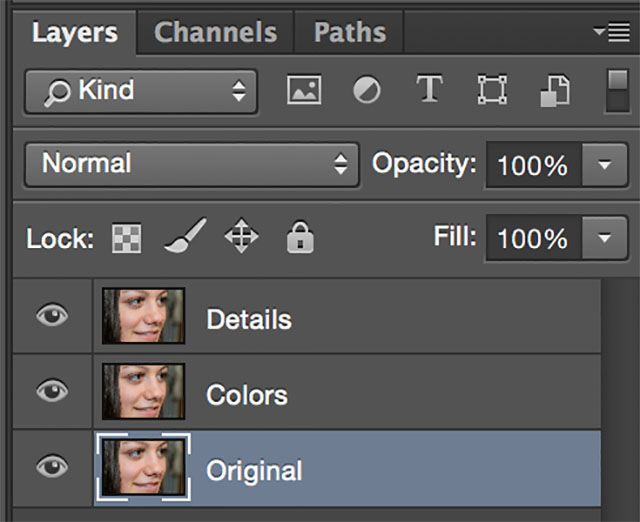
The original layer is the starting result, but we won’t be touching it during this tutorial. We are going to be dealing with the detail and the color layers. The first step is to establish our color layer which will showcase the image’s tones and colors without detail.
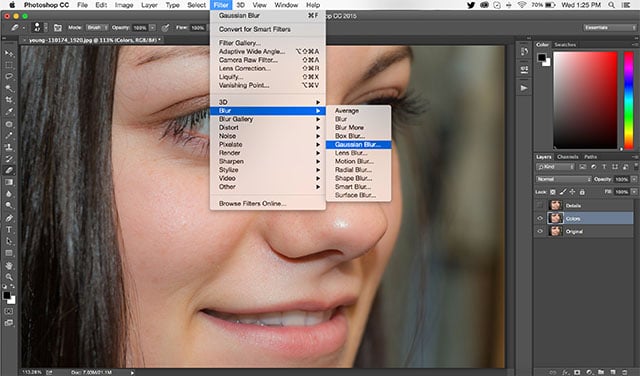
To start, let’s hide the ‘Details’ layer by clicking on the eye symbol next to it; this allows us to see what we are doing to the color layer. Once the ‘Details’ layer is hidden, select the ‘Colors’ layer and head to the ‘Filter’ menu option, then select ‘Blur’, and finally ‘Gaussian Blur.’
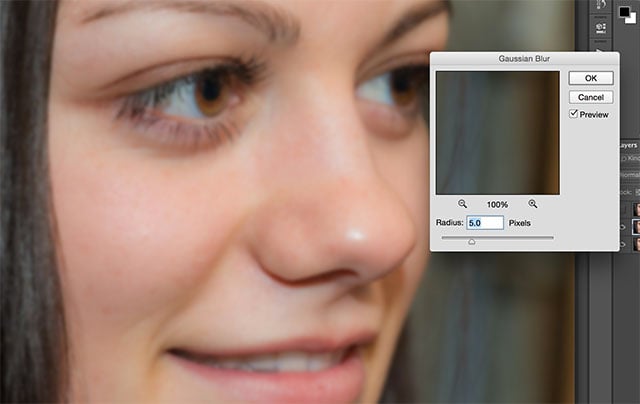
The trick is to increase the amount of gaussian blur so that fine details are no longer visible, but the image can still be recognized overall. In this particular example, I found that a radius level of five worked quite nicely. Once you have selected your level of blur, hit ‘OK.’
You should now have a ‘Colors’ layer that is partially blurred. This layer represents the low frequencies of the photograph. Now, go ahead and reveal the ‘Details’ layer once again by clicking the eye symbol next to it. Just as we used the previous layer to showcase the image’s lower frequencies, we are going to use the detail layer to showcase higher frequencies.
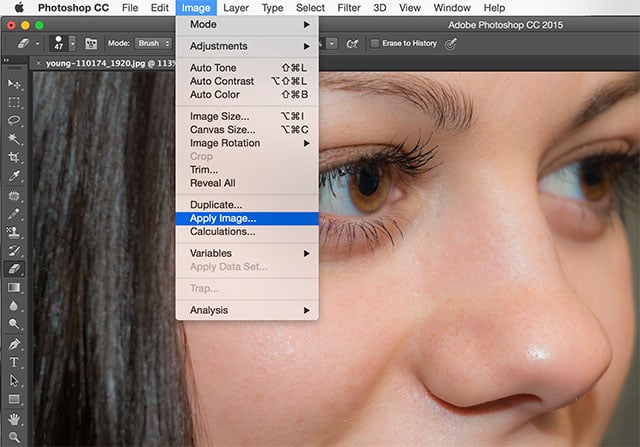
Begin by selecting the ‘Details’ layer then head to the ‘Image’ menu option and select ‘Apply Image.’ The Apply Image option allows users to blend and manipulate various layers. We are going to be subtracting the low frequencies from our ‘Details’ layer which will leave us with the high frequencies.

Once the ‘Apply Image’ window is open, set the ‘Layer’ option to the ‘Colors’ and the ‘Blending’ mode to ‘Subtract’. Lastly, set the ‘Scale’ to 2 and the ‘Offset’ to 128. These last two settings are based on our image’s color depth mode that is set to 8-bit. You can determine your color mode by heading to the ‘Menu’ option and checking the currently selected ‘Mode’. Finally, hit ‘OK’.
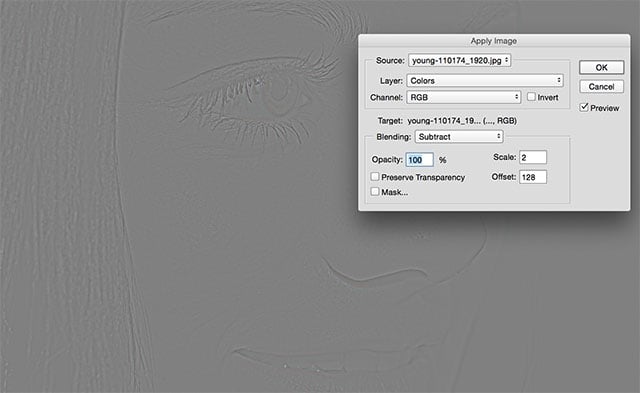
The result will be a gray-looking image that depicts the image’s finer details. Complete the frequency separation by setting the ‘Blending Mode’ of the ‘Details’ layer to ‘Linear Light.’ You have successfully separated the image’s colors into a low-frequency layer and the image’s details into a high-frequency layer.
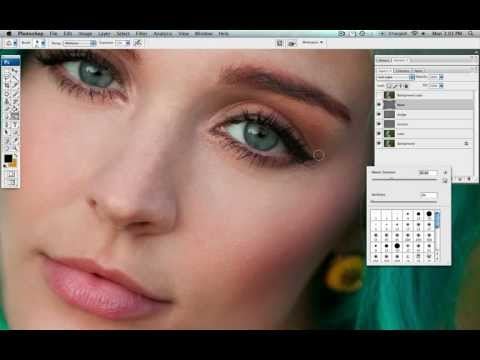
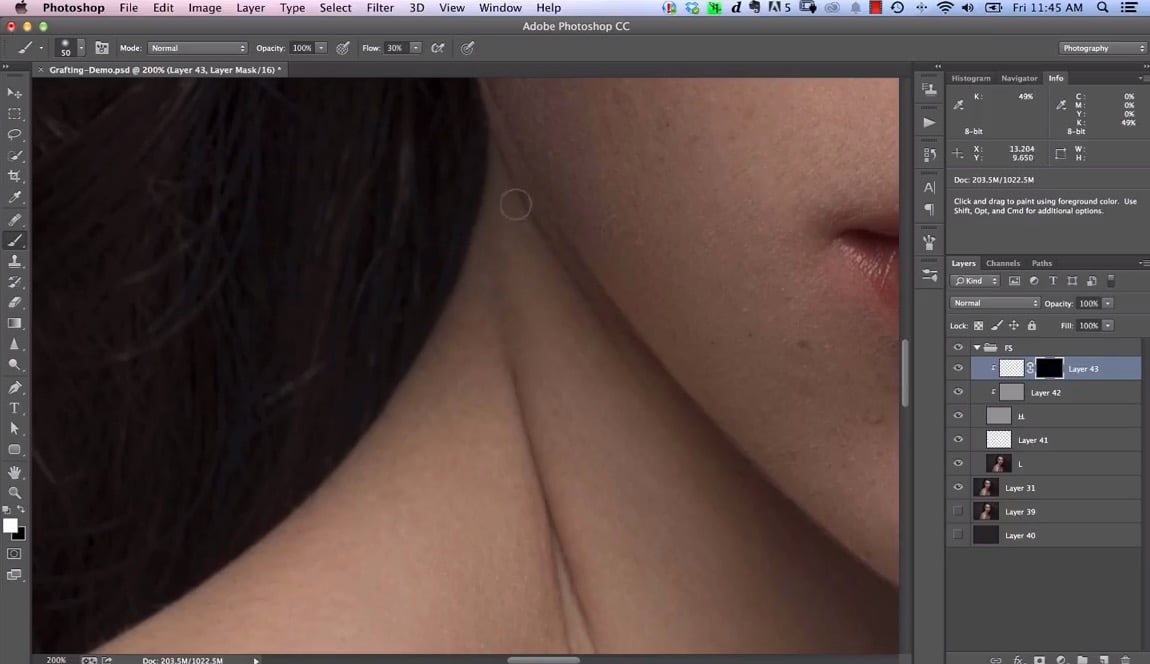
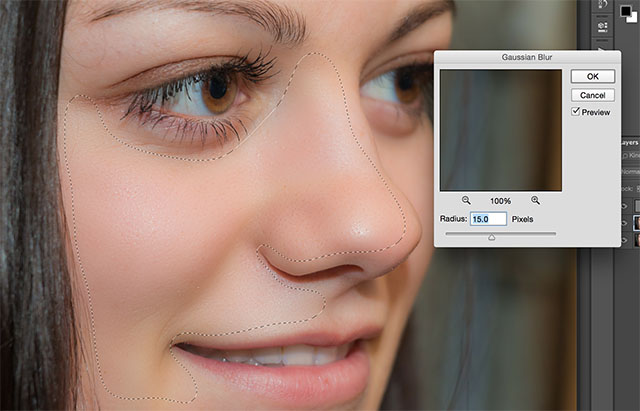
To showcase how we can use frequency separation to improve our photograph, begin by selecting the ‘Details’ layer and picking the ‘Lasso Tool’. Make sure the ‘Feather’ setting on the top menu bar is set to 30 so that our selection border is not blatant. Now, outline an extensive selection of our subject’s skin – see our screenshot for an example.

With part of your subject’s face currently selected, head to the ‘Filter’ menu option to apply a gaussian blur. Choose your desired amount of blur based on how blended you want to make your subject’s skin – we picked a radius of 15 pixels and hit ‘OK’. You will notice that the subject’s face is suddenly smoother where selected, but the texture remains. By choosing the ‘Details’ layer and then applying a gaussian blur, we have further blended the lower frequency color information but avoided disrupting any natural skin textures.
Frequency separation techniques allow photographers to adjust aspects of color in their photograph without affecting texture and detail. These methods are most useful in touching up the skin of a particular subject, but, as usual, you can always get creative with your work. Lastly, we have provided a Photoshop macro that performs the entire frequency separation action in one single click; you can obtain it by clicking here.