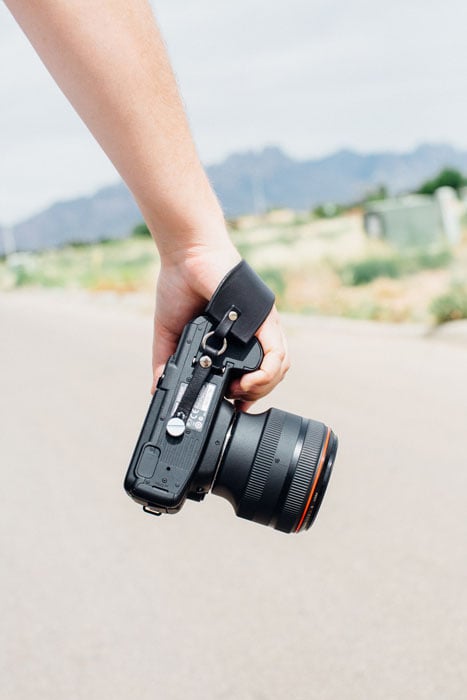
DIY: Making a Simple but Elegant Leather Hand Strap for a DSLR

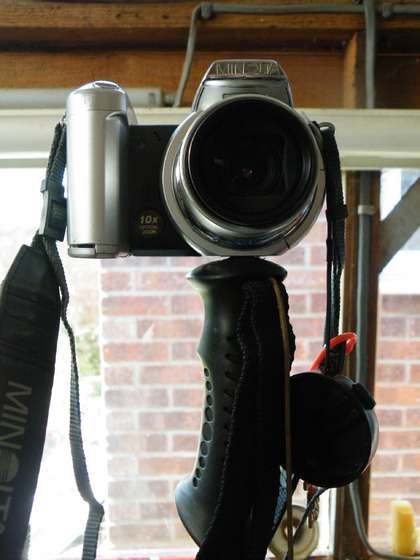
I recently went to great lengths to solve a simple problem. I have a Manfrotto monopod that requires a little screw to attach my camera to the monopod. Without it, I can’t use it. The screws are cheap and no big deal… but, they are too easy to lose.
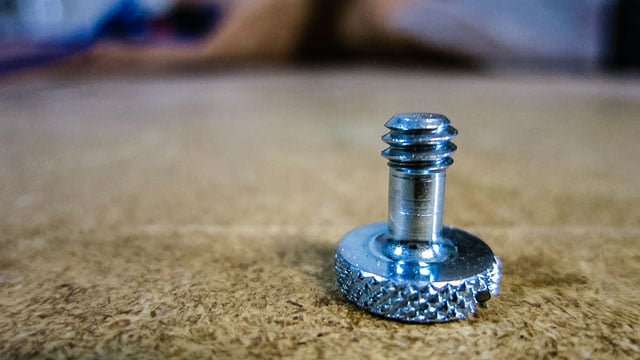
My system has been to leave the screw in the camera at all times, which is effective… until I need to use a tripod. So everytime I want to make a time lapse, which is often, that screw has no home and it often runs away. I have left screws in other states because they have fallen out of my pocket and into someone’s couch.
To solve this annoying problem, I spent two days making a custom camera hand strap that holds onto that screw while I have my camera on a tripod. I am not an expert in leathercraft. I don’t make leather things and sell them. I just had a simple problem: my monopod screws needed a home, so I made them one.
If you own the tools already, making a camera strap is cheap — less than $10 cheap. You can get scrap leather for a few bucks at any craft store or leather shop, and some of those are already dyed. So you can just choose the color you want and go from there. For the hardware, all you need is a few rivets, rings, and a buckle.
Here are the other ingredients you’ll need:
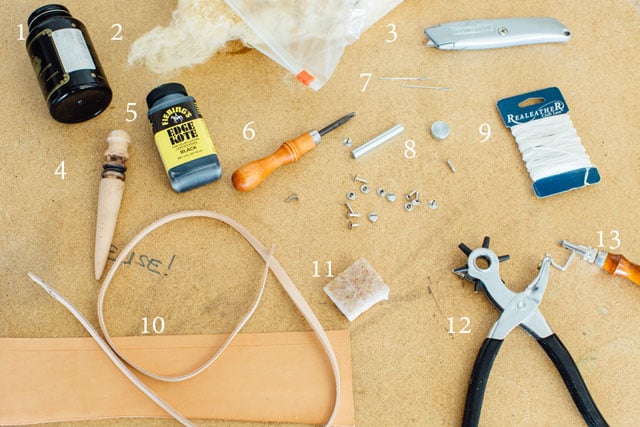
1 – Leather Oil
2 – Sheep’s wool
3 – Razor blade
4 – Burnisher
5 – Leather dye & edge kote
6 – Leather edger
7 – Sewing needles
8 – Rivet setter
9 – Waxed thread or sinew
10 – Scrap leather
11 – Sponge
12 – Hole punch
13 – Leather creaser
The process is as shown in the video:
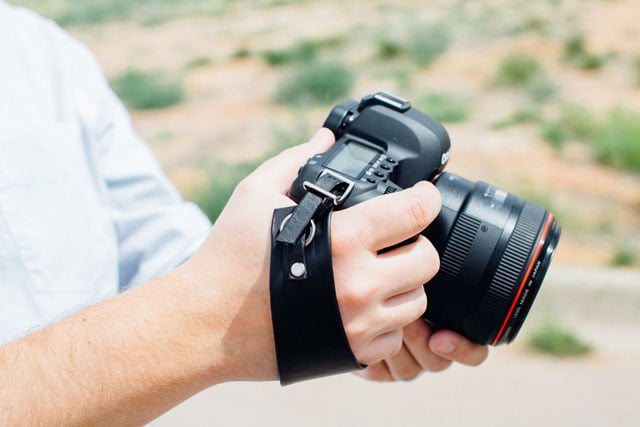
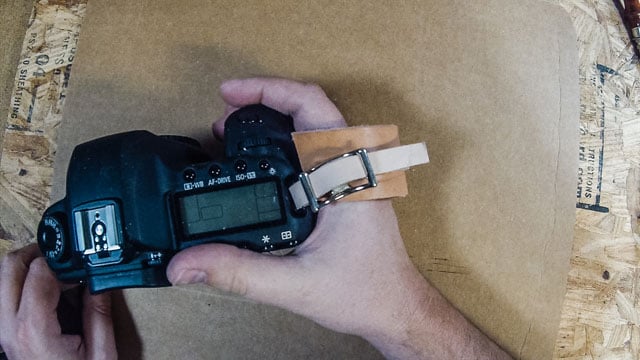
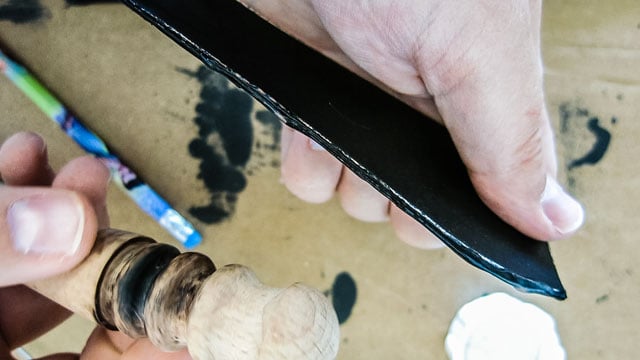
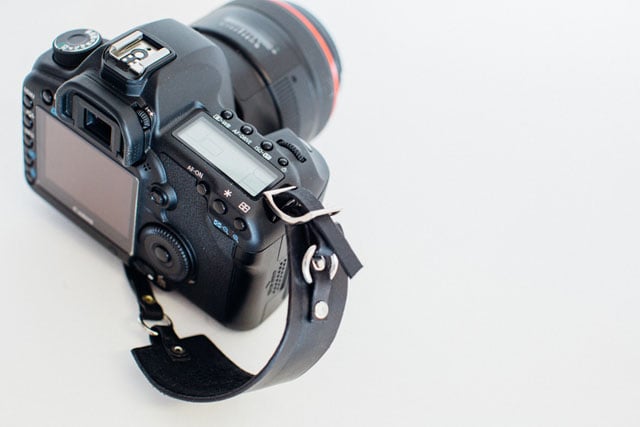
Using a razor blade, I cut some scrap leather down to the sizes and shapes I needed. The strap bracket on the Canon DSLRs is ¼”, so I had to cut that strap down to fit it through that bracket. I used the leather creaser to get a straight line (guide) for cutting the straps and I wrapped the leather around my hand to see what felt right for the piece that was going to cradle my hand.
I dyed all the leather by using a dauber (a little dye goes a long way) and let it dry mostly. I then wiped it down with a paper towel and polished it with sheep’s wool. To give the edges of the leather a nice round finished look, I shaved off the edges on both sides of the leather with a leather edger. I then applied a burnishing gum (you could just use water) to the edge using my daughter’s pencil. At this part of the video, my daughter Melody asked me “Why did you use my pencil?” The answer is, the best tool for the job is the one that gets the job done.
Anyways, I then rubbed the edges with the burnisher, I wasn’t mad at the leather, it just takes a lot of friendly persuasion to get the edges rounded.
I didn’t show it in the video, but I used an edge kote at that point to dye the edges. All that was left was punching a few holes and adding the hardware. I decided to reinforce the hole and cut I made to hold the monopod screw, as I anticipated that area will get the most wear.
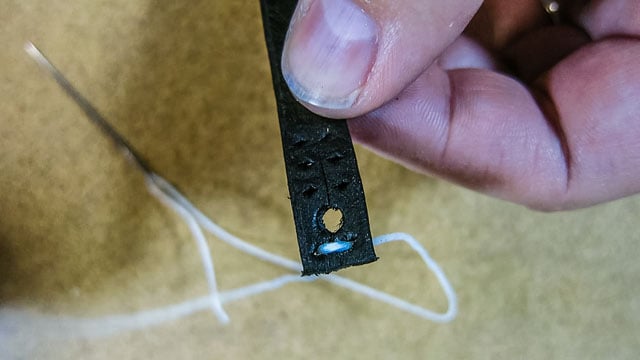
I punched holes for the needle to go through using a leather diamond hole punch. And used waxed thread to sew a saddle stitch. After tying a knot in the thread I burned the end and flattened it down. That threaded area is now the strongest part of the camera strap.
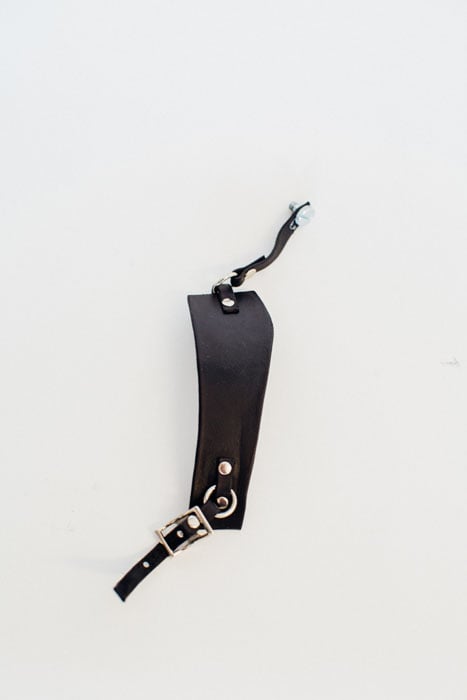
This camera strap solved two problems for me: 1) I need to a place that was handy for a monopod screw, and 2) I wanted a hand camera strap that won’t wear out.
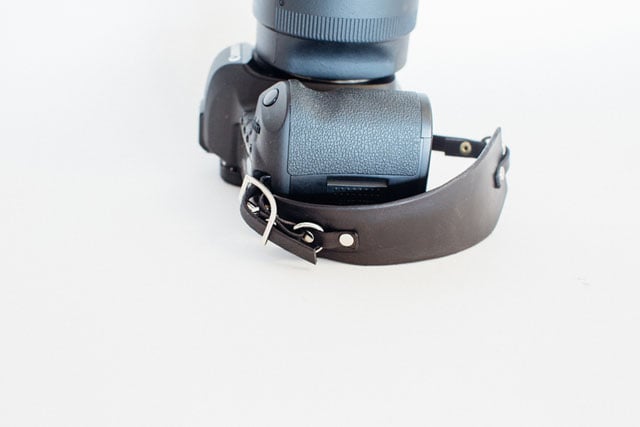
I hope you enjoyed this walkthrough of how I made my own camera strap!
About the author: Nathan Taylor is a videographer who runs a family business with his photographer wife called Taylor’d Photography. He shares various projects of his through his YouTube channel and Instagram page.