How I Did a Zombie Attack Pre-Wedding Photo Shoot
The 2014 wedding season was very unique for me. It wasn’t just that I participated on it from “the other side” — I myself became a happy husband — I was also a part of one particularly unconventional wedding photo shoot.
My response: “Ok! Why not?” And what happened after my spontaneous and excited consent could be divided into four phases.
1. Brainstorming
2. Preparation
3. Execution
4. Postproduction
Some of you may say that this is how it works always at the weddings. And I say “yes” and “no” because this time I could have created just about anything while knowing that the pair was crazy enough to go for it.
1. Brainstorming
First, searching for an idea. I have to admit, this part was easy. When I was thinking about the conditions, I knew that I had: a couple that would be on board with any idea, a photo shoot location I knew very well, an unspecified number of extras, and perfect darkness.
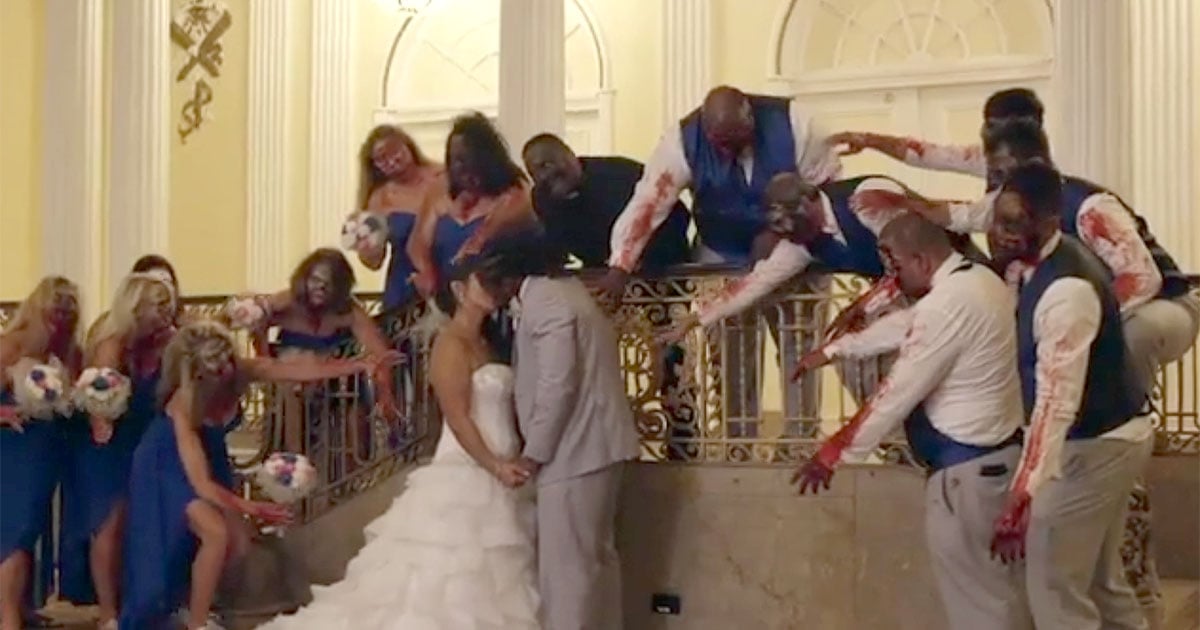
So I got main characters, old cottage and a cast. I was raised on B-action movies and computer games, so it’s no surprise that I wanted to try something where I could just cut my imagination loose. And the result of my brainstorming should be obvious from the headline: zombies.
2. Preparation
Next, searching for an inspiration and creating a storyboard. After I excitedly shared this idea with the couple, I began to work on the plan. I knew I wanted to try brand new flash triggers that I hadn’t used for an year. I also knew that the result would involved quite a bit of Photoshop, because I just love retouching.
For a long time now I have been inspired by many artists, and in this particular case it was Benjamin von Wong, Adrian Sommeling and Calvin Hollywood. Their influence led to my decisions on how the final result would look.
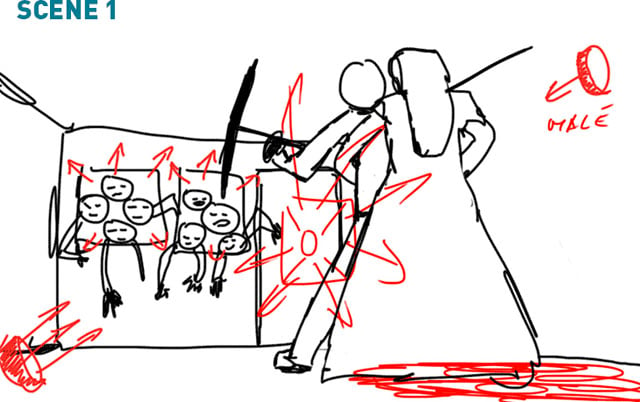
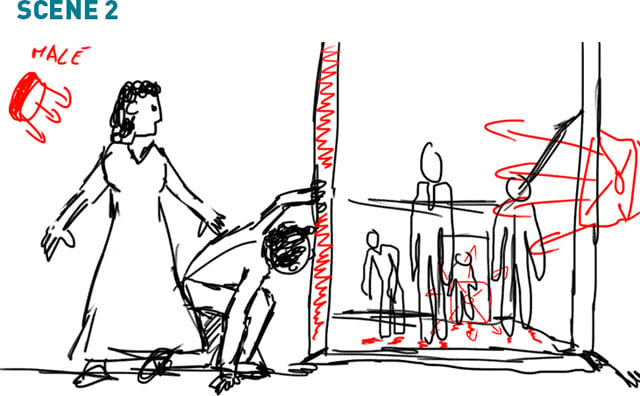
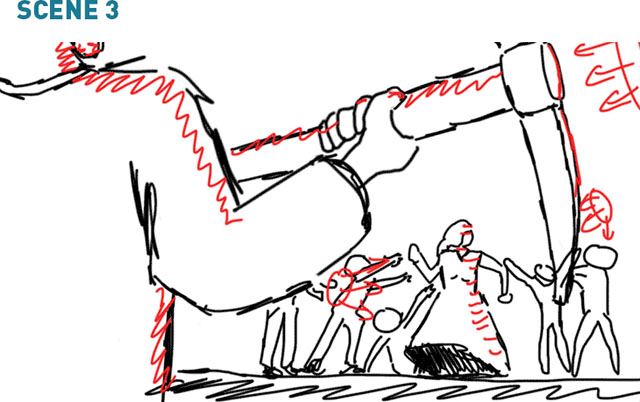
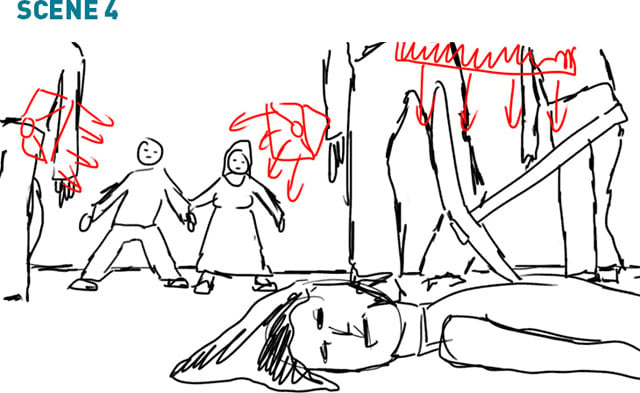
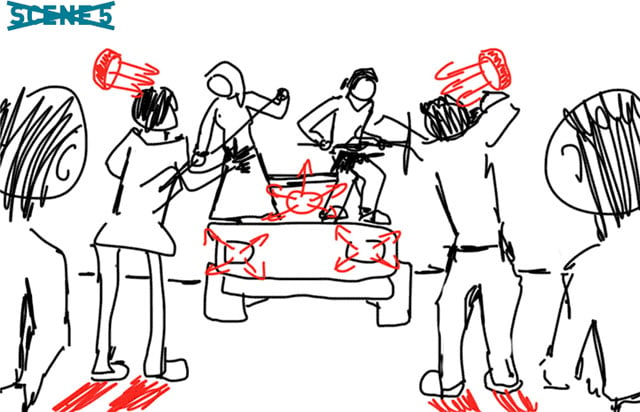
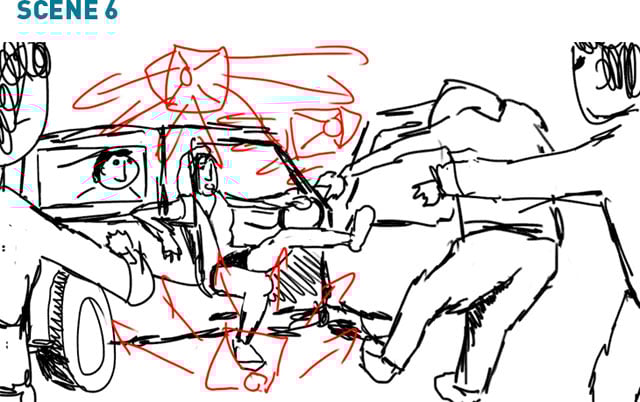
So I picked the style, I chose the theme, and what was left was the storyboard. What you can see on the pictures below is the mix of my own imagination and inspirations from movies, games, concept arts etc. Basically just hours and hours of googling the right pictures and analysing what was nice and what I could use for the set.

3. Execution
Next, shooting and lighting the photos. There were both good and bad sides to this part. The fail was that it took me awfully long to set up flashes and find the best composition (the 24mm just wasn’t wide enough for interior use). The final look of the lighting was not according my plan at all. Yes, I am a theorist and this time the practice terribly kicked my butt.
I went through Joe McNally’s book and I spent hours googling strobox and strobist, which was nice but was worth nothing without practice. That’s why my advice for every photographer is to actually take pictures — to try, to experiment, to fail and to learn from all of this because every experience will make you smarter and will help you to be better at what you do.
On the other hand, the great part about this was everything else. Even though it was happening the night before wedding and it was a bit tiring, nobody was stressing out or complaining, so I didn’t feel pressured. The atmosphere was perfect thanks to all the participants… and maybe thanks to the beverage that some zombies were sipping the whole time.
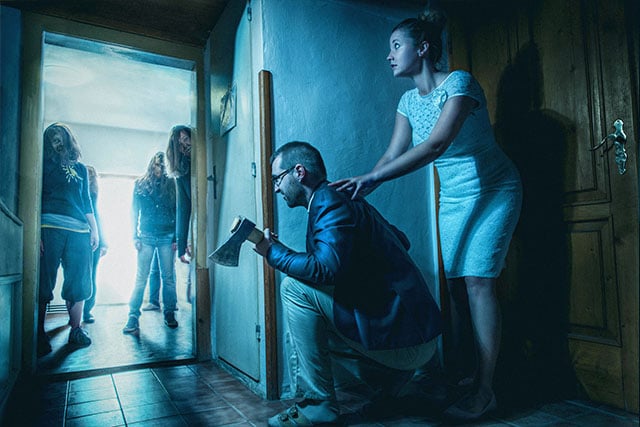
But back to the technique. What I was missing the most and what was a problem in the interior was the lack of a grid on the softboxes. If only the light was more focused, it wouldn’t flash over the whole room. “Nevermind,” I thought to myself. “Photoshop will have to save the day.”
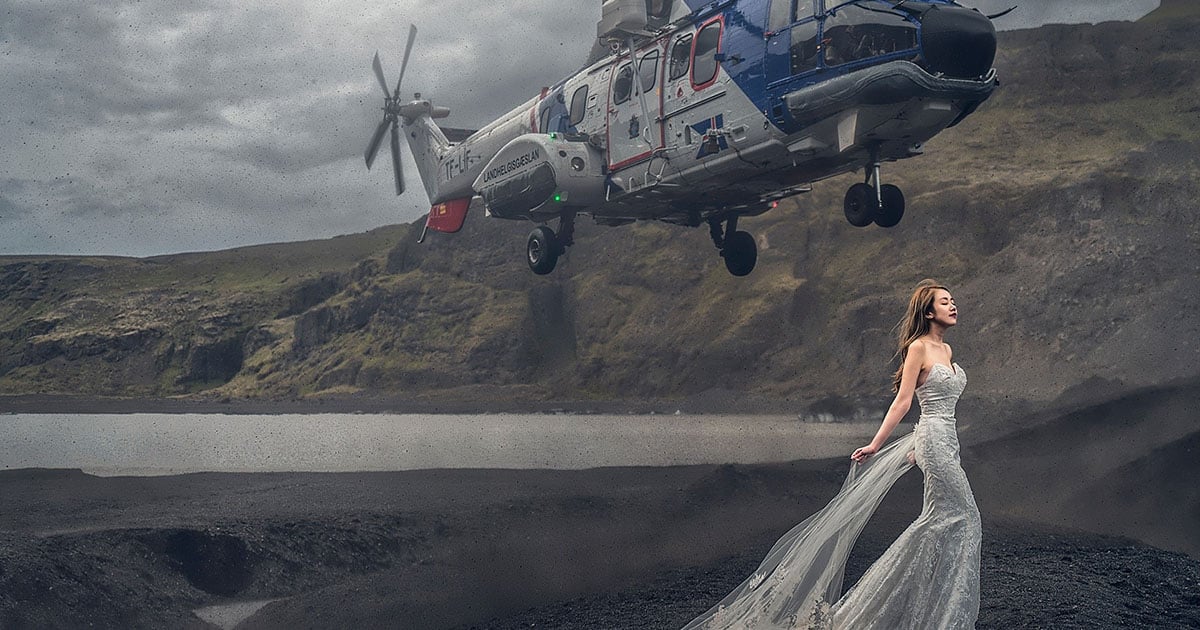
It was better outdoors, at least from the lighting point of view. Even though the never ending moving of the tripods, re-setting the speedlights and looking for the right intensity was annoying, I was grateful for Phottix Odin flash trigger, with which I could deal with flash performances from behind the camera.
4. Postproduction
This part is not so much about the shooting, so I’ll make it quick. The first shot took me the most time to retouch because of the one and simple reason: I had to decide on one common mood for the whole series (even though I had a relatively clear idea about it).
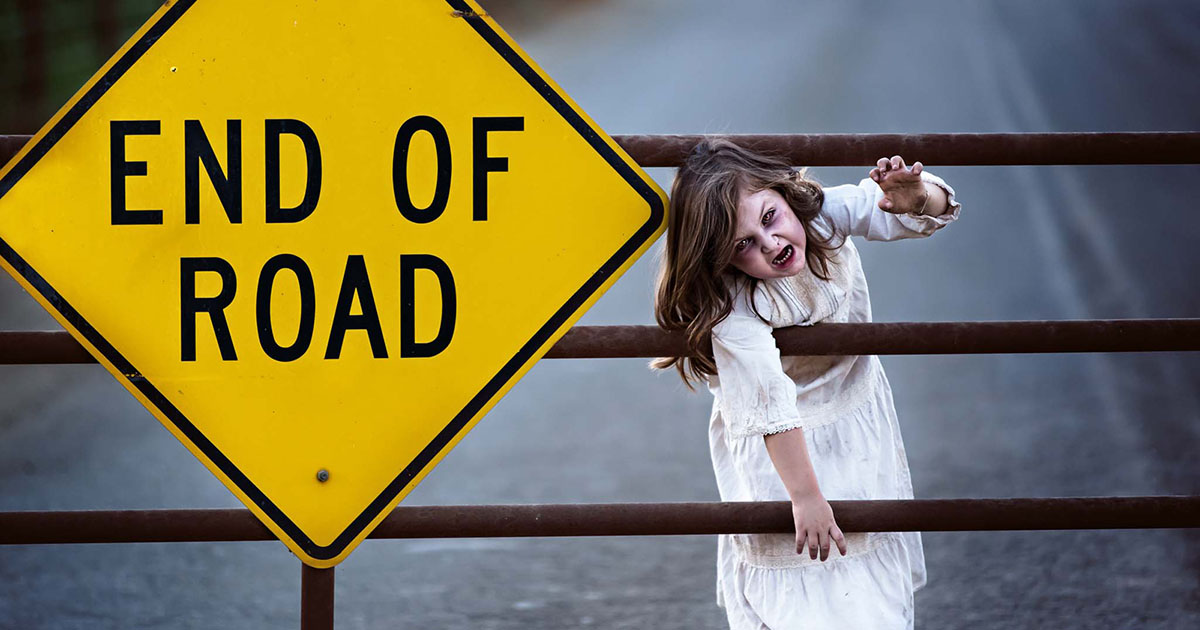
The whole project was designed to be a story rather than just separate zombie pictures. I tried many different techniques and colour gradings before the final decision has been made. It took me 16-18 hours of trials and error. I wasn’t taking notes about the rest of the photos except the last one, which took me 4 hours. It may have been about 7-10 hours per picture.
5. Summary
Only 5 pictures out of 7 made it to the final selection. One didn’t make it because it was too similar to another picture and the second one just wasn’t sexy enough. The series was received by the happy couple 8 months after the wedding, and was totally worth the hours of work and months of waiting.
When I look back at this project I think to myself that if I was to do similar project again, the third and forth part would go differently. I will wait for another opportunity with the bride’s words on my mind: “I can’t wait to see that disgusted look on my parent’s faces!”
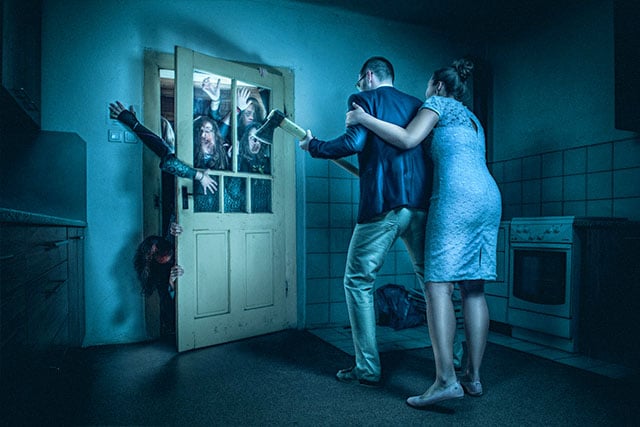
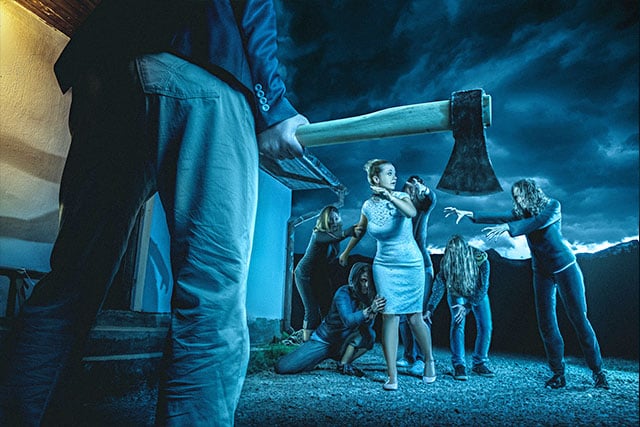
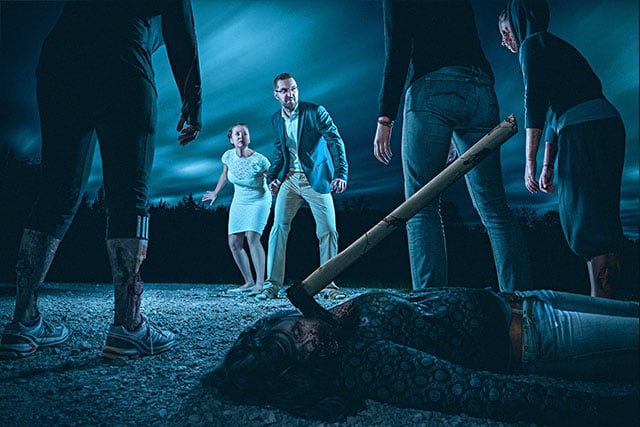
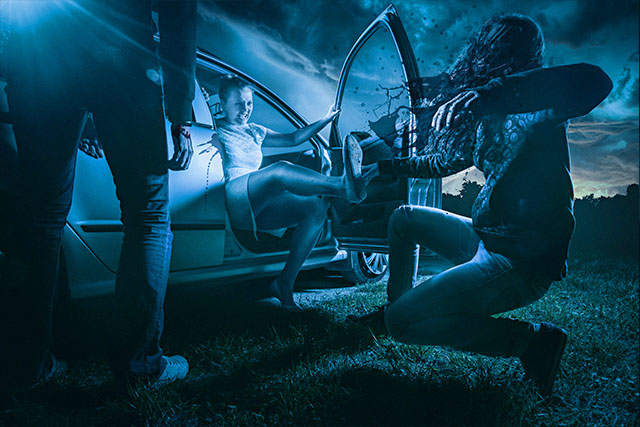
6. Results
Bonus: The Gear
Here’s what I used for the shoot:
- Nikon D800
- Nikkor 24-70mm f/2.8
- Nikon SB 800 + 2x SB700
- 3x softbox 60x60cm
- Photix Odin 3+1
About the author: Tomas Pospichal is a photographer, retoucher, and digital artist based in Slovakia. His photography is focused on events and weddings. You can find his work on his website, wedding blog, and Facebook page. This article originally appeared here.