Here’s a Way to Create a Time-Lapse and Real-Time Composite in 5 Minutes
My name is Kyle Hart, and I’m the founder of Rhino Camera Gear. In this post, I’ll be sharing an easy technique for combining a real-time camera move with a time-lapse to create a simple composite without doing any rotoscoping.
My goal was to take time lapse to another level, while making it simple enough for anyone to do. We call it “time lapse compositing.”
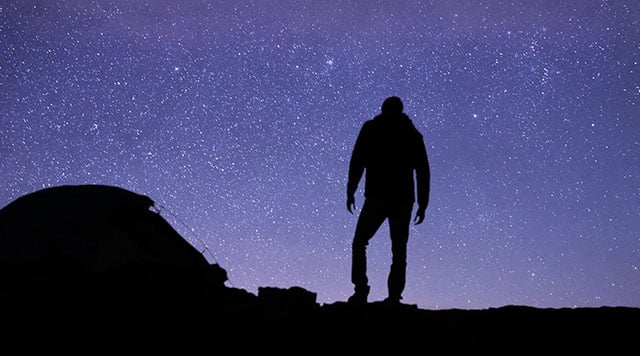
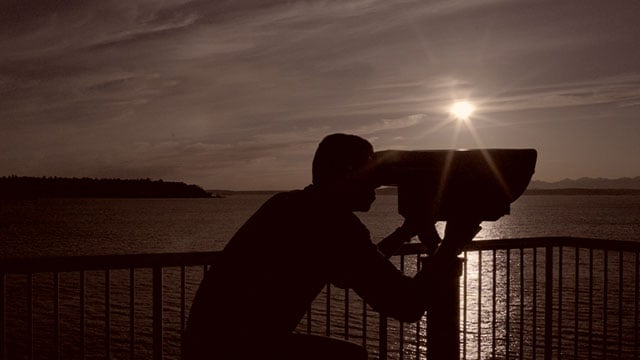
Essentially, you capture 2 clips, one real time and one timelapse. The goal of this whole thing is to easily create a composite clip without doing any rotoscoping (a painstaking frame-by-frame compositing method). Instead, we’ll use the silhouette for our key and replace the background with the time lapse.
Before we get into the edit I want to lay down some ground rules for doing this well. Shooting a proper silhouette can be difficult.
1. Wait for the sun to go down completely so you don’t get any flare and make sure you only have sky behind your subject. If you have water or terrain it’ll make our key much harder.
2. You’ll have about a 30 minute window to capture your real time move depending on your camera. When shooting with our A7s we have about an hour since we can push the ISO up so high.
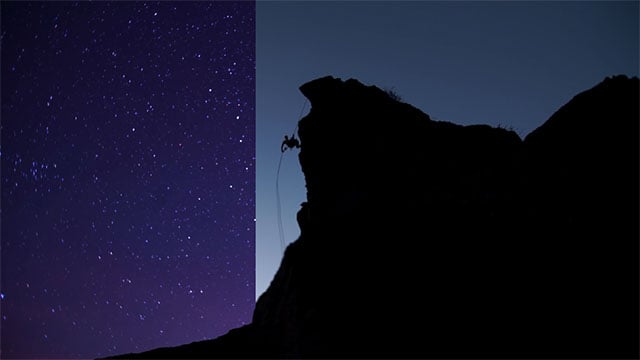
3. Secondly, plan your composition well. You’ll want to pick something with a foreground close enough like a pile of rocks so you can see the motion and also make sure your subject isn’t too far away. We shot this rappelling shot and it ended up not being a great composition since the rope got keyed out and my silhouette was too small to make the shot compelling.
How to capture the footage
Setting up the move is easy in Rhino Motion. Using Create a move, set the duration to the length of clip you want. Typically 10-15 seconds is great.
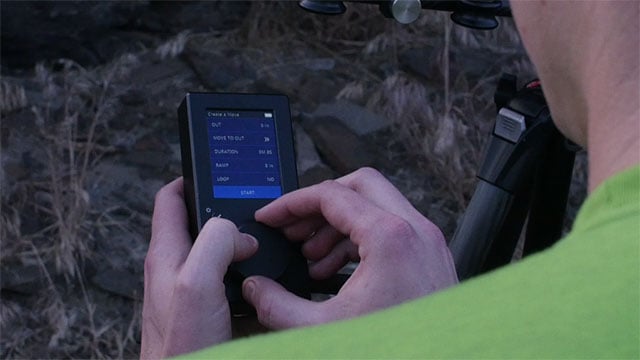
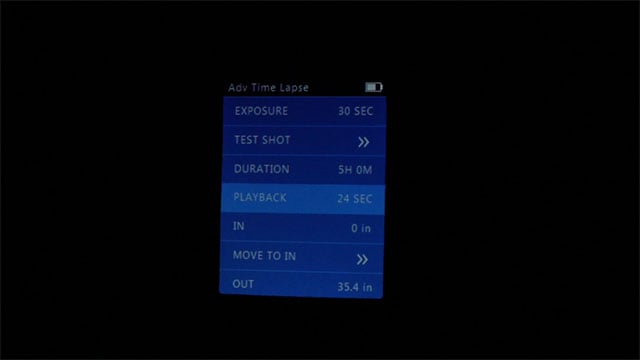
After you capture your real time clip setup your time lapse in Advanced Time Lapse and do the same move without moving your camera’s position. Run the move over whatever length of Time lapse you want. We like at least 3 hours to get as much star movement as possible.
Note: I typically set my crop to 16:9 for this so it matches my photos and makes post easier. We’ve found that some cameras have a slightly different field of view in photo and video mode. The 5D Mark II was particularly off. If this is the case you might have to stretch the background a little in post. When shooting with the A7s it was exactly the same field of view in both photo and video which made editing so much easier.
The Edit
Ok, so we’ve captured all of the footage we need. Next, import it to your computer. Edit the RAW photos to your liking (we use Lightroom) and open up your editor. We’ll be in Adobe Premiere since it has all of the tools we need built in.
1. The first step is to drag in your footage and lay the the real time shot on top of the time lapse shot. Trim your clips so they both start when the camera starts and stops moving. They should be equal in length if you set your Duration in Creative a Move and Playback Time in Advanced Time Lapse to the same value.
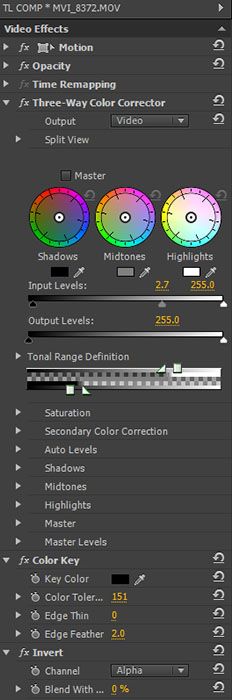
2. Next, we need to prep it for keying so let’s go edit the exposure. I like using three way color corrector in premiere. We want there to be as much contrast between the sky and the silhouette as possible so let’s try to blow it out and crush the blacks at the same time.
3. Next, add color key effect to the clip and use the eye dropper tool to select the silhouette. Adjust the key tolerance as high as possible without taking out the sky. Also, I like to add a bit of feathering to soften the edge which makes it look more natural.
Now it’s keyed out but we want to invert it so it removes the background instead of the silhouette. So, let’s add the channel invert effect and choose the Alpha channel.
Here’s an image of our effects in Premiere:
It’s that easy. We’ve actually edited some of these before in a tent the morning after the time lapse so it doesn’t take much more than 5 minutes to pull it off. I’ve really enjoyed capturing a few of these time-lapse composites and would love to see what you create with the idea.
Here’s this same tutorial in video format:
About the author: Kyle Hart is the founder and CEO of Rhino Camera Gear. He started his career as an insurance salesman before falling in love with video and designing his own camera equipment. This article originally appeared here.