How to Photograph Jupiter from Your Own Backyard On the Cheap
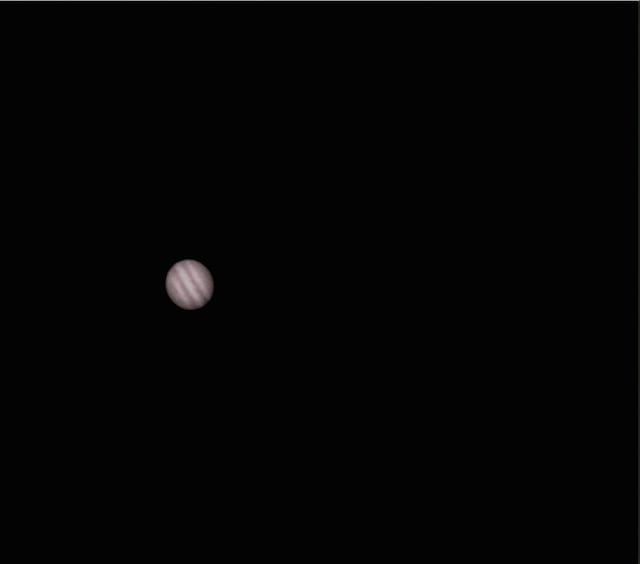
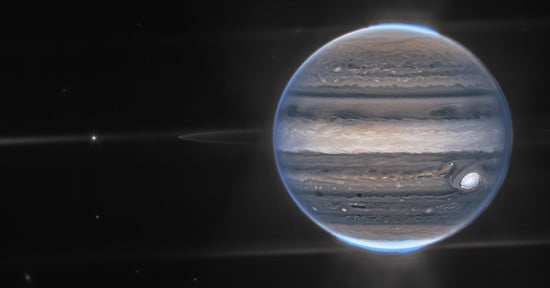
I recently captured this picture of Jupiter, the 5th planet from the Sun. It was well received and many liked it. Lots of people wanted to know how to take a picture like this and what it would cost, and surprisingly I did this on a relatively low budget for astrophotography.
Here’s a rundown of how it was done, including a list of all the gear I used.
Equipment List
The setup itself is around $400. That is including a T-adapter, camera, and telescope. The actual products I used are:
- Telescope: Orion XT6 Classic Dobsonian Telescope ($300)
- Camera: Modified Microsoft Lifecam Cinema HD ($50)
- Celestron T-adapter ($25)
- Eyepiece extenders ($15)
- All the software I used was free (Sharpcap 2, AutoStakkert!2, and RegiStax6)
Capturing the Image
The first thing I did was set up my telescope outside, and collimated it. Collimation is the aligning of the mirrors so that the image will look acceptable and not distorted.
Then I bring my camera, laptop, and a wide field eyepiece out.
I hook up my camera to my computer, but do not insert it into the focuser. I must put the planet in the field of view of my target. I put my 25mm eyepiece into the focuser, focus on some background stars, and locate the target. Then I can take my eyepiece out and put it away, and put the camera into the focuser.
The target will be in the live view of Sharpcap, an image and video capture program, but will be heavenly unfocused, so I have to focus it, which only takes a couple of seconds. Once you’ve done this, the target should appear nice and focused. The target will be moving in the field of view though, so I need to manually track, which isn’t that much of a problem. I then put my target near the edge of the field of view, so it will have maximum time in the field. I then take a video (usually 100 frames or so) and let it go until it’s finished. I usually repeat this process about 10 times or until I have to pack it in for the night.
Post-Processing
Once I’m back inside, I sort through each of the videos to see which one has the best quality. Once I’ve decided which video is best, I open up a program called AutoStakkert!2 — a great program for aligning and stacking planetary and lunar images.
I go through the aligning and analysing process, and when everything is good I stack the image, and save it as a TIFF file.
The raw stacked image itself looks pretty bad, but this is where the power of post-processing comes in.
I take the file and upload it into a processing program for planetary and lunar photography called RegiStax 6. I then move the wavelets, contrast, brightness, and other parameters around until the image looks the best it can get.
From there on out, I save the file as a PNG, upload it to various websites (mainly Reddit), and huzzah! I have just created an image of a planet!
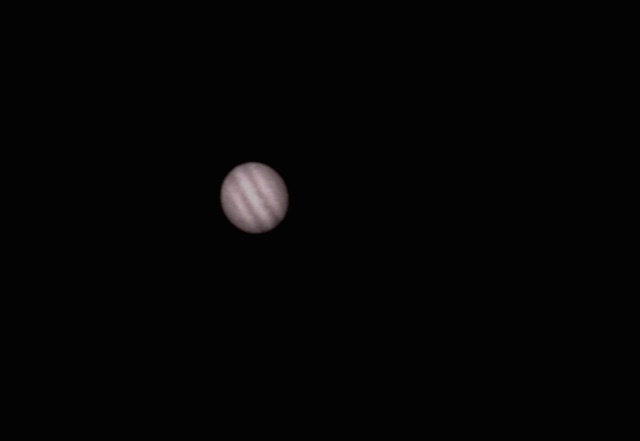
Here’s a closer crop:
Clear skies!
arandomkerbonaut
About the author: Reddit user arandomkerbonaut is a freshman in High School who loves everything about photography and space. He was born in Houston, Texas, but eventually moved to Charlotte, NC. His current inventory of astronomy and photography gear includes 3 cameras and 2 telescopes, all which serve their own purpose.