DIY Project Turns a Cheap Antique Store Camera Into the Perfect Shell for an Unused GoPro
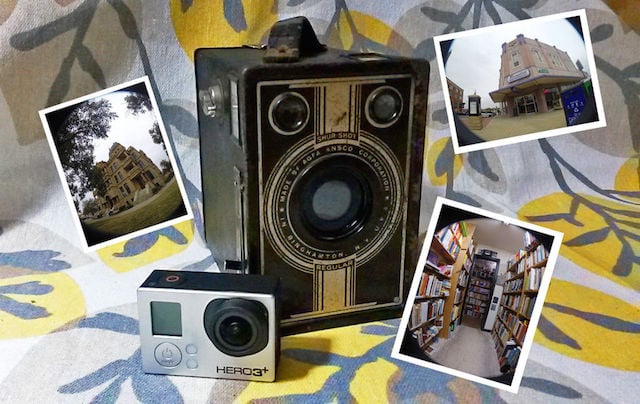
Have you ever bought a GoPro just to realize that your life might not be quite as extreme as you initially thought? We’ve seen it before, and that’s exactly what happened recently with Instructables user Brooklyntonia.
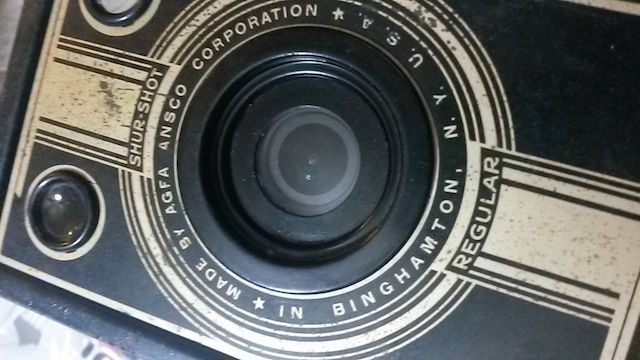
But rather than watching her GoPro Hero 3 collect dust on a shelf, she decided to create an unlikely pair by Frankensteining together her unused GoPro and an old AGFA Ansco Shur Shot she had lying around.
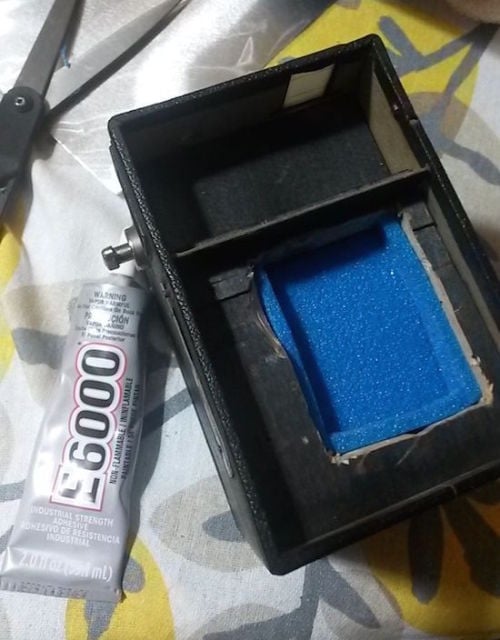
If you’d like to create this frankencamera for yourself, you’ll need: a GoPro camera, an old box-style camera, a smartphone capable of acting as a viewfinder for your GoPro, a hand saw, a drill, stiff foam, a piece of workable metal, a hammer, some intense glue (Brooklyntonia used E–6000), scissors, an X-Acto Knife, and pliers.
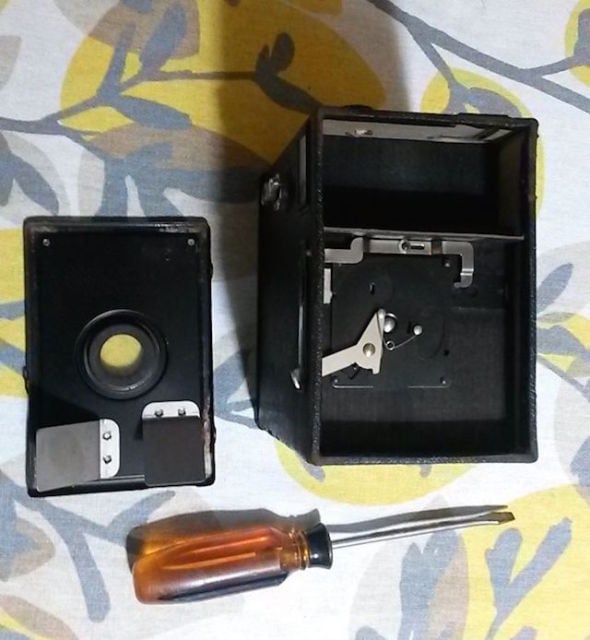
With all the tools in hand, the first step is to tear down your ‘antique’ camera.
Little by little, carefully remove the bits and pieces that will allow you to get inside the camera. Once apart, use Q-tips and Windex to clean all of the mirrors and glass components — just avoid the inside parts of viewfinders, as the guideline paint used is often very sensitive.

The next step is to get the GoPro mounted inside of your torn-apart camera. While Brooklyntonia attempted to do this without cutting into her camera, it became clear that she’d need to do some cutting if she expected to properly line up the GoPro.
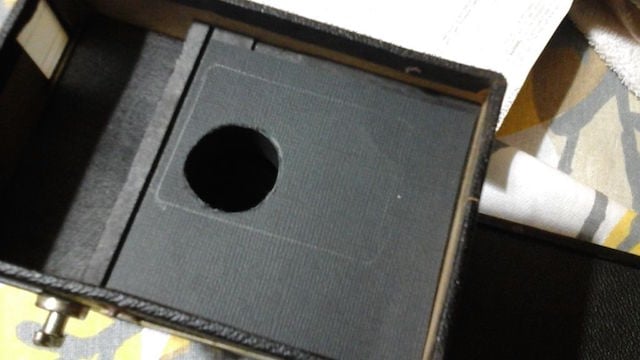
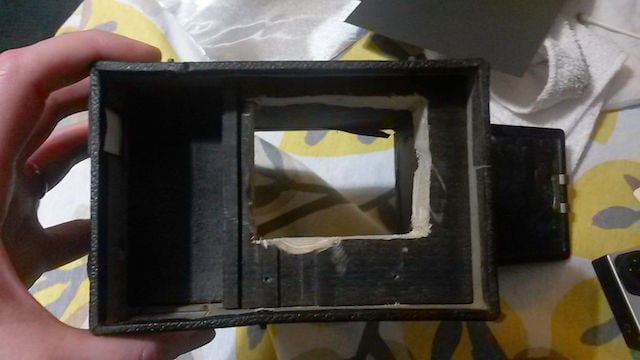
She notes that it wasn’t easy cutting apart such a camera, but with the help of the handsaw and drill, she managed to make a perfect, GoPro-sized hole for the action cam to sit in.
Once cut to size, she used the hard foam to create a boundary of sorts that would more securely hold the GoPro in pace and help keep it safe in the case it got bumped around (although that really shouldn’t be a problem…).

Now comes the most difficult part: the shutter button. Since your GoPro will be snuggled up inside the camera, you’ll need a way to trigger the shutter while out and about.
To solve this problem, Brooklyntonia used the original shutter release of the camera alongside some bendable metal to rig up a rudimentary triggering system that seems to get the job done.
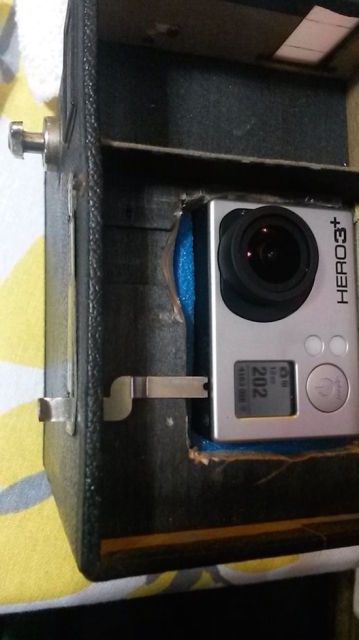
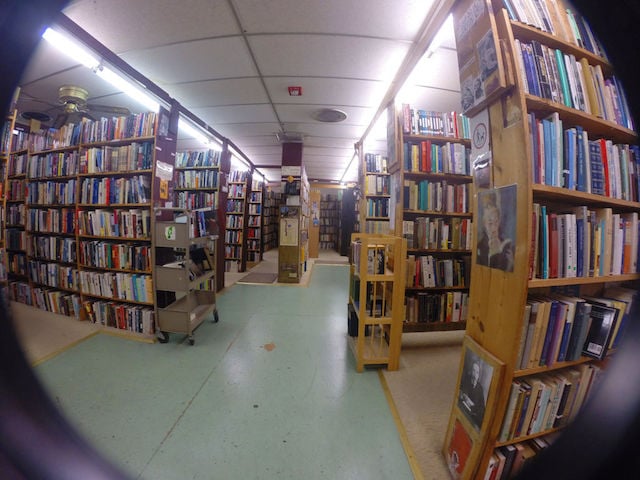
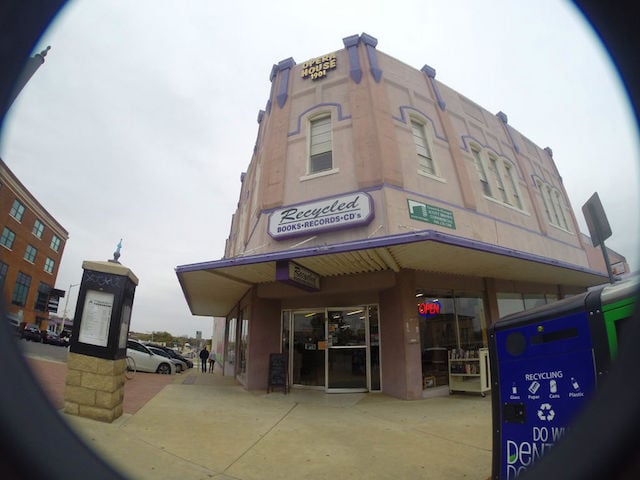
Once you’ve complete that step, you simply re-mount the faceplate of the camera and go out and shoot. Below are a few example shots taken by Brooklyntonia in her new Frankencamera.
To dive deeper into the step-by-step or see more pictures of the process and the final product, be sure to head over to Brooklyntonia’s Instructables post by following the link below.
Antique Digital Camera [Instructables]
Image credits: Photographs by Brooklyntonia