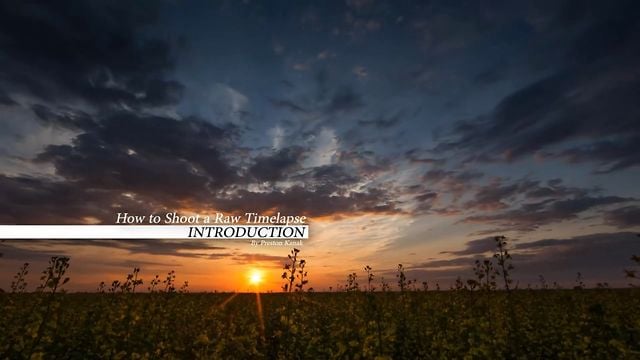
Tutorial Shows You How to Capture Quality Night Sky Time-Lapses
Five months after releasing his first tutorial video on shooting and processing time-lapse photography, Dustin Farrell is back at it again. This time he’s gone more in depth, featuring some behind the scenes of his nighttime time-lapse workflow, from the gear he uses (and suggests) to the actual creation process of the video.
The tutorial is a bit long at 21 minutes, but if you’re thinking of getting into time-lapse photography, patience is something you better start working on now. For those of you who just want a brief rundown, here’s a bit of a summary for you.
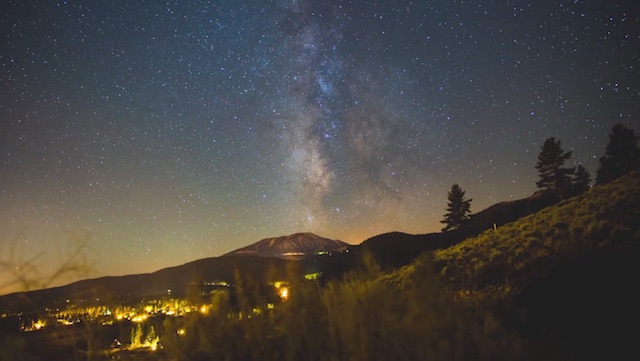
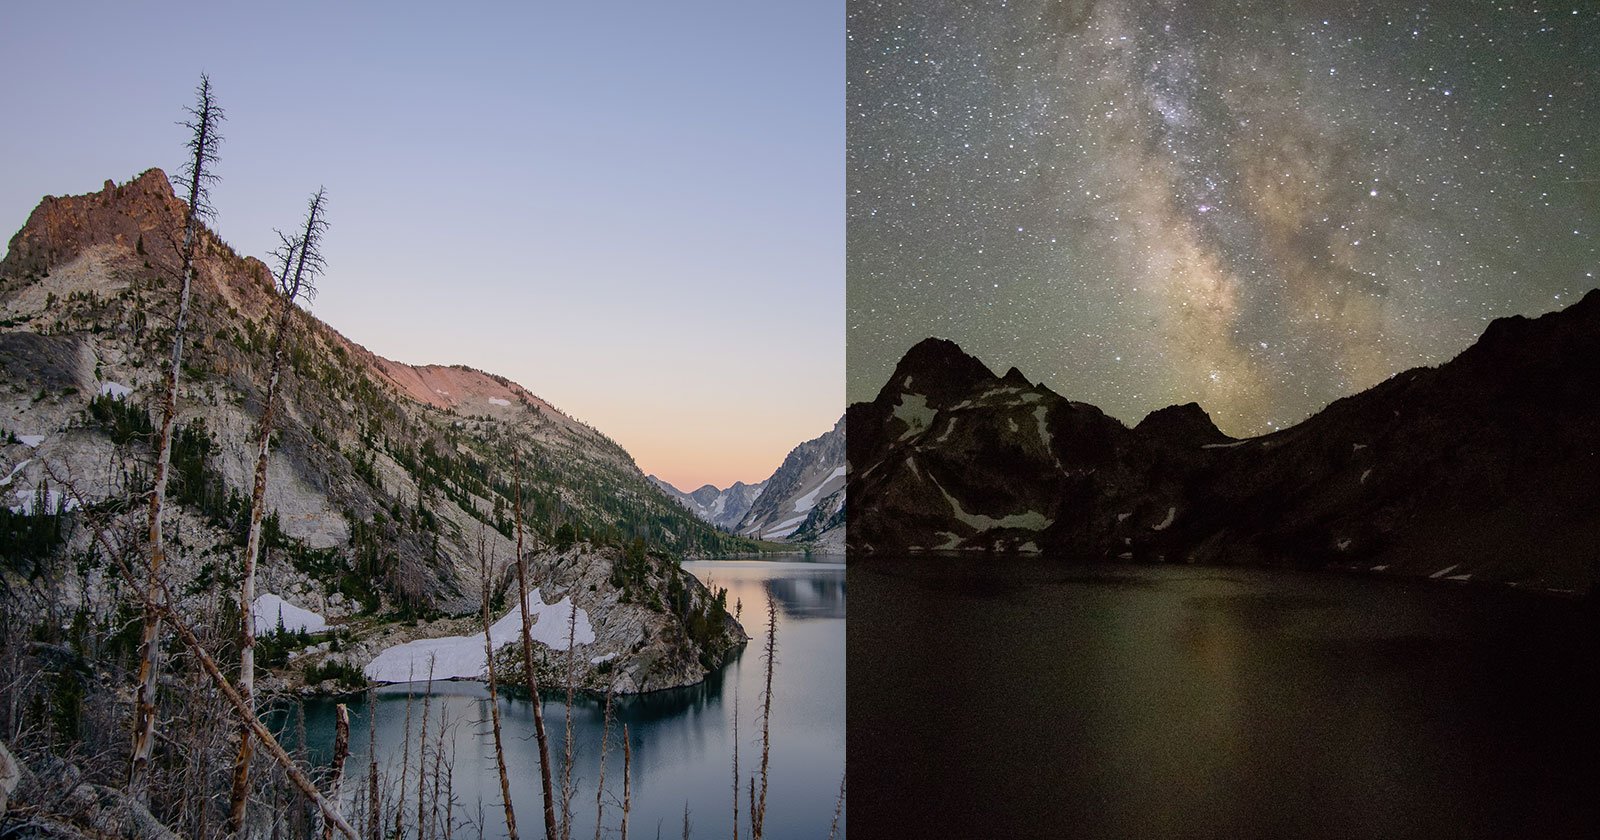
Starting with the gear, he makes note of the significance of having a full-frame camera and fast glass. It’s certainly possible to use other gear, but the combination of wider apertures, wider perspectives, and better high ISO capabilities will lead to much better results.
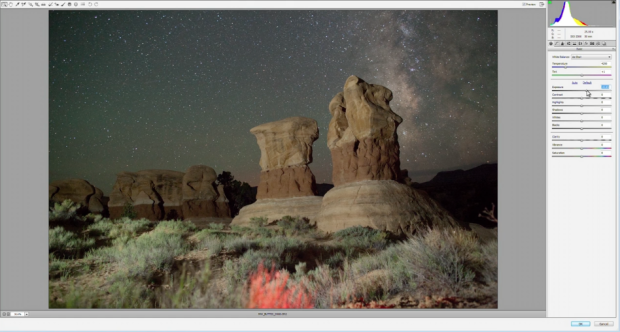
His post-processing involves Adobe Camera Raw where he fine-tunes the images in batch, getting rid of vignetting, chromatic aberration and making a few other tweaks. From there, he imports the batch into After Effects, where he formats the photographs into a 16×9 ratio at 4K resolution.
Finishing touches are also done in After Effect where he uses a plugin called Neat Video to eliminate noise and do some minute color grading. All that’s left after that is to export and, if his portfolio is any indication, wait for the praise to start rolling in.
If you’d like to see some of Farrell’s time-lapse work you can check out his Vimeo page. Otherwise, give the tutorial a watch, be inspired and get out there and shoot. You can even step your game up a bit by tossing the DIY motorized slider we featured earlier today into the equation.