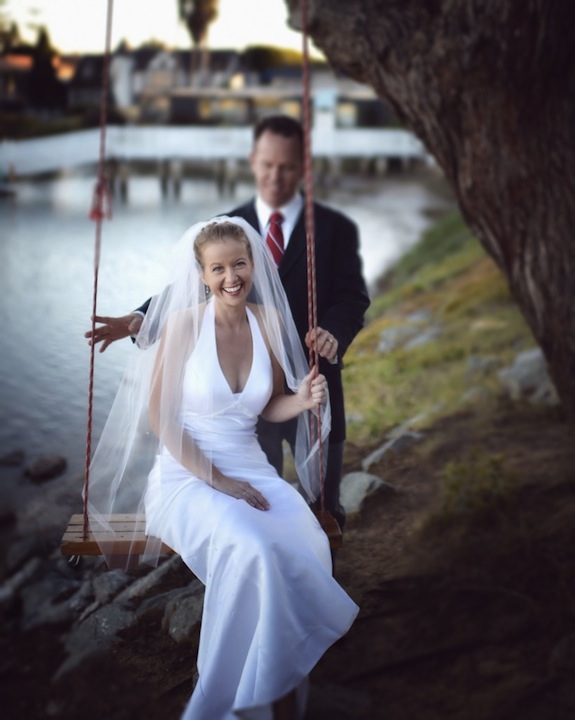
How to Save Big Money by Not Hiring a Professional Wedding Photographer
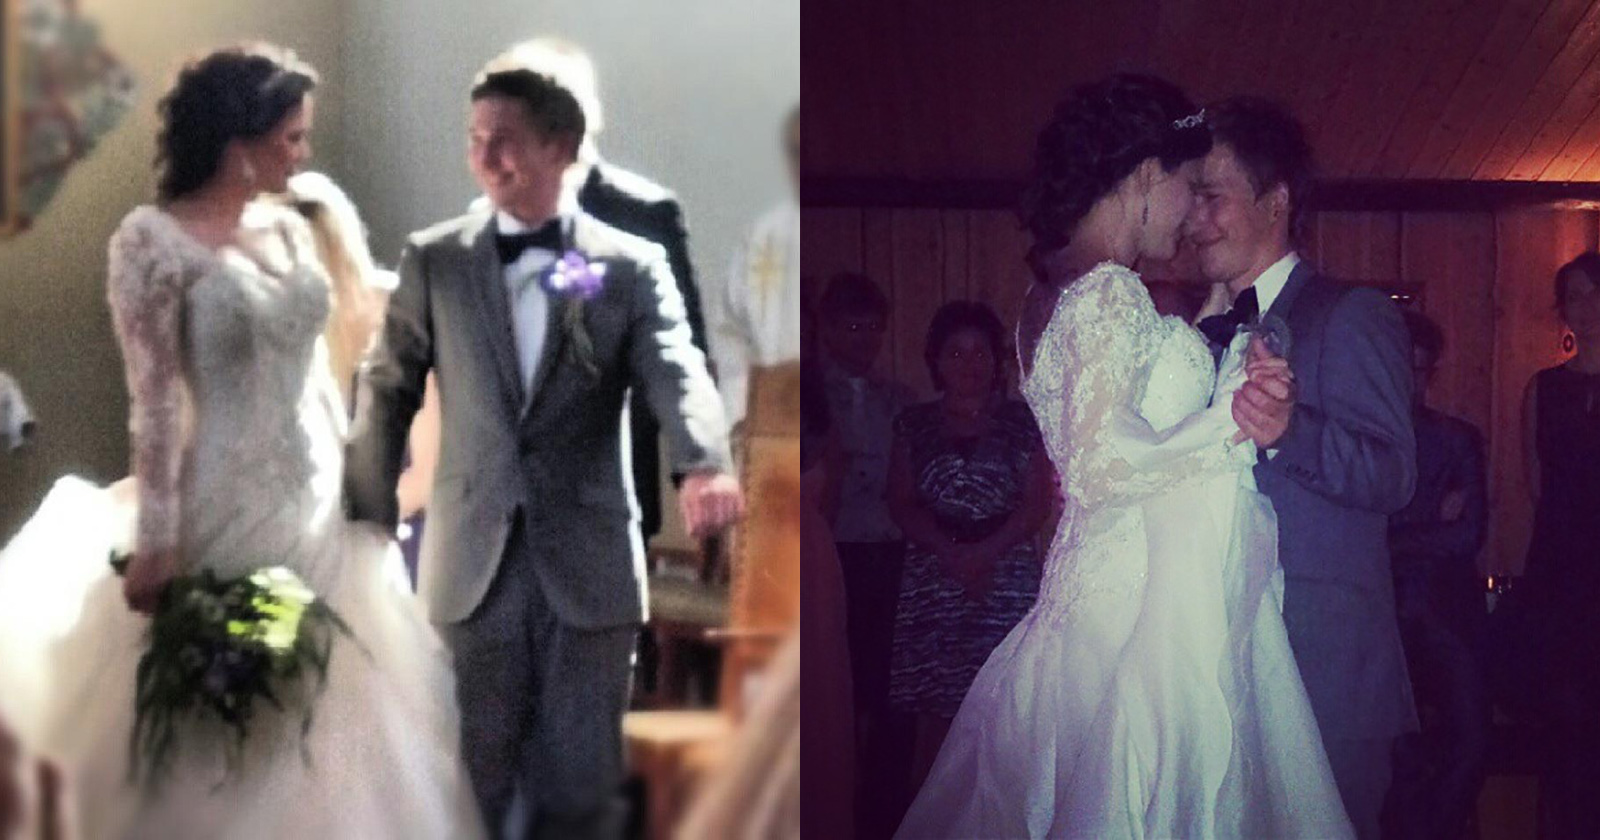
What if I told that you could get wedding photos at a fraction of the cost that professionals will charge you, would you be interested in that? I bet you would because there are a heck of a lot of people out there that think wedding photographers are way too expensive, charging you thousands of dollars just for a few pictures.
My plan will show you how to do everything the pros do so that you can save your precious money and spend it on something more valuable like his and her diamond-encrusted wedding cake toppers.
Introduction: The average professional wedding photographer is going to charge you hundreds if not thousands of dollars.
Now, as you know, the average wedding photographer is going to charge you big bucks for taking a few pictures. If you’re like most people, you’ll probably end up paying about $2,500 for a professional photographer. Now, of course, they will have an average of about 5 to 10 years experience and probably have shot scores of weddings, but come on, thousands of dollars for a few pictures?
I’m going to show you how to do it for a fraction of the cost they will charge you. You’ll save so much money you can buy those customized monogramed M&M’s with each of your initials that will look beautiful on the cake table.

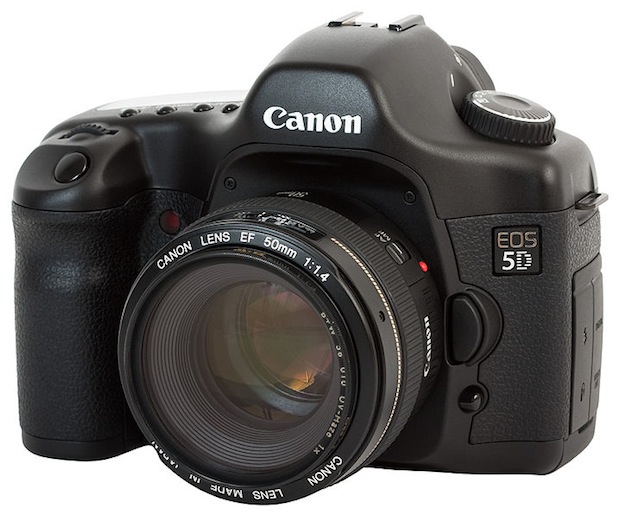
Step 1: Rent the same cameras and lenses the pros use (Estimated Cost — $1,170)
If you want the same result you’re going to want to use the same top notch equipment the pros use. Most people know that the secret to awesome photos is the camera. So let’s go right to the source and avoid the silly middle man and save some big time money. There are places like LensRentals.com and BorrowLenses.com where you can go and get wedding rental packages that the pro’s use. These places are awesome by the way, I use them all the time.
Since professionals usually have at least two photographers at an event, I am going to recommend that you get two packages. You’ll need two lens bodies and two multiple lens packages and strobes. My recommendation is to get those packages for at least a week because you’re going to need to train your recruits (newbies right off the street) to use those fancy cameras the right way.
I added it up for you and you can basically get two Canon 5D’s and wedding lens packages each for about $1,169. That includes the insurance, mind you. If someone drops the camera in the fountains of chocolate, you don’t want to be on the hook for the $3,000 or more to replace the camera.
As you ponder all your savings, let your mind wander to the possibility of hiring Celine Dion to fly in and personally sing your wedding dance song for you because that could happen with all the money you are pocketing at the moment.
Step 2: Rent your tripods, soft boxes and memory cards (Estimated Cost — $250)
Now, it’s a bit annoying but let’s not forget some of the accessories that you’re going to need to pull it off. You’ll need two soft boxes to diffuse the light to get that “Wedding Look”. Also, you’ll need some stands to hold the lights, a couple of tripods and of course memory cards.
I priced it out and we are still doing great. For about $250 you can get all these necessary extras to complete your package. *cha ching!* — ring up the savings. Is it too late to call the hotel and upgrade to the Deluxe Seafood Towers as appetizers for the guest instead of those little mushroom caps filled with spinach?

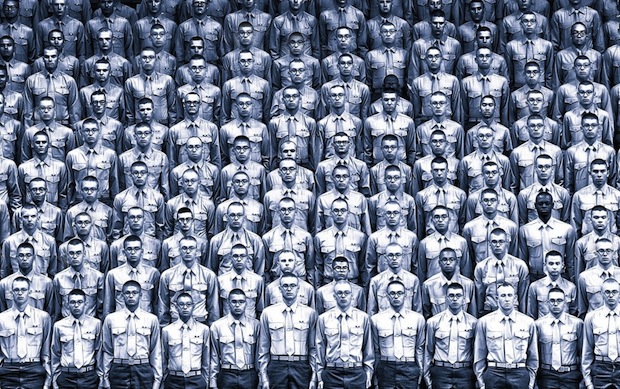
Step 3: Recruit two friends or starving college students to snap the photos for you (Estimated Cost — $320)
Now that you have the best cameras, which will practically shoot award-winning photos on their own, you can recruit people to do the shooting for you. My recommendation is to recruit two semi-distant friends who are not already guests and who won’t be offended that you didn’t invite them in the first place.
If that’s not possible you can always recruit some starving college students willing to work on the cheap. When I was in college someone actually paid me to lay down a cement driveway for them and I had no experience in that, so why the heck not. The driveway had a real rustic and uneven appeal to it I must say, but the best thing of all is they saved money!
For about $20 an hour my guess is that you can get two newbie photographers for about eight hours or even the entire day. That’s only $320! Thinking about how wedding photographers charge thousands really chaps my hide when I realize how much can be saved.
Step 4: You’re going to need a couple of books and video tutorials (Estimated Cost — $200)
Now the fancy equipment you’re using is going to require some basic working knowledge of the camera itself. I would budget in about $200 to cover the cost of some photography books, video tutorials and to pay the recruited photographers for their time to learn the camera equipment.
You don’t want your photographers not knowing the absolute basics of photography before entrusting them with the most important day of your life right?
As you are perusing your photography books don’t be surprised if you find yourself Google searching the possibility of having the entire wedding party carried into the ceremony by a parade of Arabian Horses and Belly Dancers. You’ll need to spend all the money you’re saving on photography somewhere else and that sounds like it could make for some interesting photos actually.
Step 5: Shoot away, tell the photographer to go nuts (Estimated Cost — FREE)
This is the best part. All the photos that you want to take on your wedding day are free. So instruct the photographers you have recruited to go ballistic. Machine gun blast photos everywhere of everyone. Get right in front of the altar if necessary and shoot at 9 fps to get each and every nuance.
Now professional photographers are going to know exactly when and where to shoot and how to do it with minimal intrusion on the ceremony or guests, but that’s just not feasible here. So I’m going to recommend the shock and awe strategy of having your photographers machine gun shoot as many shots as possible.
Step 6: Photoshop those pictures! (Estimated Cost — $200)
Thank God for Adobe Creative Cloud. Now instead of spending thousands on Photoshop tools that the photographers use, you can subscribe to a monthly service and get it for about $100 for a couple of months while you work on your pictures.
Now, you’re going to want to get some tutorials and books to help you learn how to use Photoshop so make sure you budget that in there too. Bottom line, however, is that your Photoshop costs in total are going to be a steal at around $200 for everything.
Since Photoshop is extremely tricky, I am going to recommend that you spend at least 40 hours learning the basics of cropping, layers, filters, plugins, masks, dodging, burning, vignetting, selective blur, overlays, lens correction, sharpening and smoothing. These are just the basics, however, and we can’t expect you to reach pro level. After all, many of those professional wedding photographers probably have several thousand hours experience working with Photoshop and associated tools.
They also probably have at least $1,000 worth of additional Photoshop plug-ins to make your pictures look beautiful. But remember, the objective here is saving money! And we are!

Step 7: You’re going to need to store and share the pictures. (Estimated Cost — $60 first year)
You are nearly there and you are saving money! Now you are going to want to use a site that will allow you store those photos so that you can share them with friends and family. You will probably have thousands and thousands of pictures to store.
Storing them is cheap though. You can use a site like SmugMug and get a full year of beautiful photo sharing for only about $60.
Step 8: Get your prints (Estimated Cost — $200)
Since most professional photographers are going to give you a couple of hundred prints with their packages, you’ll want to budget in about $200 to get 200 high quality 5 by 7 photos from the event.
You can even go to WalMart and get super cheap budget prints and that will only cost you about $120. There are tons of ways to save money on wedding photos! By now you’re probably wondering why you didn’t plate your wedding cake in edible gold with the money you saved on photos.
Conclusion: You Just saved a boatload of money. You’re welcome.
You can thank me later for saving you a ton of money. If you followed my instructions, you just managed to shoot your wedding for a mere fraction of what it would have cost you with a professional. With my program, which gets you using the same incredible equipment and tools the pro’s use, you can save yourself an incredible $100. That’s a whopping 4% savings for you, Mr. DIY guy/gal.
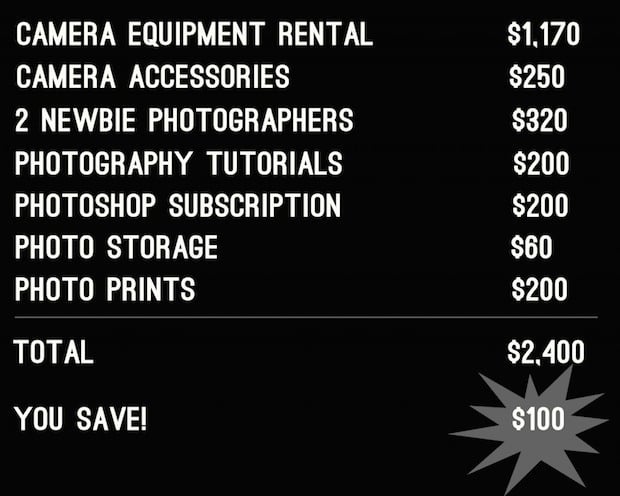
Now, granted, you did have to spend close to 100 hours of your time renting, learning and editing, but that has got to be worth all the money you saved. If you saved $100 and spend 100 hours additional time that means that you just earned an incredible $1 an hour for every hour you spent. Now, that has to feel good. Let me know how this works out for you.
About the author: Frank McKenna is an amateur photographer based in La Jolla, California. You can find him on his blog, 500px, Tumblr, and Google+.
Image credits: penny-pincher by theilr, Canon 5D photograph by Charles Lanteigne